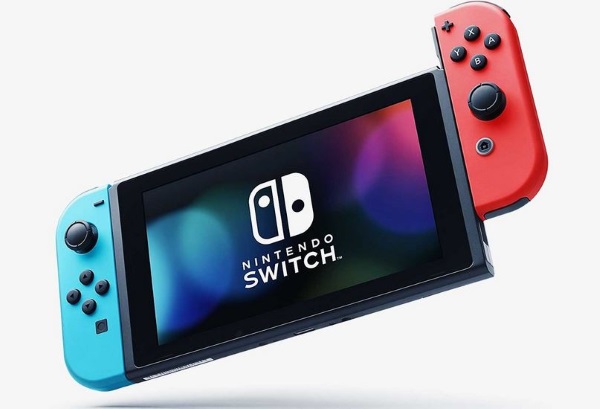
By any measurement, the Nintendo Switch is a success. After their first attempt at creating a device designed for both handheld and console play bombed with the Wii U, Nintendo scrapped their console and chose to pour their efforts into a brand new device: a truly portable console that wasn’t tied to a box under your television. While there’s no doubt that uncertainty surrounded the launch of the Switch as a portable product from Nintendo, the company was able to come out of the gate with a successful launch. After confirming that the device existed a full two years ahead of its launch, the hype cycle for the Nintendo Switch (then codenamed the NX) was powerful, and the official unveil in October of 2016 was a slick, well-produced video that showed the console in action. It’s clear that, in the two years since the launch of Nintendo’s newest console, their vision for a hybrid device has been a massive success with gamers.
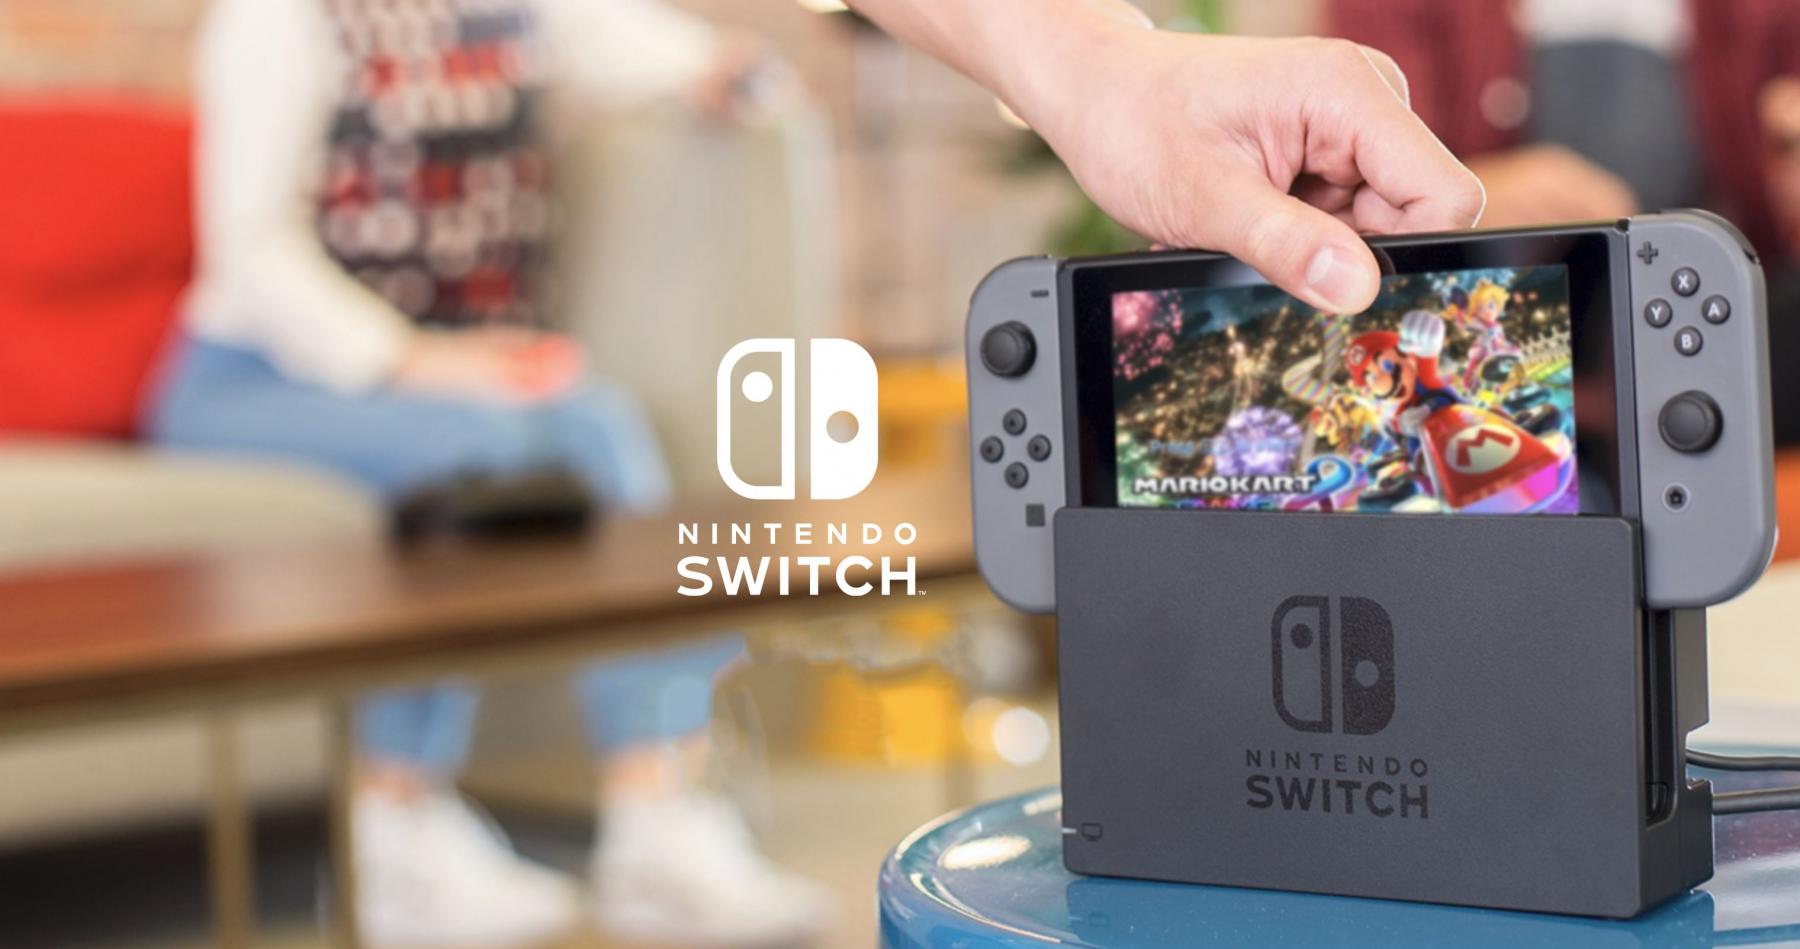
Of course, since the Nintendo Switch is part portable, part console, charging the device is a bit more complicated than both your mobile devices and your home consoles. While Sony’s PS4 might plug directly into an outlet and stay that way for the duration of its lifespan, the Nintendo Switch is built to move around, while simultaneously requiring more power than the smartphone you keep in your pocket. Let’s take a closer look at charging the Nintendo Switch, so you can maximize your adventures through Hyrule while also keeping your console comfortably charged.
Charging the Nintendo Switch with the Dock
The Nintendo Switch dock might seem like a piece of plastic with some HDMI and USB components and not much else. In some ways, this is actually correct, as the dock doesn’t actually do much to justify its $70 price tag when bought separately. However, the Nintendo Switch has been proven to not react well to third-party docks and unofficial chargers, thanks to the way the software is designed to overclock and underclocking the processor when plugged into a dock. So, if you aren’t careful with your Switch, you could end up bricking it by accident.
When it comes to the Switch docked, we recommend using the standard dock and charging cable that came with your device. Like any other console, it’s a good idea to just plug it in and leave it behind your TV for as long as you can. By using the official charger, you can guarantee your Switch will be able to properly overclock and underclock as it needs to in order to increase the output resolution. It also ensures your Joy-Cons will properly while plugged into your Switch.
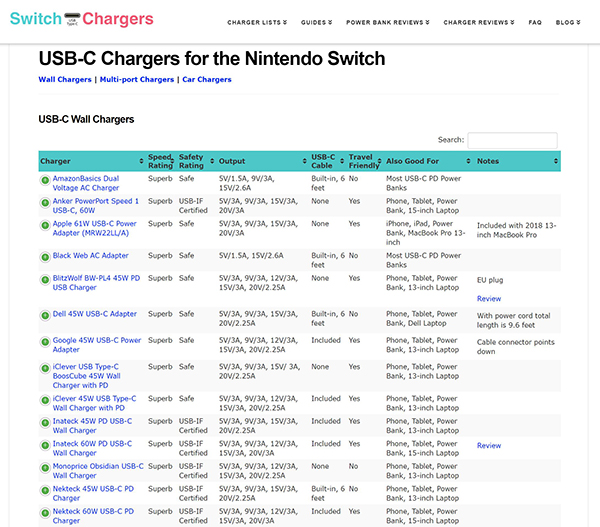
If you’re looking to replace the official AC adapter for the Switch, check out this guide of approved wall chargers for the Nintendo Switch. If you can, try to look for a charger that uses USB-C Power Delivery (PD) and is USB-IF certified, which guarantees safety.
If you’ve set up your dock properly, the Switch will show a small charging icon when dropped into the device on the top sliver of the display. The dock will only output video if the device is charging, so it’s easy to look and see if the Switch is properly displaying content just by using your television.
Charging the Nintendo Switch while on the move
One of the benefits of being portable is that you don’t get tethered to your living room whenever you want to play a game. The Switch’s flexibility and portability has made it a complete winner when it comes to playing games, making it easy to enjoy Skyrim, Breath of the Wild, or Super Mario Odyssey on the go. Of course, since launch, the biggest issue with using the Switch comes from its battery, and Nintendo has recently made an effort to improve playing the Switch in handheld mode. A revised Switch entered stored in August 2019, and thanks to advancements in the CPU, it includes an improved battery range from the original model. Whereas the first production model had a battery range from 2.5 hours to 6.5 hours, this new version boosts that range to 4.5 hours to 9 hours.
Still, that improved battery life isn’t going to help in all situations, and if you plan on being away from an outlet for long periods of time, you’re going to need to plan ahead. Your estimated battery is always going to depend on a few different factors:
-
- The type of game you’re playing (intensive AAA titles will always draw more power than smaller, indie titles)
- Your screen brightness
- Your internet connectivity (are you playing online or offline?)
- Whether you’re downloading games in the background of your device
By choosing your screen brightness, internet connectivity, and the games you choose to play while on the go, you can make sure that your Switch is lasting as long as possible. Of course, you’ll probably also want to get an additional USB-C charger or a battery pack to use with your device, and it’s important to pick the right units to use with your device. The Switch uses a lot of power, so we don’t recommend just picking up any cheap USB-C cable or plain old battery pack off the street. While even the weakest battery packs will likely stop the Switch from using as much as power as normal, to actually charge the Switch, you’ll need to make sure you pick up the right accessories.
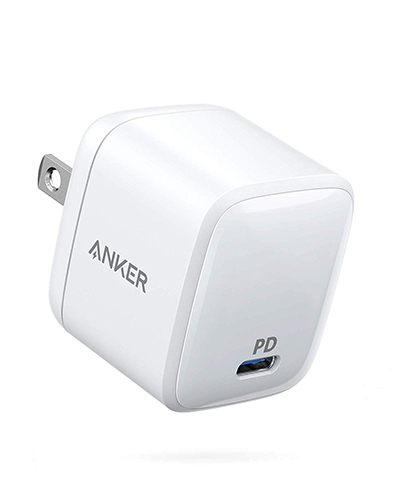
For chargers, any USB-C Power Delivery charger should do the trick. If you have a high-end USB-C phone like a Google Pixel device, or a MacBook that charges over USB-C, you should be able to use those chargers to charge your Switch from any wall. We don’t recommend using these chargers with your Switch dock, however, until you check with the Switch Charger guide we posted above. Most USB-C PD devices should be able to keep up, but it’s still an example of something you’ll want to be cautious with when using the dock.
If you don’t have an Android device that uses USB-C PD or a similar laptop, you can find USB-C PD chargers on Amazon. Something like this Anker charger is perfect for the Switch; it’s under $30, supports USB-C PD, uses the newer GaN technology to keep the brick small while offering plenty of wattage, and comes from a reputable technology company. Just make sure you pick up a USB-C to USB-C cable to go with it; preferably, you’ll want one with USB-IF certification. We recommend avoiding USB-A to USB-C cables and chargers. Sticking to USB-C ports and cables ensure higher voltages.
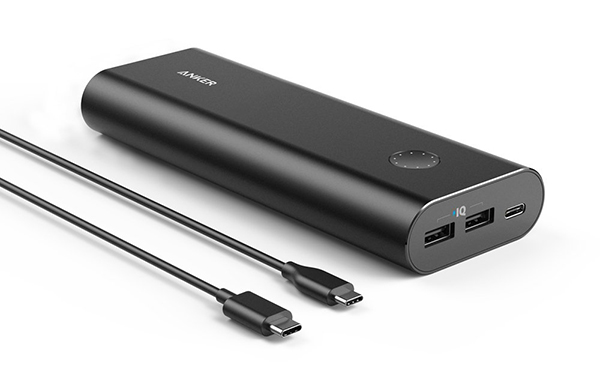
If you’re looking for a USB-C battery pack, it’s important to look for Power Delivery here, or you may not be able to keep up with the Switch’s battery usage. Anker is another great buy here, since the company built their massive empire on the strength of their battery packs several years ago. The company previously teamed up with Nintendo for an officially-licensed battery pack, but you won’t need to buy the special Nintendo version to use with your Switch. Any USB-C PD-capable battery pack will work. They can get pretty pricey though, so make sure to find the right balance between the battery capacity you want in your Switch charger and your budget. For reference, the Switch battery measures in at 4310 mAh, so anything above 10000 mAh will do a great job at charging your Switch. For under $70, this Anker unit gets you a great middle-ground between price and performance.
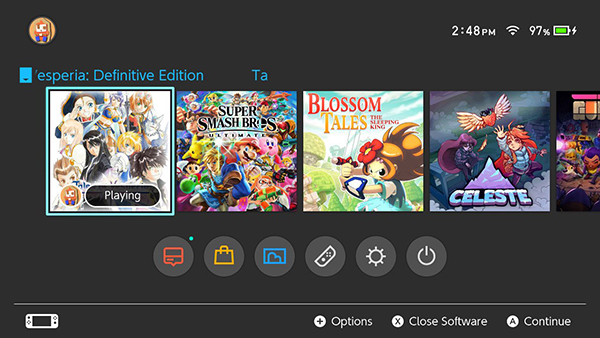
Remember, it’s easy to tell if the Switch is plugged in just by looking at the battery icon on the home screen in the upper-right hand corner. However, it’s impossible to tell the actual voltage the Switch is charging at, so remember to purchase the correct chargers first in order to always ensure your Switch is being charged.
Squeezing More Time Out of the Nintendo Switch Battery
There are a couple of things you can do to get a little more life out of your Nintendo Switch’s battery when on the move.
-
- Turn on Airplane Mode: Airplane Mode, accessible through Settings, turns off WiFi and Bluetooth. As long as you’re not playing multiplayer this should save battery too. If you want to use the Joy-Cons separately, however, then you’re going to need Bluetooth on.
- Lower the screen brightness as much as you can, just like on a smartphone. Go to Settings and Screen Brightness, and experiment with settings there. Lower the screen brightness until it’s as dim as you can comfortably play at, and this will help conserve a little more battery life. The Switch does include an auto-brightness feature you can use to control the brightness of the Switch in a room.
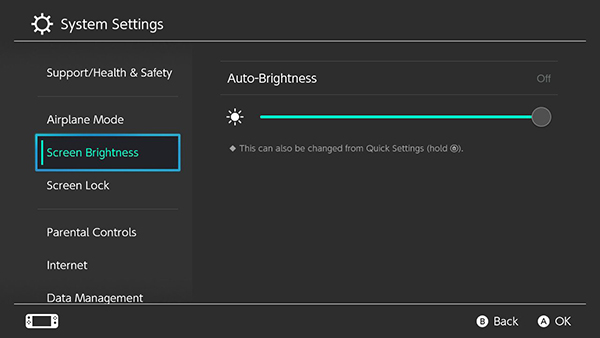
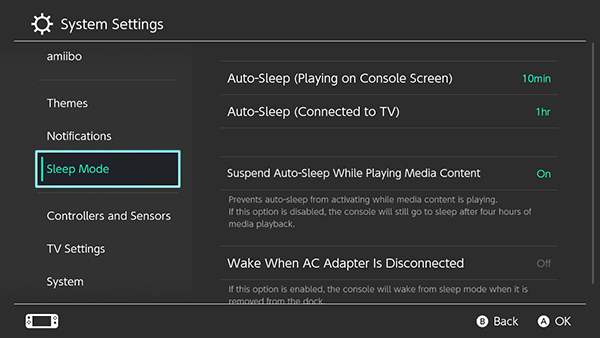
- Make sure your Switch’s auto-sleep settings are properly set. You can find these under Sleep mode in the Settings menu.
Finally, if you use your Switch exclusively in handheld mode, you may want to consider upgrading to the newer revision of the Switch. As mentioned above, the newest Switch model has an increased range from 4.5 to 9 hours of battery, with an estimated 5.5 hours for Breath of the Wild. Most consumers will benefit more from simply picking up a new USB battery to carry around with them, but if you need to keep up with the newest and best, the revised Switch hardware is a good way to go.
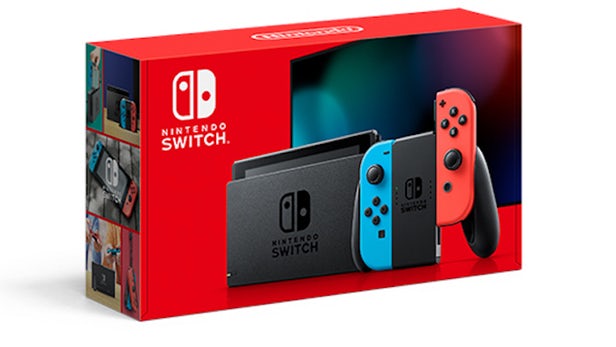
The Nintendo Switch is an awesome little console that does a lot within a tiny chassis. Any portable console with this much power behind it will always have some minor power issues, but in general, by using a combination of wall chargers, battery packs, and the included dock, you can keep gaming for hours to come.


