Learn how to build a basic farm in Minecraft!

Regarding Minecraft, gathering resources and sustaining yourself is crucial for survival. Food acts as the player’s main source of energy and health, so it is fairly important to gather as many food items as possible; farming is one of the best ways to become self-sufficient in Minecraft.
As the game progresses, you will need more and more food to keep your health bar topped up. There are many ways to gather food, such as cooking, crafting, and farming. Learning how to farm is one of the basic keys to survival, but “farming” is not just limited to planting vegetable crops for sustenance.
It can also include farming fruits and other harvestable resources such as sugar cane, bamboo, and mushrooms. Through farming, you will easily access several fruits, vegetables, and crafting ingredients you would not otherwise get – keeping you sustained through those creepy Creeper attacks.
What will you need?

To be a successful farmer, you will need the right equipment, patience, and the correct location for farming. Just like sugar canes need bodies of water and mushrooms only grow in darkness, other plants have specific requirements to thrive, so the best way to start farming is by using basic seeds such as wheat, carrots, and potatoes – all the food that a growing Steve needs.
All the tools and items you need for a basic farm setup will be listed below. The number of materials and items will differ for each player depending on the size of the farm.

- Shovel: A tool used for digging dirt, sand, and other blocks.
- Hoe: A tool used to till grass blocks and dirt into farmland.
- Fence: A wooden barrier block that acts as a separator similar to a wall.
- Fence Gate: A wooden fence-like door that can be opened or closed.
- Torch: A non-solid block that provides light in an area around it.
- Slab: A slab is half of a whole block.
- Water Bucket: A bucket filled with water.
- Seeds: Crop seeds are used to plant crops for farming.
- Bone Meal: A material that acts as a fertilizer to hasten plant growth.
How to build a basic crop farm in Minecraft?
Step 1 – Location, location, location
Find a good spot to build the farm. Be sure the area is large enough to fit your ideal farm. You can clear some trees to make way for your farm or build your farm on the plains biome.

Step 2 – Digging
Use a shovel and dig in a straight line. The space will serve as the water source. Leave a one-block space between each line for crop planting.

Step 3 – Water
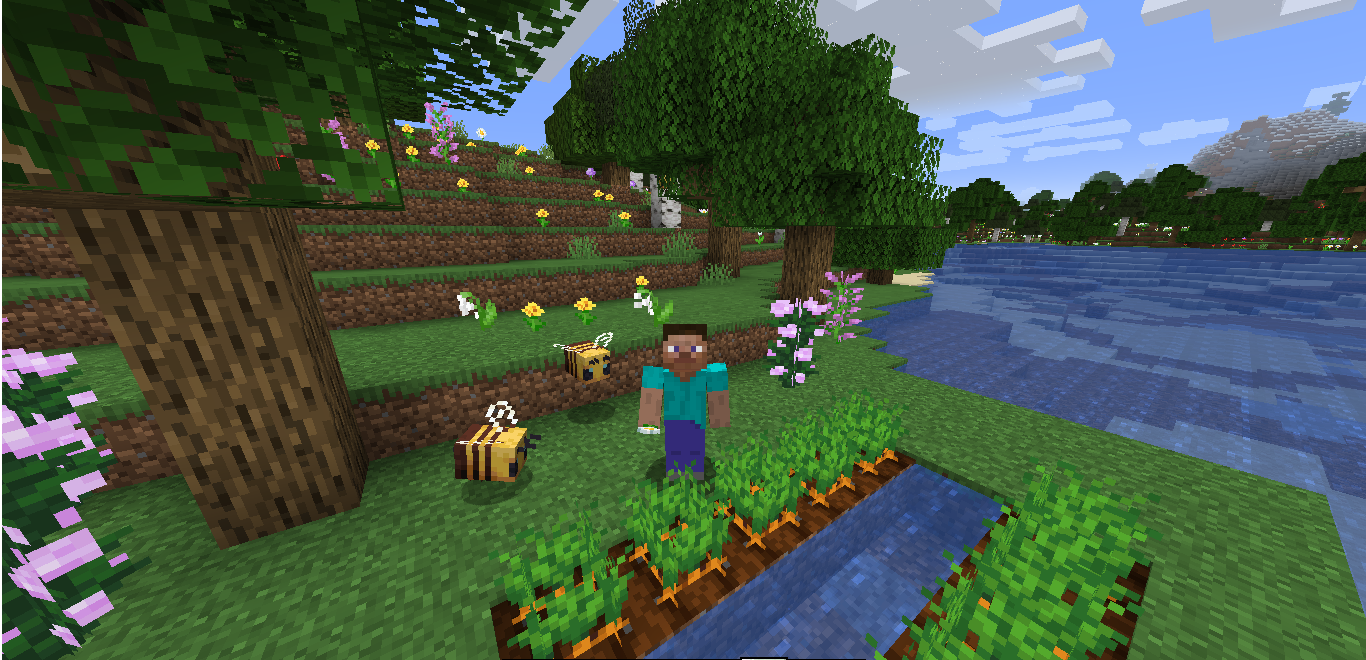
Use the water bucket and fill in the spaces, ensuring that the water is still and placed exactly like what is shown below.
Step 4 – Hoe
Using a hoe, till the ground parallel to the water. Remember not to use “jump,” or it will revert the farmland to dirt blocks.

Step 5 – Optional Slabs
Cover the water’s surface with slabs; doing this will help you farm crops more easily without falling into the water. Aim for the upper half of one block to cover the top with a slab. This will allow the water to flow below the slab while keeping the farmland hydrated above freely. This part is optional.

Step 6 – Fences
Surround the farm with fences. Fences will protect your farm and keep hostile mobs away. Place fence gates on each side for entry.

Step 7 – Seeds
Plant seeds on farmland blocks. You can use different seeds, such as wheat, pumpkin, and melon.

Step 8 – Bone Meal
Use bone meal on crops. Bone meal will hasten the growth of crops. You can craft three bone meals by placing one bone at the center of the 3×3 grid on a crafting table.

Step 9 – Torches
Light your farm with torches. Torches provide sufficient light around an area to prevent hostile mobs from spawning at night. You can place the torches on top of the fence surrounding your farm.
Read: How To Craft Netherite Pickaxe in Minecraft 1.19

You may also decorate your farm differently. You can replace torches with lanterns to spruce up the place.


There you have it, the perfect farm. Now load up, get some grub, and kill an Ender Dragon.


