Having a hard time solving the puzzles in the Diamond in the Rough quest? This Disney Dreamlight Valley guide has all the answers you need!

A Rift in Time is a DLC for Disney Dreamlight Valley that adds a new storyline and plenty of exciting quests from some of our beloved Disney characters. One of the main quests involving Beauty and the Beast’s primary antagonist, Gaston, will require you to obtain a treasure inside the Cave of Wonders.
Only you, the chosen diamond in the rough, can enter this mysterious cave. What challenges does the Cave of Wonders have in store? And what are the rewards you’ll get for completing this quest? Find out all about that below!
How to Complete the Diamond in the Rough Quest
The Cave of Wonders is a secret area recreated by Jafar, a magical fellow who claims to be your closest advisor before the Forgetting. Jafar made it to protect one of the Jewels of Time, an item you’ll need to progress the expansion’s story.
Before getting to the cave, you must first hand in the Scarab Key to Gaston. Acquire the two Jungle Scarab pieces that will be assembled to make a key.
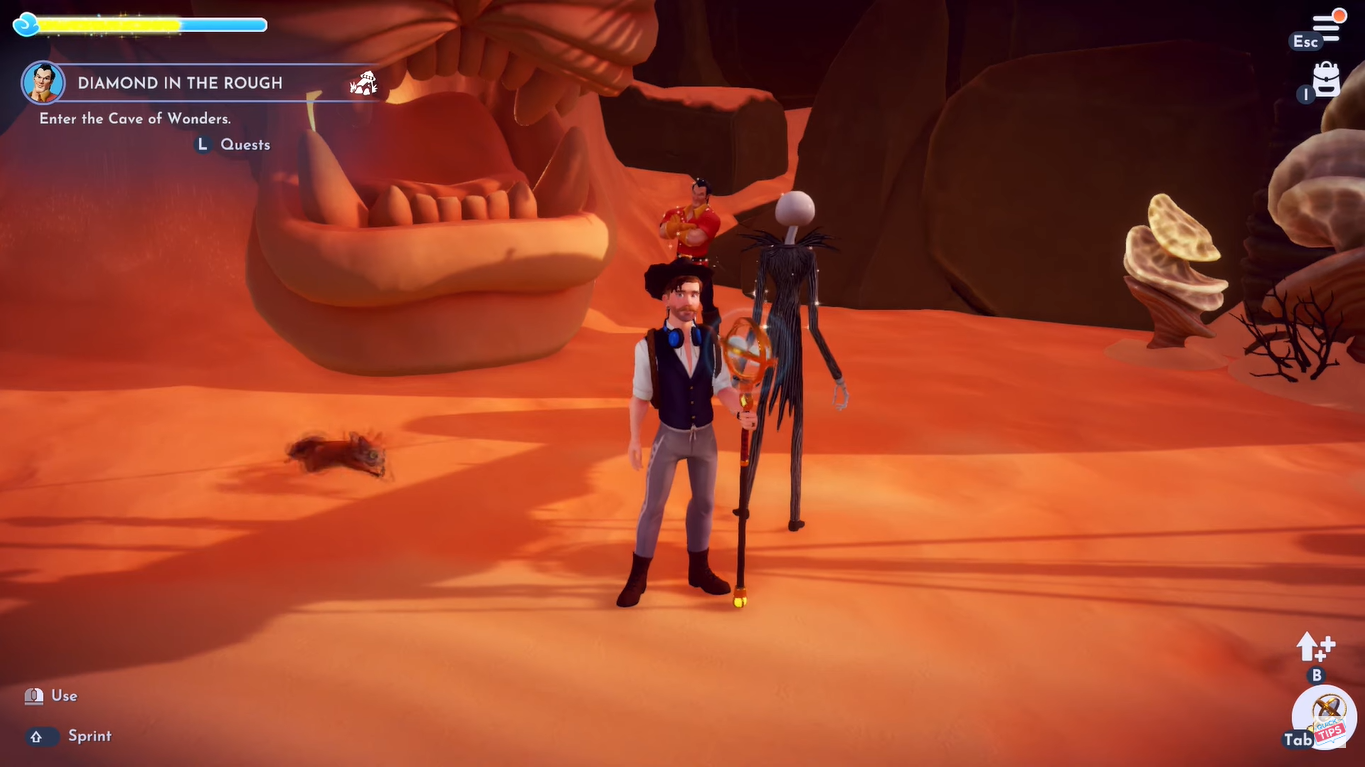
The Scarab will then lead you to the cave buried in the desert sand. Upon arriving at the site, the Cave of Wonders will emerge from underneath.
Gaston will ask you to come treasure hunting with him. Unfortunately for the big brute, the cave only allows the purest of hearts in. This means you’ll explore the cave and solve the puzzles independently.
Opening the First Magical Gate
As you enter the Cave of Wonders, you will immediately be met with a challenge. You’ll find a gate not far from the entrance, but it’s inaccessible, preventing you from progressing.
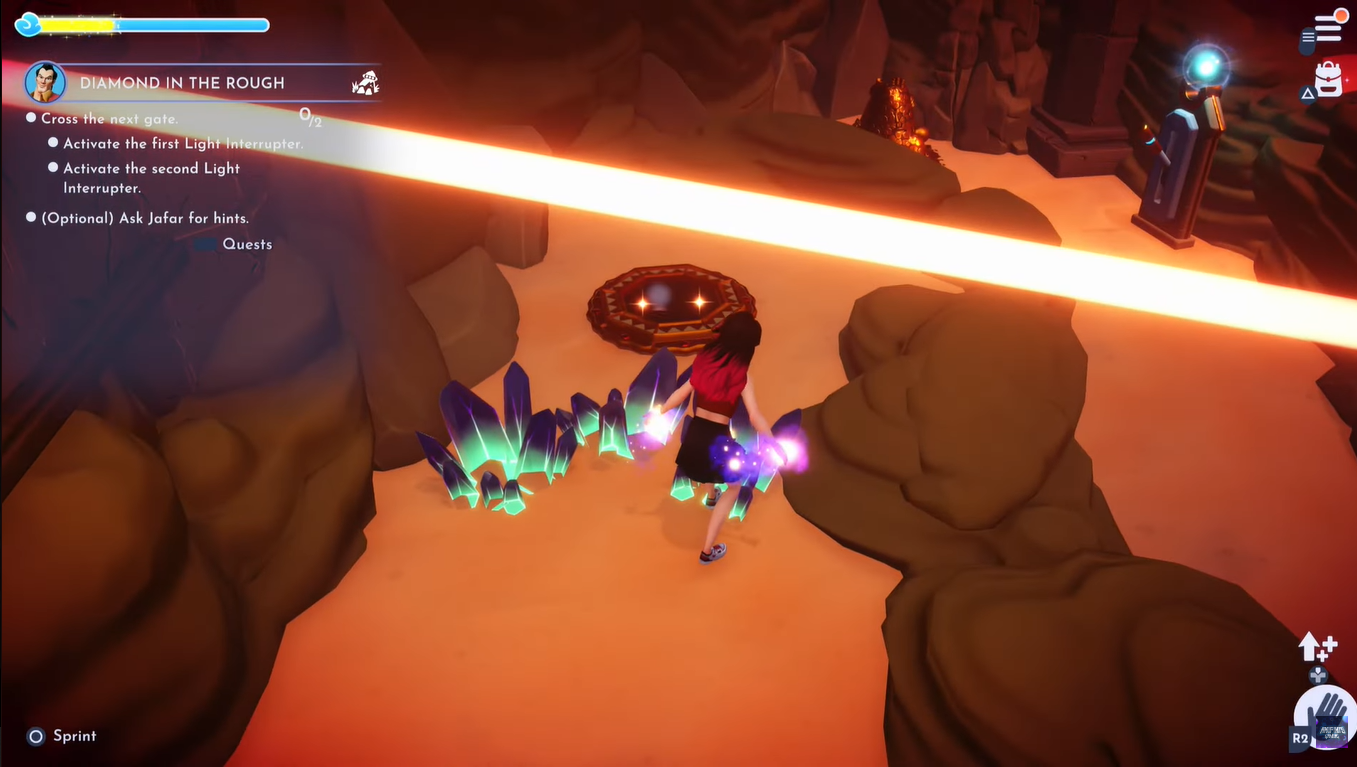
You may notice a light beam hitting the left portion of the gate, but the half side is unlit. Here’s how you can unlock the gate by activating one of its Light Interrupters:
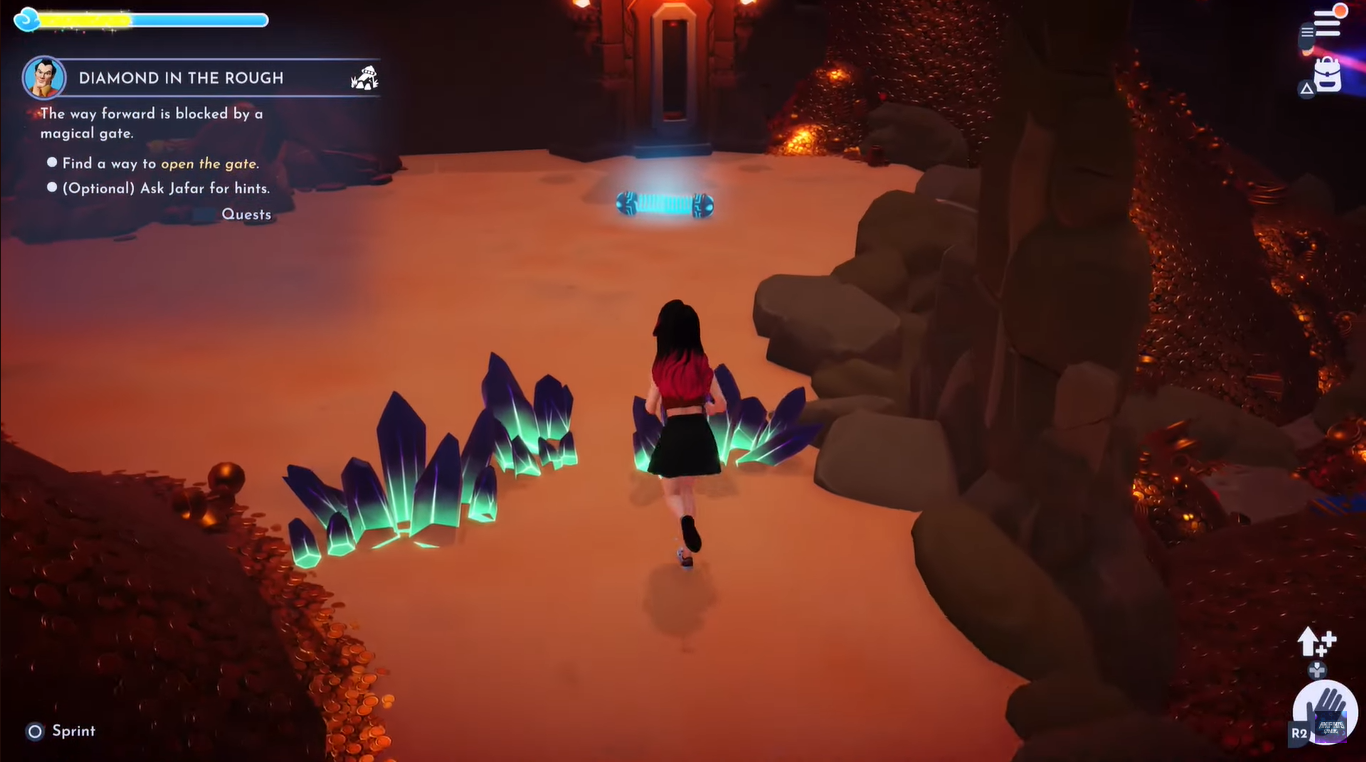
From the cave entrance, head to the left and remove the Splinters of Fate blocking the way. Once the path is cleared, keep walking until you see a glowing item and a rectangular box next to it.
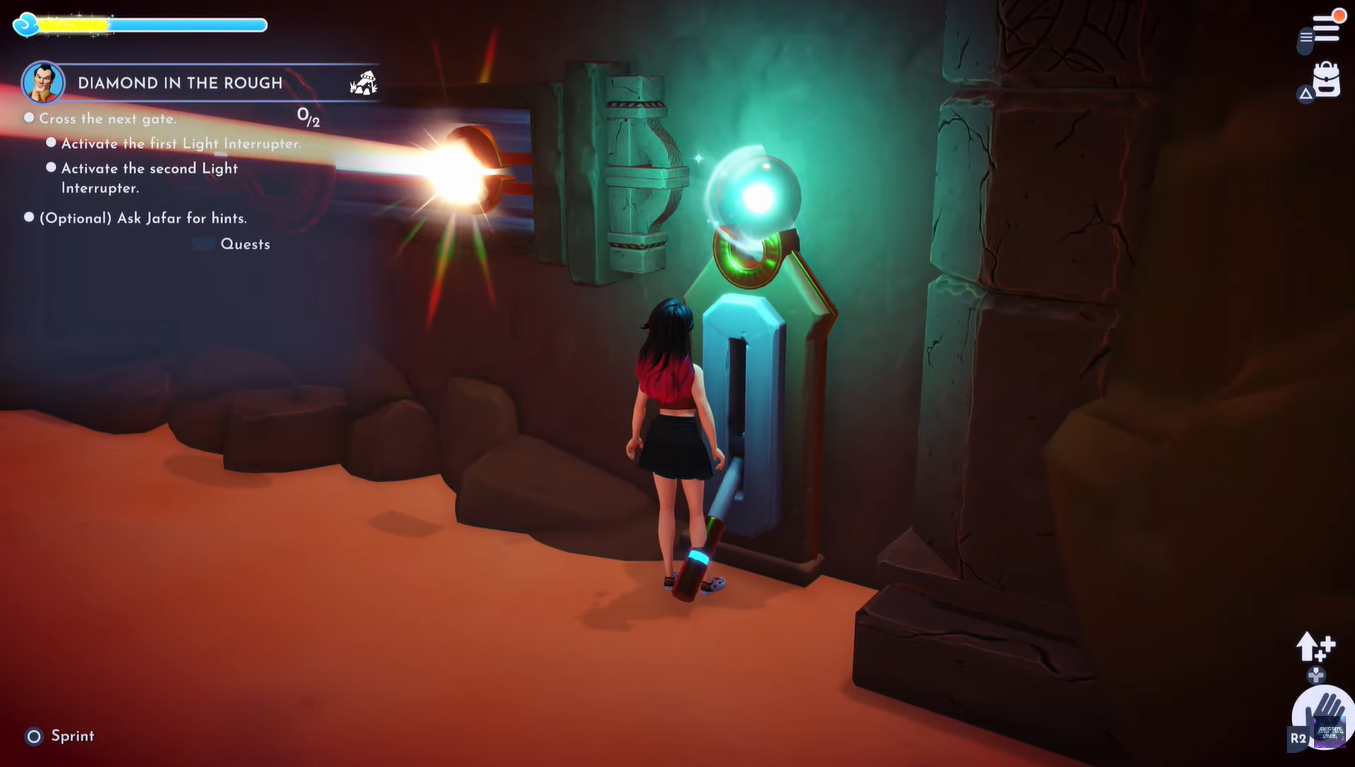
The glowing item is called the Power Coil. It’s used to power up the Lever found near the gate. Insert the coil into the Receptacle, or the rectangular box, to activate the lever.
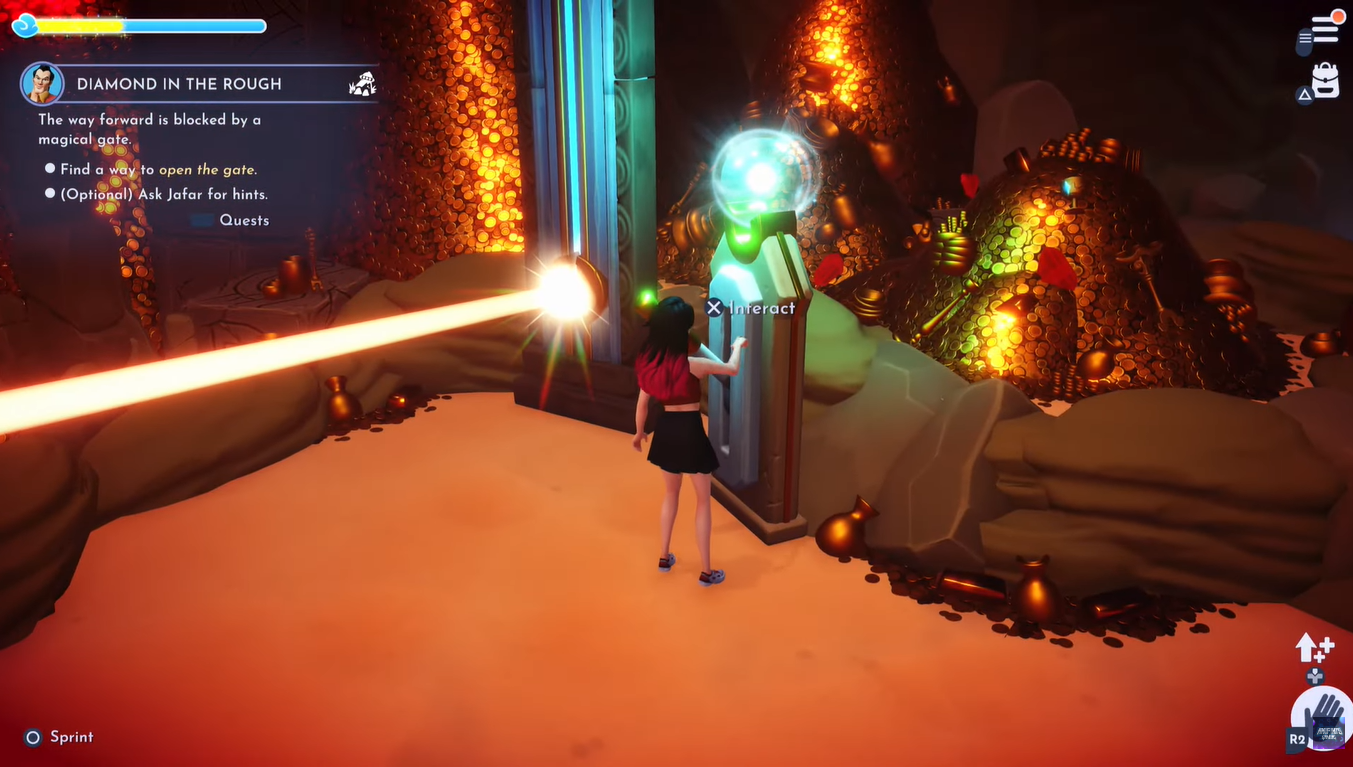
Pull the lever to activate the light interrupter and unlock the gate.
Remember to collect the loot from the Green Item Box in this area. If you missed the item box, you can find it beside the receptacle surrounded by breakable boulders.
Opening the Second Magical Gate
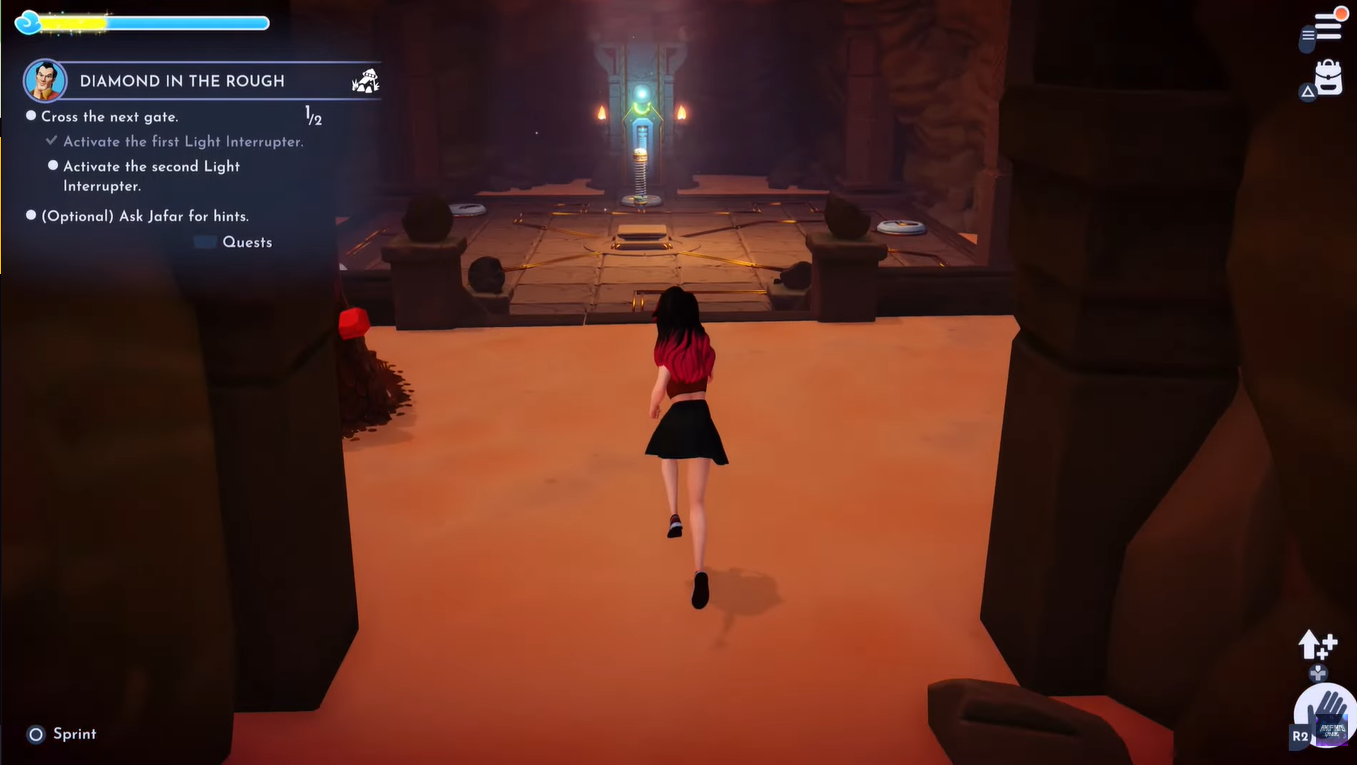
You’ve overcome the first obstacle, but another puzzle is presented before you enter the first gate. Another sealed-off gate prevents you from accessing the next area.
Similar to the first puzzle, both sides of the gate must be powered by light beams to continue. This time, you’ll need to turn on two light interrupters. Follow the guide below to activate them:
Activating the First Light Interrupter
There are two accessible chambers next to the sealed gate. Head down to the left entrance and continue walking until you spot an item on the ground. Remove the Splinters of Fate blocking the path to acquire the item labeled as Ancient Mirror.
Find the two levers in the area and interact with them to pull them down.
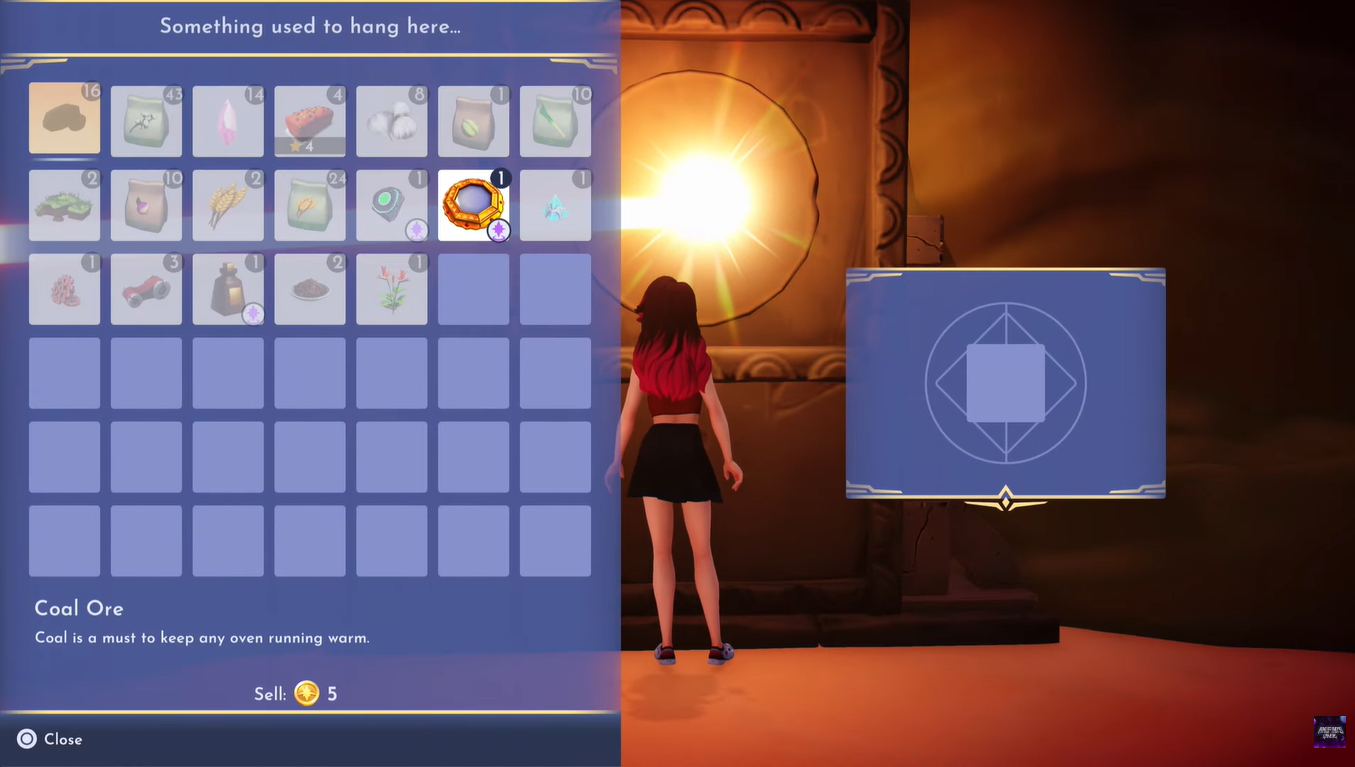
Go back to the chamber’s entrance. Place the mirror in the empty slot on the wall. After doing all that, the light beam from the chamber will bounce off and extend into the main room. Head to the main room and pull the lever near the sealed gate.
Activating the Second Light Interrupter
The right entrance by the locked gate leads you to a small chamber. An uncharged coil is found in the center of the room.
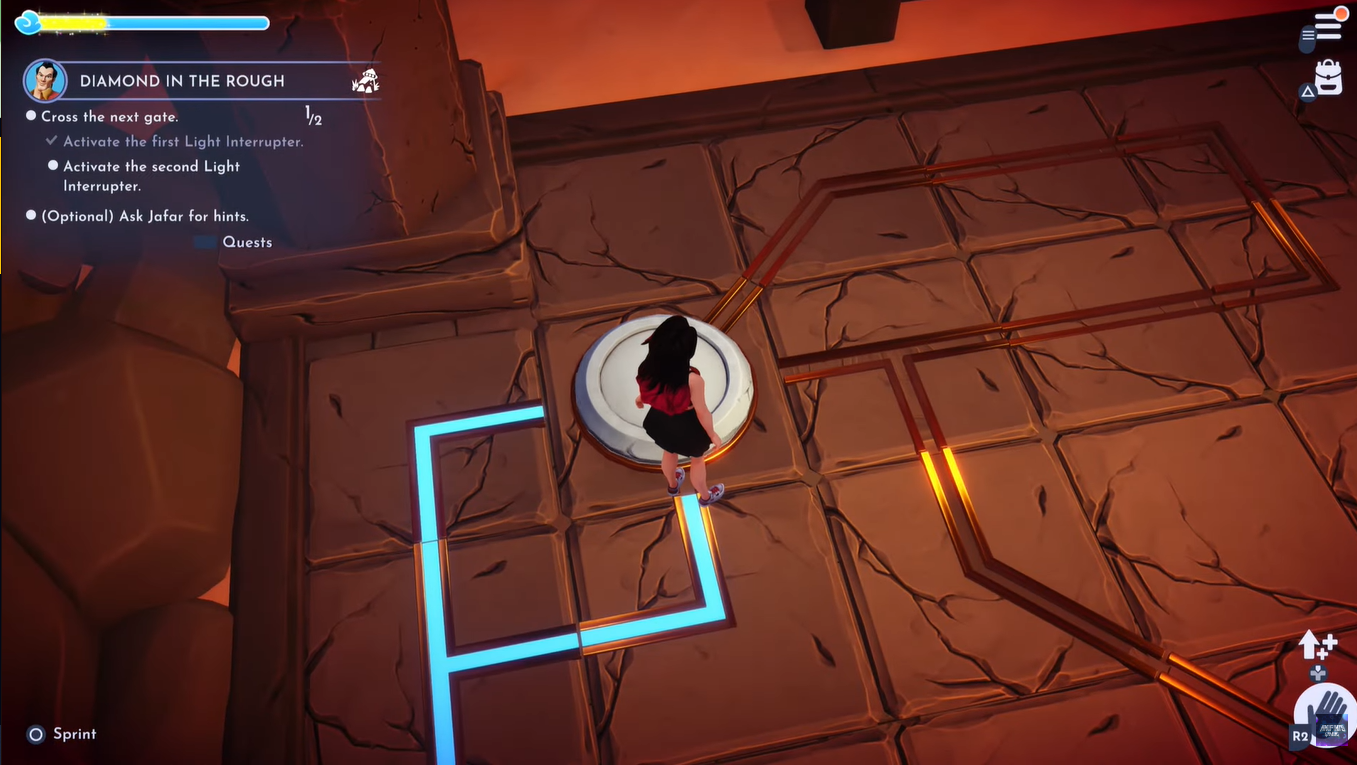
To energize the coil, you will need to rotate the tiles one by one until they are aligned with the circuit lines on the floor. Once the lines are all glowing and connected, the energy will flow at the center and charge the coil.
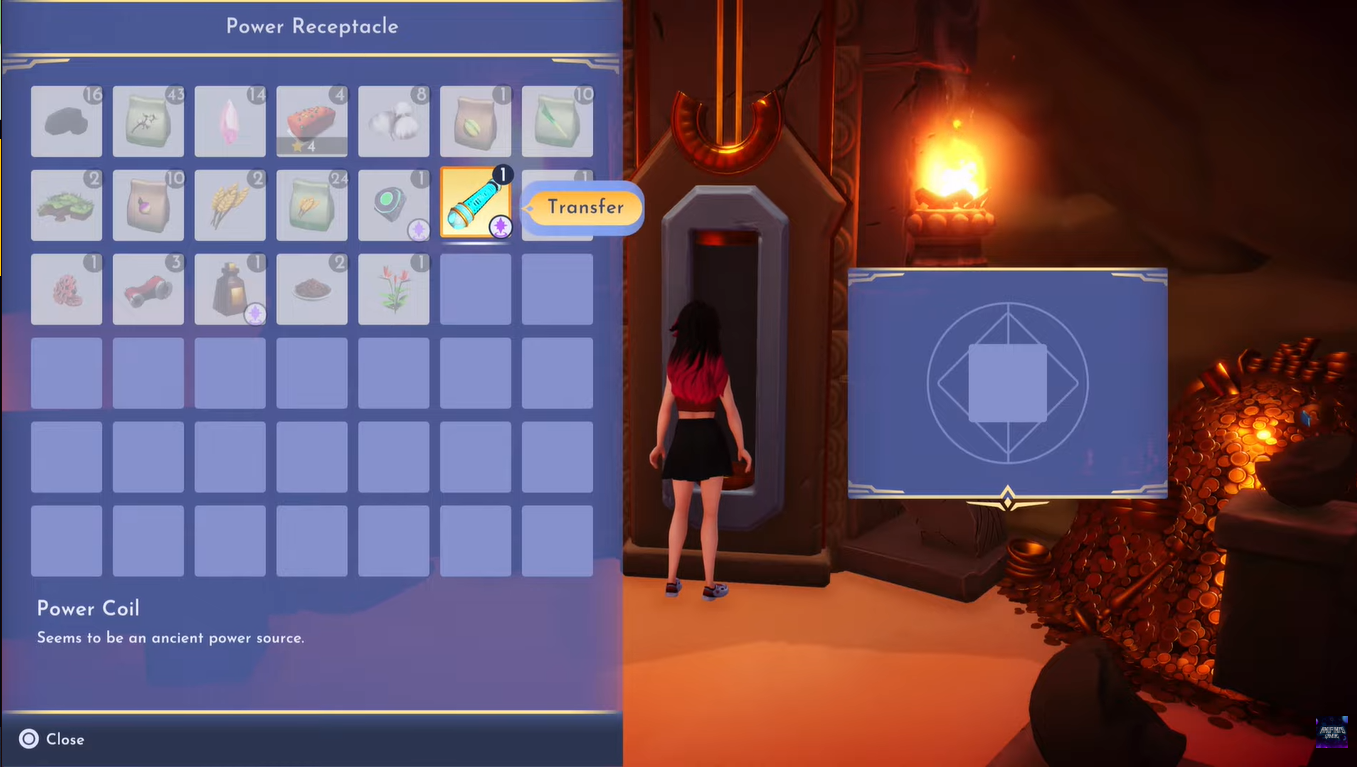
You may now extract the coil and head outside the chamber. The coil can be placed in the receptacle by the gate. Don’t forget to get the coins from the green item box on the left side of the main room.
Acquiring the Treasure
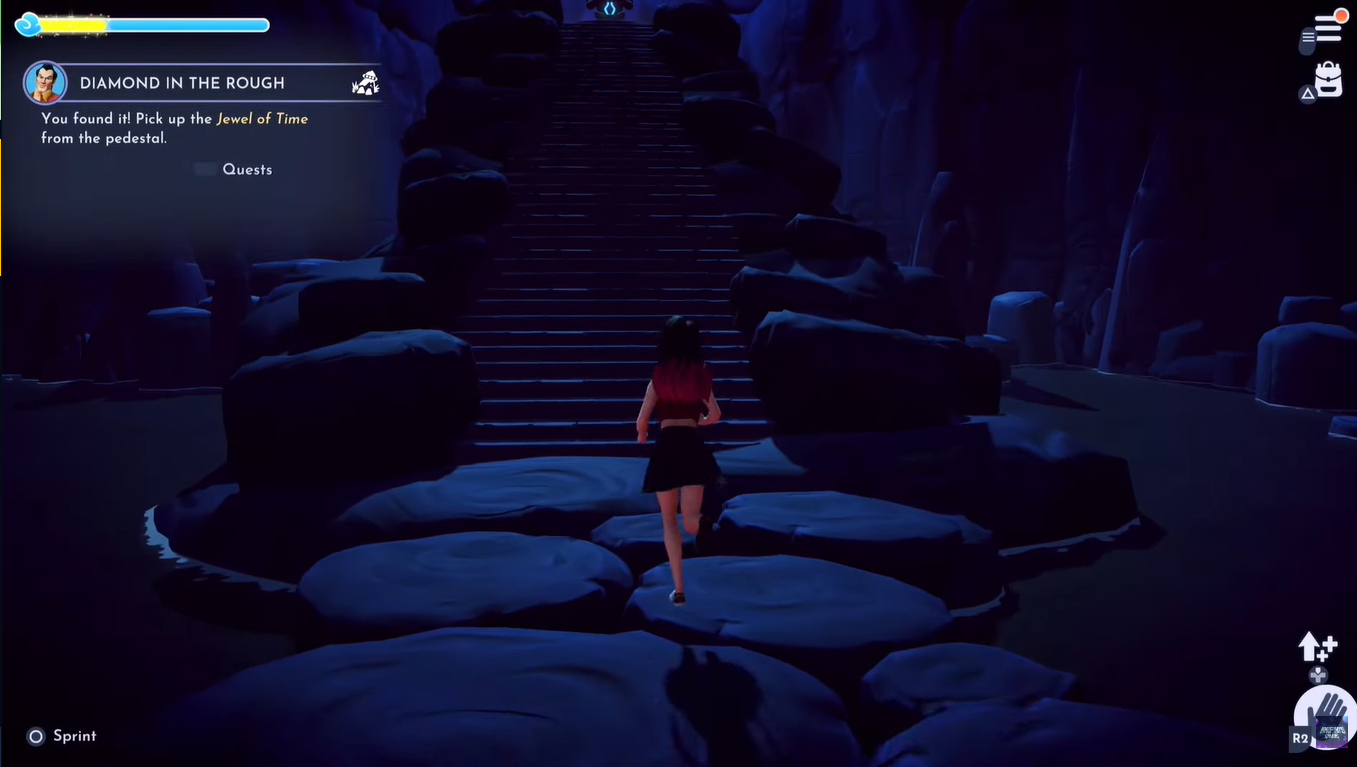
The second gate is now barrier-free. You can now finally access the deepest level of the cave. Head down and follow the path that will lead you to a stair. You’ll find the cave’s treasure at the top of the stairs. Open the chest to secure the Jewel of Time.
Read: How to Save in Born of Bread
Before heading outside, you may grab the content from the item box on the left-hand side of the chamber.
Exit the cave and inform Gaston of the spoils you’ve obtained. Much to his disappointment, the chest did not hold the expected treasure. But he still surprisingly took it all well, especially knowing that you are a step closer to saving the Eternity Isle.
Additionally, completing the Diamond in the Rough Quest gives you the chance to become friends with Gaston, meaning you’ll get more quests and rewards from the muscular jock.