Want to know how to disarm the bombs in RoboCop: Rogue City? Here’s how.

In RoboCop: Rogue City, you will play two missions that require you to defuse homemade bombs planted by the gang Street Vultures. Like any bomb defuse scenario, cutting the wrong wire in RoboCop: Rogue City will result in an explosion, killing everyone within the bomb’s blast radius, including the indestructible RoboCop himself.
We will walk you through how to disarm bombs in RoboCop successfully: Rogue City in this quick guide.
How to Disarm the Bombs in RoboCop: Rogue City

Defusing or disarming bombs in RoboCop: Rogue City is fairly straightforward – simply cut the wires from highest to lowest voltage. However, because the wires are tangled up on the bomb, it might be difficult to pick out each wire visually in-game.
Picking the wrong wire will result in an explosion and a game-over, so follow the steps below so that doesn’t happen.
RoboCop: Rogue City OCP Bank Heist Bomb

The first bomb you’ll have to disarm is the bomb found in the OCP Bank Heist. This one is easy, as there’s only one set of fuses, and each fuse is labeled clearly. Cut the wires in the following order:
- Green 24V wire.
- Blue 12V wire.
- Red 12V wire
You can cut the Blue 12V and Red 12V wires in any order, but just to be safe, cut the Blue 12V wire first.
RoboCop: Rogue City Revenge of the Street Vultures Bomb

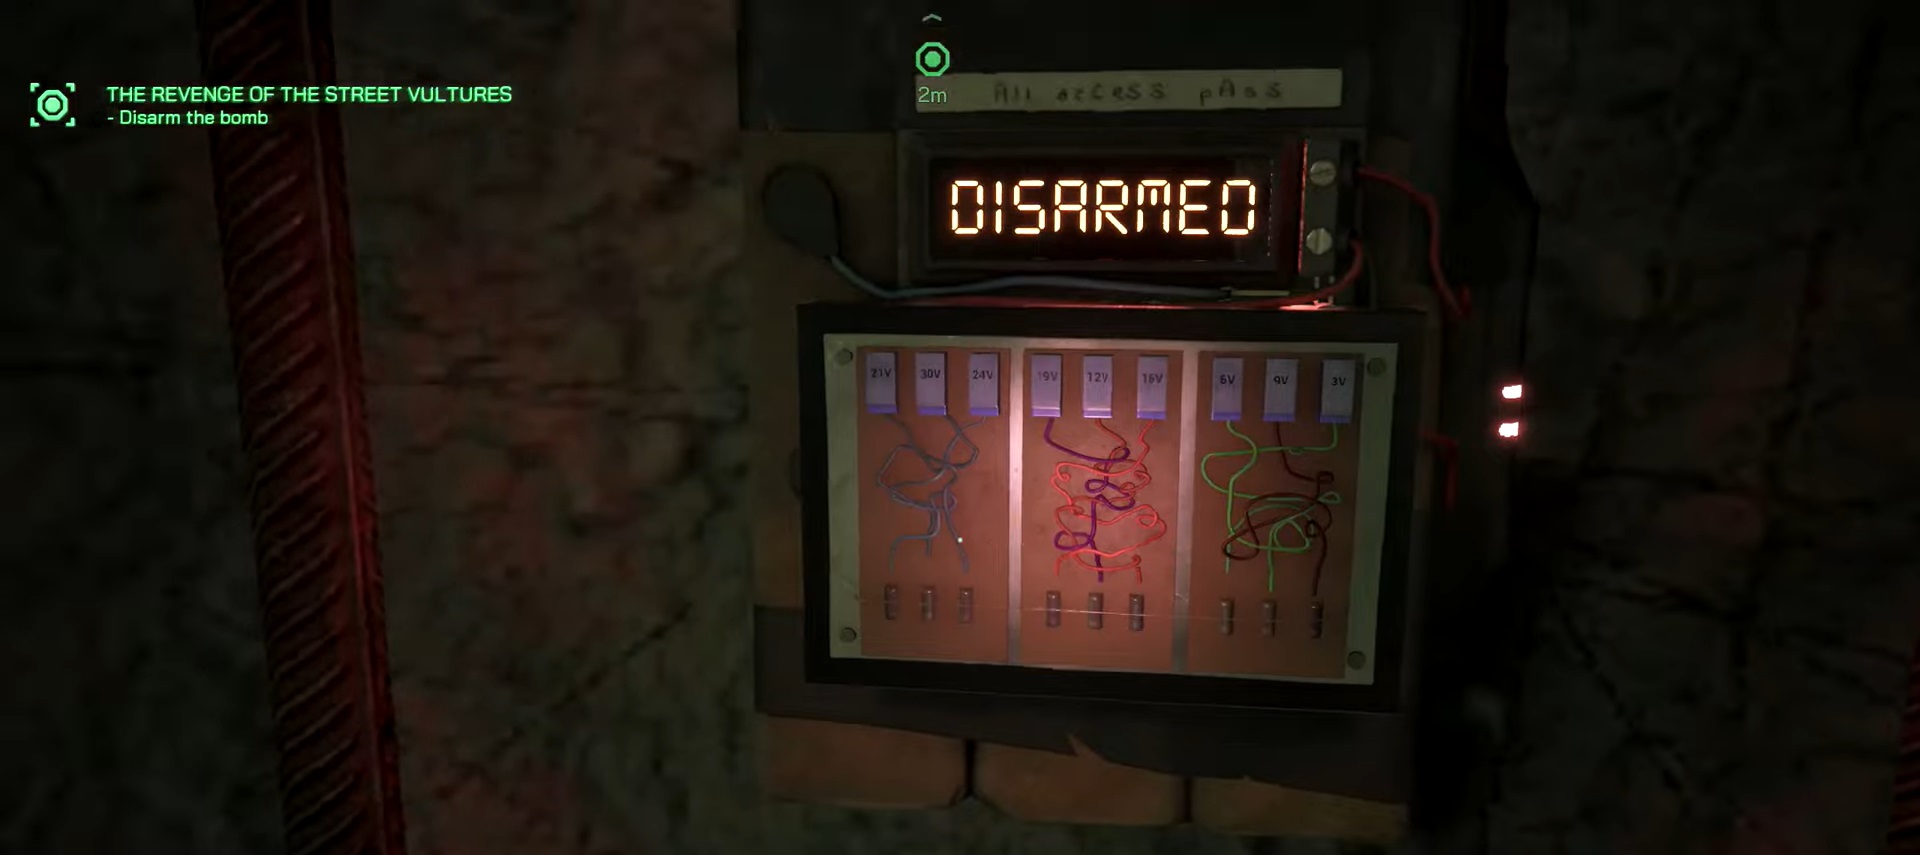
The second bomb you’ll have to deal with in RoboCop: Rogue City is found at the end of the game. More specifically, you will find the final bomb in the mission “The Revenge of the Street Vultures,” where the gang plants a huge bomb under the bridge.
The bomb in the Revenge of the Street Vultures will be much more challenging than the first one. This time around, there’s not just one but three different sets of fuses that you’ll need to cut to disarm the bomb successfully.
Start the disarming process by focusing on the leftmost side of the panel. Cut the wires in the following order:
- Middle 30V wire
- Left 24V wire
- Right 21V wire
After you cut all three wires in the first section, move on to the middle panel and cut the wires in this order:
- Middle 19V
- Left 16V
- Right 12V
If you followed the order successfully, the bomb should still be ticking, and you should still be alive in-game. Move to the last rightmost panel, then cut the final three wires in this order:
- Right 9V
- Middle 6V
- Left 3V
Related: Is RoboCop: Rogue City Crossplay? – Answered
Final Thoughts
Disarming the two bombs found in RoboCop: Rogue City is fairly straightforward. The first bomb should be a piece of cake, as the voltage labels are indicated, and there are only four wires to pick from. The only real challenge is in the second bomb, which is especially difficult since there are three separate panels with wires mashed together in each panel.
Follow the disarm order in the guide outlined above to disarm the bombs in the OCP Bank mission successfully and the Revenge of the Street Vultures mission in RoboCop: Rogue City.


