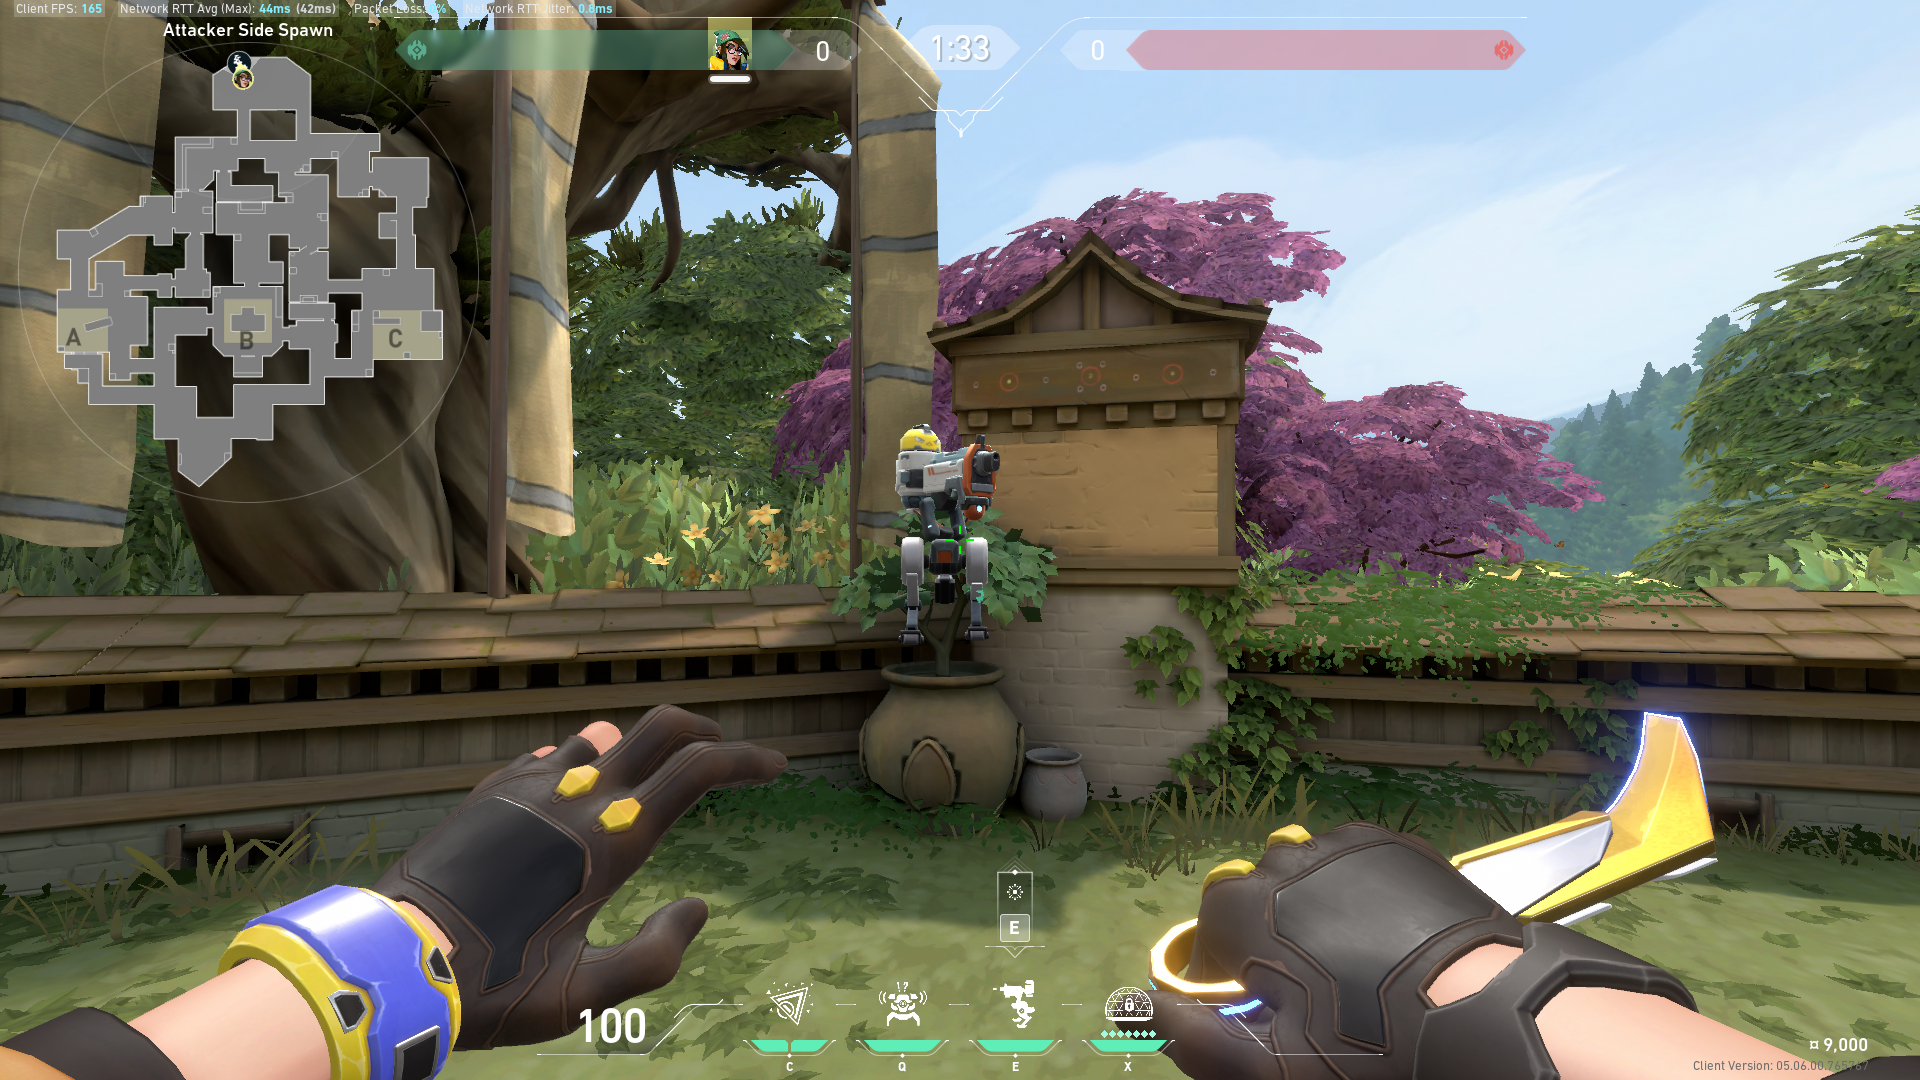
Killjoy remains a very relevant pick on Haven. Here are a few Turret placements that should help you lock down any bombsite on the map.
There’s only so much that five players can do to defend against an entire team on Haven. Most of the time, the Defending team will be outmatched and outnumbered on any given bombsite due to the need to split up and defend multiple entry points around the map.
It is in Haven where Sentinels can shine the most, and Killjoy is one of the few Agents that can completely lock down a bombsite on her own.
Of course, you will need good knowledge about where to place your traps and how to play on-site defense. But for the most part, simply placing your Turret in key areas around the map is enough to deter or slow down an enemy execution and give your team extra time to retake.
Weaker But Still A Kicker

VALORANT veterans will tell you just how broken Killjoy’s Turret was in the early days. Not only was Killjoy’s Turret tanky, but it also dealt decent damage with its burst fire. Who can forget about getting slowed to a crawl whenever the Turret landed a few shots on them?
Many players complained about Killjoy’s Turret and how broken. They overpowered it, especially on Ascent, which led to a nerf back in patch 3.05 that significantly reduced the Turret’s bullet-tag slow from 72.5% to 29.5%.
This change significantly reduced Killjoy’s control over key entry points on most bombsites in VALORANT and forced Killjoy mains to be more creative in their bombsite setups.
Still, Killjoy’s Turret is as close as teams will get to having another player on their team and gives Killjoy’s team the ability to hold an extra lane/sightline on any map passively.
Best Killjoy Turret Spots on Haven
A-site Sewer Double Box Turret


The best Turret placements are often those that are placed along perpendicular corners, as players will be forced to hard-clear these corners to deal with the Turret.
With this in mind, the double box outside A-Sewer is one of the best Turret spots for A-site. This Turret will easily spot Attackers coming from A-Sewer and A-site Entrance, and the enemy team will be forced to look up and leave to destroy your Turret.
A-Sewer Top Box Turret


This Turret placement can be great if you also have a Nanoswarm Trap in the cubby in A-Sewers. Otherwise, the enemy team will simply gun it down and storm A-site.
Nevertheless, this Turret will instantly alert you and your teammates for enemy presence in A-Sewers, which often means the Attacking team will be going for an A-site take.
B-Crate Turret


Very similar to the A-site Double Box Turret placement that forces the enemy team to turn to one side and look up to deal with the Turret. You can’t go wrong with this Turret placement for holding down B-site.
B-Gong/Backsite Turret


This Turret placement will spot enemy team players jumping out of Mid-window, which could mean a B-site take or a Garage control attempt. Either way, this Turret will alert you of enemy presence in the middle so your team can rotate accordingly.
C-site Entrance Double Box Turret


Like the A-site double box and the B-Crate placement, the C-site Entrance Double Box Turret will force Attacking team players to turn hard to one side to destroy the Turret.
You can trade your Turret by hanging out at B-Platform and swinging out as soon as the enemies shoot down your Turret.
A-Lobby Flank Watch Turret

Defenders holding from the Garage or B-site will often take the Mid-window to A-Lobby route to flank Attackers on A-site.
Use this A-Lobby Flank Watch Turret to spot flankers early.
B-Grass Flank Watch Turret

Works best as a flank watch when your team tries to take control of the C-site.
C-Lobby Flank Watch Turret

It is easy to flank Attackers at C-site since every player on the Attacking team will want to storm towards the site and clear secure it with the rest of the team.
Cheeky Defenders will take this time to flank from the Garage, B-site, or even A-Lobby. This Turret placement should help with that.
Solo Defense Maestro
Having another spotter can mean a world of difference when playing on Haven. There are already too many entry points to watch and worry about on the map. Having a utility that will alert you and your team of enemy presence on the other side of the map can help a ton with defense and flank watch on Haven.
Visit the PlayerAssist website for more Gaming Guides, Gaming News, Game Codes, and other Gaming Content!