Learn the best Killjoy Nanoswarm Lineups on Lotus in Valorant!

Killjoy is one of the most successful Agents right now in VALORANT. Even without direct help from updates or buffs, the genius German prodigy climbed up the Agent popularity charts, boasting impressive win rates on most maps in the game.
It’s unsurprising, however, as Killjoy’s bots and nanobots have remained a solid set of utilities that works well for both Attacking and Defending in VALORANT.
Let’s look at some useful post-plant Killjoy Nanoswarm Grenade lineups that you can use on Lotus whenever your traps get destroyed too often on post-plant in Valorant.
Lotus A-site Post-plant Nanoswarm Grenade
Lotus A-site is pretty small, so you can easily set up Killjoy’s Nanoswarm traps near the Spike, and it should still be pretty effective.
However, as the match goes on, the enemy team will also start learning about your Nanoswarm placements, which can make them useless.
It is good that Killjoy’s Nanoswarm can be lined up and thrown from various parts of the map like normal molly.
A-Default
- Stand in this corner at A-Root:

2. Place the right tip of the Alarm Bot HUD line in this corner of the wall:
3. JUMPTHROW Killjoy’s Nanoswarm Grenade:

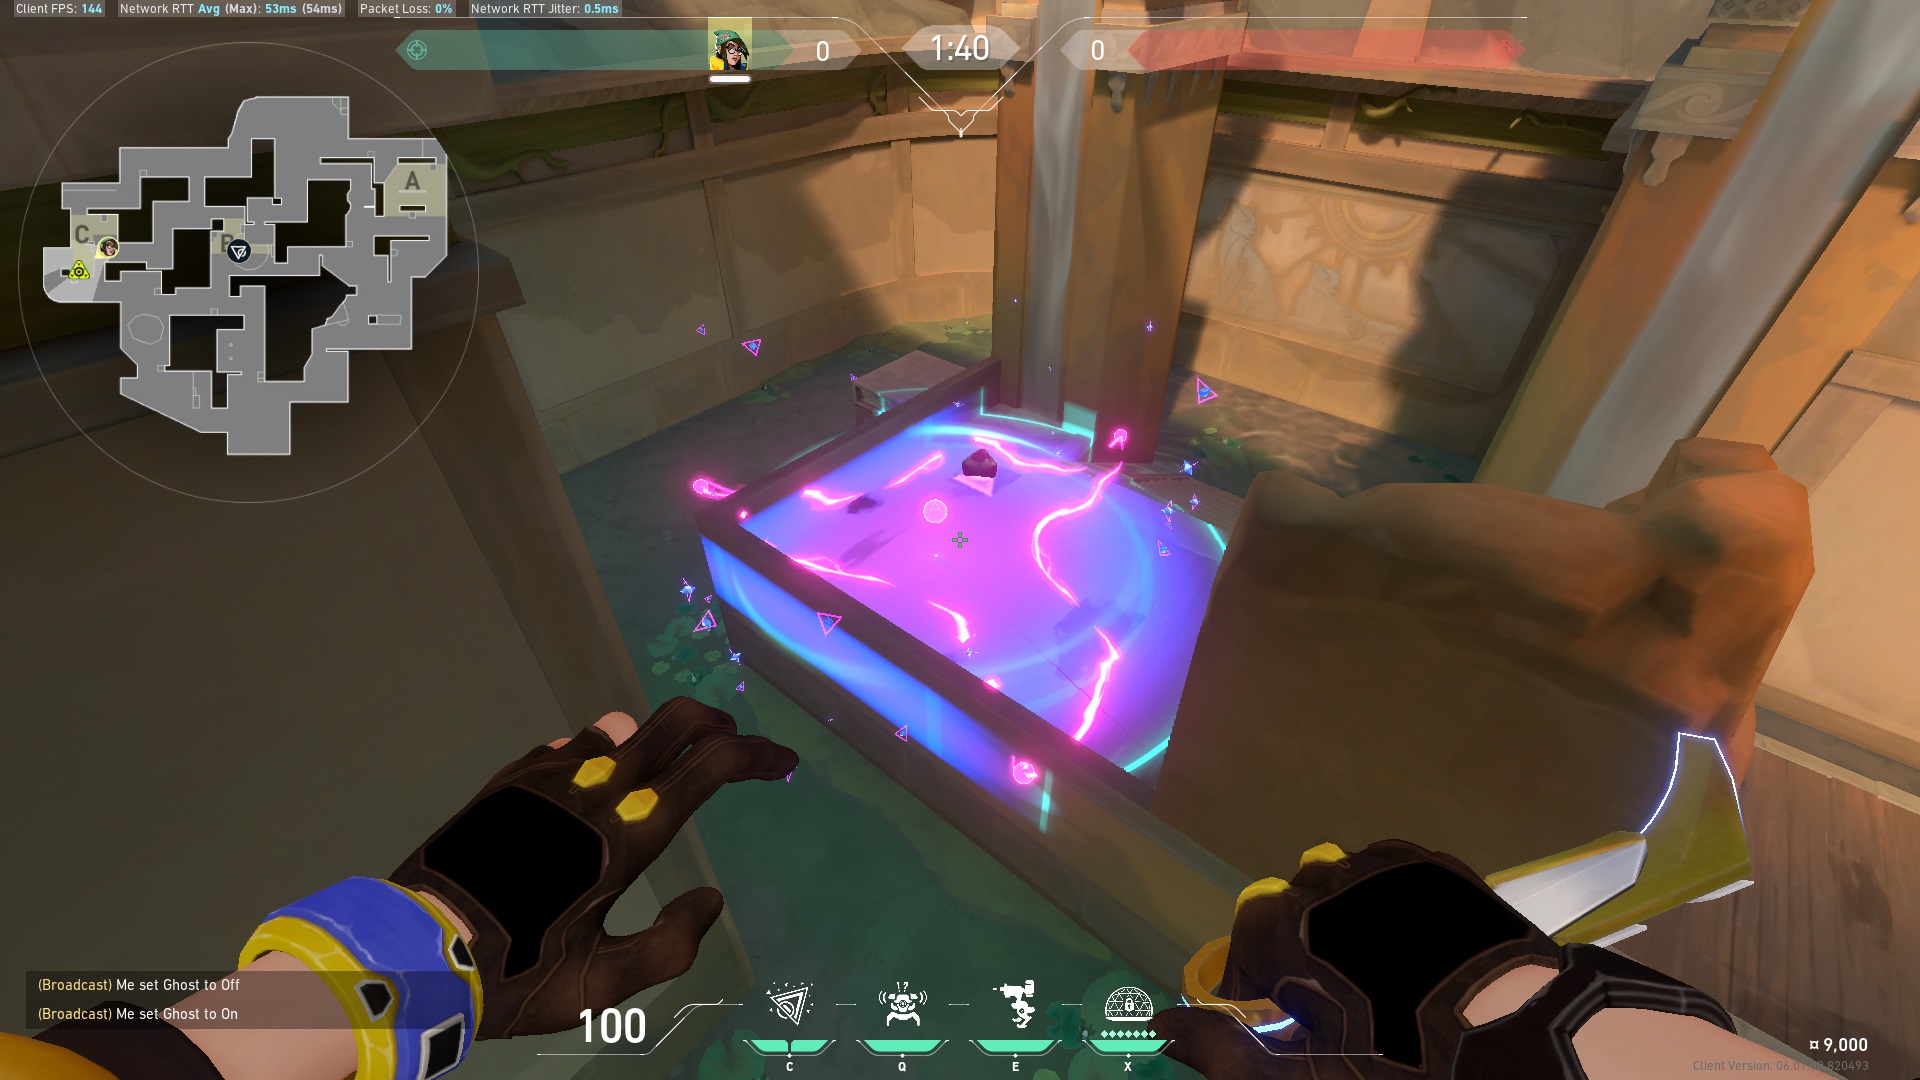
The Nanoswarm Grenade should land at A-Default:


A-Hut
- Stand in the same corner in A-Root as the previous lineup:
2. Place the left tip of the Alarm Bot HUD line in this corner on the wall:
3. JUMPTHROW Killjoy’s Nanoswarm Grenade:

The Nanoswarm Grenade should land on top of the A-Default box:

Plant the Spike a bit closer toward the right-side wall to maximize the Nanoswarm Grenade’s range:

Lotus B-site Post-plant Nanoswarm Grenade
B-site is a tricky bomb site for post-plant lineups due to the small opening in the roof. Nevertheless, you can easily throw a few Nanoswarm Grenades to help with post-plant defense from Attacker Spawn.
B-site Default
- Align yourself with this dot on the box:

2. Place the muzzle on the Turret icon in this corner of the window:


3. JUMPTHROW the Nanoswarm Grenade:

The Nanoswarm Grenade should land at B-Default with no issues.


B-site Default from A-Main
- Stand along this line on the wall in A-Main:

2. Place the tip of this line on the Nanoswarm mouse indicator on this corner of the wall:

3. Normal throw the Nanoswarm Grenade:


Lotus C-site Post-plant Nanoswarm Grenade
C-Default
- Stand in the middle of the third figure in C-Lobby:

2. Aim for the left corner of this bush:


3. JUMPTHROW the Nanoswarm Grenade:

When done properly, the Nanoswarm Grenade should land on the big box in the C-site.


C-Default from C-Main
- Stand in this corner by the tall box in C-Main:

2. Place the tip of the HP HUD line on this tip of the elephant:


3. JUMPTHROW the Nanoswarm Grenade:

The Nanoswarm Grenade should land at C-Default and help cover the Spike post-plant.
Flying Nanoswarms
Killjoy’s powerful defensive skillset will be a great asset on Lotus. Holding three bombsites on defense and playing post-plant shouldn’t be a problem if you have setups and lineups that you can rely on.
The Nanoswarm post-plant lineups featured above should help you cover the Spike post-plant if your traps are consistently getting destroyed more often throughout the match.


