Few things are more frustrating than getting ready for a gaming session just for it to crash when you launch it. Unfortunately, with games that are updating and changing regularly, this is often the case.
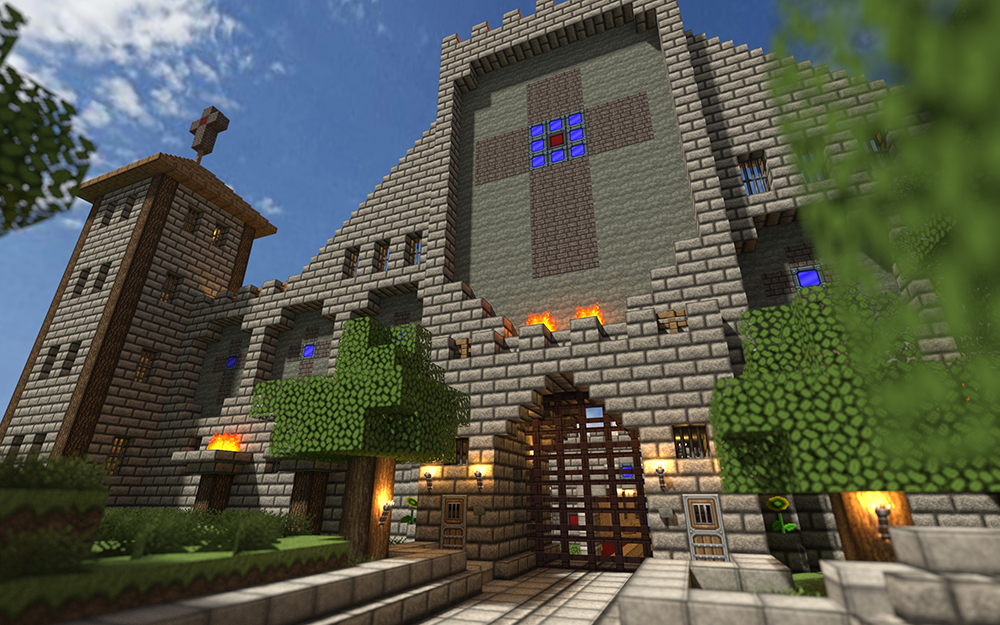
If Minecraft started crashing for you all of a sudden, it means that some change in the system is preventing you to play it the way you did before.
In this article, we will look at the most frequent reasons for Minecraft’s crashes and the ways to solve this problem.
Restart Your Computer
Restarting your computer can solve a lot of minor technical issues, especially if Minecraft keeps crashing due to a system glitch.
The first thing that you should do if the startup error persists is restarting your PC. Once the system boots up again, try launching Minecraft.
If the problem persists, then move on to other methods.
Turn Off the VBO Settings
A Vertex Buffer Object (VBO) is a setting in Minecraft that should increase in-game performance. It is a feature that enables the game to upload vertex data (color, position, and vector) to your video device.
The performance increases since the game takes off some workload from your CPU and RAM and moves it to the video card. As you may guess, some weaker video cards can make the game malfunction as they don’t have the required memory to contain vertex data.
You can disable VBO from the in-game ‘Settings’ menu. But since you can’t enter the game, the only way to do this is by altering the AppData files.
- Press the Win + R key on your computer to open the Run dialog box.
- Enter %APPDATA%/.minecraft in the box.
- Hit ‘OK.’

- Open the ‘options.txt’ file in the Minecraft folder.

- Change the value of the ‘useVbo’ to false.

- Go to File -> Save.
- Reboot the system.
- Try the game again.
Don’t Overclock Your CPU
If you set up your computer to overclock so it brings up a higher performance, you may unintentionally cause some of the processes to crash on startup.
Each configuration comes with its speed grade, and overclocking means setting your memory and CPU to work at much higher speeds. While this may benefit you in the short term when it comes to certain games and apps, it can stop other games from working.
You can set your CPU clock speed grade back to its default settings or set up a smaller speed and try to launch the game again.
Update Your Video Card
At first glance, Minecraft doesn’t seem like a game that relies too much on your video driver – but it does. If a game had a recent update and you haven’t updated your video card for a long time, there’s a chance that Minecraft can’t start because of it.
To fix this issue, you need to update the video drivers manually.
- Press the Start button on the bottom-left of the screen.
- Start typing ‘Control Panel’ in the search bar until the icon appears.
- Enter the Control Panel.

- Select ‘Device manager.’
- Click the arrow next to ‘Display adapters’ to show your video card.
- Right-click on the video card.
- Select ‘Update driver.’

- Wait for the system to find the adequate drivers and install them on your computer.
After the system updates the driver, restart the computer and try launching the game again.
Update the Game Regularly
Minecraft is one of those games that frequently release patches, fixes, and add-ons. If you’re not connected to the internet at all times or you’ve disabled automatic patches, the game is likely to crash. This is because the official version of the game doesn’t recognize the old version that you have on your PC.
Follow these steps to update the game manually:
- Open the Minecraft launcher.
- Click the ‘Settings’ button on the bottom-left of the launcher window.
- Select ‘Force Update!’
- Wait until the game updates.
- Select ‘Done.’
After you’ve finished updating, log in with your credentials and the game should start.
From the same ‘Settings’ window, you can get a new Minecraft installation. This will keep the texture packages and saves, but it will remove all the mods. In some instances, the mods can cause the game to glitch, so you can try out a fresh installation without the mods to check if this is the case.
Reinstall Java
There’s a specific error message that can sometimes appear when you try to launch Minecraft. It is usually a long error code but it contains this text:
A fatal error has been detected by the Java Runtime Environment:
# EXCEPTION_ACCESS_VIOLATION (0xc0000005) at pc=0x000007fee37cc475, pid=10208, tid=8952
This means that the Java installation on your computer doesn’t work and that you need to either update or reinstall it.
- Press the Win key + X. A menu should appear on the bottom-left of the screen.
- Select ‘Apps and Features’ (or ‘Programs and Features’ if you’re running an older version of Windows).
- Type ‘Java Runtime Environment’ in the Search bar.
- Right-click on it.
- Press ‘Uninstall.’
- Follow the instructions until it’s removed from your system.
- Restart Windows.
- Download and install new Java from the official website.
It’s in the System
One of these methods should work for you. If none does, it may be another system issue that is unrelated to this particular game. Have you tried launching another game?
If the issue persists, the best way to go is to get the full check-up of your system and see if there are some deeper issues. Sometimes a virus can interfere with your system and obstruct executable files. Other times, it can be a bad driver or system update.
Do you know of some other way to solve this issue? Share your knowledge with the community in the comments below.


