VALORANT is a tactical shooting game that requires good hand-eye coordination, quick reflexes, and good game sense. Even though VALORANT tries to differentiate itself from other tactical shooters through special player abilities, there is no denying the fact that precise gunplay is still the most important aspect of the game.
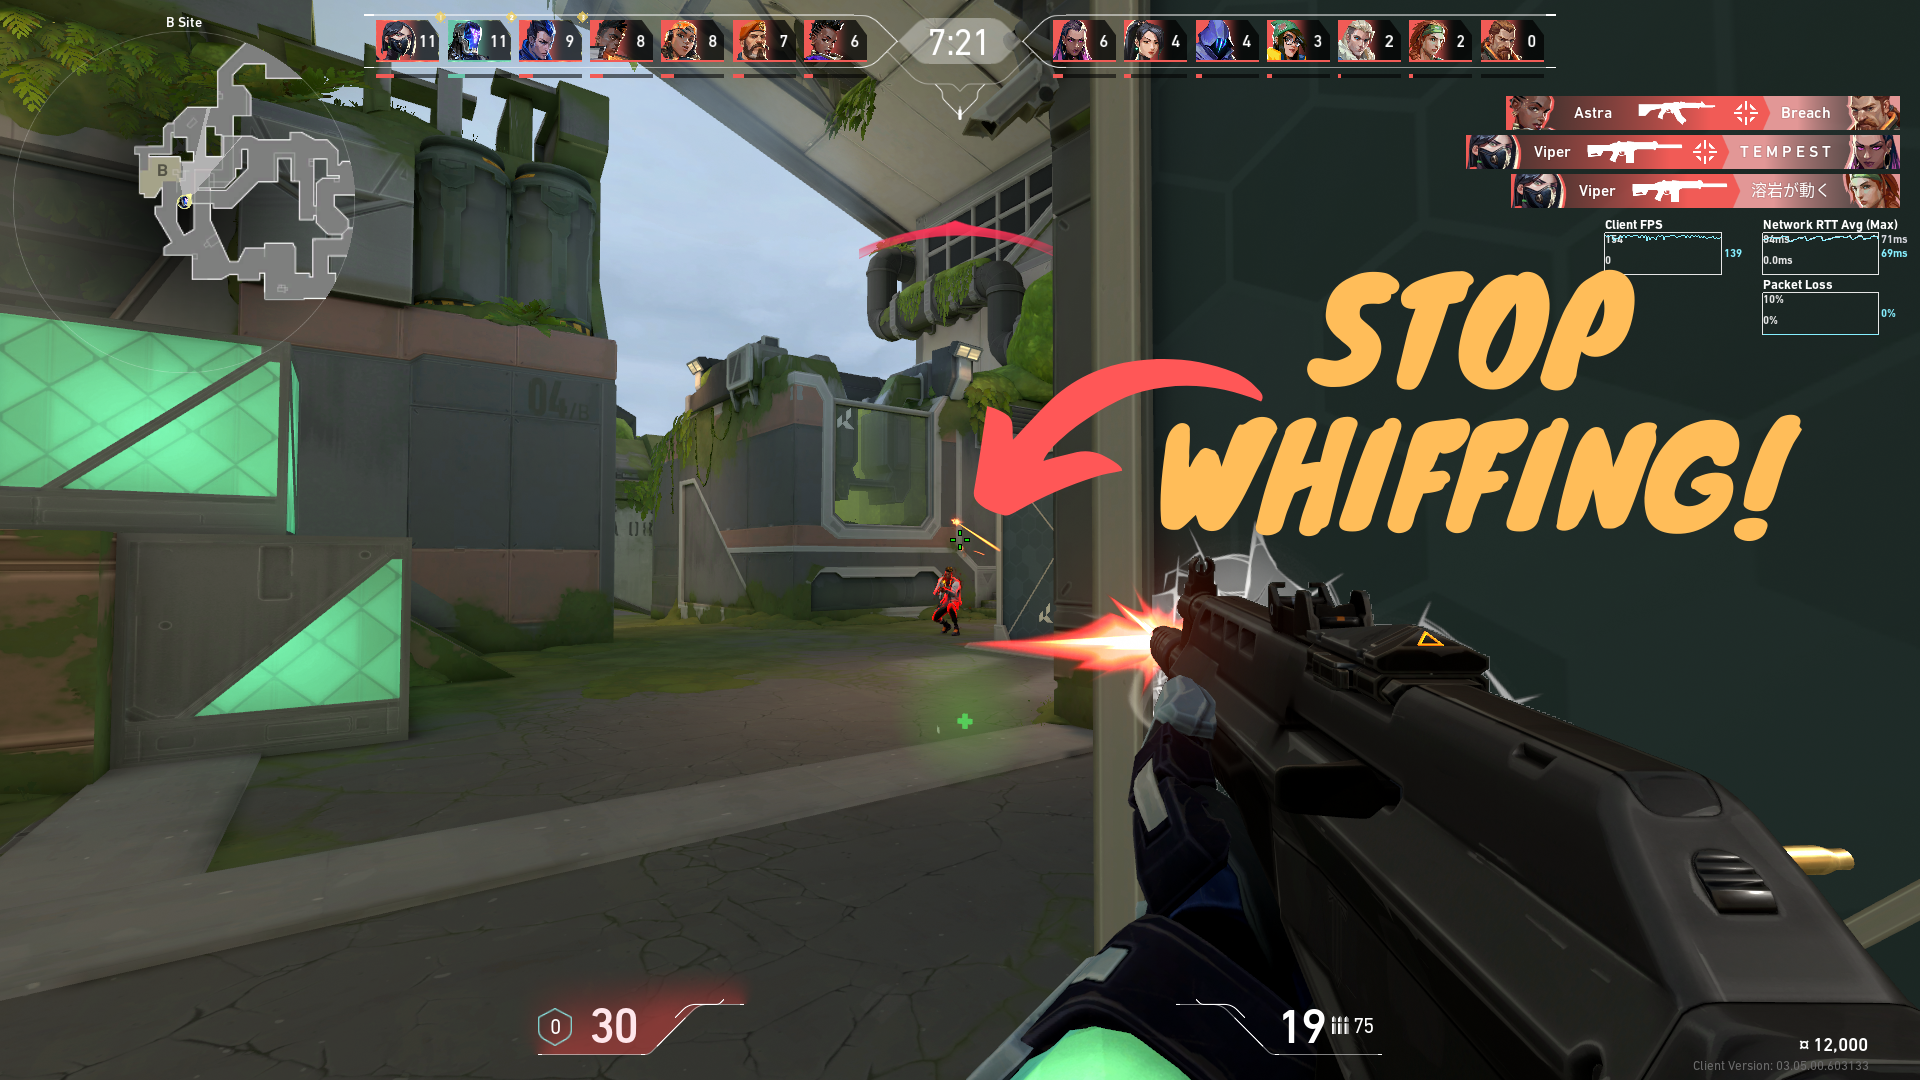
Why Should I Train My Aiming?
Even though certain abilities present in-game can inflict damage to opponents and teammates alike, the only reliable way of eliminating opponents in VALORANT is through the use of guns. Without the ability to reliably eliminate enemies with your gun through your aim, you will have a difficult time winning games in VALORANT.
Training your aim is similar to practicing a musical instrument; you will be unable to play better if you do not practice and build the required muscle memory for you to be able to play more efficiently and effortlessly. Therefore, aim training and having a good aim in general, is an essential aspect to mastering VALORANT. If you want to win consistently and climb the competitive ladder faster, you’ll need to put the time in.
It is important to note, however, that just the act of practicing is not enough. Doing something slowly but surely will yield better results than doing something quickly but sloppily.
Train Your Aiming at the Range
A selection of aim training apps are available online for players to download, like AimLab, but for simplicity’s sake, we will stick with VALORANT’S in-game aim training course aptly named “The Range.”

The Range offers a plethora of settings, scenarios, and configurations that help you create situations that will best suit the type of aim training you are trying to achieve. The Range is good enough for practicing aim basics and even more advanced aiming techniques.
Inside The Range, the player has access to unlimited guns, ammo, and abilities. Unlimited targets called Bots are available to use as training dummies.
Since we will be focusing on aim alone and not on Agent Abilities, any agent you choose on The Range home screen will suffice.


The Two Models for the Shooting Range
- Start – Spawns single targets that appear and disappear slowly or quickly depending on the chosen speed.
- Practice – Spawns an army of bots that continuously respawn every time one is destroyed. Depending on the configuration, the bots can either be stationary or mobile.
Shooting Range Configurations
Speed – offers Easy, Medium, Hard settings. Controls how fast targets appear and disappear, tests reaction time as well as accuracy when flicking.
Streak – sets either a 50 or 100 kill counter against a running clock. This test evaluates how quickly you can move your crosshair to an area and eliminate targets consistently one after another.
Bots – dictates how the bots behave. Bots can either move left to right (Strafe) or stand still (Reset).
Bot Armor – enables or disables Armor on Bots. Simulates actual game scenarios where players might have bought armor for their characters. Bots are hard to kill when on and easy to kill when off.
(This is true for body shots. Headshots can be one or more hits to the head with or without armor depending on the gun and the distance you are shooting.)
Infinite Ammo – toggles unlimited ammunition on or off. “Off” is useful for practicing scenarios where you have limited ammo or are unable to reload.
Aiming Techniques for Valorant
Different in-game scenarios call for aiming techniques which we will briefly discuss. These techniques are usually called Flicking, Tracking, Bursting, Spraying, and Counter-strafing.
Flicking – Flicking is the act of quickly swiping your mouse towards the direction of your target. It is usually a single move action. Quick and Precise. Most prevalent movement while using scoped rifles. Although nasty flick shots can be done using just about any gun in-game.

Tracking – Tracking is the ability to keep your crosshair on your target regardless of their movement. Useful for targets that are on the move.

Bursting – This is one of the most important techniques in VALORANT. Bursting is simply quickly shooting a small amount of ammo (3-4 bullets) towards a target, to minimize the amount of recoil. This keeps your shots accurate and resets your recoil faster, which then enables you to quickly unload another set of accurate burst fire shots in case you are faced with multiple enemies at the same time.

Spraying – Spraying might be the most unreliable gunfight aspect of VALORANT. VALORANT simply does not have a reliable recoil pattern that players can learn and master. Most of the recoil in VALORANT is random. Therefore, while some guns in-game will benefit from Spraying, most of the time you are better off just firing off a quick burst of ammo than unloading your whole clip on a target. You will be more accurate and have a better chance of eliminating your opponent. With that said, it does have its place in some situations, such as up close and personal encounters.

Counter-strafing – is the act of stopping either left or right movement by pressing the opposing movement key. (Quickly pressing “A” key to stop moving to the right. Vice-versa.) Although it is worth noting that Counter-strafing is not as crucial in VALORANT since simply not pressing the movement key in-game will stop the character from moving almost instantly anyway.


Easy Aim Training Routine for Valorant
Aim training routines will eventually boil down to personal preference. After you have played enough games, you will realize how some drills translate better in-game than others.
However, if you are relatively new to VALORANT or tactical shooters in general, you might not know what to work on to improve your aim.
Let’s start with an easy routine that will help you get used to your current in-game sensitivity, build the discipline to find those headshots, and help you place your crosshair where you want it.
NOTE: Make sure that you set your in-game sensitivity to one where you are comfortable. One that offers you control without sacrificing speed and mobility. Avoid frequent DPI/sensitivity changes. These will only hinder you from developing good muscle memory.
Access the Shooting Range menu by pressing “F3” on your keyboard.
Key points to consider when doing the aiming routine:
- Aim for the head
- Slowly but surely
- Speed is the enemy. Accuracy is your friend. (Speed will come, accuracy is more important)
- Take a 30-second break for each drill
- Keep your mouse movements smooth and straight. Avoid unnecessary movements.
Routine Set 1: Use the Sheriff only! Headshots only!
- Start – Easy Bots – 3 sets
- Start – Medium Bots – 3 sets
- Start – Eliminate 50 + Strafe – 2 sets (follow the target with your crosshair for 3 seconds before you shoot)


Routine Set 2: Use the Sheriff of Guardian only! Headshots only!
Routine Set 2 is Routine Set 1, but with a twist: you have to keep moving left and right using the “A” and “D” buttons while shooting the targets. You are only allowed to stop to take a shot. Otherwise, you are moving at all times.
- Start – Easy Bots – 3 sets
- Start – Medium Bots – 3 sets
- Start – Eliminate 50 + Strafe – 2 sets (follow the target with your crosshair for 3 seconds before you shoot)
Routine Set 3: Use the Sheriff or Guardian only! Headshots only!
Routine 3 will take us out of “The Range”, and into “Deathmatch”. Here, we will only employ the tracking aspect of Routine 1 and 2. This means that we are only going to track enemies with our crosshair almost all game. Although whenever you get a clear and easy shot, take it. Why not have a little fun too?
Training Routine Rationale and Why Sheriff or Guardian only?
Routine 1 is to help you create a habit of placing your crosshair on the opponent’s head. Headshots are the quickest way to get kills in VALORANT. The better you are at finding heads, the more kills you can consistently contribute to your team.
Routine 2 helps you incorporate some movement into your shot. A non-moving target is an easy target. The side-to-side movement will make you a more difficult target to hit.
Routine 3 or the “Deathmatch” aspect of the routine pits you with real players, with real reactions to how you move and shoot. This helps you visualize more clearly how players might tend to move in a real game. Here you will learn to adjust to their movement accordingly, and incorporate what you have learned from Routines 1 and 2.
The Sheriff and Guardian are arguably the most difficult guns to use in the game. VALORANT is a low-time-to-kill game, which means that encounters never really last more than a few seconds. The Sheriff and Guardian only really rewards its wielder if, and only if, the wielder has pinpoint accuracy, and can land headshots consistently.
Body shots are a no-go for this gun, as you will need to land three body shots (two for unarmored) to kill an enemy, and by the time you land two, you would have already died. Add that with the high recoil and high accuracy-reset time, that makes the Sheriff and Guardian good for one thing and one thing only: Headshots.
This routine will help you land headshots consistently, which is the fastest way to net kills in VALORANT anyway. The Sheriff and Guardian introduce high visual and firing recoil (the screen visibly moves around a lot for every shot). This will help train your mind to focus on your target’s head regardless of whatever is going around the screen. Once you move over to the big boy guns such as the Phantom and the Vandal, their visual recoil is nowhere near as absurd as it is with the Sheriff. This will make it easier for you to land those easy headshots with almost any gun.
Hit ‘Em Fast
VALORANT is a very technical game that rewards accurate and consistent aim. The creators even market it as a game with “Precise Gunplay”. Landing headshots in VALORANT is satisfying and addicting.
Almost anyone who plays tactical shooters wants to have the best aim, but not everyone is willing to train for it. Discipline and consistent training is the key. So, if you want to improve your aim and rise through the ranks slowly but surely, then try out this basic aim routine. It will surely help you achieve better aim and reach higher ranks as you gain more experience in-game.
Last but not least, take it easy! Remember to have fun! VALORANT is just a game to be enjoyed with friends. You might even find that you aim considerably better when you’re just enjoying the game and not overthinking everything in the game. GLHF!


