Here’s how to fix brake problems in Car Mechanic Simulator.
Braking system jobs are a common customer order you will receive in Car Mechanic Simulator. Depending on the car in question, braking system problems might require changing a car’s brake fluid or fully disassembling the entire braking system to repair some parts.
This quick guide will walk you through how to fix brake problems in Car Mechanic Simulator.
Braking System Parts
Vehicles in Car Mechanic Simulator will have different braking components for the Front and Rear Brakes. And while all vehicles will have a Brake Servo, not all will feature an ABS Module or Pump. In addition, some vehicles will have a Drum Brake on the rear, while others will have a Disc Brake.
Knowing all the parts that make up a car’s braking system will make it easier to check for missing parts when doing brake jobs in Car Mechanic Simulator.
Front Brake Parts
- Brake Caliper
- Brake Caliper Cylinder
- Brake Disc Ventilated
- Brake Pads
Rear Brake Parts (Disc Brakes)
- Brake Caliper
- Brake Caliper Cylinder
- Brake Disc Ventilated
- Brake Pads
Rear Brake Parts (Drum Brakes)
- Brake Drum
- Brake Shoe
- Drum Brake Cylinder
Other Brake System Components
- Brake Servo
- ABS Module (on cars with ABS)
- ABS Pump (on cars with ABS)
How to Fix Brake Problems in Car Mechanic Simulator
The easiest way to fix brake problems is by placing the car on the lift and removing all braking components from the car so you can take a closer look at each part’s condition.
Fix Brake Problems By Removing and Replacing Brake Parts
- Place the car on the lift.
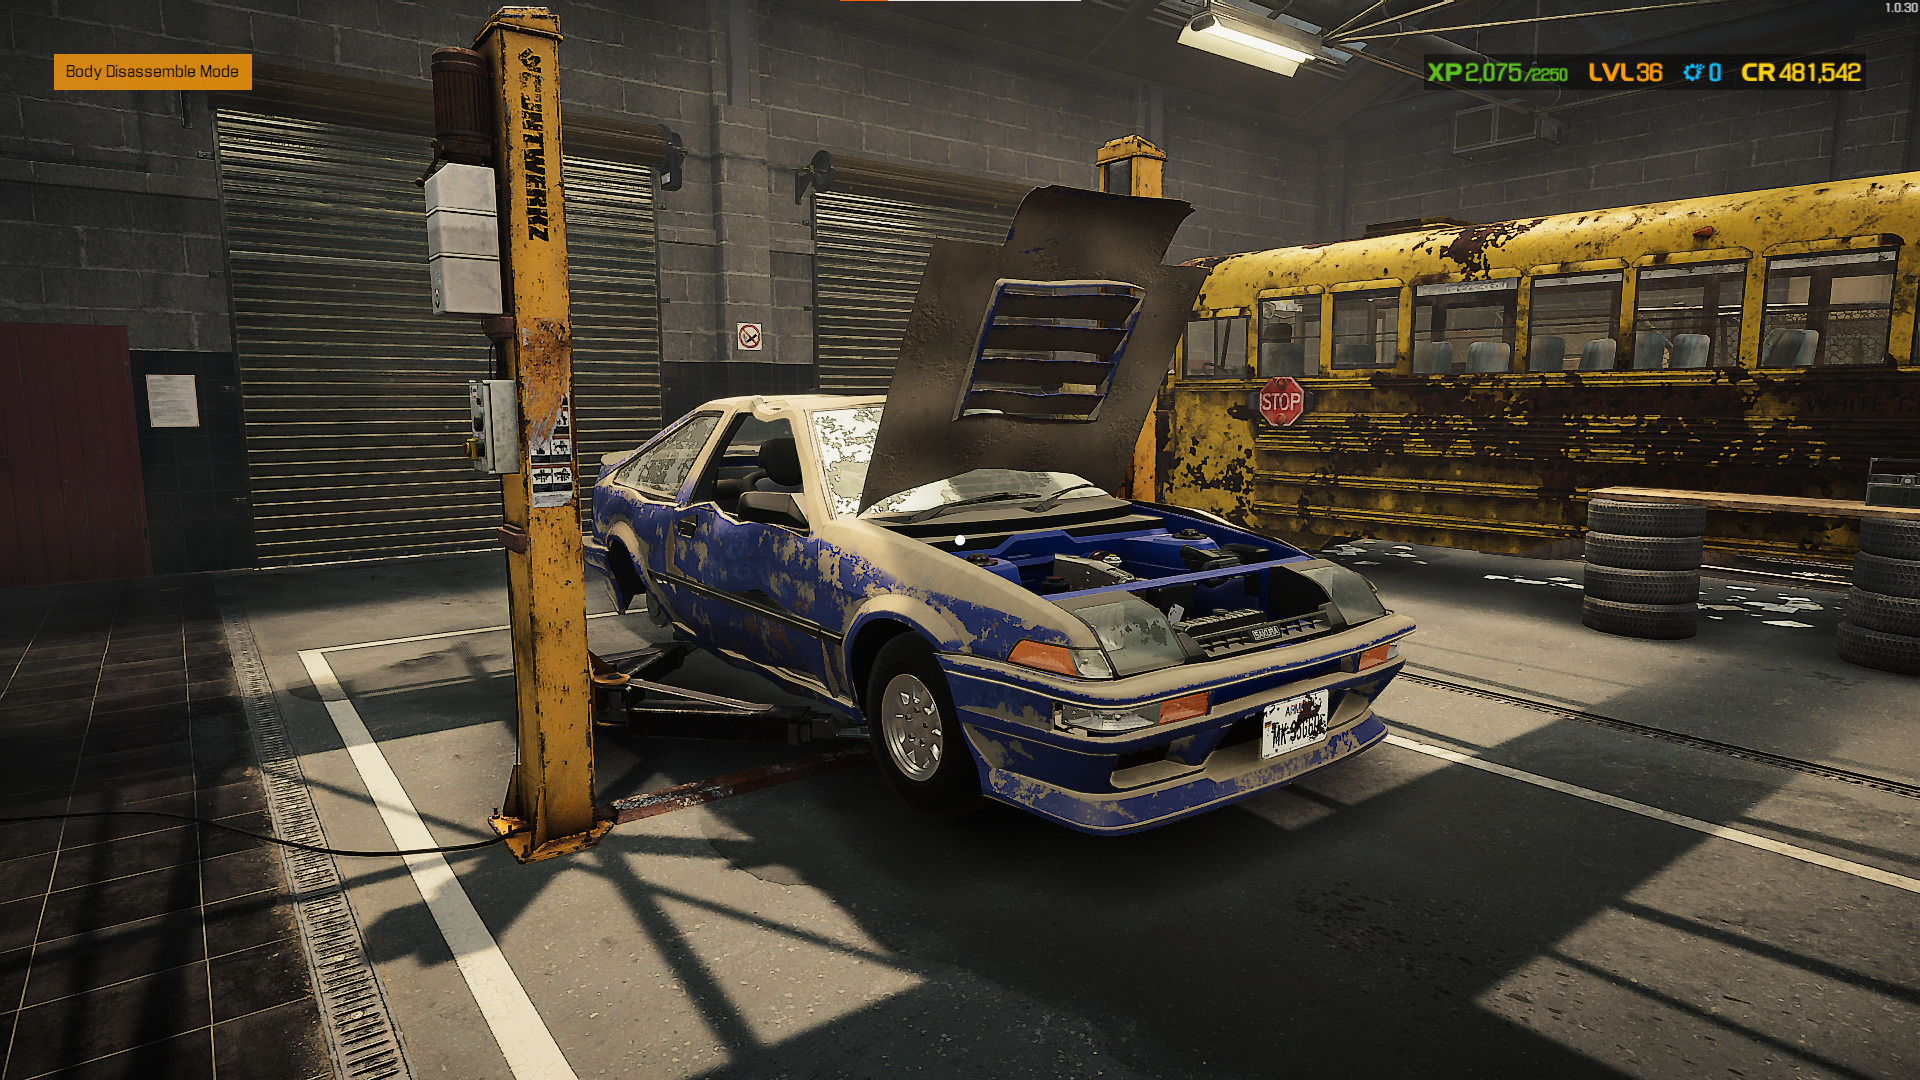
2. Raise the lift.
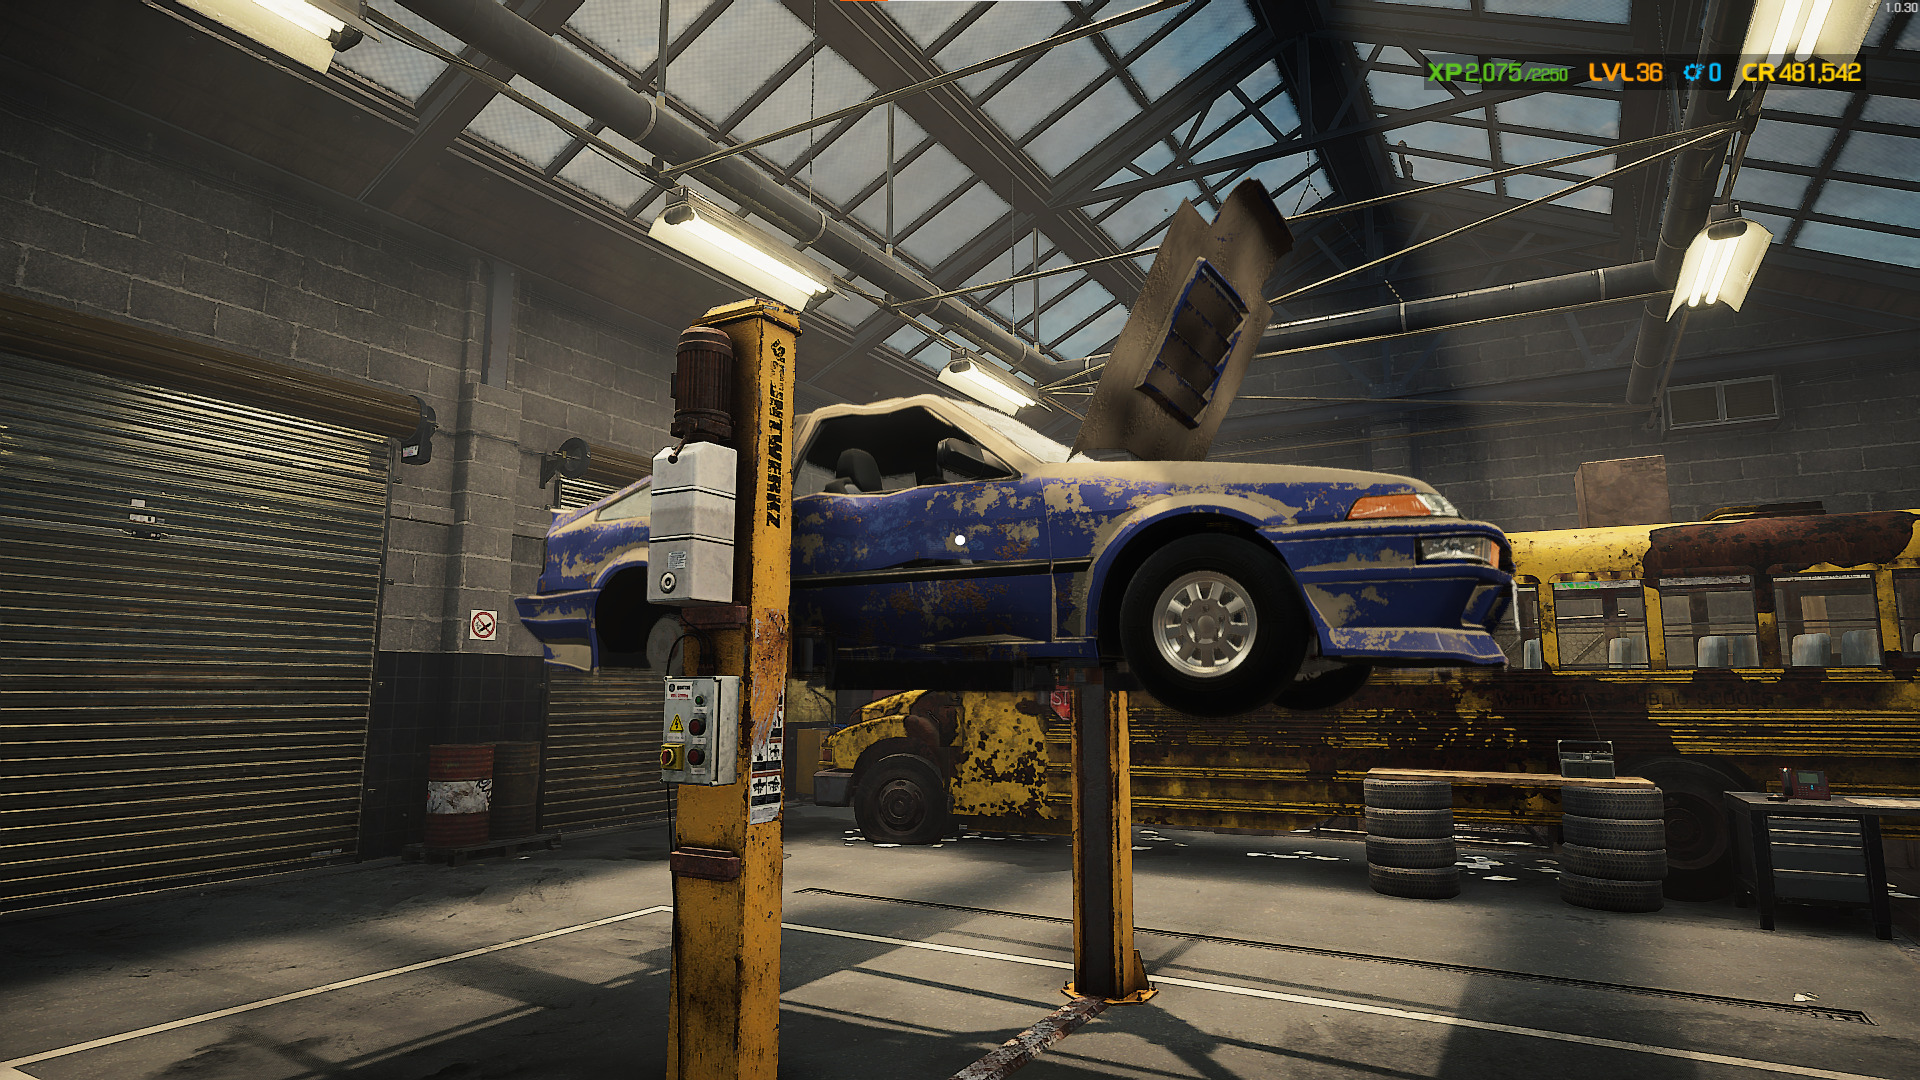
3. Start on one side of the car. Remove the wheels to access the brakes.
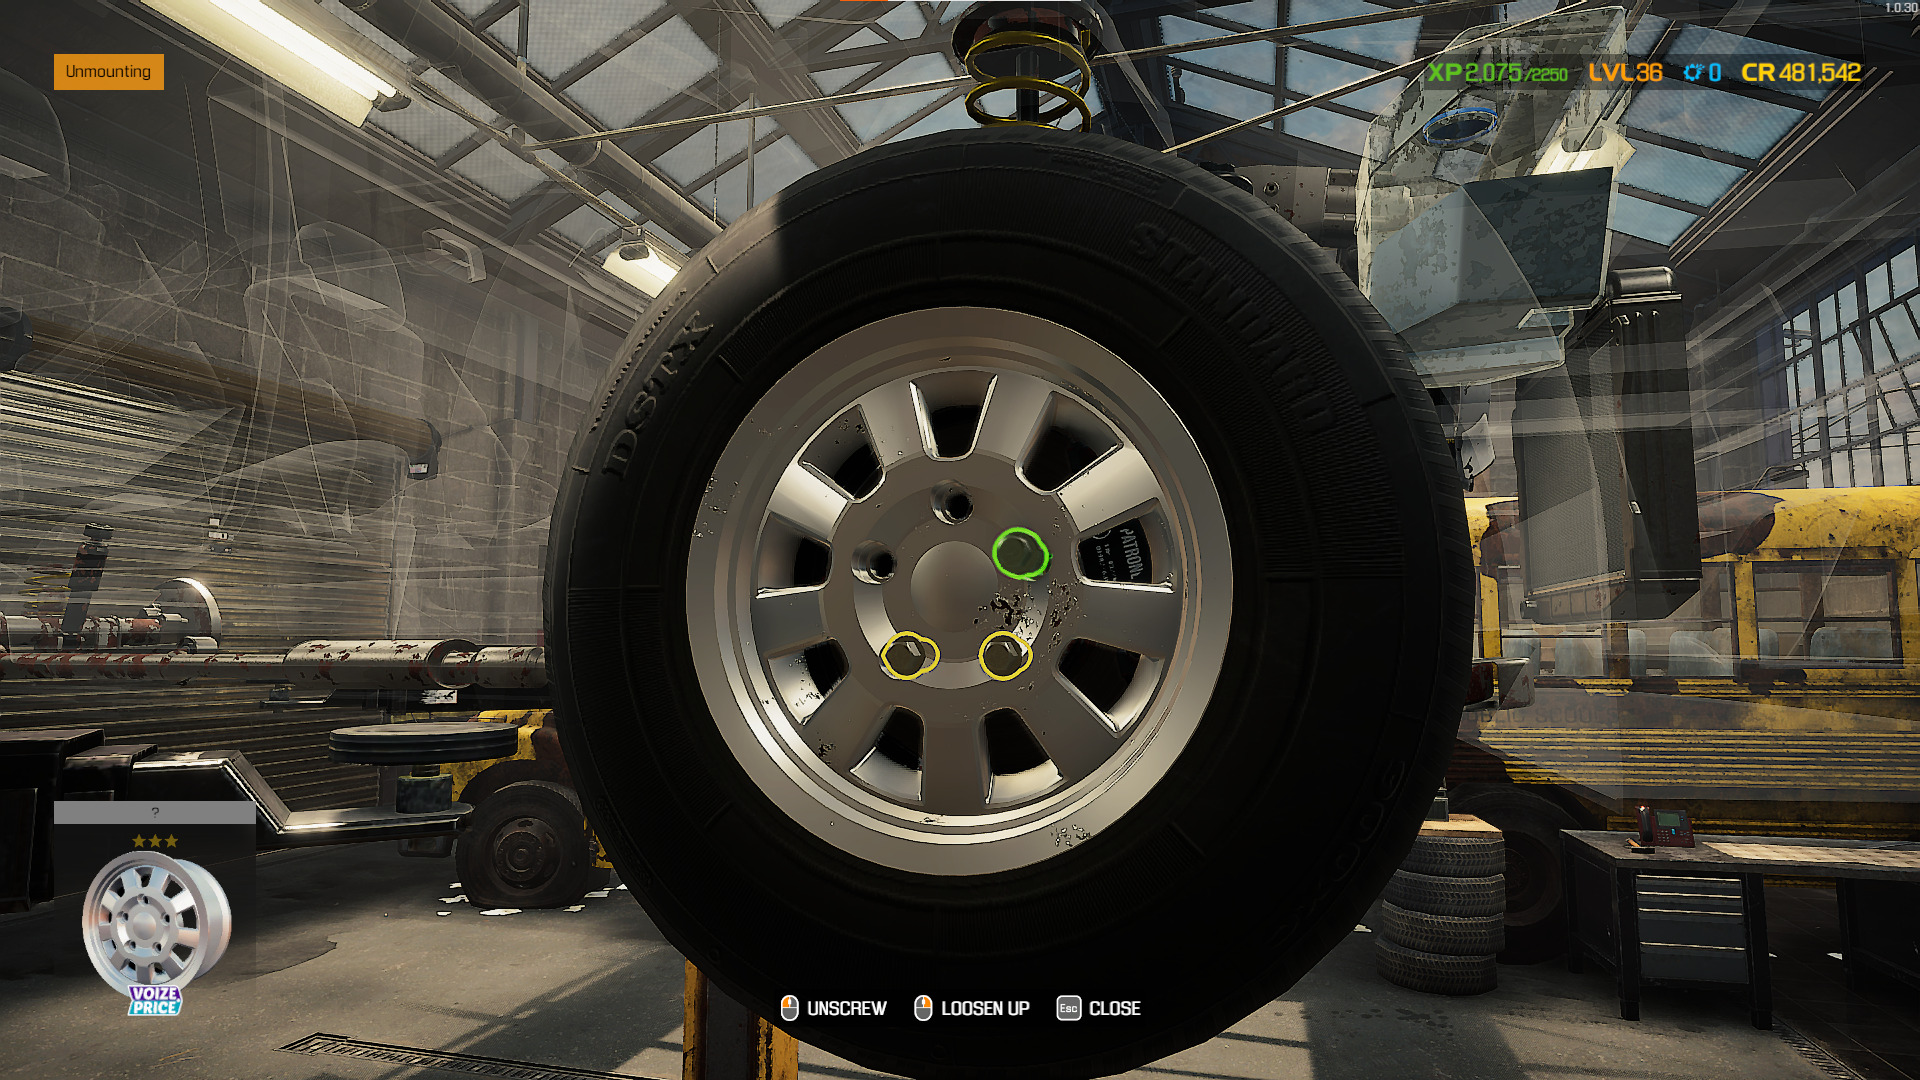
4. Remove the Wheel Hub Cap.
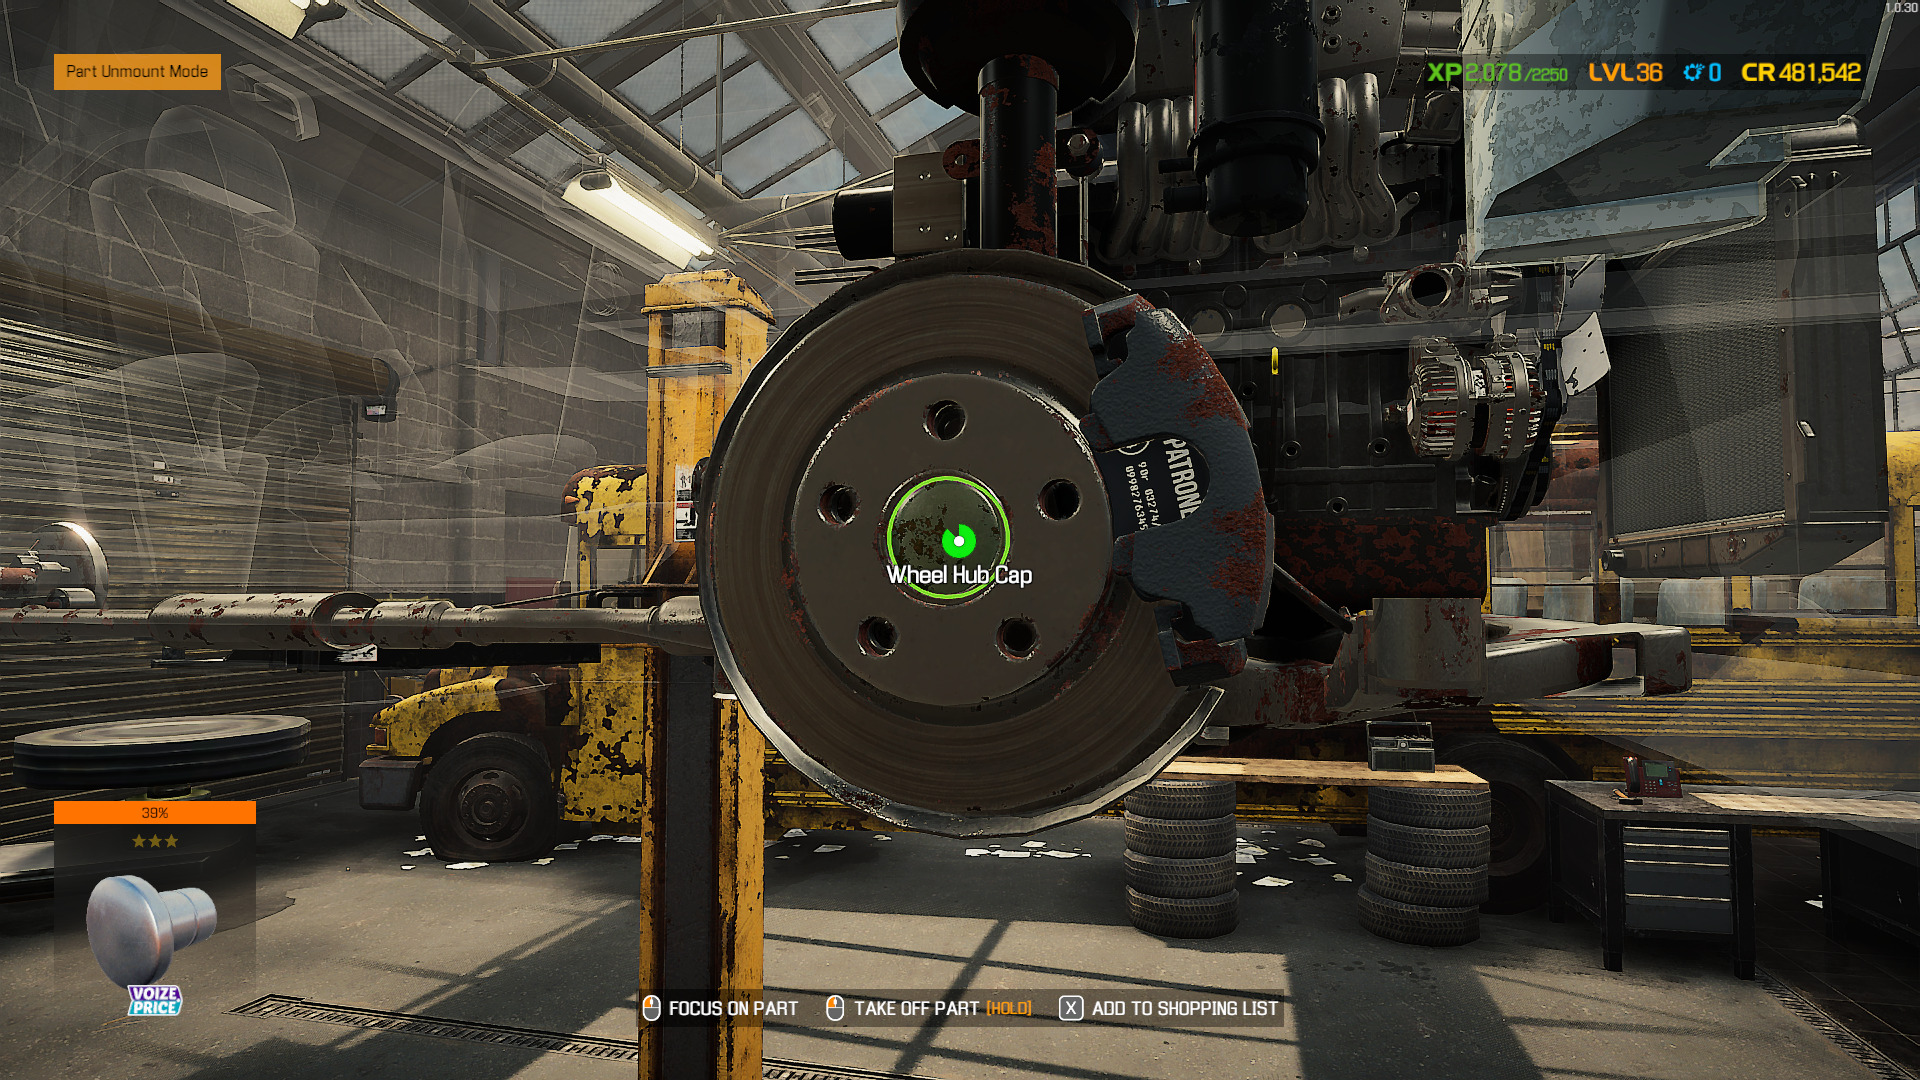
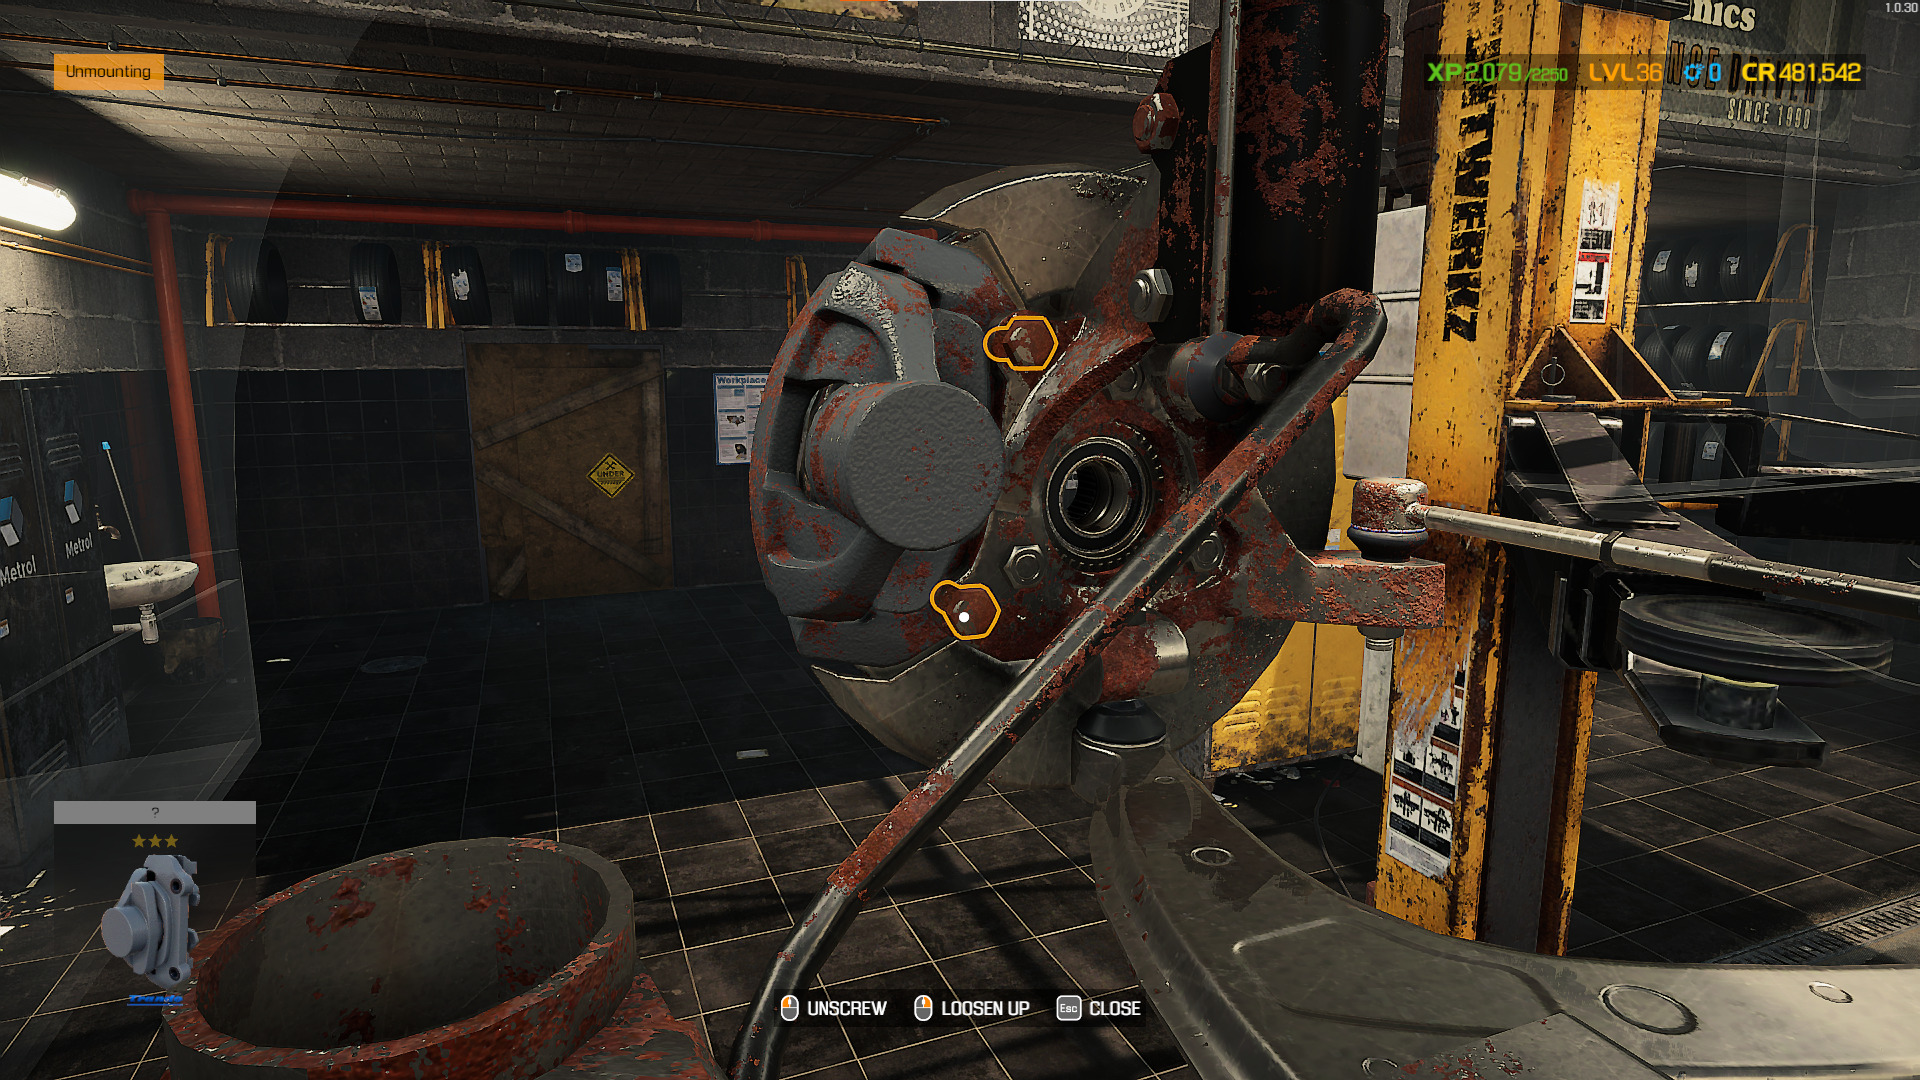
5. Remove the Brake Caliper by removing the two bolts at the back.
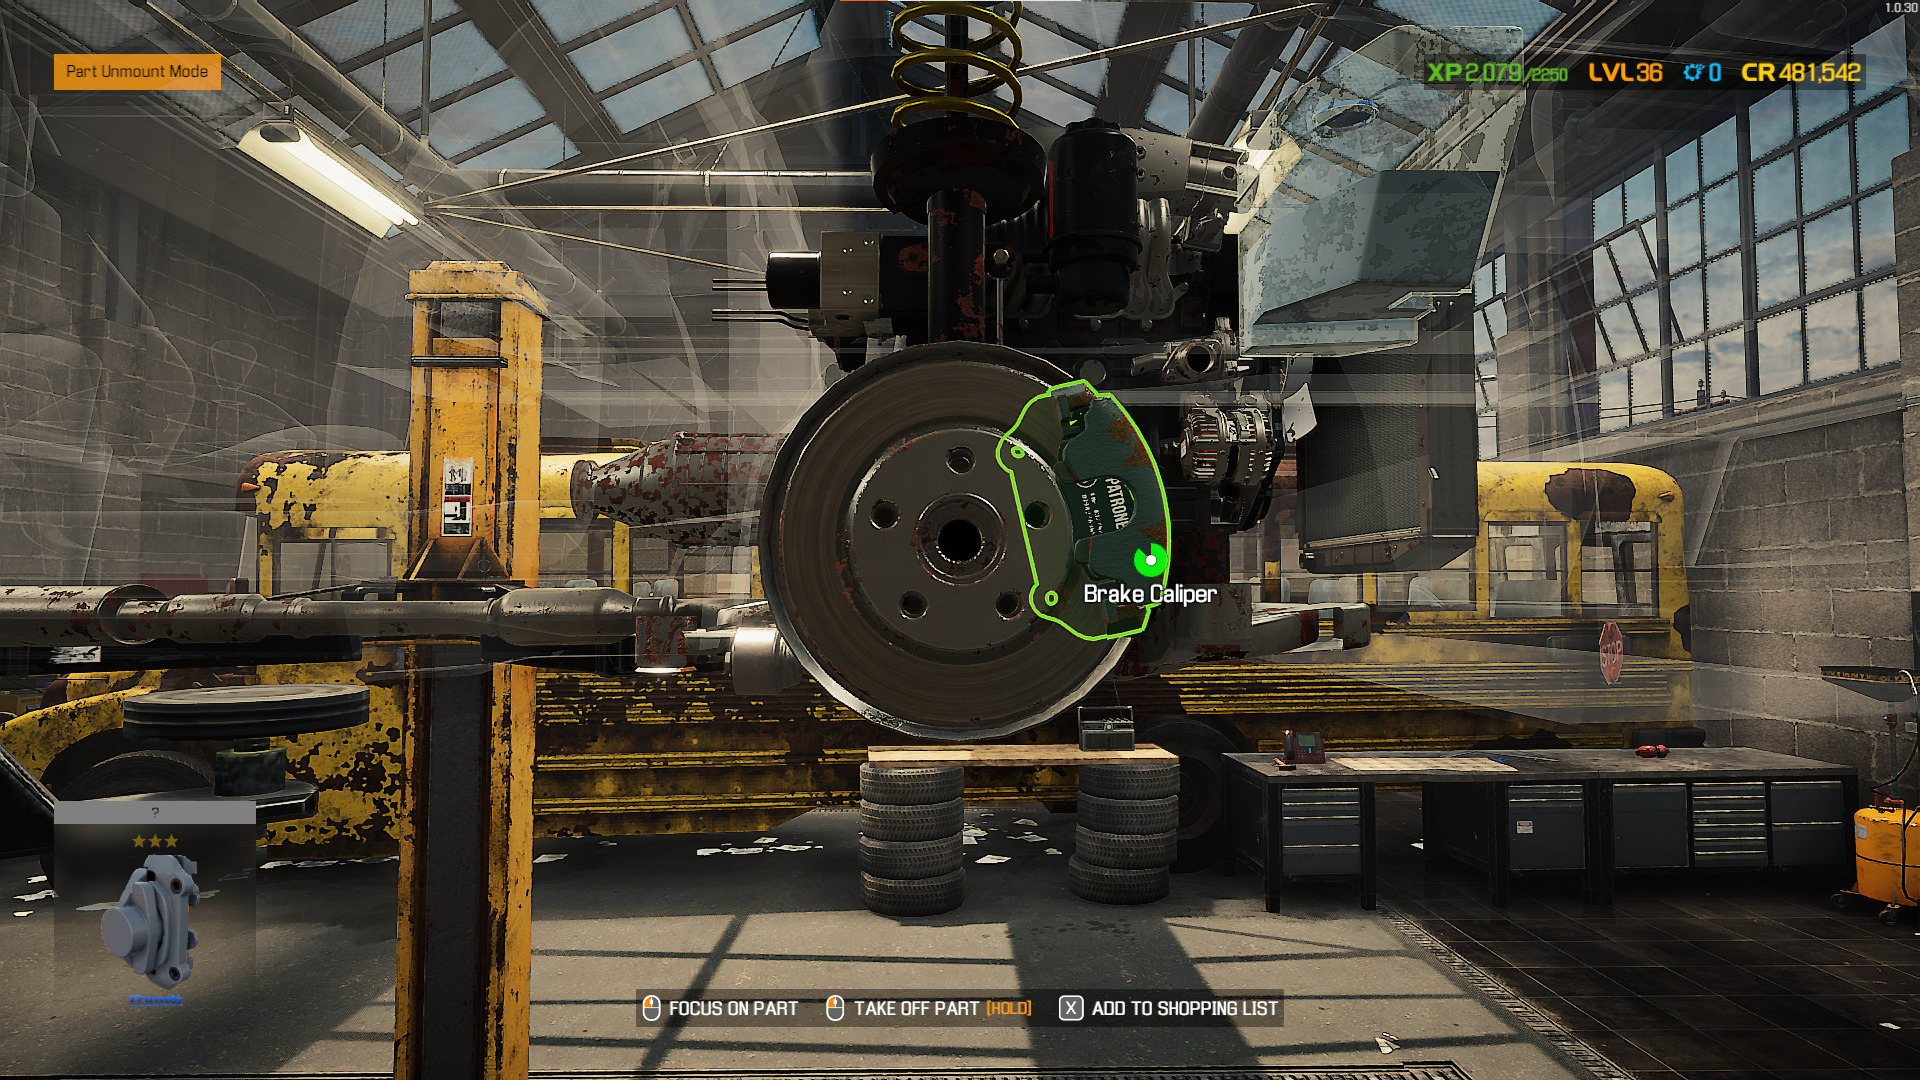
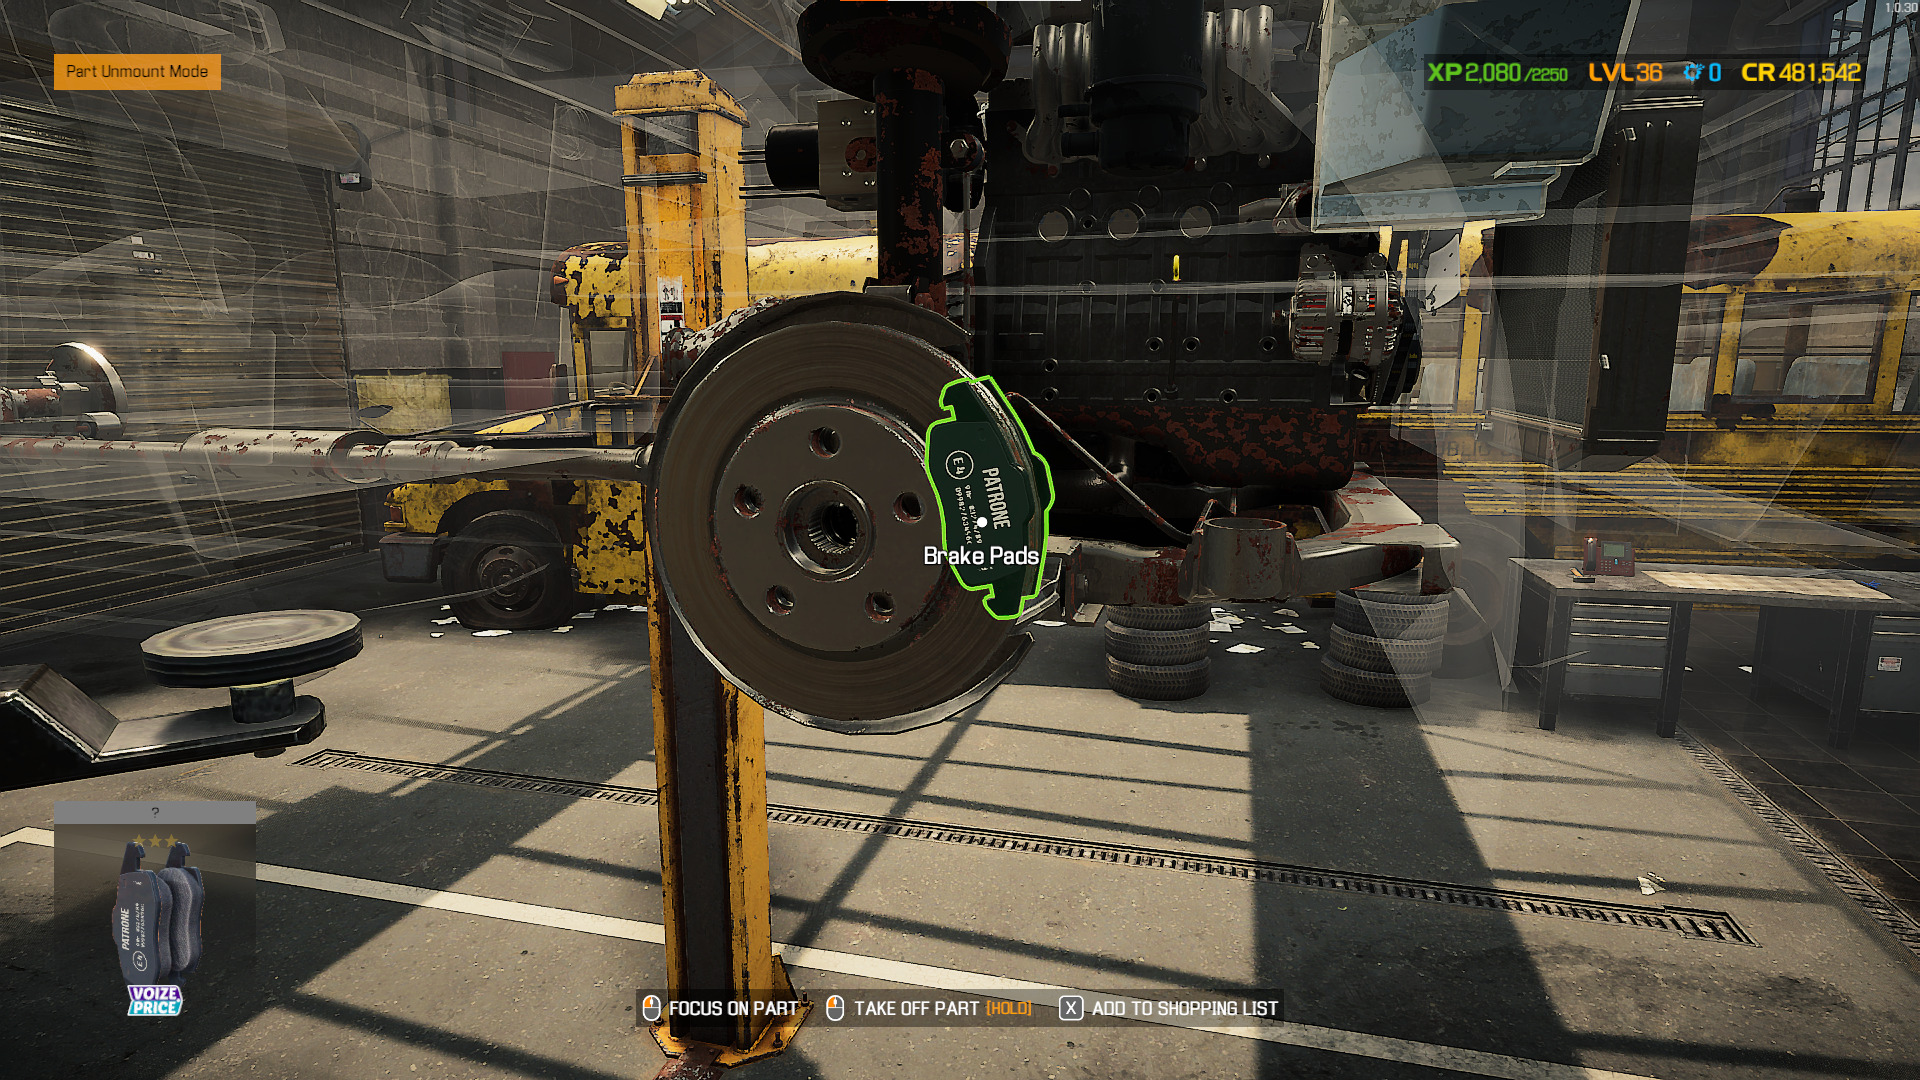
6. Take out the Brake Pads.
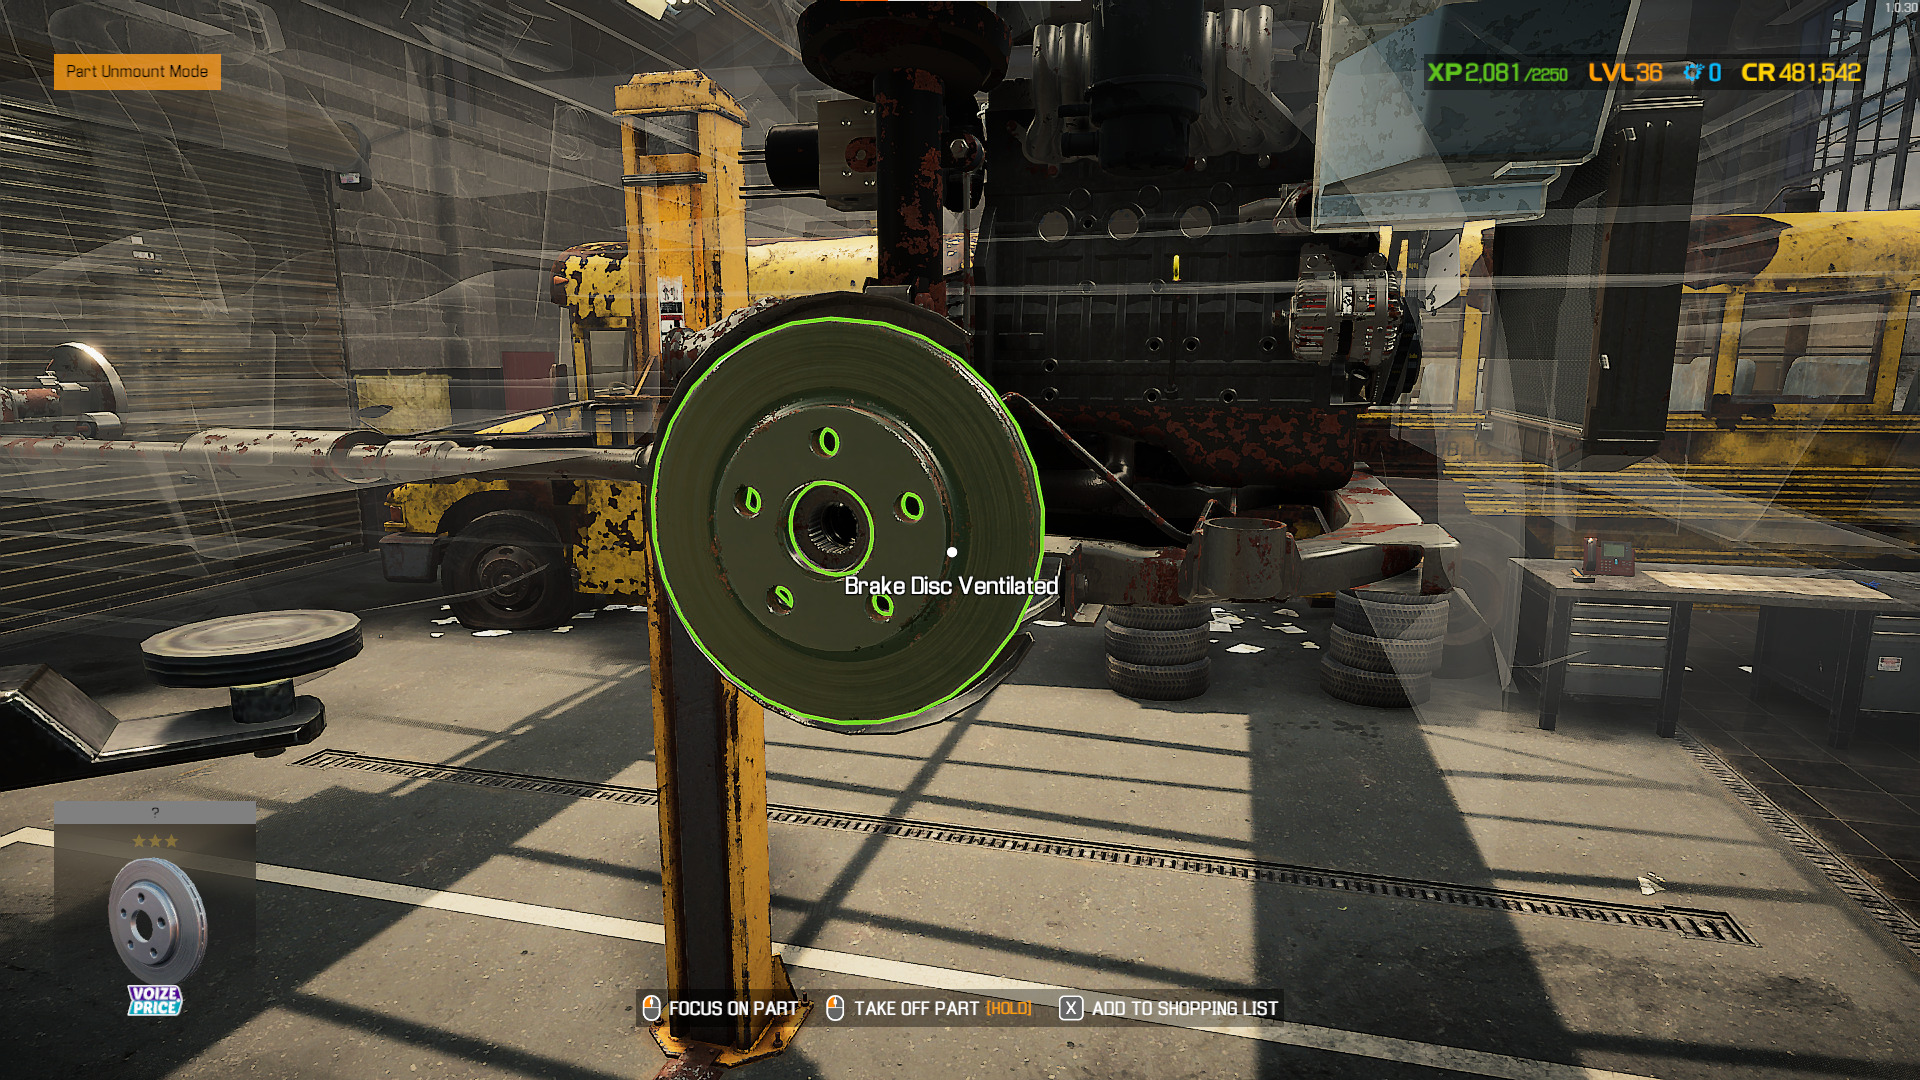
7. Lastly, remove the Brake Disc.
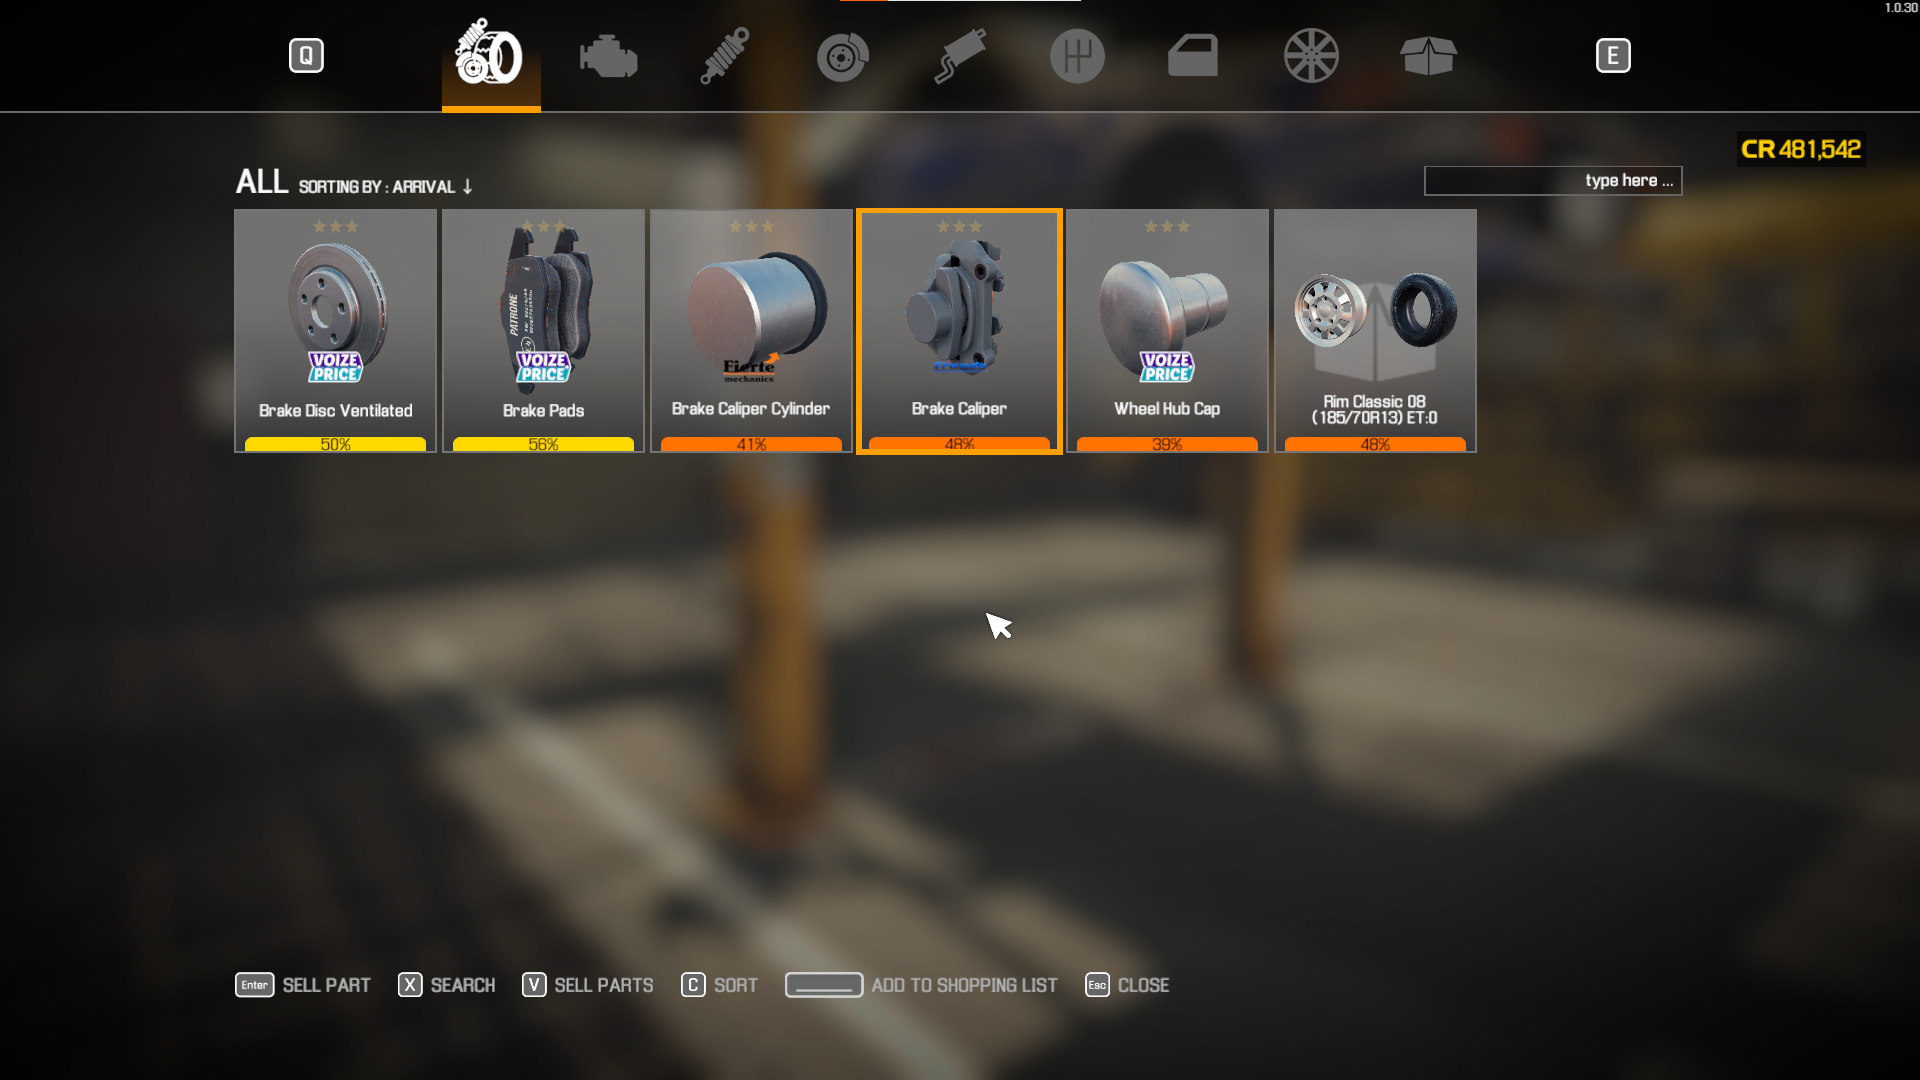
With all the Braking Components removed from the car, open your Inventory and check each part’s condition. Anything over 50% is considered good. Parts in red, however, are broken and are due for replacement.
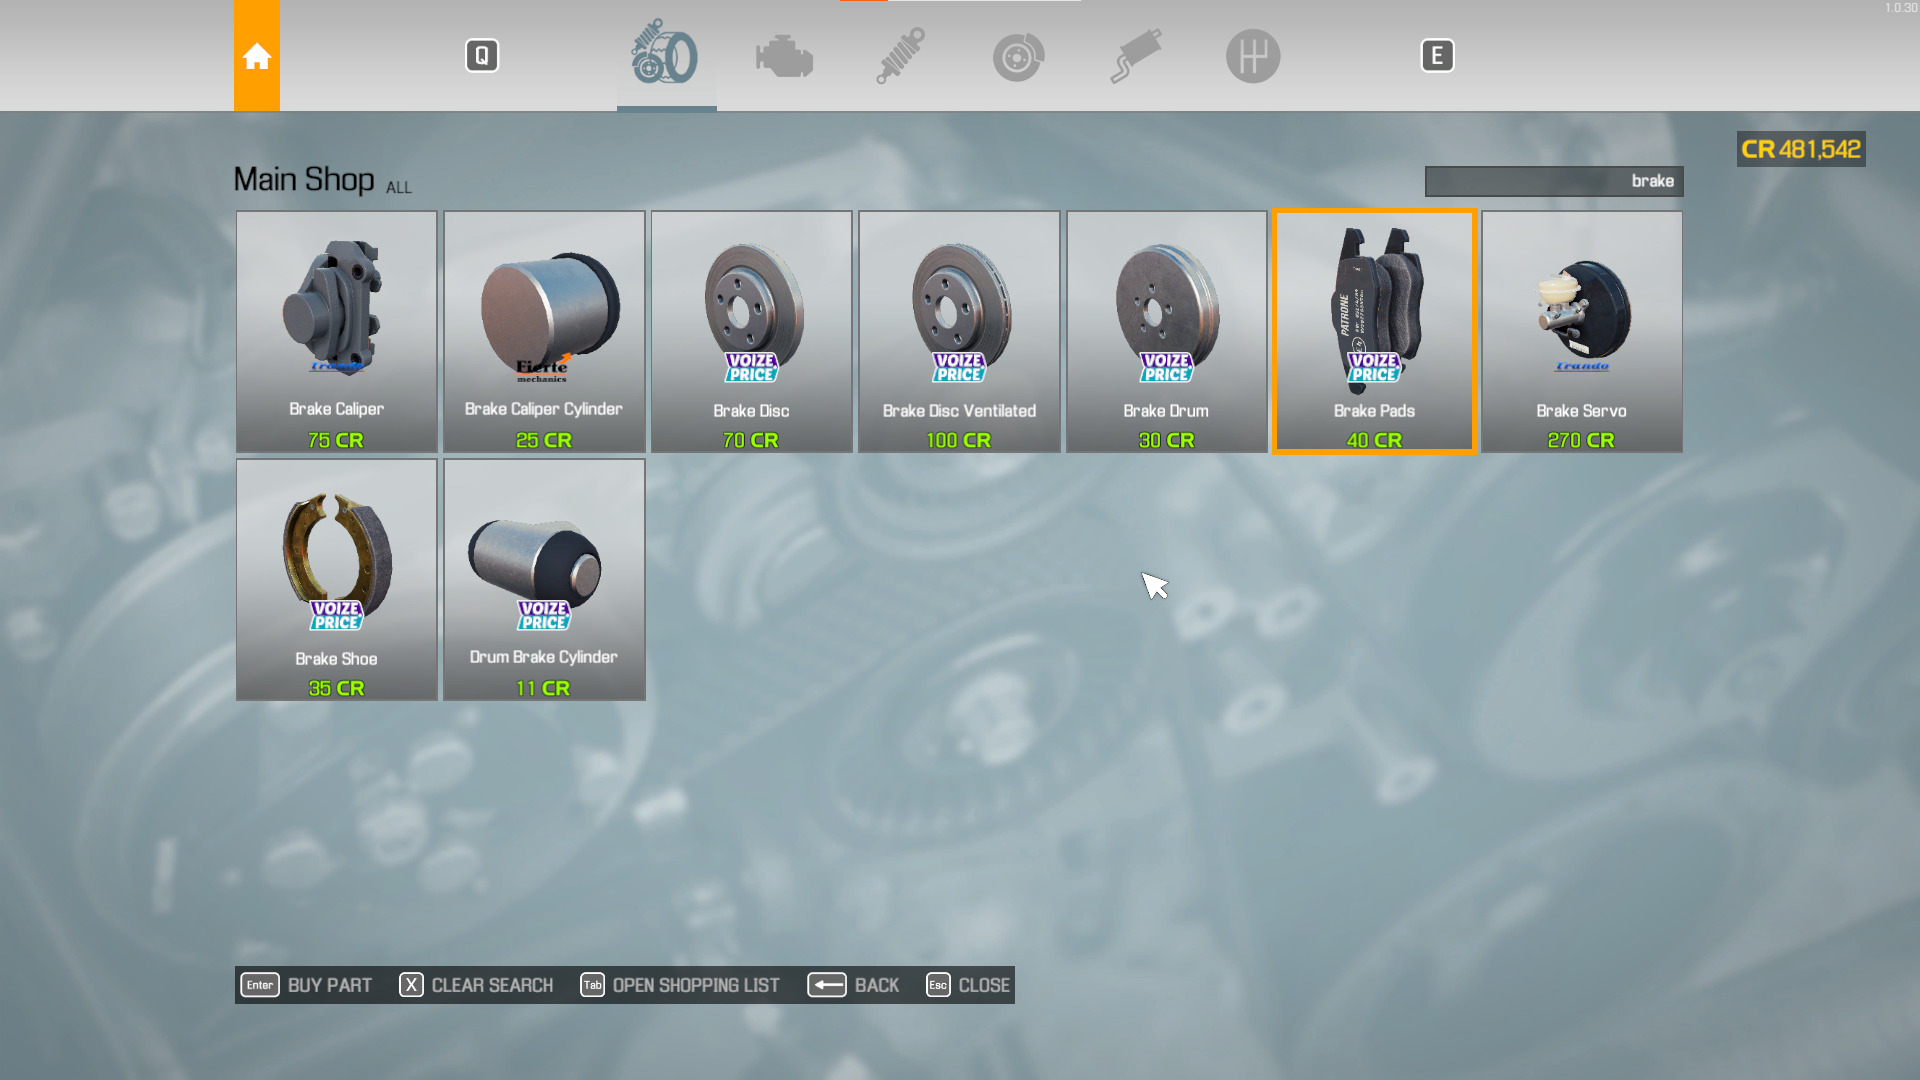
You can find new parts under Main Shop on the computer. Purchase new parts to replace broken or missing brake parts, then simply reassemble the car’s braking system in reverse order to fix brake problems in Car Mechanic Simulator.
Fix Brake Discs using the Brake Lathe in Car Mechanic Simulator
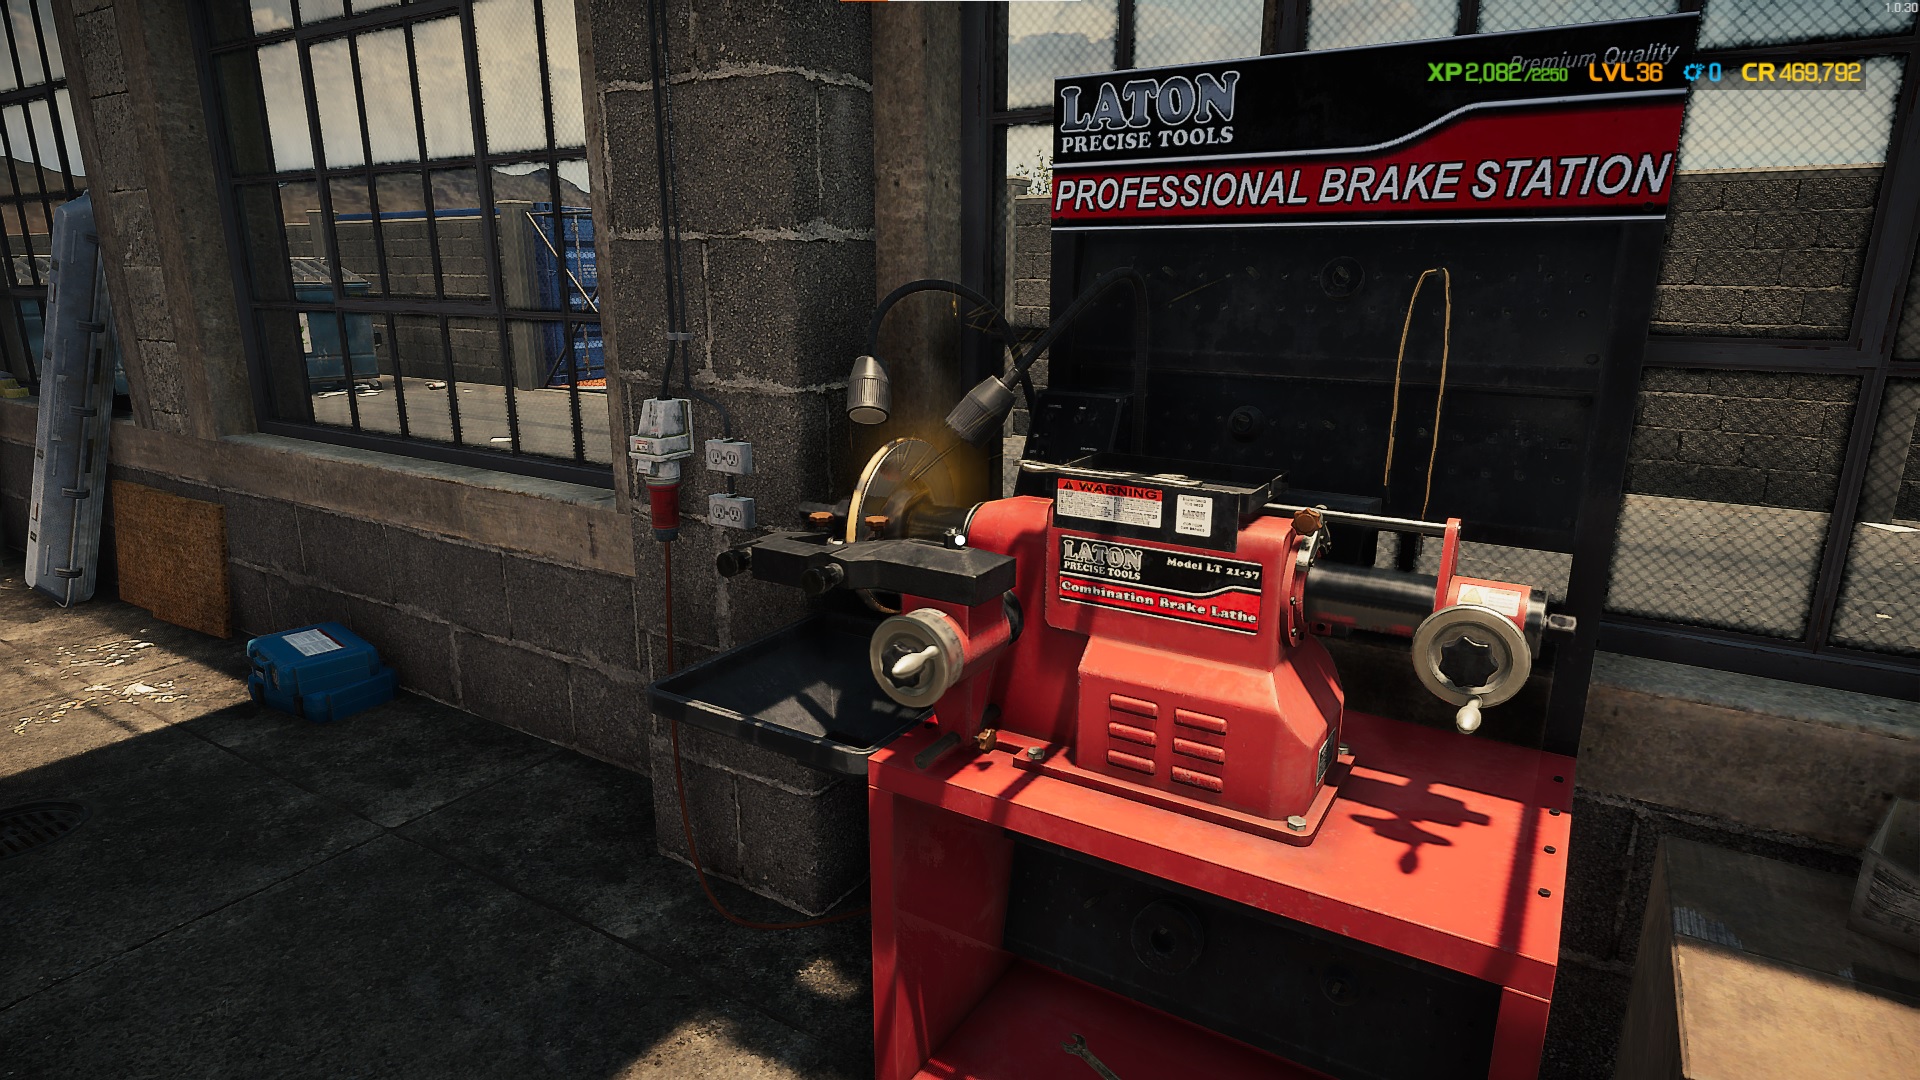
Unfortunately, the only parts you can repair in the brake system are the Brake Disc and the Brake Disc Ventilated. You can repair these two brake parts using the Brake Lathe as long as these parts are at or better than 15% condition.
Nevertheless, here’s how to use the Brake Lathe to fix Brake Discs:
- Remove the Brake Disc from the car.
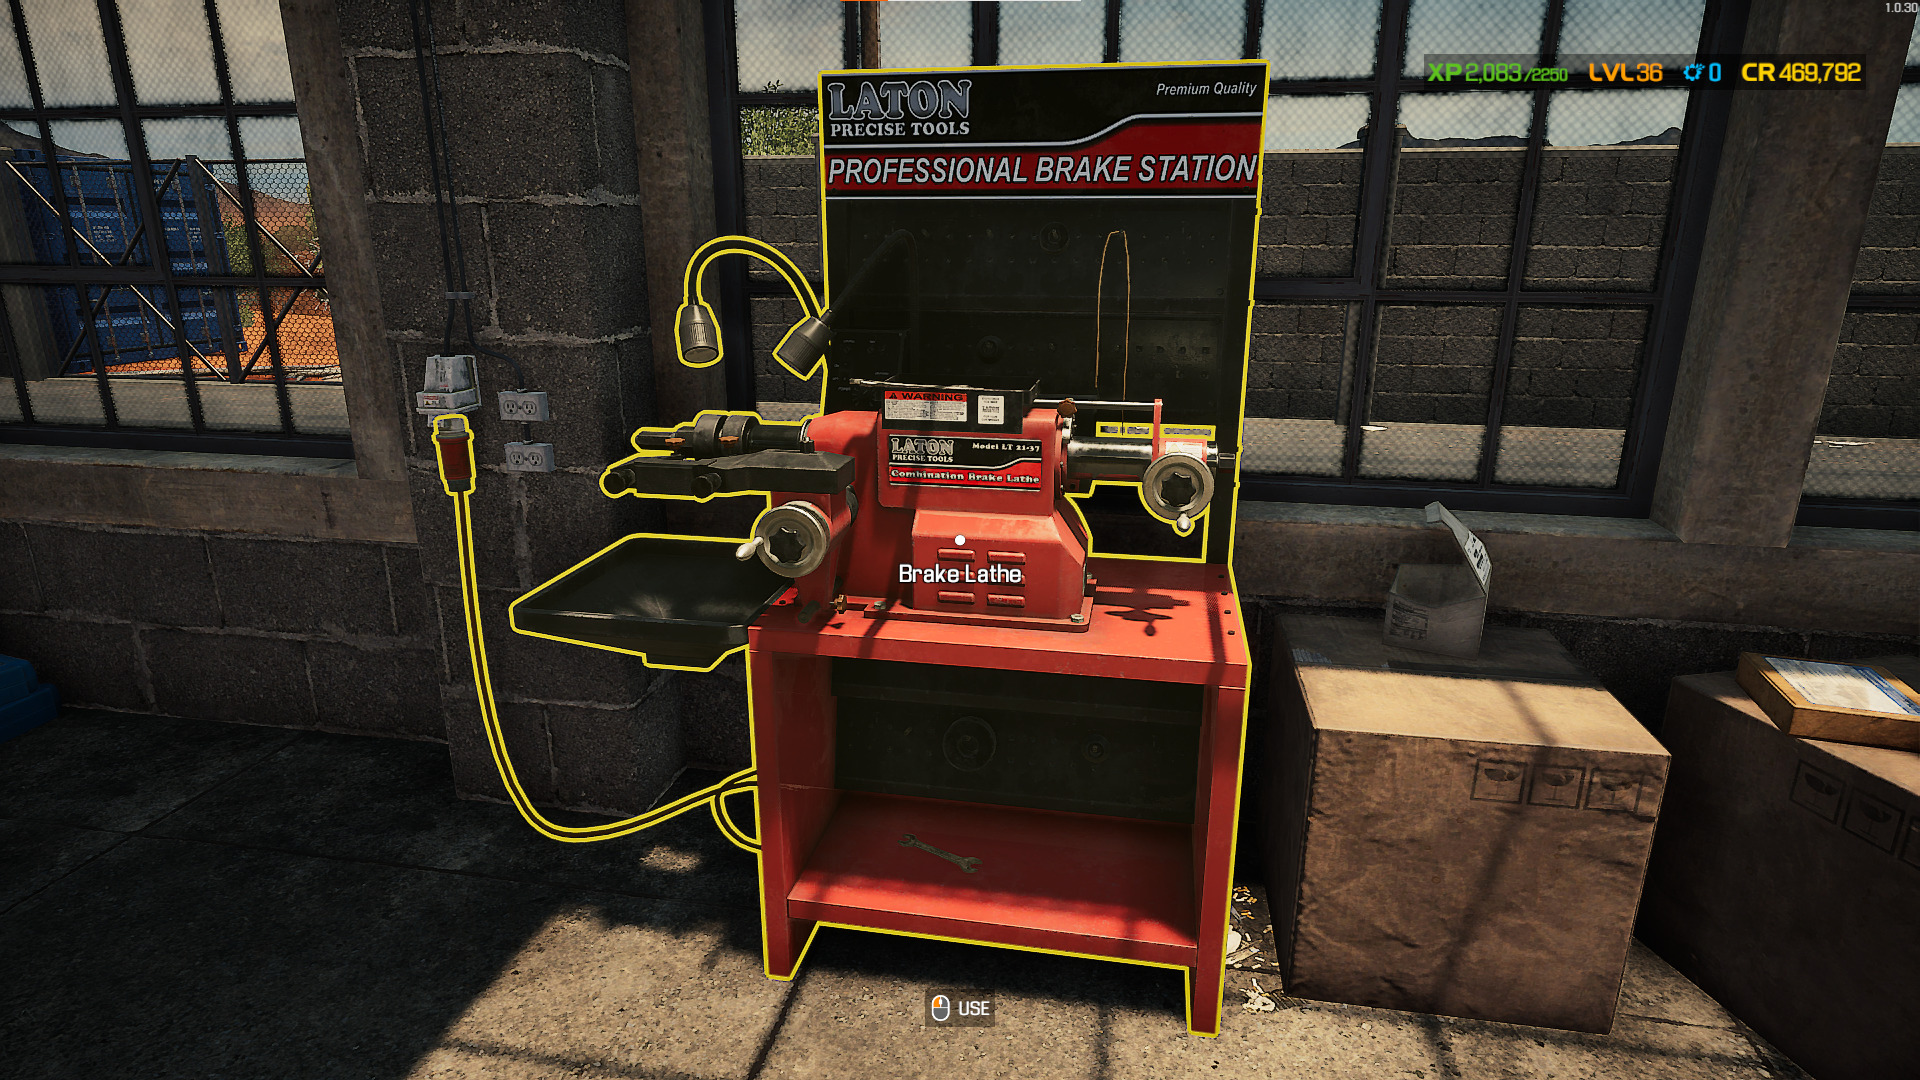
2. Go to the Brake Lathe station.
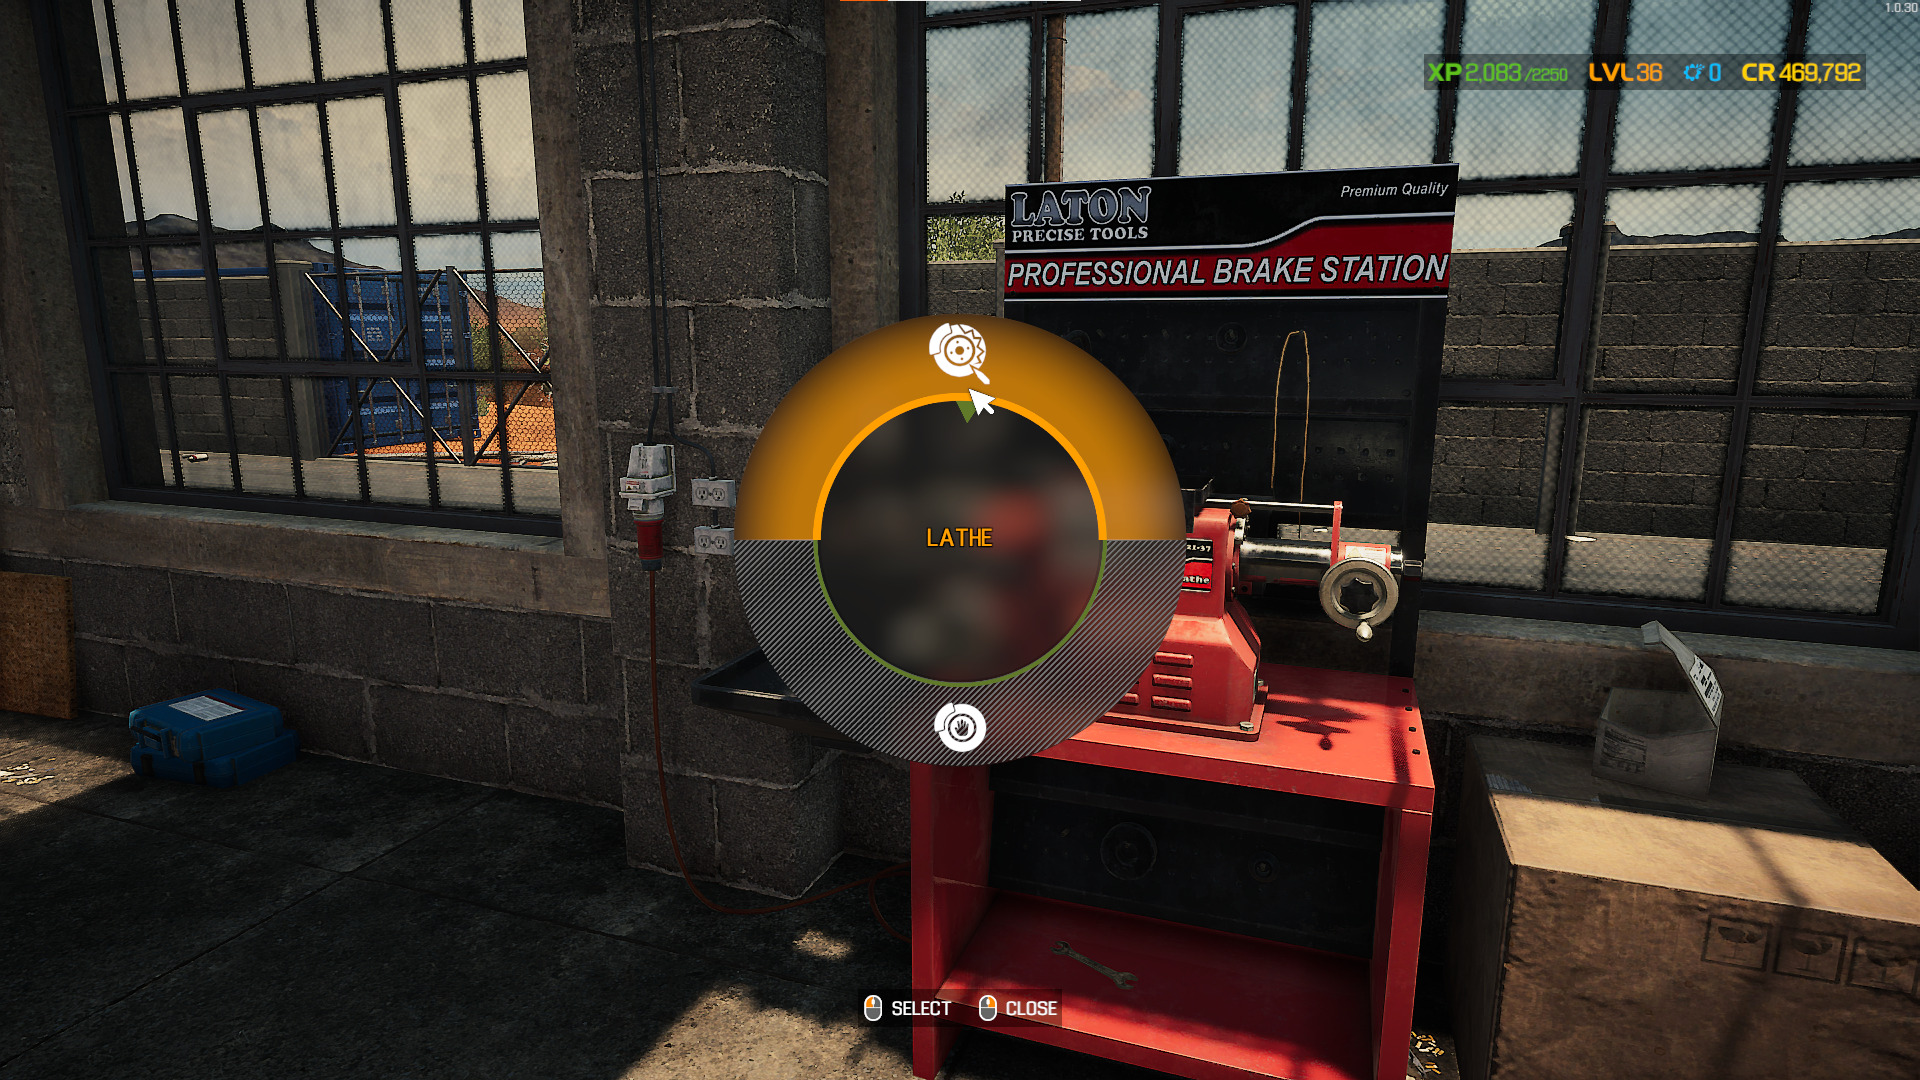
3. Select the Brake Lathe, then choose “Lathe.”
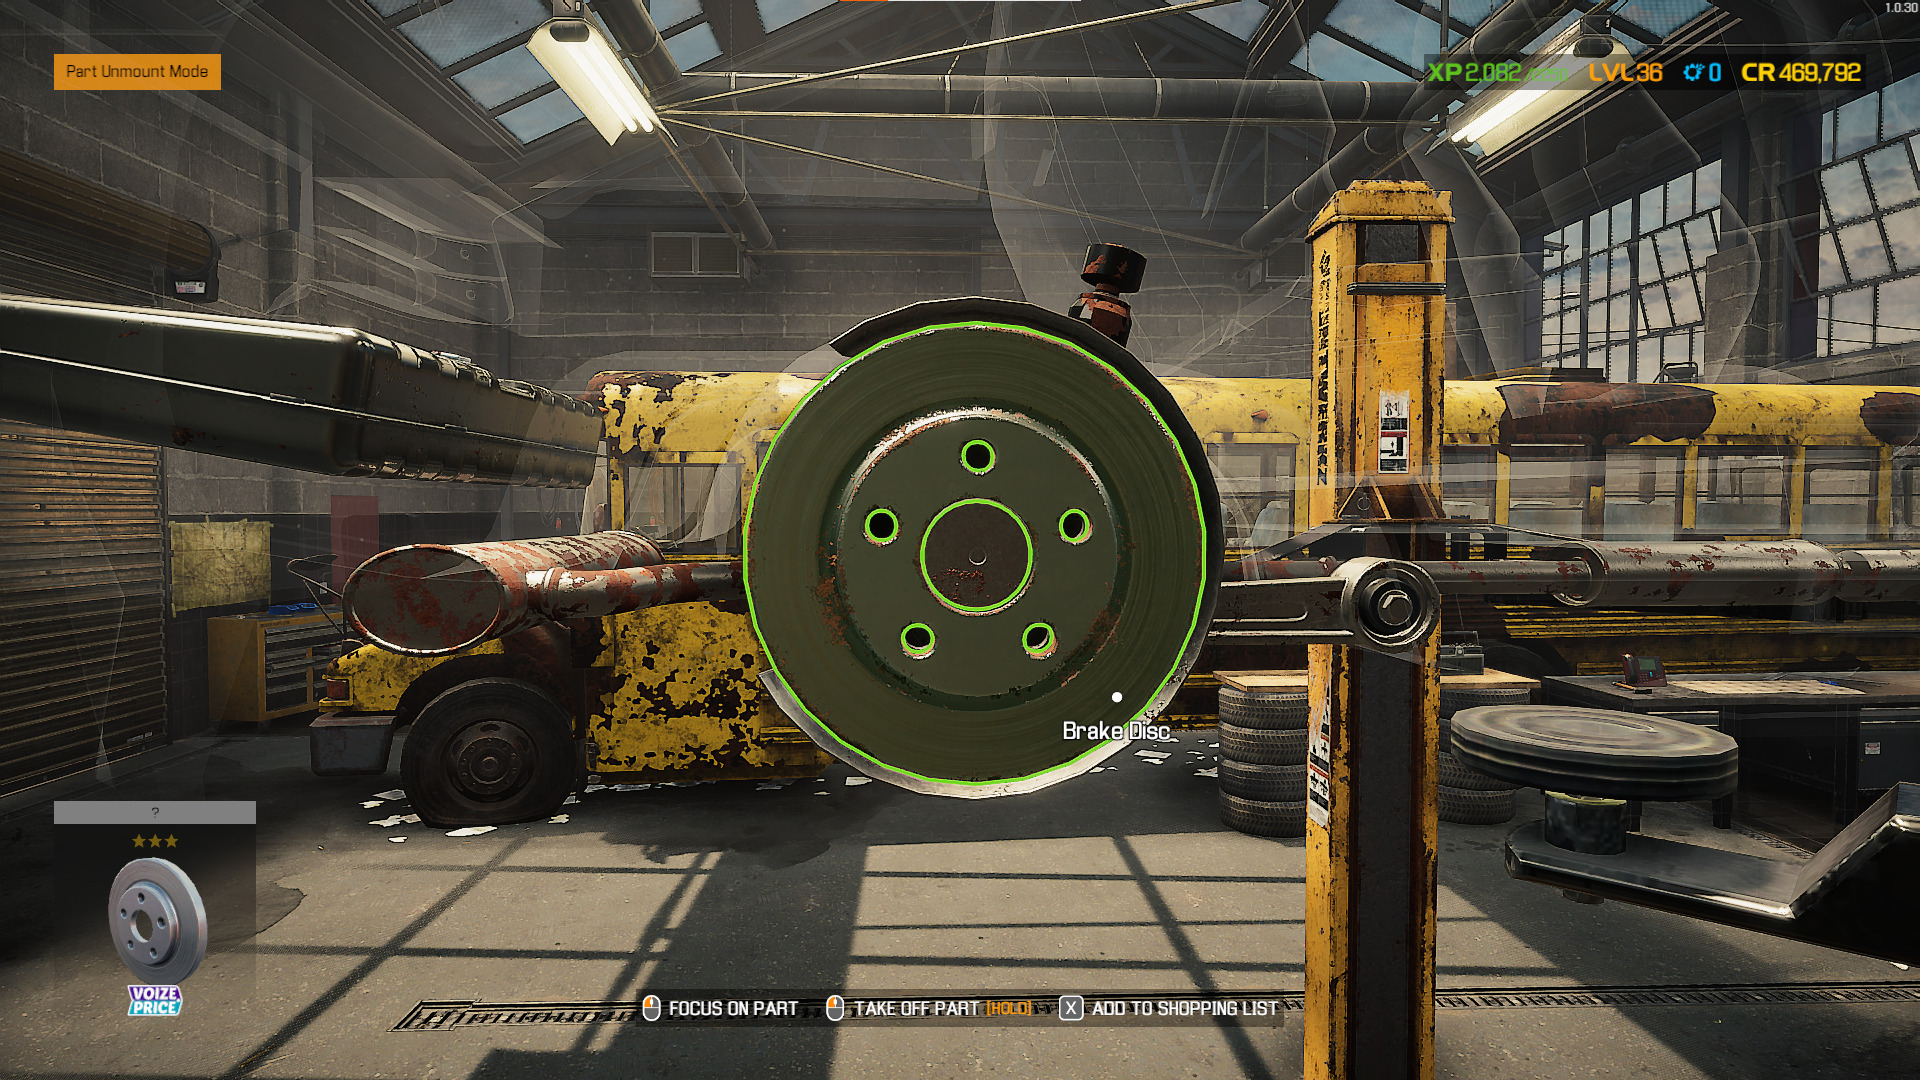
4. Choose the Brake Disc you want to repair.
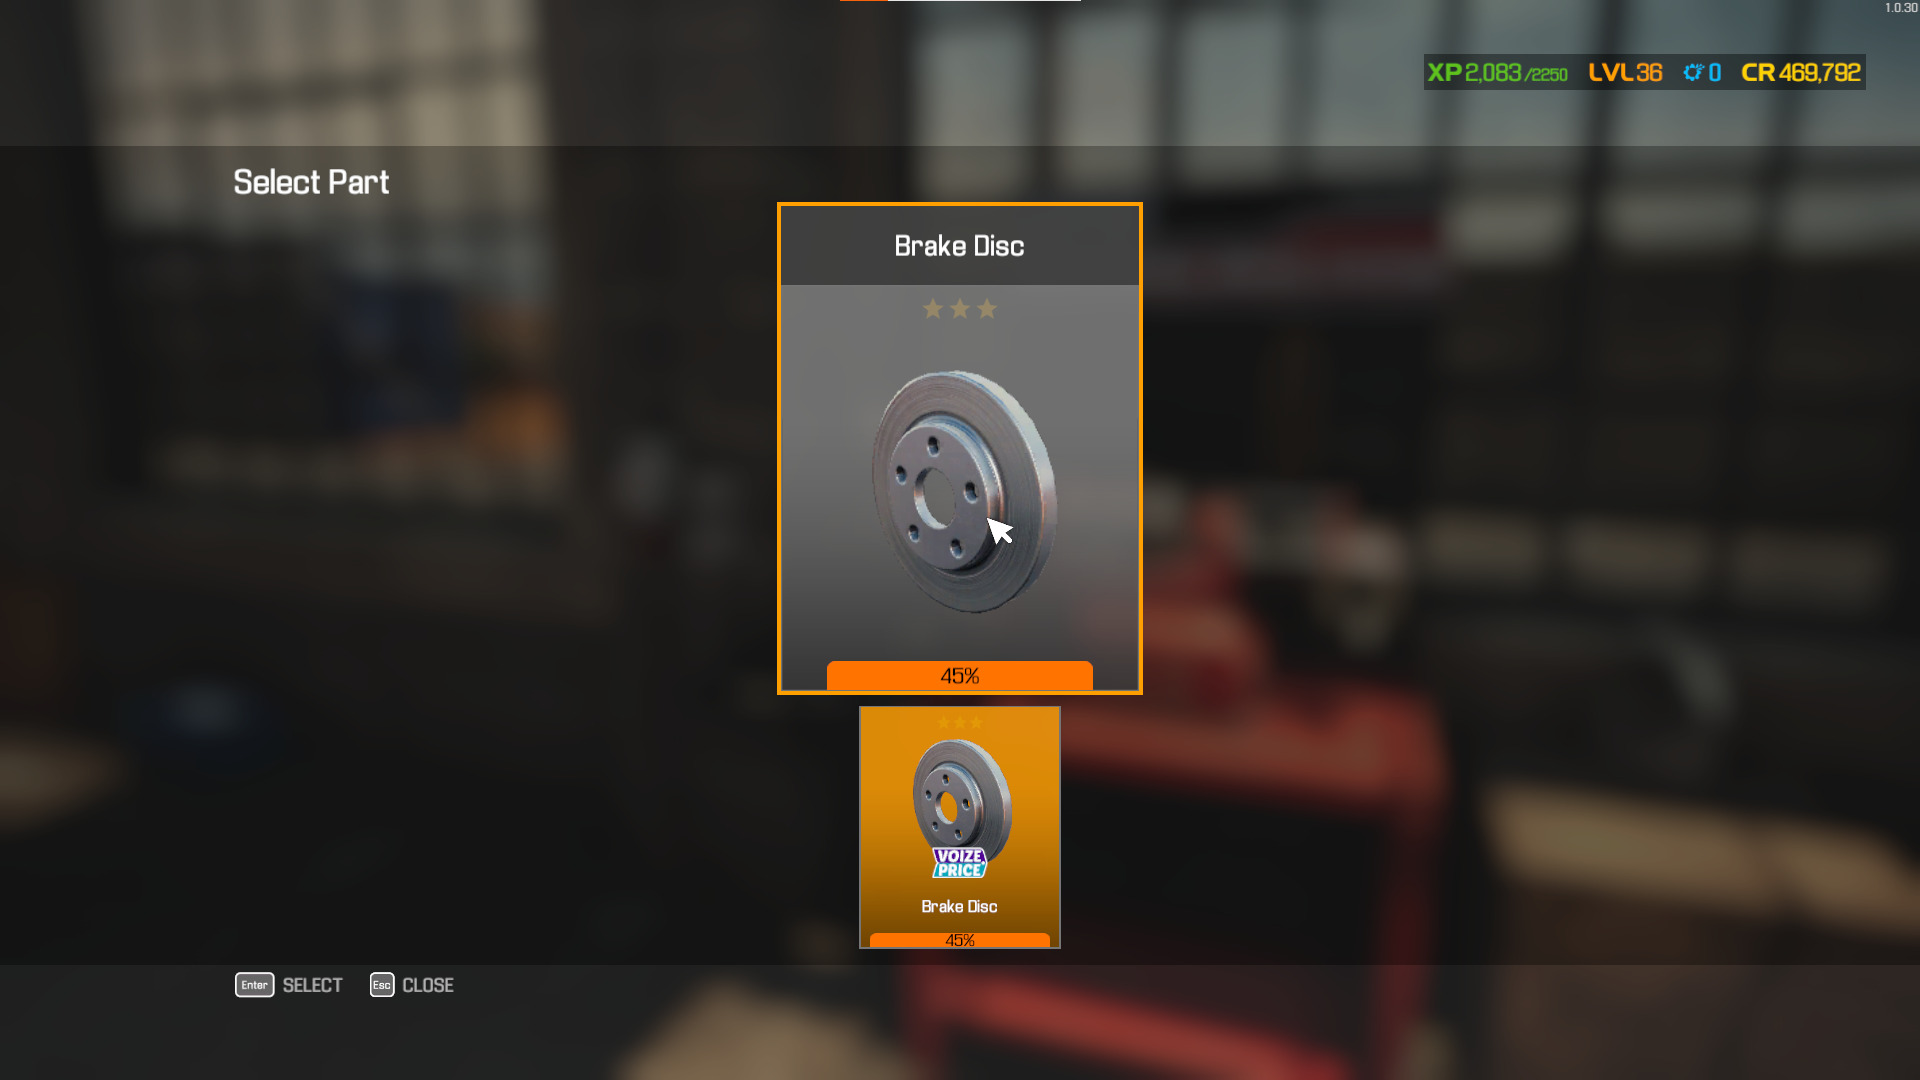
5. You do not have to do anything at this point. The Brake Lathe machine will repair the Brake Disc automatically.
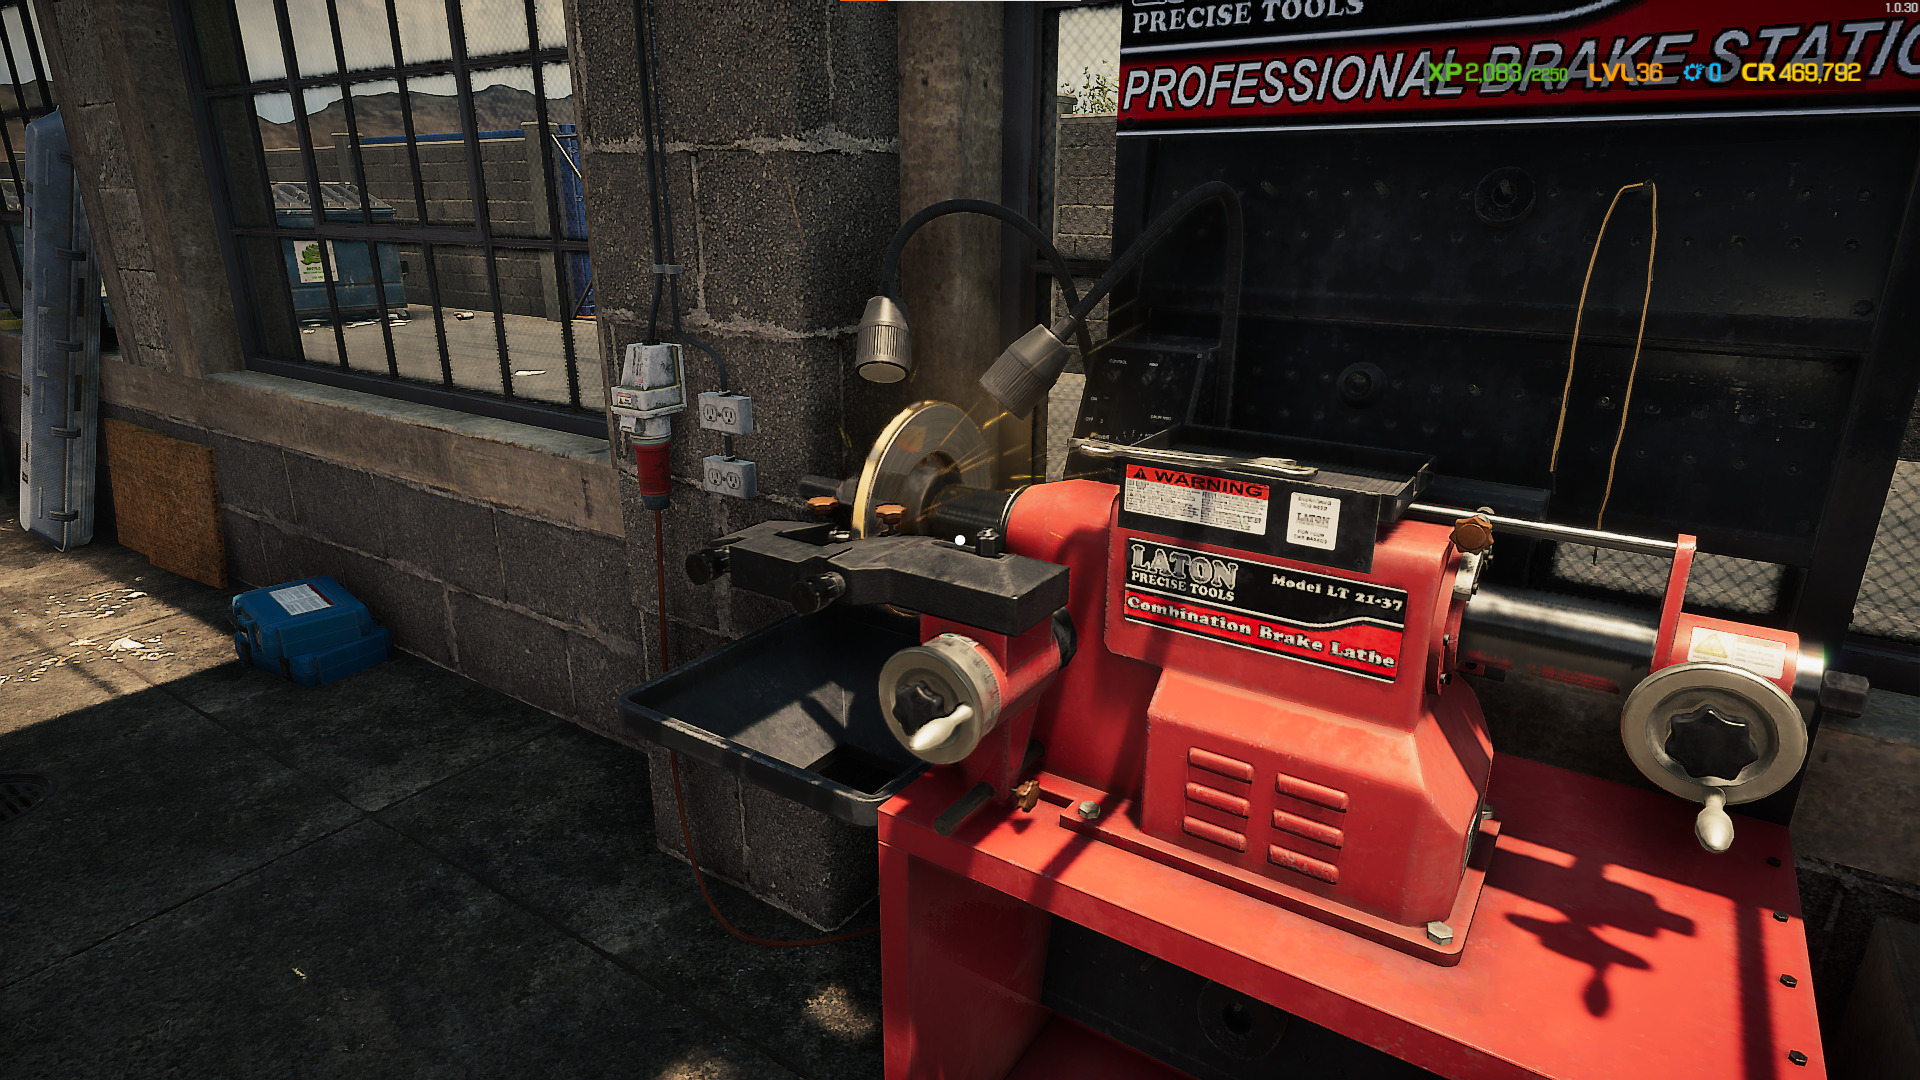
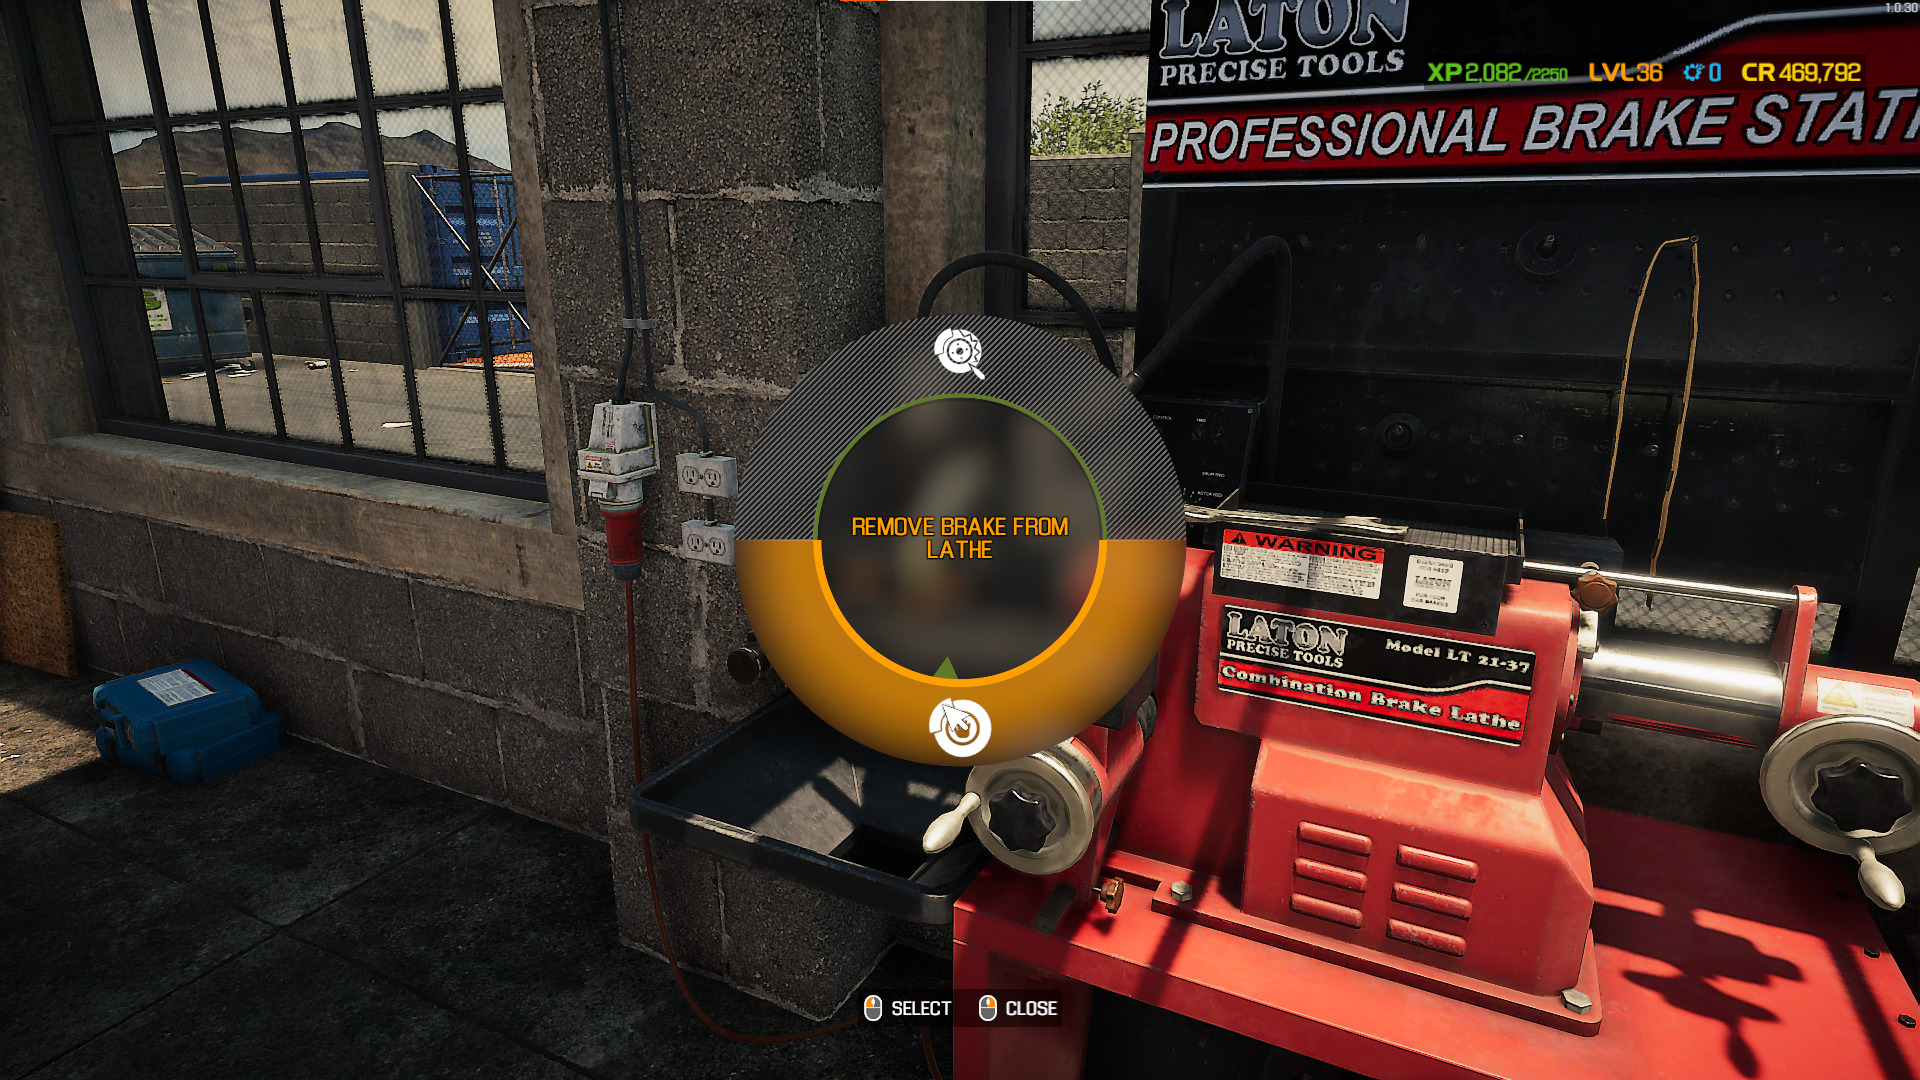
6. Once the Brake Lathe stops moving, remove the Brake Disc from the machine.
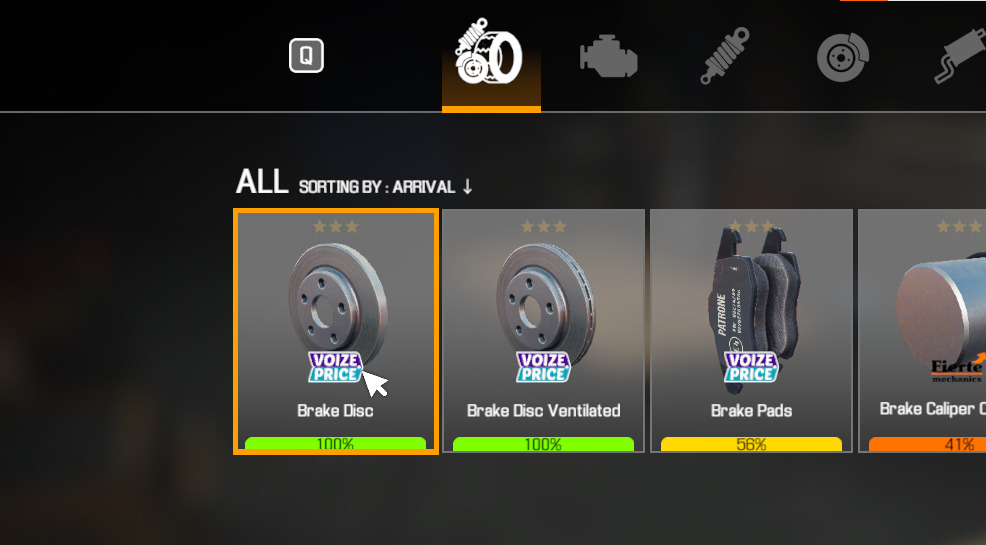
Once the repair is finished, your Disc Brakes should be in 100% condition.
How to Unlock the Brake Lathe in Car Mechanic Simulator
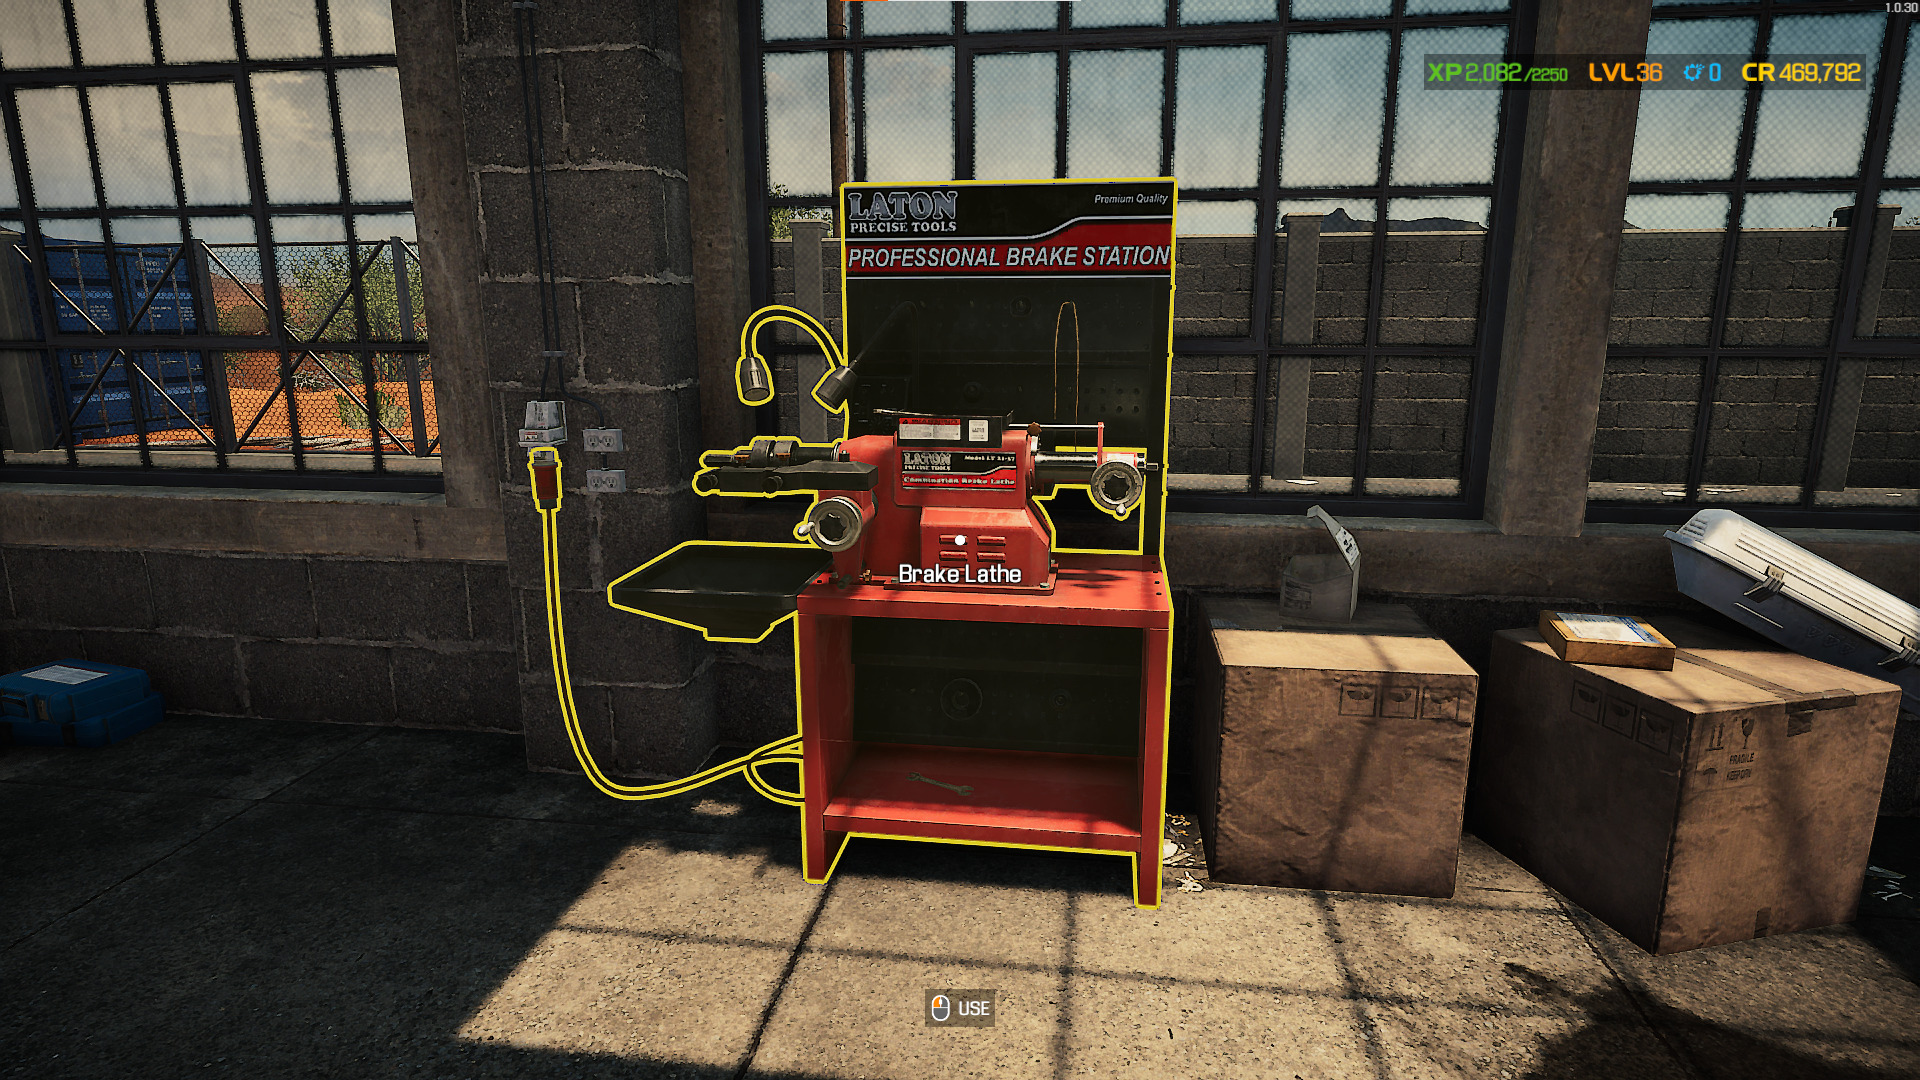
You can unlock the Brake Lathe in Car Mechanic Simulator after you unlock the Garage Expansion upgrade and purchase the Brake Lathe workbench. The Garage Expansion upgrade is necessary, as it is where you’ll find the Brake Lathe workbench in your garage.
- Click on the Toolbox.
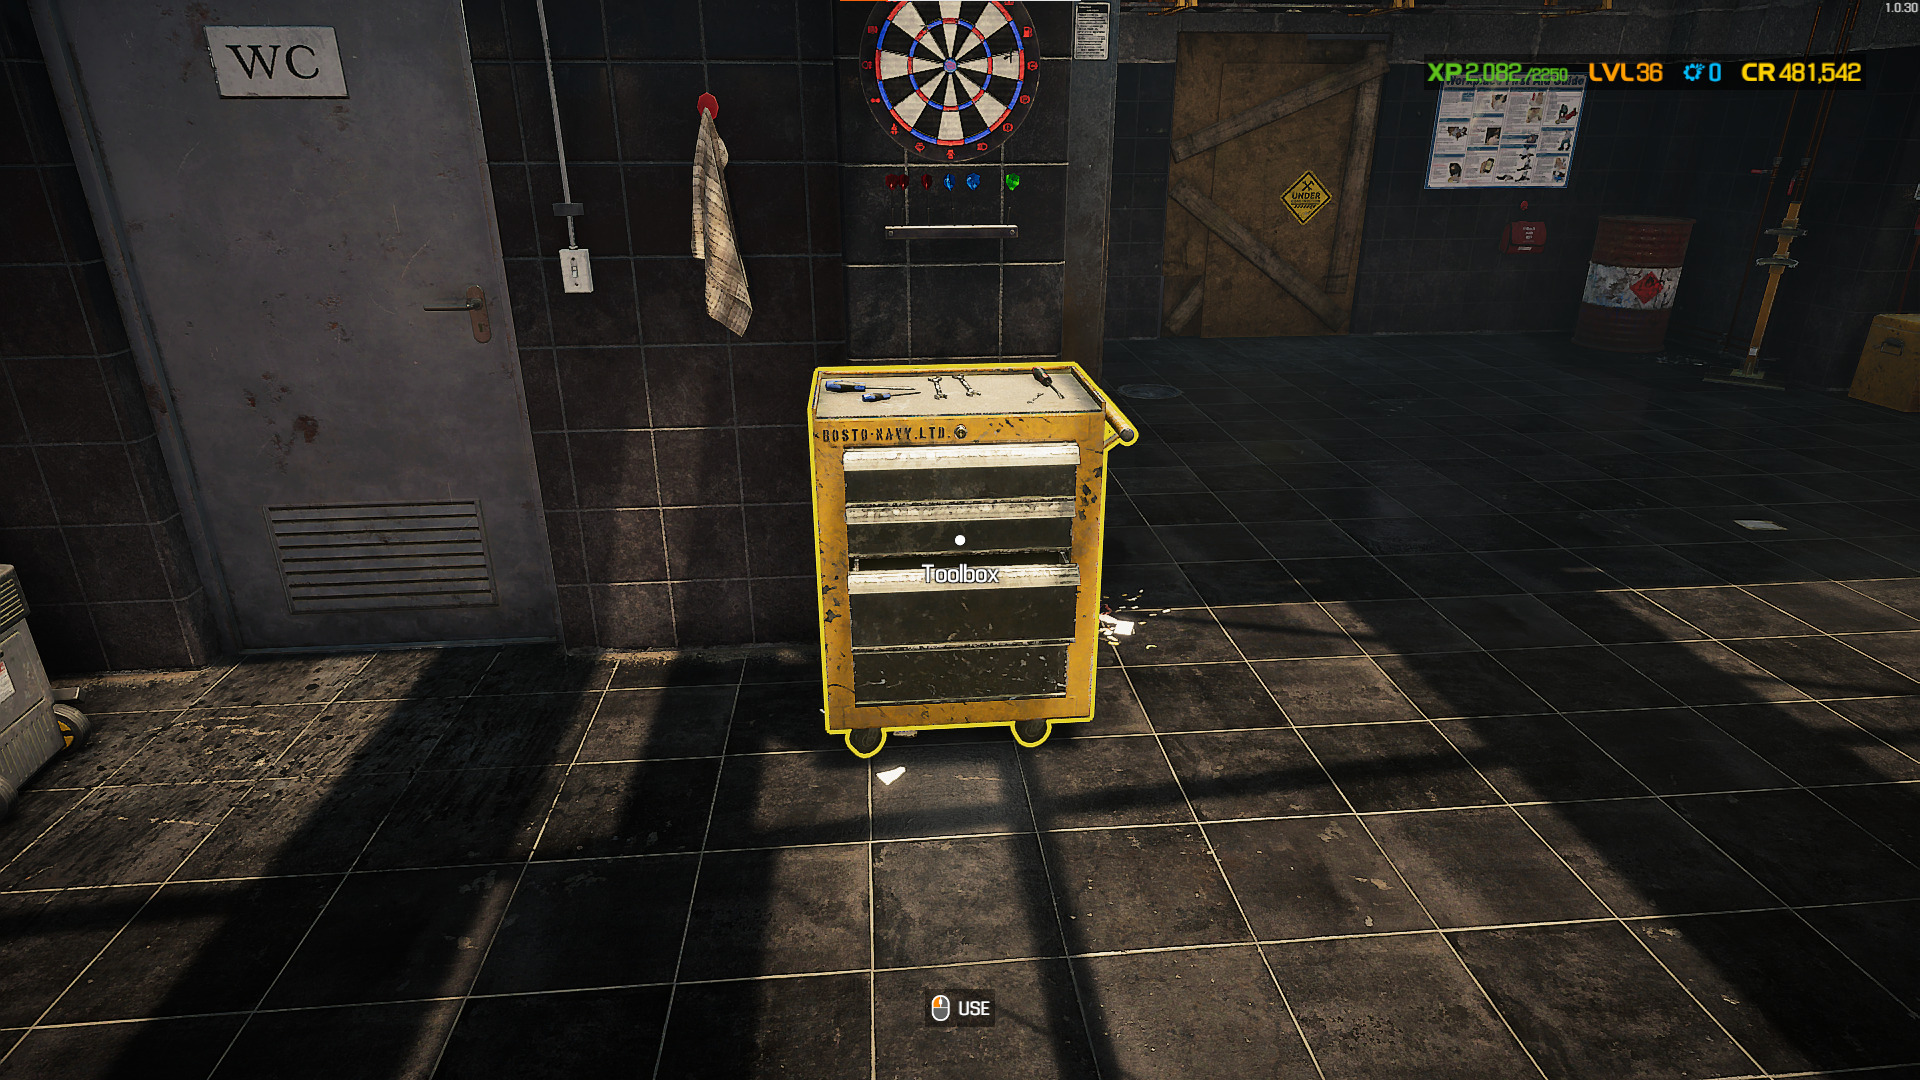
2. Click on the Garage and Tools tab.

3. Purchase the Garage Expansion upgrade.

4. Purchase the Brake Lathe Tool.

Final Thoughts
Addressing brake problems on cars in Car Mechanic Simulator might seem complicated. Still, all you need to do is disassemble the entire braking system and assess each braking component to ensure each one is in good working condition.
You can buy replacement parts to fix the problem if you have extra money. Alternatively, you can use the Brake Lathe to fix Brake Discs or the Repair Table to recondition parts such as Brake Calipers and ABS components.


