A lot of Triple-A and Indie developers had produced countless Rouge-like games recently due to the genre’s rising popularity. Thorium’s Undermine is one of those Rouge-like games with gripping and interesting elements, although it sometimes makes you want to throw in the towel because of its immense difficulty. When you delve deep into randomly-generated dungeons, encountering boss fights is inevitable. But did you know that you can actually skip them in this game?
Boss fights exist for you to discern your skills and gauge your capability to survive a meandering battle. There are six bosses that you’ll stumble across in Undermine. Some of them can be fought at your own discretion. If you feel like it’s not yet the time to take up that challenge, you can try the alternative way to progress further.
Selt, Queen of Sand

Selt is a giant millipede-like monster that can be found on the fourth floor of the mines, and it is the first of the two optional bosses you’ll cross paths with. As you explore the mines, a foreboding hole with warning signs will appear in one of the rooms. If you jump down on that hole, you’ll enter the area where Selt dwells.
Defeating Selt will allow you to gain passage in the Delvemore Dungeon, which is the second location you can explore in the game. There is another way to advance further without facing Selt, and this is where you’ll get to meet Bathcat and Toadvine.
Bathcat and Toadvine


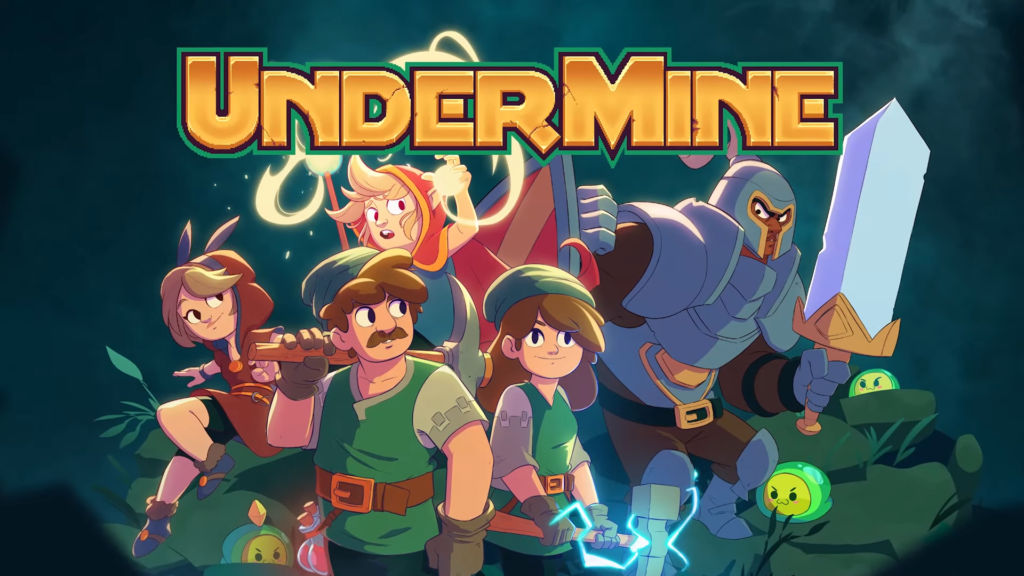
Bathcat is a non-playable character who has the ability to cast heal and a protective shield. When you try to talk her into opening the Delvemore Dungeon gate, she’ll say no and try to assert dominance at first. Do that several times and she’ll gradually become compliant. This is why, Toadvine, Bathcat’s armor-clad companion, is always there by her side to look after her. Unlike Bathcat, Toadvine is a no-nonsense gruff who seems like he will not back down from a fight.
Encountering the Guards

You will run into Bathcat and Toadvine a couple of times throughout the game. The first time is when you reach the iron gate that leads to the Delvemore Dungeon, which will be inaccessible until you defeat Selt. But as mentioned before, if you don’t want to engage in a fight with Selt right away, you can choose to eliminate the two guards instead.
Preparing for battle

If you’re lucky enough to collect relics that can increase the speed and damage of your pickaxe’s swing like the Berserker’s Pendant or the Iron Branch, you’ll most likely be victorious in this fight.
The Shop Keeper may also sell a Strength Serum potion that can temporarily raise your swing damage or an Alacrity Serum, which can boost the speed of your attack.
Try to save up as many bombs as you can because they will serve you well in eliminating the guards. Before initiating a fight with Bathcat and Toadvine, plant some bombs beside them to pre-emptively hurt them and gain an advantage in this battle.
Defeating the Cat and the Toad
Bathcat is a priest, so as one would expect, she will take all the opportunities she’ll get to heal herself and the Toadvine. She’ll also cast Shield which can make her invulnerable from any form of attacks, and that includes melee and ranged attacks.
The best way to deal with her is to strike her with your pickaxe relentlessly before she can cast Shield. Bathcat is incapable of inflicting too much damage, and that’s why between the two guards, she’s undoubtedly the easiest one to take out. It would be better to finish off Bathcat first since she will heal Toadvine every time he takes damage.
Toadvine is a footman who is tougher than Bathcat by a mile. He can deflect ranged attacks and will fearlessly slash you with his sword if you’re within his range. The trick to defeating him easily is to perform jump attacks while avoiding his strikes.
Avoid hitting barrels that are spread all over the room or they will spill out oil. Oil, when spilled, can make the floor sticky, causing your feet to get stuck on the floor and preventing you to perform jump attacks.
The Aftermath

After eliminating the guards, you’ll now be able to access the Delvemore Dungeon. You may try to jump down the dire-looking hole in your next run once you feel confident enough to take Selt on. The Queen of Sand will drop gold rewards, along with the Selt’s Egg blueprint and the Selt’s Blood potion when defeated.
You will encounter Bathcat and Toadvine again in the Delvemore Dungeon when you attempt to rescue Lillyth. Although this time, they will not engage in combat you. And if you do try to hit one of them, you will automatically get teleported and locked out.