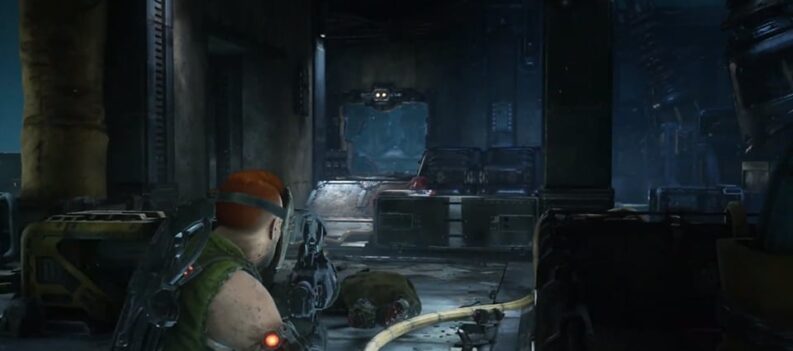
In the most recent DLC for Gears 5, the Hivebusters DLC, the developers have implemented quite a lot of new content. Along with it, some upgrades for the characters as well.
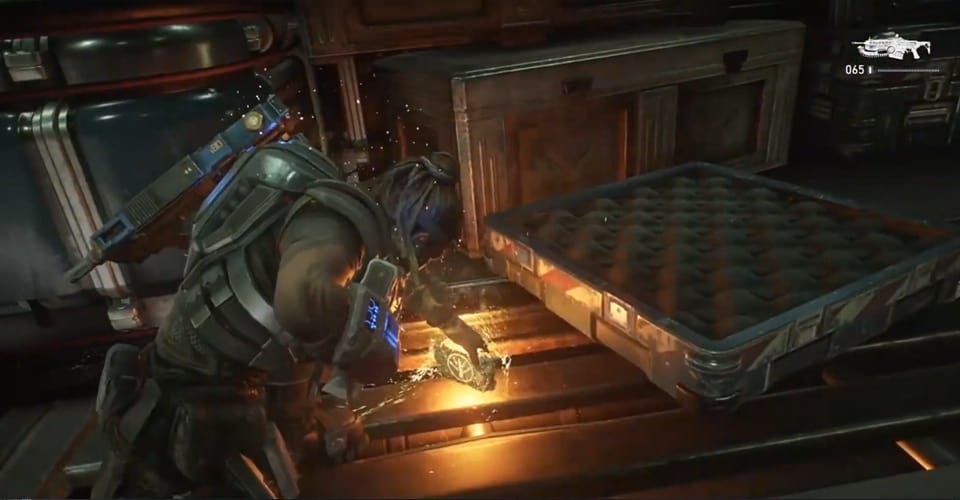
Truthfully, these are quite easy to find if you’re looking for them when playing. Nevertheless, in some cases, players get to focused on a certain part of the mission or objective, and they might miss quite a few of these.
At least there is a silver lining. In Gears 5, as you know, you can go back at these locations and get all of the upgrades that you’ve missed!
Chapter 2 All Upgrades Locations – Gears 5 Hivebusters
Today we will cover all of the ultimate ability upgrades for the second chapter of the Hivebusters DLC. On top of the upgrades, on this chapter there are some collectibles as well, but for the purpose of keeping it clear, we will only mention upgrades.
As for the collectibles, make sure to follow us to be up-to-date with the latest findings! With that said, in Chapter 2, there are four upgrades in total. Here are they, in order:
#1 Upgrade – Front Area After Vault Opens
Just after the vault opens, continue walking in a straight line. Take the first stairs down, and next to the crates on the ground, you’ll see a package. This is an upgrade for Keegan.
It’s called resupply, and Keegan will be able to resupply his comrades with ammo!
#2 Upgrade – Go Back to Locked Room After the First Hack
Observe the yellow control box on the wall, and your comrade will take a look at it, and whether it is connected to the door.
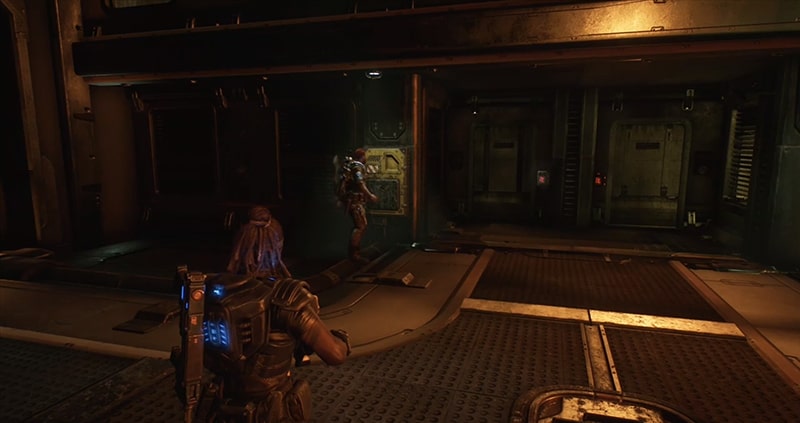
Go back to the locked room and then open the door. Inside, on a table, you should see the second package, i.e. upgrade! This one is for Mac, and it will increase his barrier duration by 50%!
#3 Upgrade – Before Lowering Elevator Shaft
Left of the elevator when looking at it. More specifically, like in the reference picture:
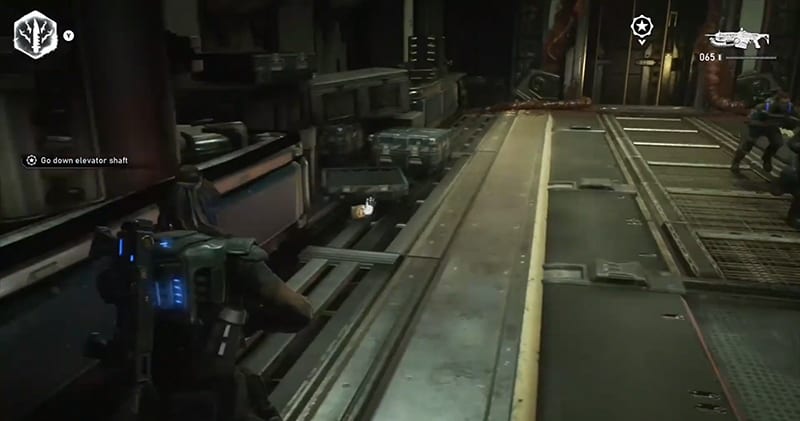
The package is on the ground next to some boxes and crates. It is an upgrade for Lahni and it will give you the ability to decrase your Electroblade cooldown with kills!
#4 Upgrade – After the Coolant Area
Once you start walking into the next location, there should be some boxes on the right. Behind them, will be the fourth upgrade. Here is where:
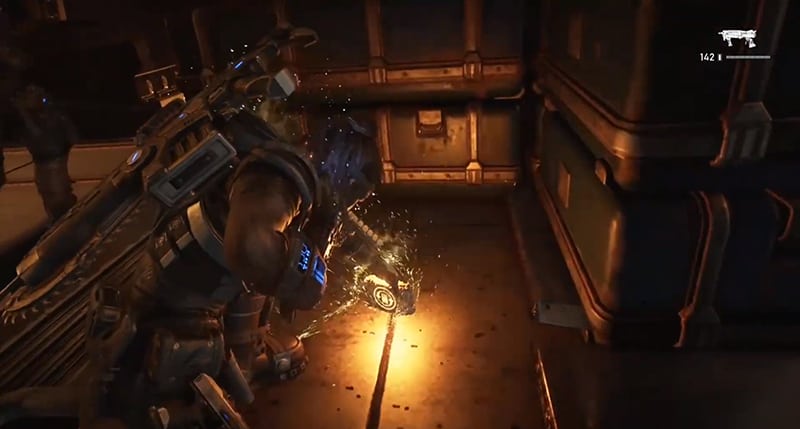
This one is for Keegan as well, and it will increase the rate of the Resupply upgrade!
READ NEXT : How to Fix Discord Microphone Not Working (4 Steps)


