Defeat the Goblin Leaders, save the Refugees, and find Halsin to complete the Shattered Sanctum in Baldur’s Gate 3.
The Shattered Sanctum is one of the longer stops you’ll make in Act One, and in true Baldur’s Gate fashion, you are free to choose the dialogues and actions you want to shape the game’s narratives moving forward.
This guide will walk you through one of the many ways you can complete the Shattered Sanctum in Baldur’s Gate 3.
How to Complete the Shattered Sanctum
To complete the Shattered Sanctum in Baldur’s Gate 3, you must check off five objectives. While there is tons of stuff to do in the sanctum, you only have to focus on the following objectives to complete the area.
- Find a Cure
- Save the Refugees
- Defeat the Goblins
- Rescue Volo
- Rescue the Druid Halsin
- Defeat the Goblin Leaders
Entering the Shattered Sanctum
Cross the footbridge at the Goblin Camp entrance to meet with the Goblin Sazza. She will serve as your ticket to the Goblin Camp. A Sentinel Olak will stop you at the gate and question Sazza and your party.

Sentinel Olak: Is what Saz says true? You helped her escape that grove?
- Yes – I don’t believe in keeping prisoners.
- I just hope she’ll prove useful.
- Shrug and say nothing.
Choosing answer one will grant you entry to the Goblin Camp. Now that you’re granted entry into the camp feel free to explore the area and talk to all the NPCs. Just don’t stir up any trouble just yet.
Freeing Volo from the Shattered Sanctum
Right after you enter the Goblin Camp, head for the Goblin Camp plaza at X: 130, Y: 421 on the map. You will find Volo – a Bard performing for the Goblin Camp there.
Talking to Volo will trigger a conversation with the Goblin Gribbo as well. The dialogue will lead Volo to lose momentum, much to the disappointment of Gribbo, who will then send Volo back to his cage.
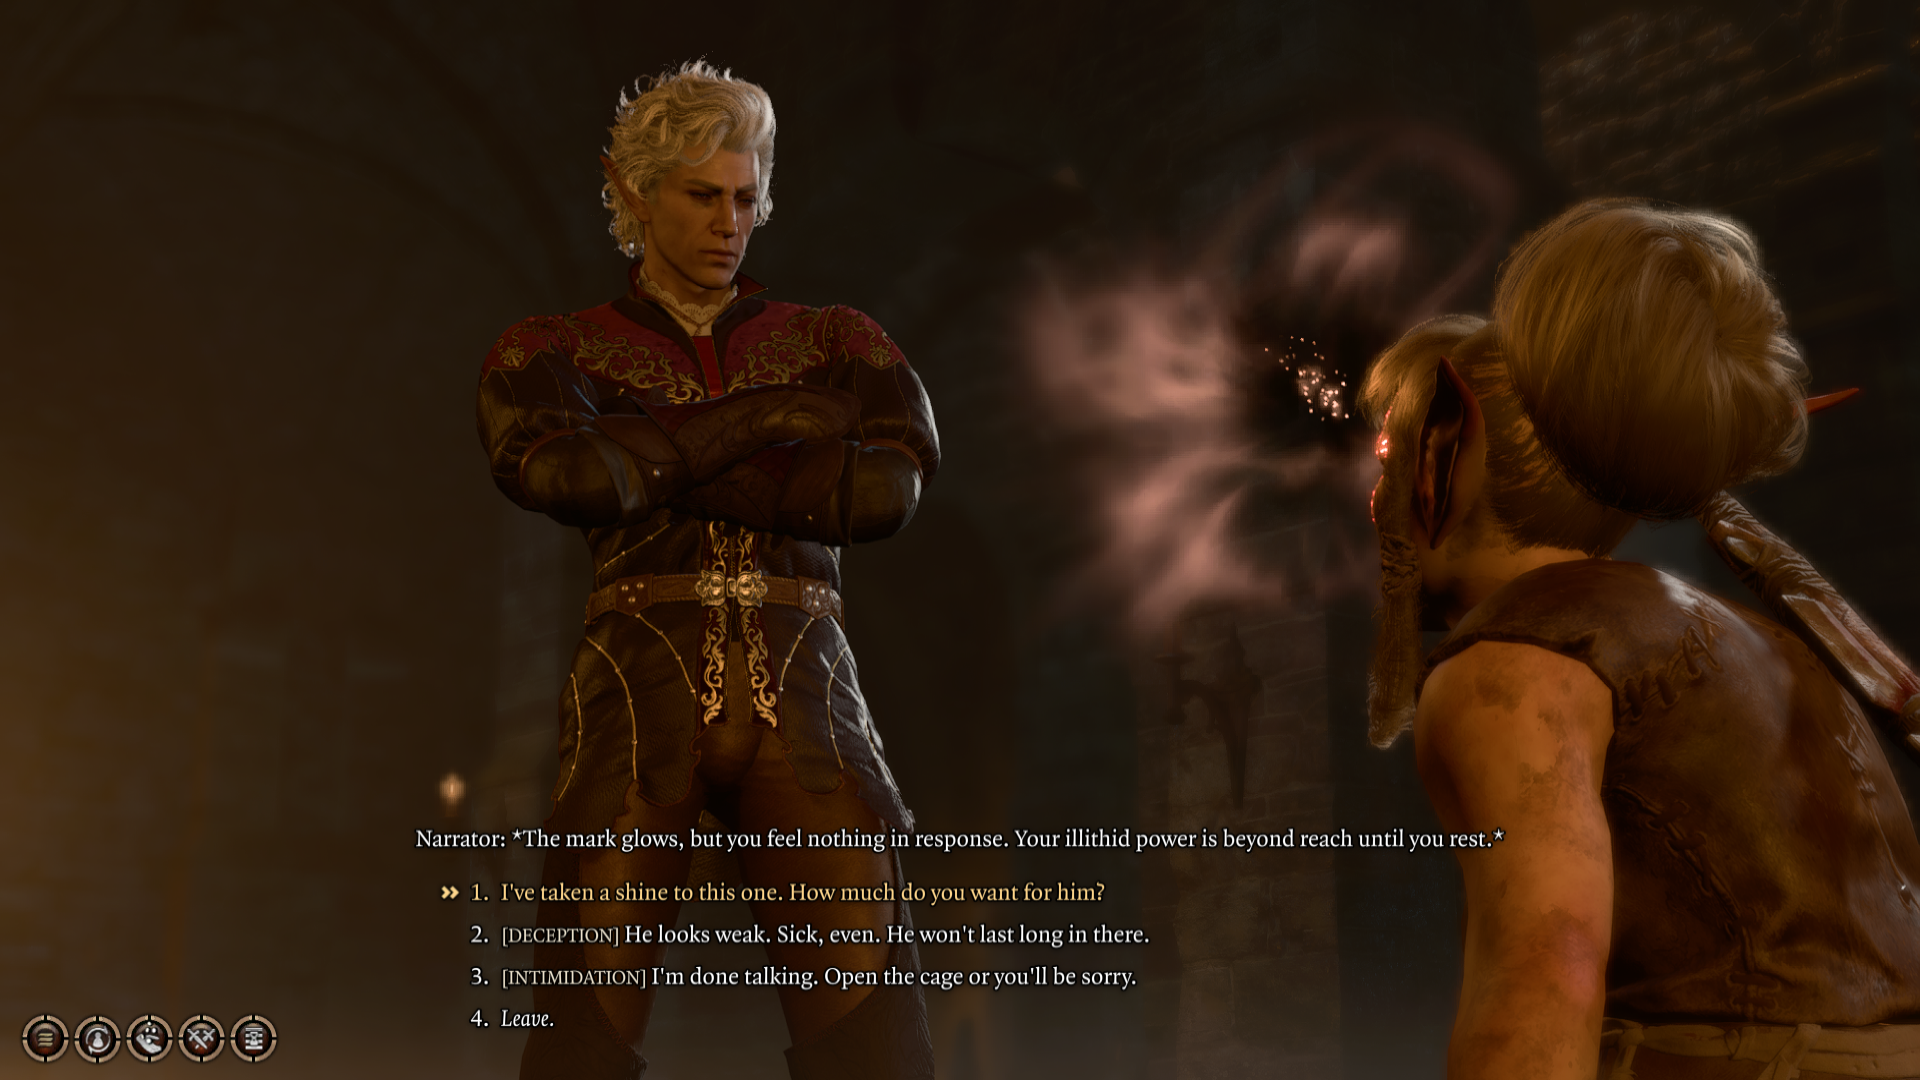
Your goal here is to set Volo free, and you have five dialogue options to do just that.
- I’ve taken a shine to this one. How much do you want for him?
- [ILLITHID] Wisdom: Set him free.
- [DECEPTION] He looks weak. Sick, even. He won’t last long in there.
- [INTIMIDATION] I’m done talking. Open the cage, or you’ll be sorry.
- [DETECT THOUGHTS] Read her thoughts.
- Leave.
You can opt for a Deception check requiring DC 10 or higher to pass. Try to save your game before you attempt the check so you can reload your save file if you don’t get the roll.
After you pass the check, Gribbo will hand you the cage key, allowing you to free Volo from his cage. You can then send Volo to your Camp or part ways with him in the Shattered Sanctum.

The Bloodied Shrine and Save Liam
After your conversation with Volo, enter the Heavy Oak Doors in the plaza to get to the Shattered Sanctum. Sazza should be inside the Sanctum and help you get past the guards.
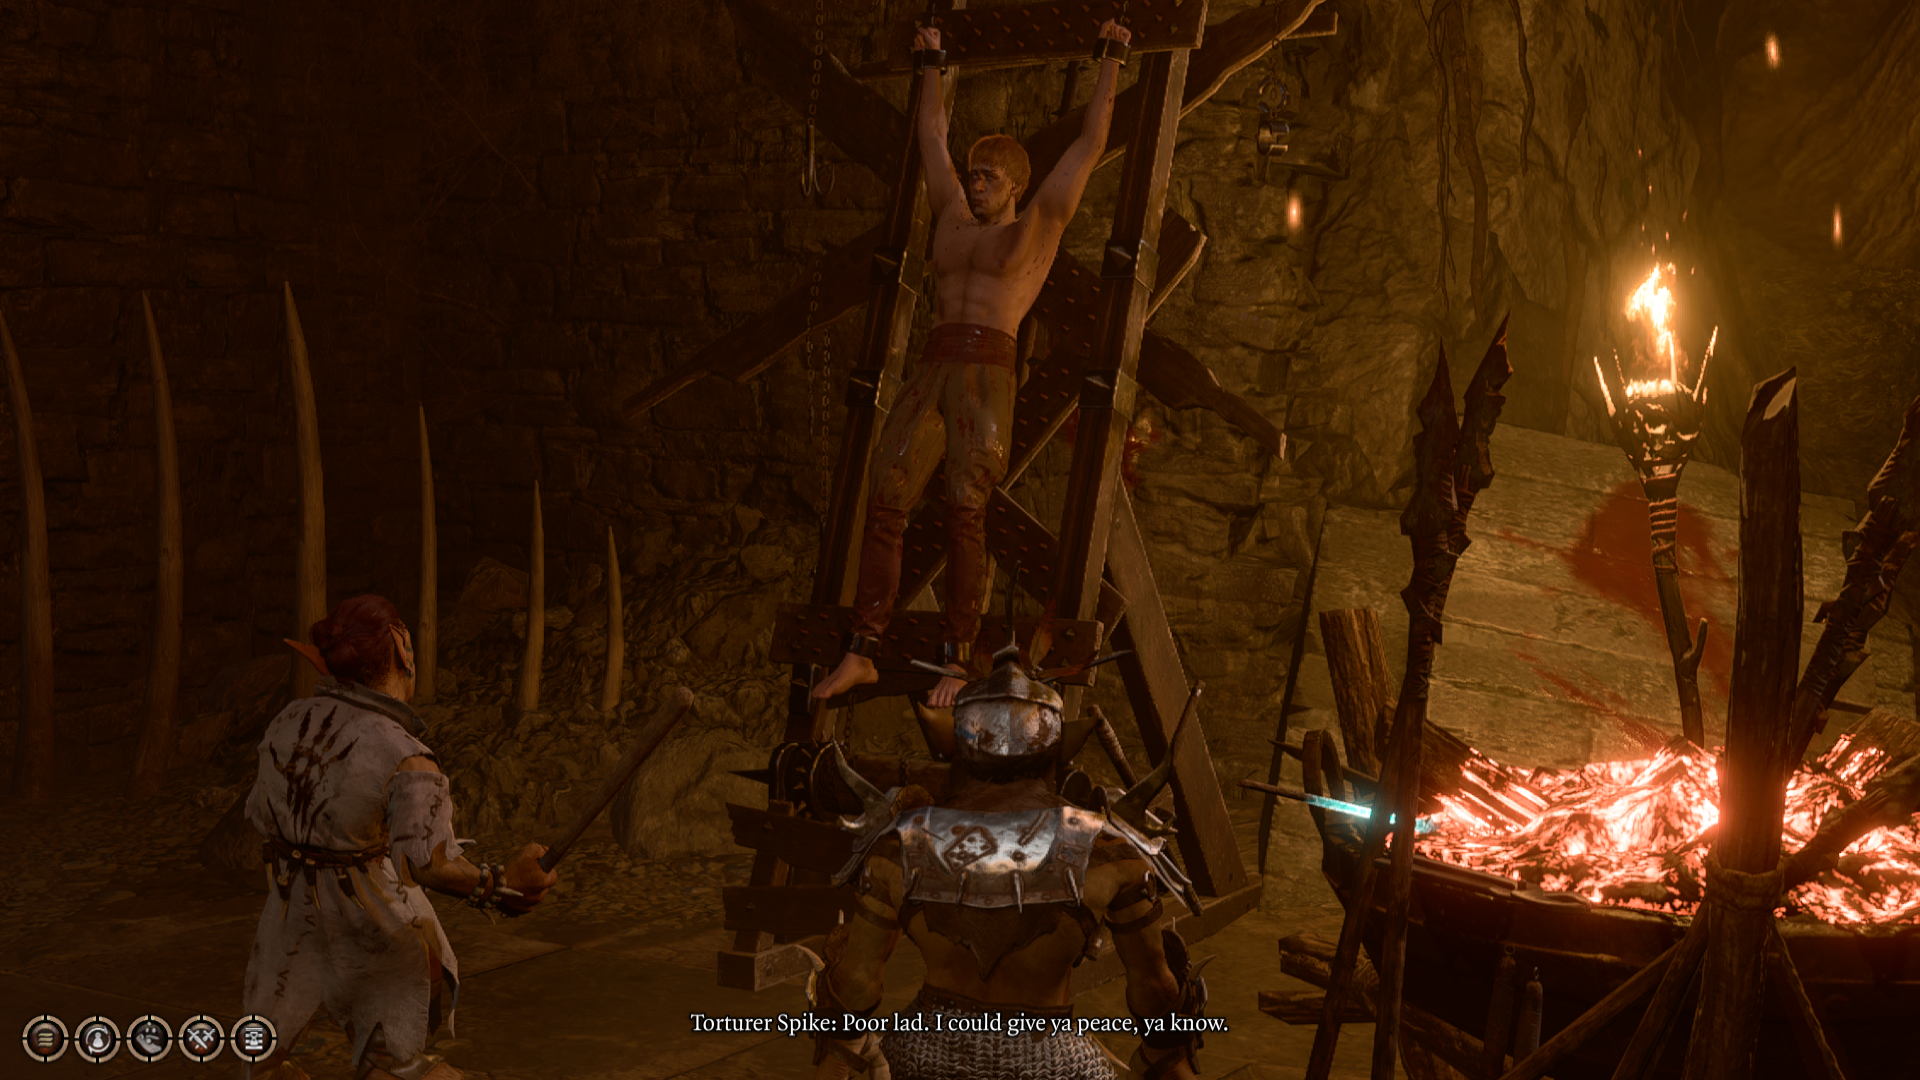
Once you’ve entered the Shattered Sanctum, head for The Bloodied Shrine and take the stairs on the right. The stairs should lead you to Liam, whom Torturer Spike is torturing.
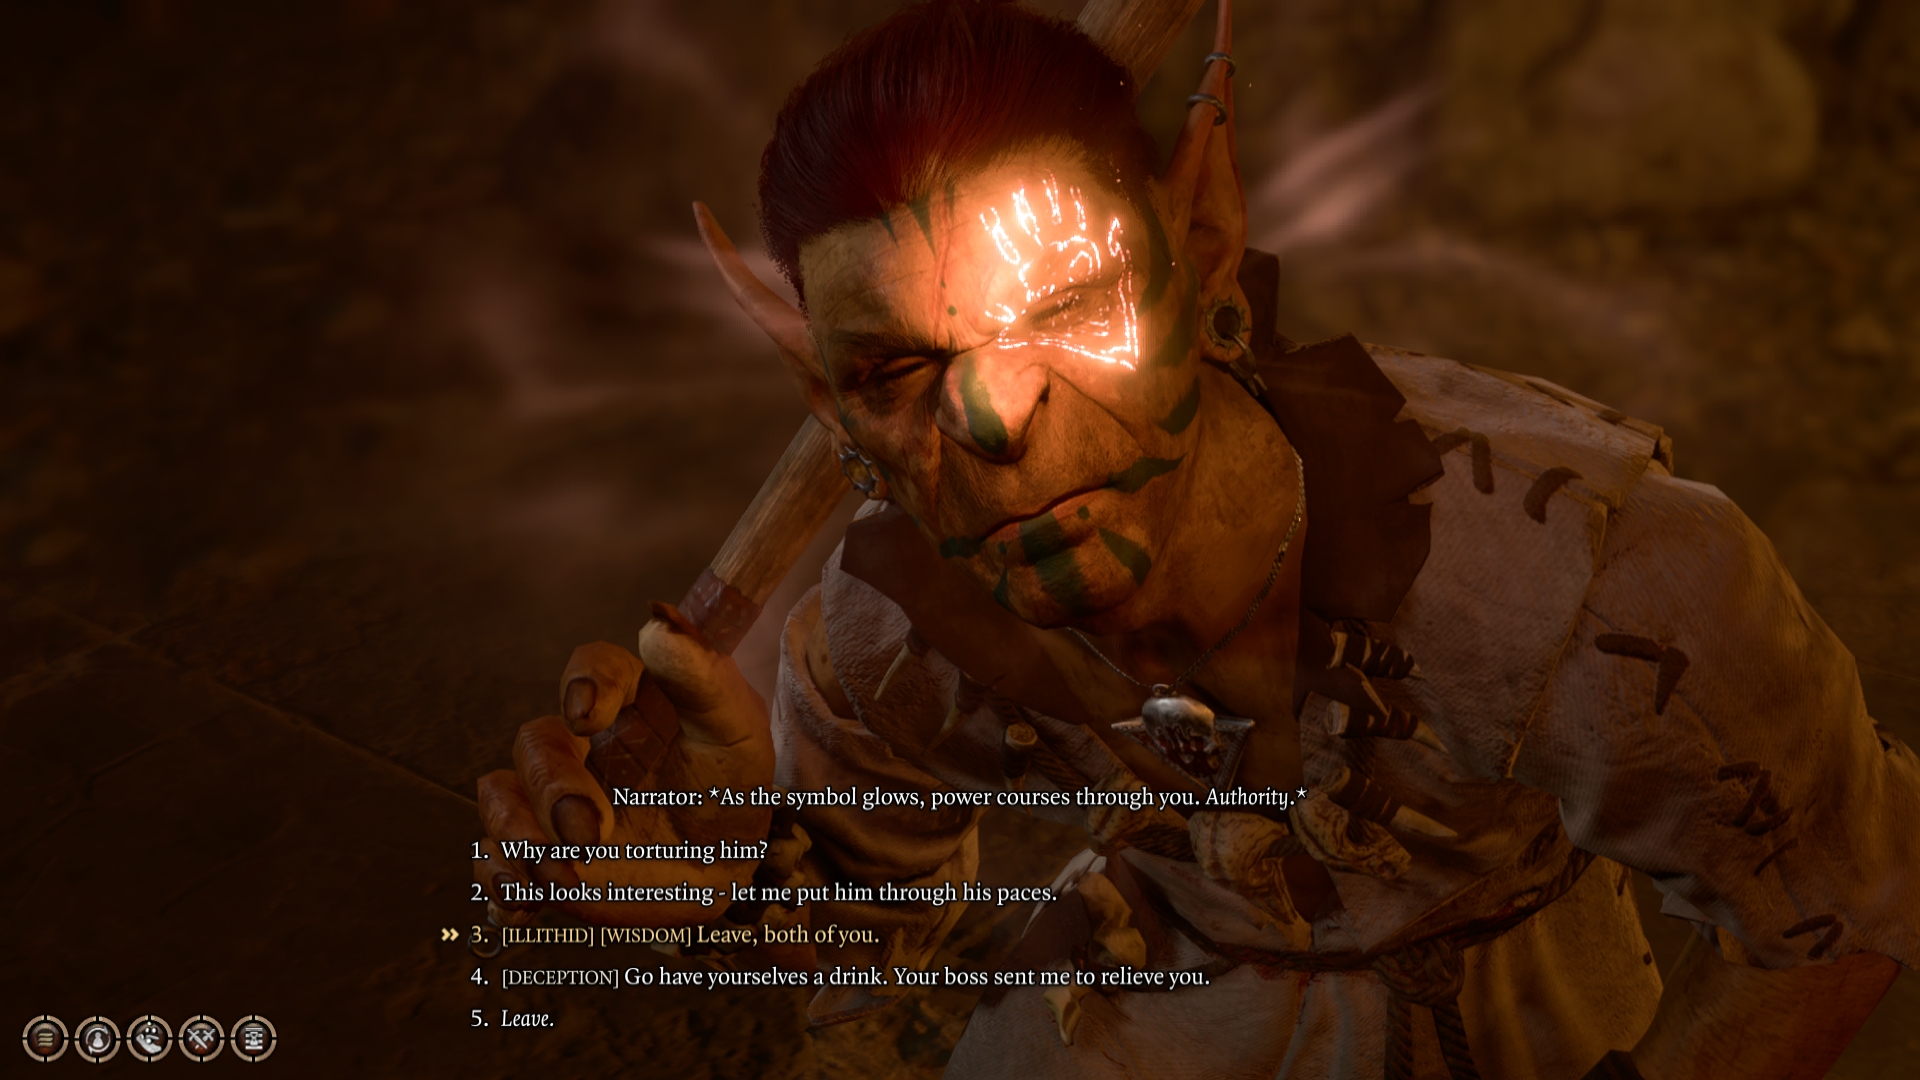
You must pass a quick dialogue check to free Liam. Use Illithid Wisdom, Deception, Performance, or Detect Thoughts to dismiss Torturer Spike from the room.
If you opt for a Deception Check, you must roll a DC 20 to dismiss Torturer Spike. Once Spike is out of the picture, you can talk to Liam.
- I came for the Nightsong. Where is it?
- I’m looking for a druid, name Halsin.
- Relax. I’m not going to leave you here.
- [SLEIGHT OF HAND] Pick the lock.
- Leave.
If you ask Liam about Halsin, he will tell you he last saw the druid transform into a bear but is unsure about his whereabouts. After you get this information from Liam, perform a Sleight of Hand check to unlock and free Liam’s shackles, or you can tell him to relax and return for him later. Just don’t forget to free him before you complete the Shattered Sanctum in Baldur’s Gate 3.
Like most dialogue checks in the game, you’ll want to save before you choose any of these options so you can reload your game if you don’t get the right roll.
The Shattered Sanctum’s Expert Torturer
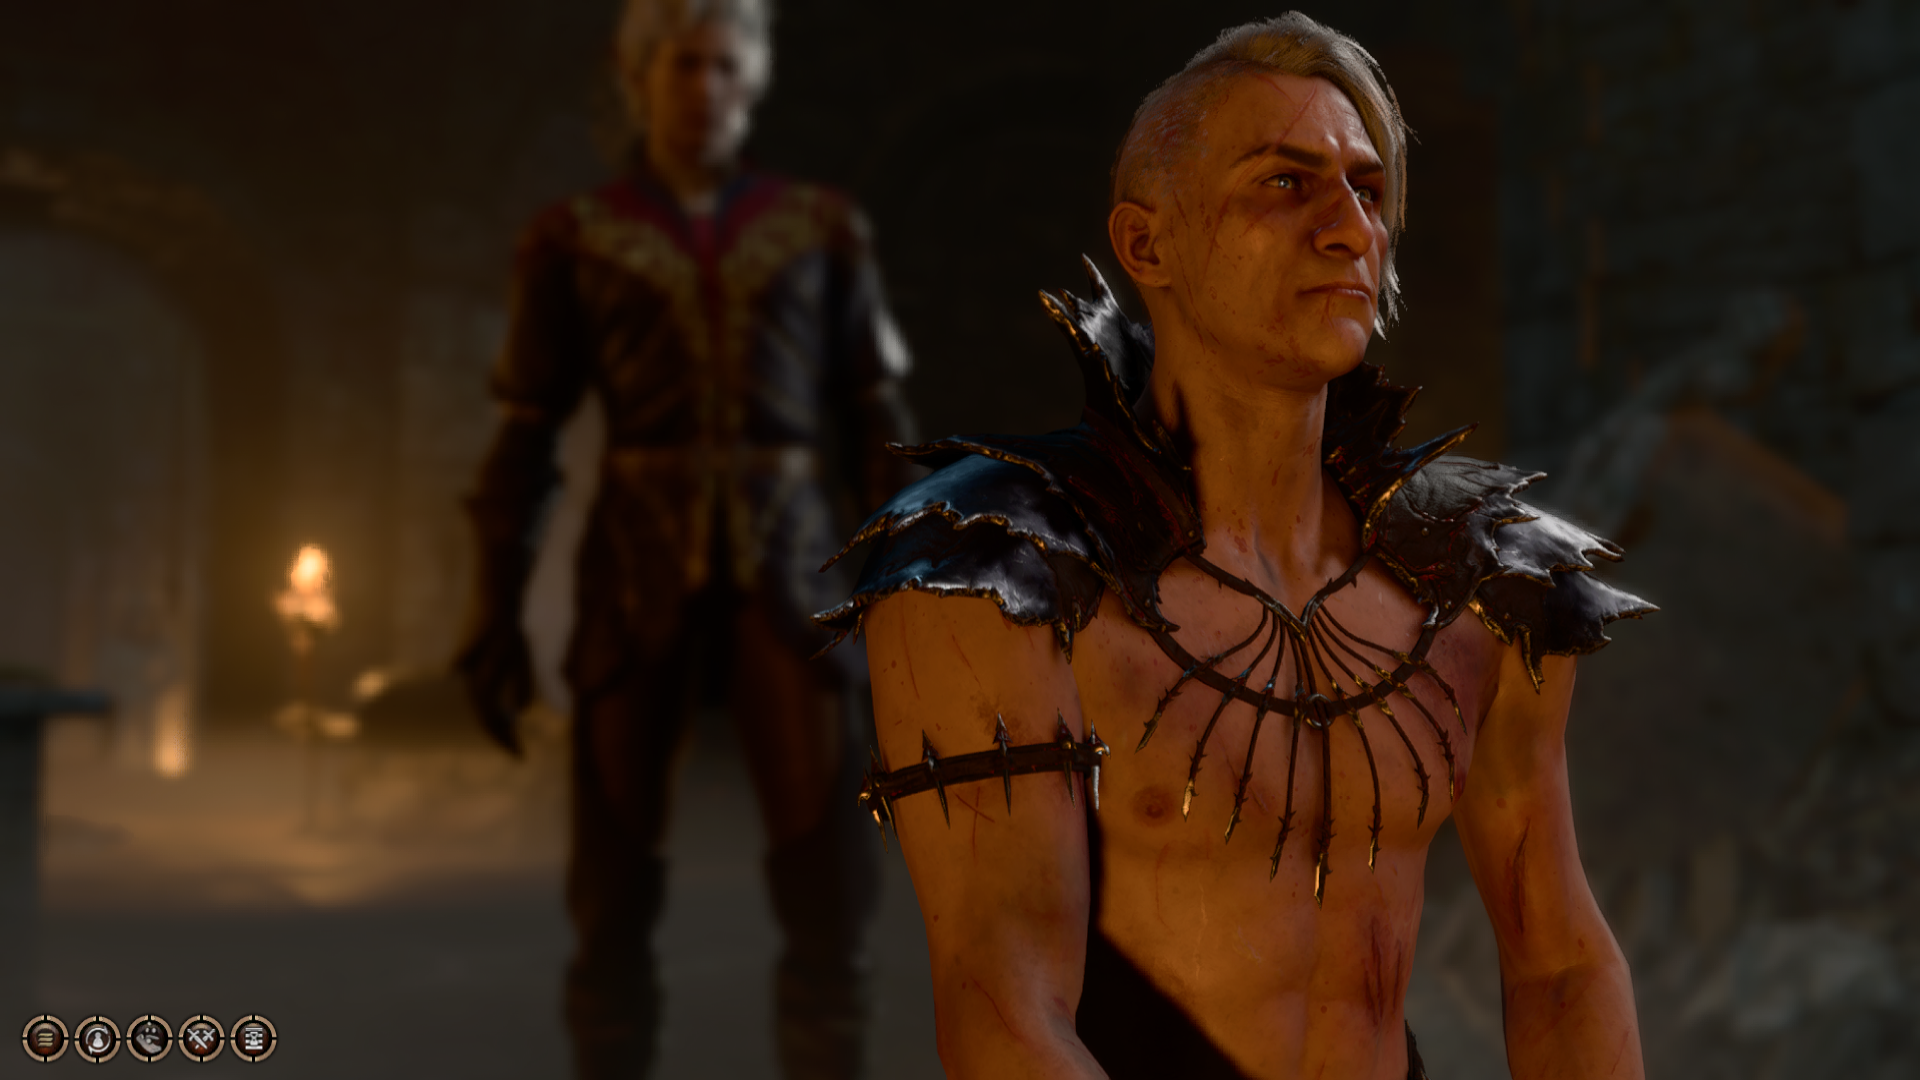
After your encounter with Liam, head to the room next door to find Abdirak, a follower of the goddess of pain, Loviatar. Abdirak will offer to show you how to alleviate the pain your character is experiencing through the ways of Loviatar.
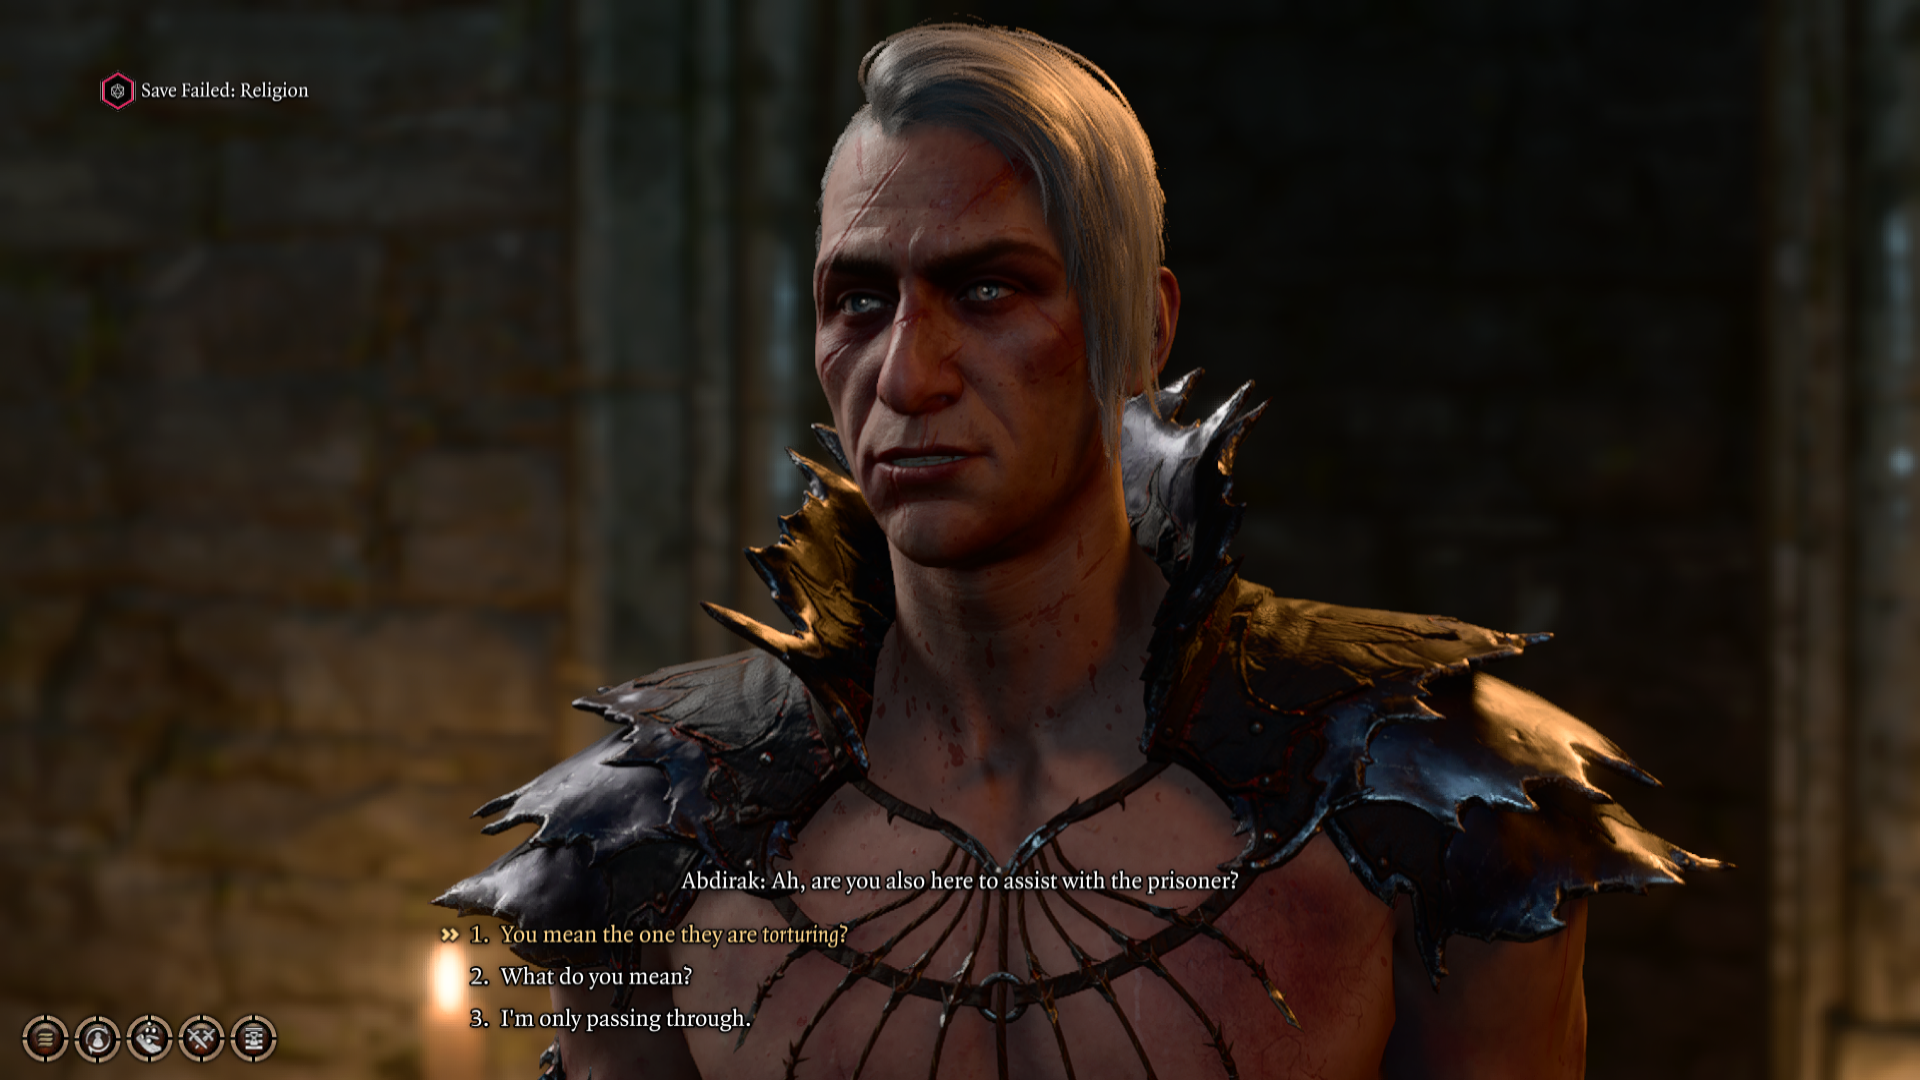
Your answers in your dialogue with Abdirak will impact Astarion and Shadowheart’s approval. You can also opt to leave since your conversation with Abdirak won’t have any bearing on the completion of the Shattered Sanctum.
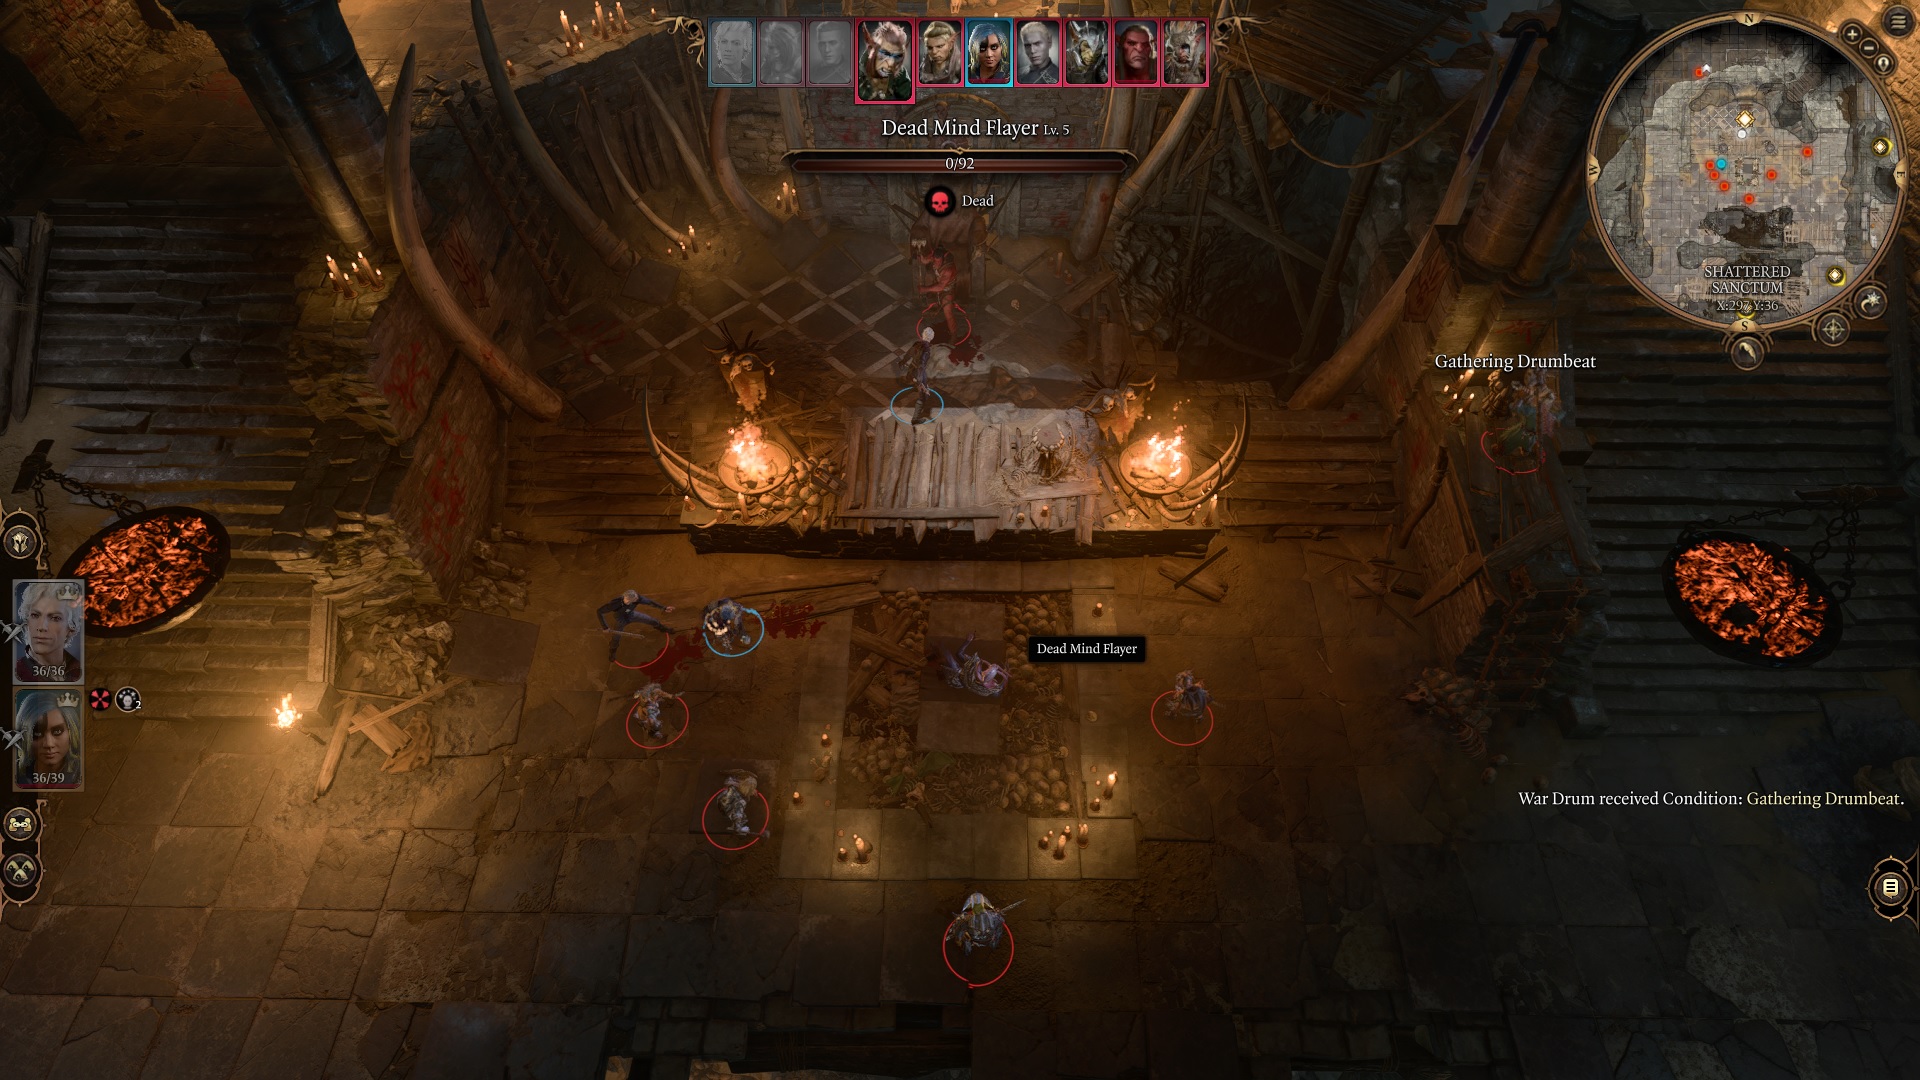
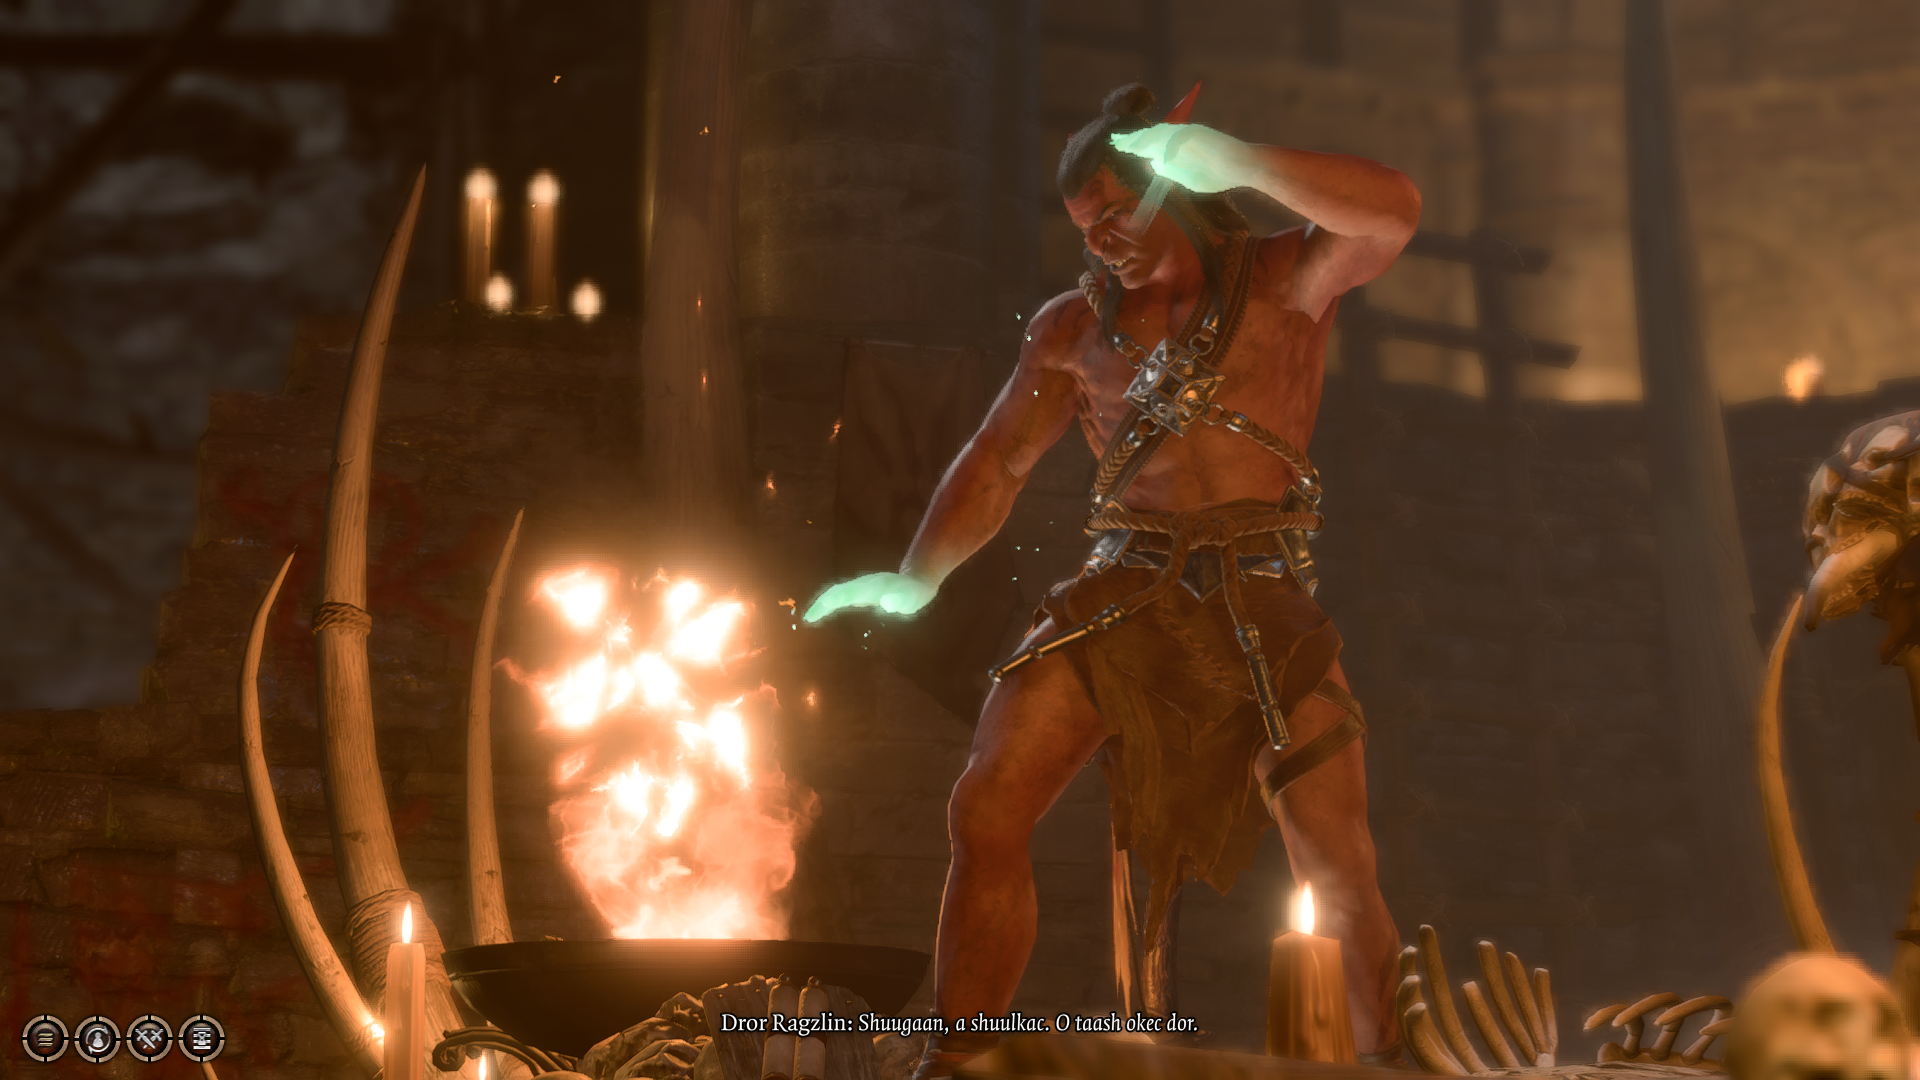
Encounter with Dror Ragzlin (Goblin Leader)
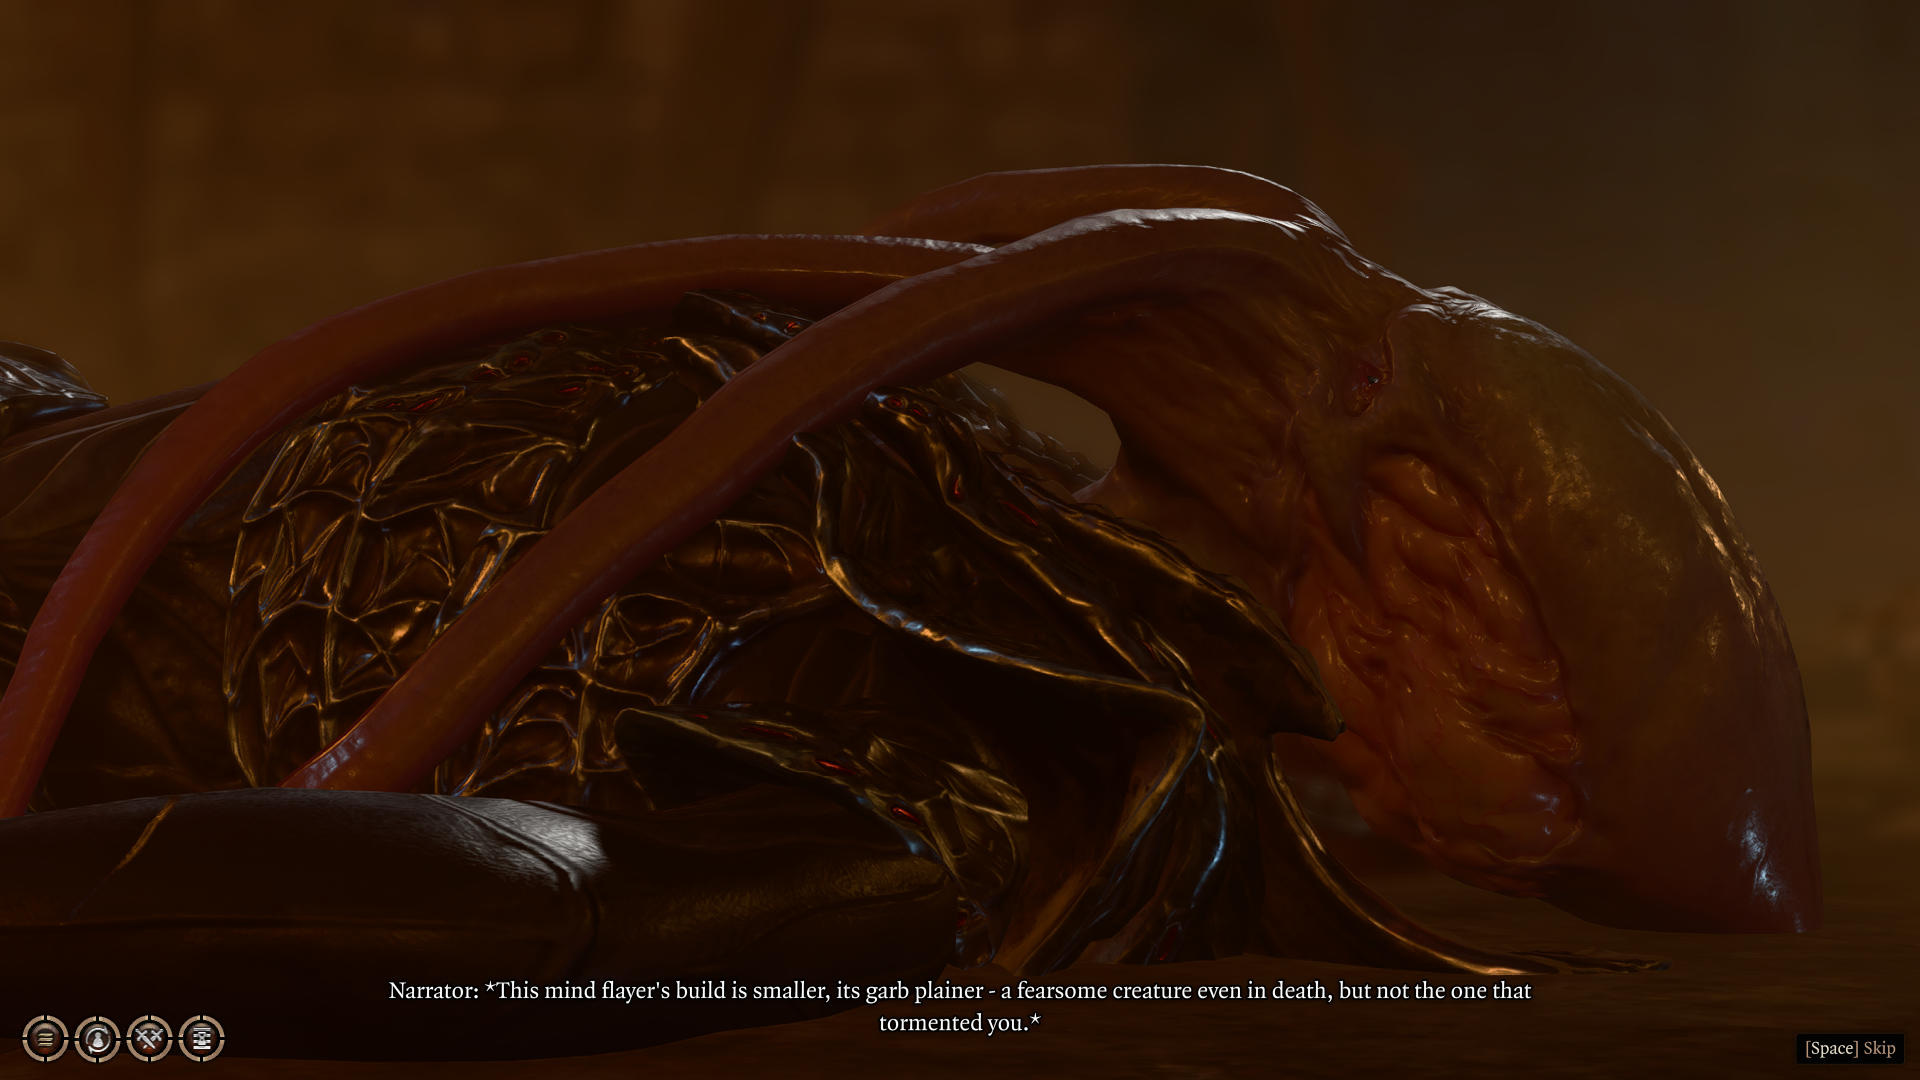
At X:290 Y:34 in the Shattered Sanctum, you will encounter one of the Goblin leaders, Dror Ragzlin, performing a ritual in front of his followers. Interact with the corpse to get the following dialogue options:
- Study the corpse. Was this in the mind flayer that tortured you?
- I haven’t made a habit of it.
- What kind of ceremony is this?
- Settle in to watch the proceedings.
- Move in for the kill. Turn away from the rite.
Choose answer 1 to get more information about the corpse and why Dror Ragzlin is examining it. Dror will tell you that they’re looking for the creature’s killer and claim the creature had a weapon on them before they were killed, and finding the same weapon will point to the corpse’s killer.
Shadowheart will become anxious as she carries the weapon Dror is referring to. A few dialogue options will become available:
- Then let the ceremony proceed.
- Attack the hobgoblin.
- Leave, before the mind flayer can identify you.
Choose answer one and let the ceremony proceed to push the dialogue forward. After which, a few more dialogue options will be available:
- Allow the hobgoblin to speak freely, lest he sense your intrusion.
- [Wisdom] Dig into Ragzlin’s mind and control the interrogation.
- Attack the hobgoblin.
- Leave, before the mind flayer can identify you.
Choose answer one and allow the hobgoblin to continue the interrogation. Eventually, Dror will find out that you were the killer through a vision of a memory. This angers Dror, prompting him to accuse you of the murder.
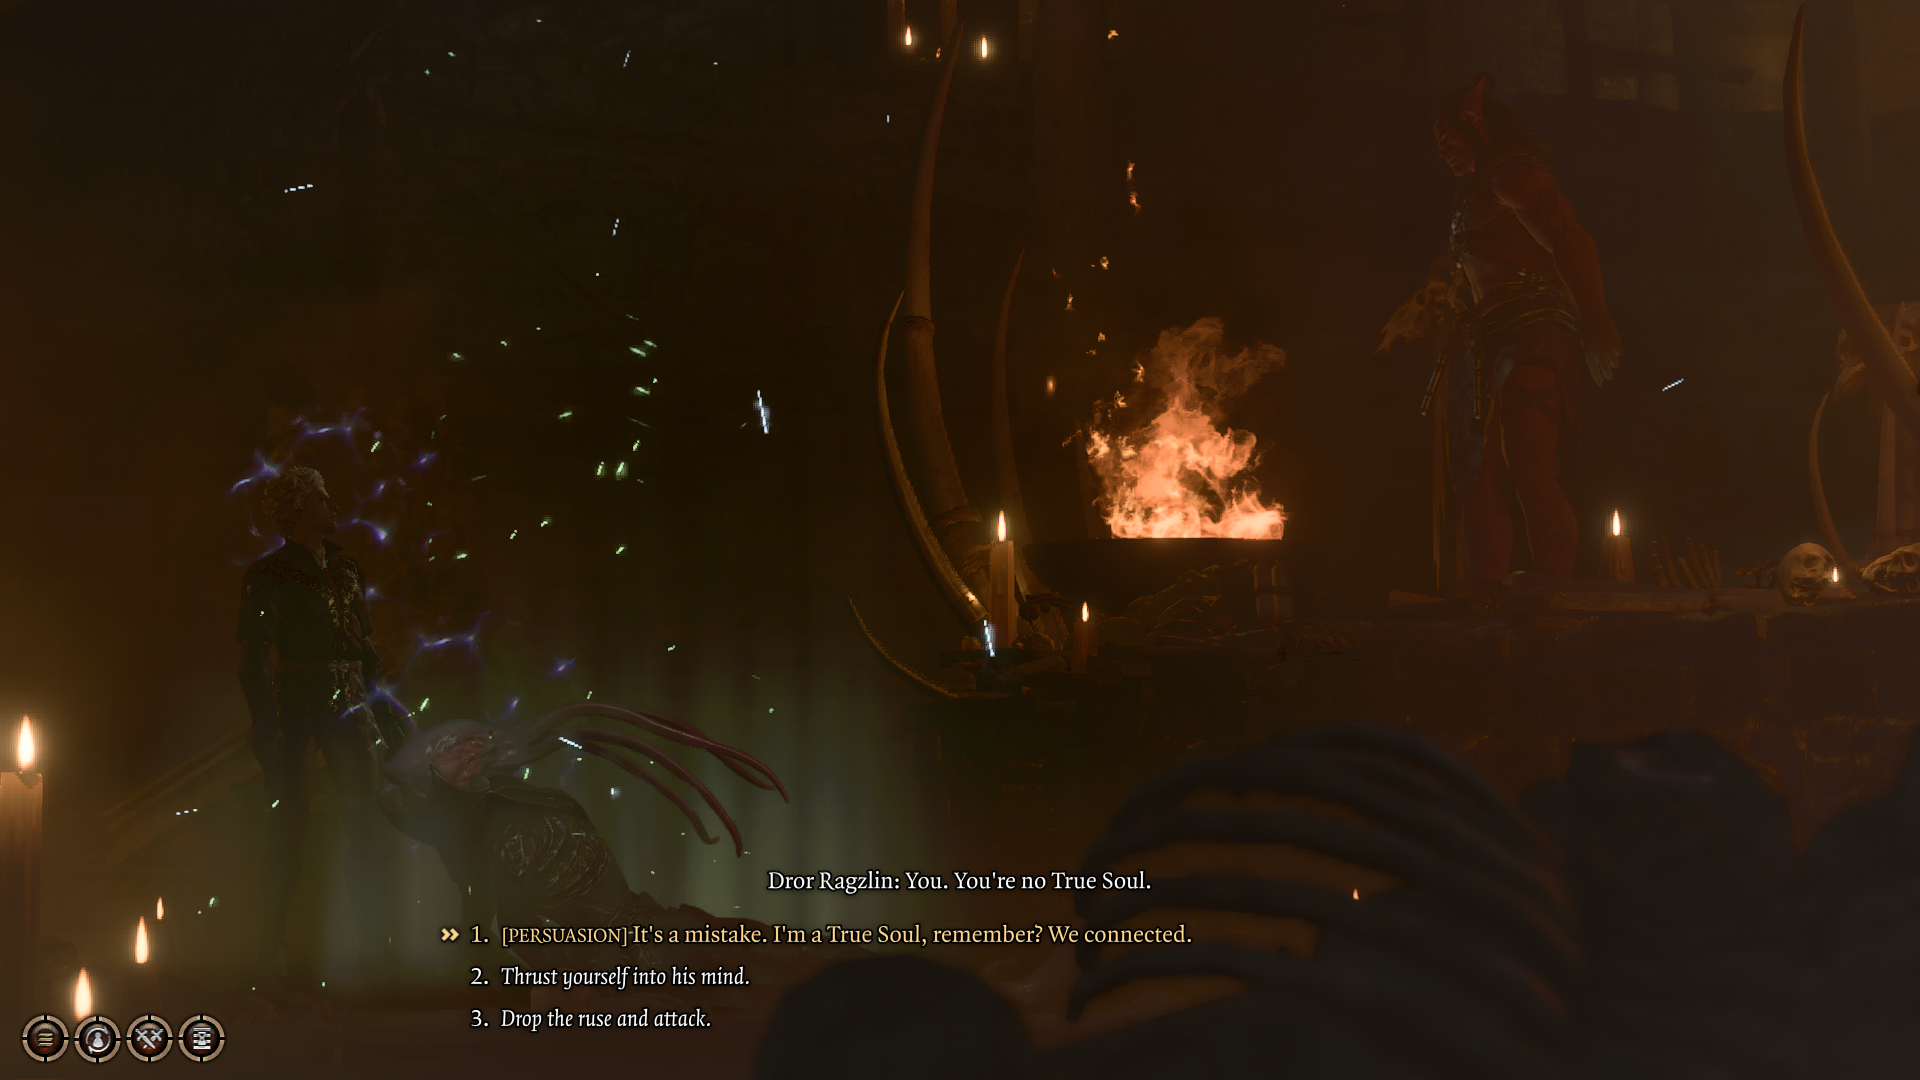
- [PERSUASION] It’s a mistake. I’m a True Soul, remember? We connected.
- [DETECT THOUGHTS] Cast Detect Thoughts on him.
- Thrust yourself into his mind.
- Drop the ruse and attack.
The last thing you want to do here is to engage Dror, as the entire Goblin Camp will come after you in hordes. Choose answer one and pass a DC 10 to persuade Dror Ragzlin. If you pass the check, Dror will recognize you as a True Soul and order you to join Minthara in her attack on the grove.
Killing Nightwarden Minthara (Goblin Leader)
After encountering Dror Ragzlin, head to X:329 Y:43 in the Shattered Sanctum to meet up with Sazza and Nightwarden Minthar, where Sazza will introduce you to Minthara as her friend.
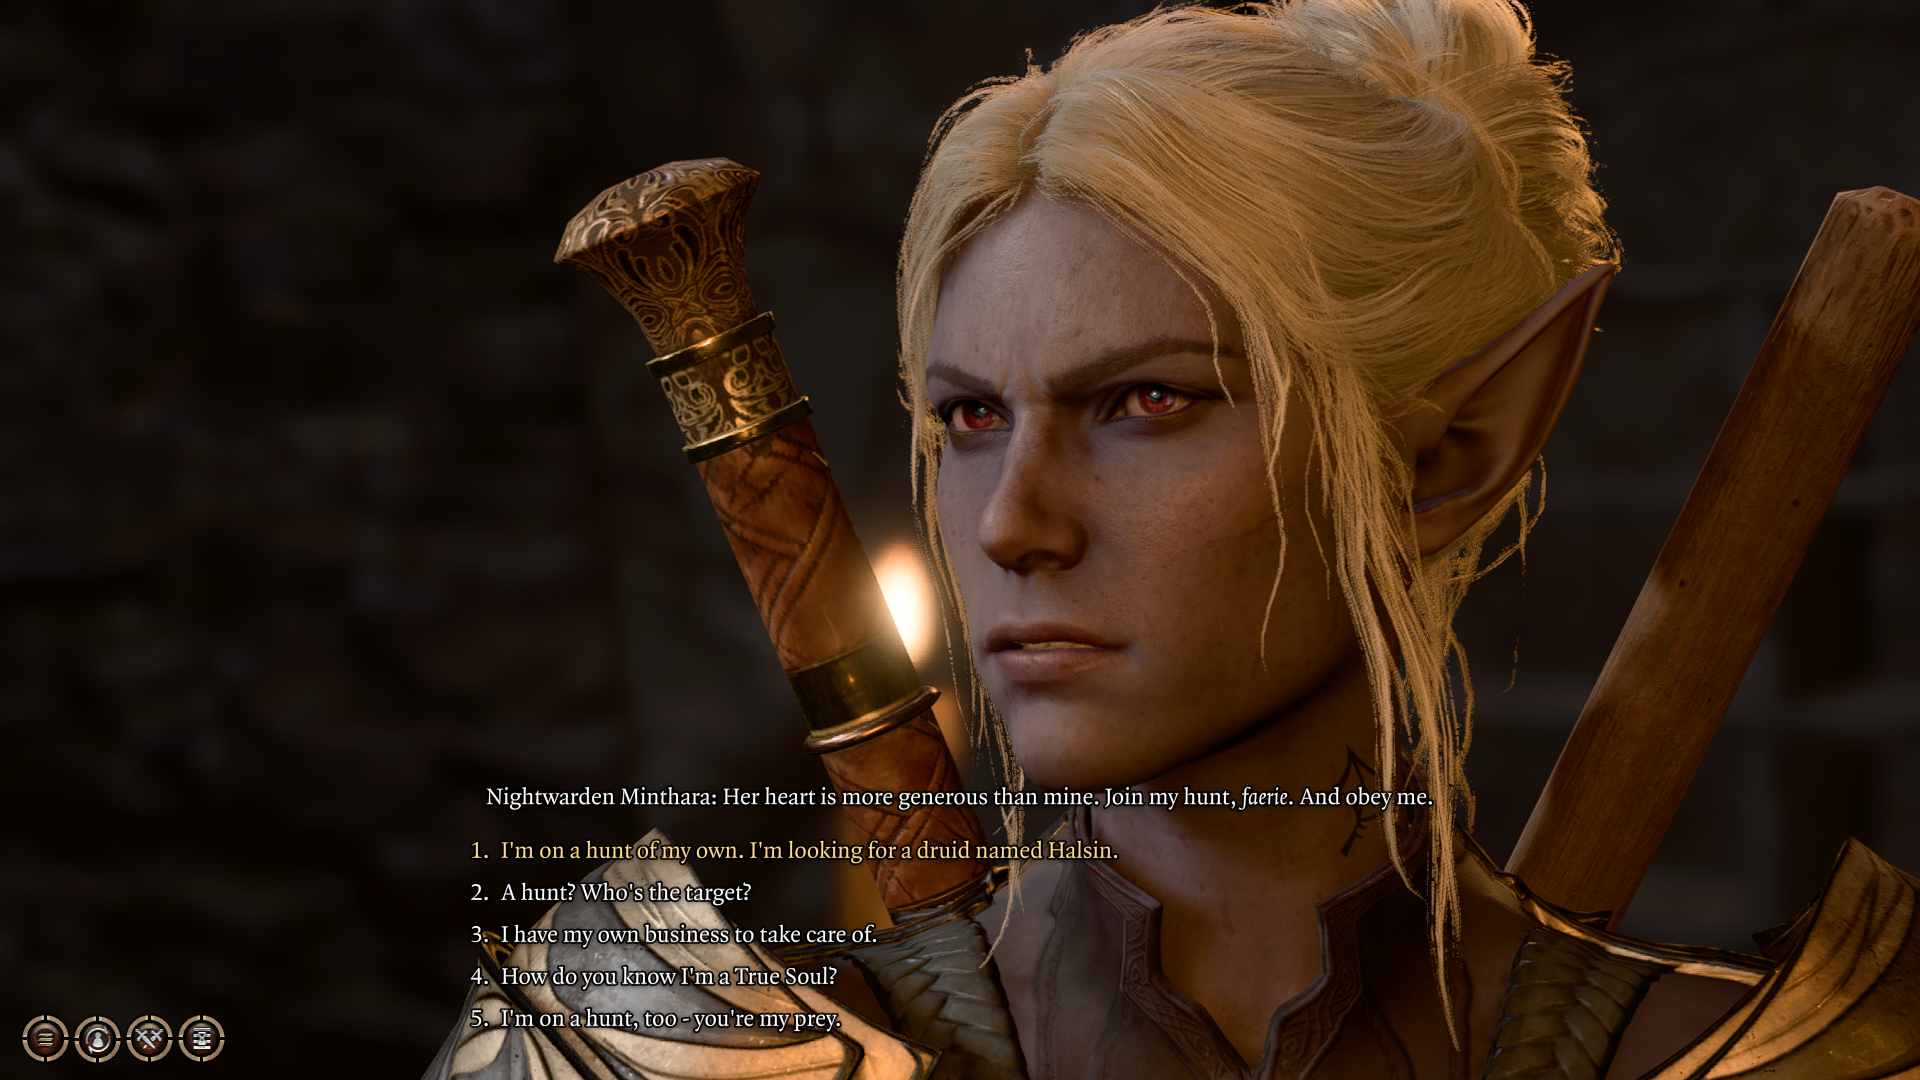
Minthara will immediately recognize you as a True Soul and threaten to send Sazza to the spider pit unless she tells Minthara where the druid grove is. Scared for her life, Sazza will hastily tell Minthara where the grove is, and the following dialogue options should become available afterward:
- Keep quiet.
- She’s telling the truth. She didn’t know.
- I explained everything to her. She’s just too stupid to understand.
After another Goblin takes away Sazza, Minthara will order you to return to the grove and throw open the gate to signal her when her raiding party approaches. A few more dialogue options will become available here, and depending on how you want the story to play out, you can either engage Minthara now or join her and slaughter the grove.
- I want no part of this.
- I’ll get it done.
- You misunderstand. I’m here to slaughter you.
Choose answer 2 to spare Minthara for now. She will inevitably attack the Druid Camp later, so you can kill her there. Head back to the Druid Camp first and tell Zevlor you’ve tricked Minthara into thinking you’re on her side. By doing so, you can alert Zevlor and the Druids about the incoming assault from Minthara.
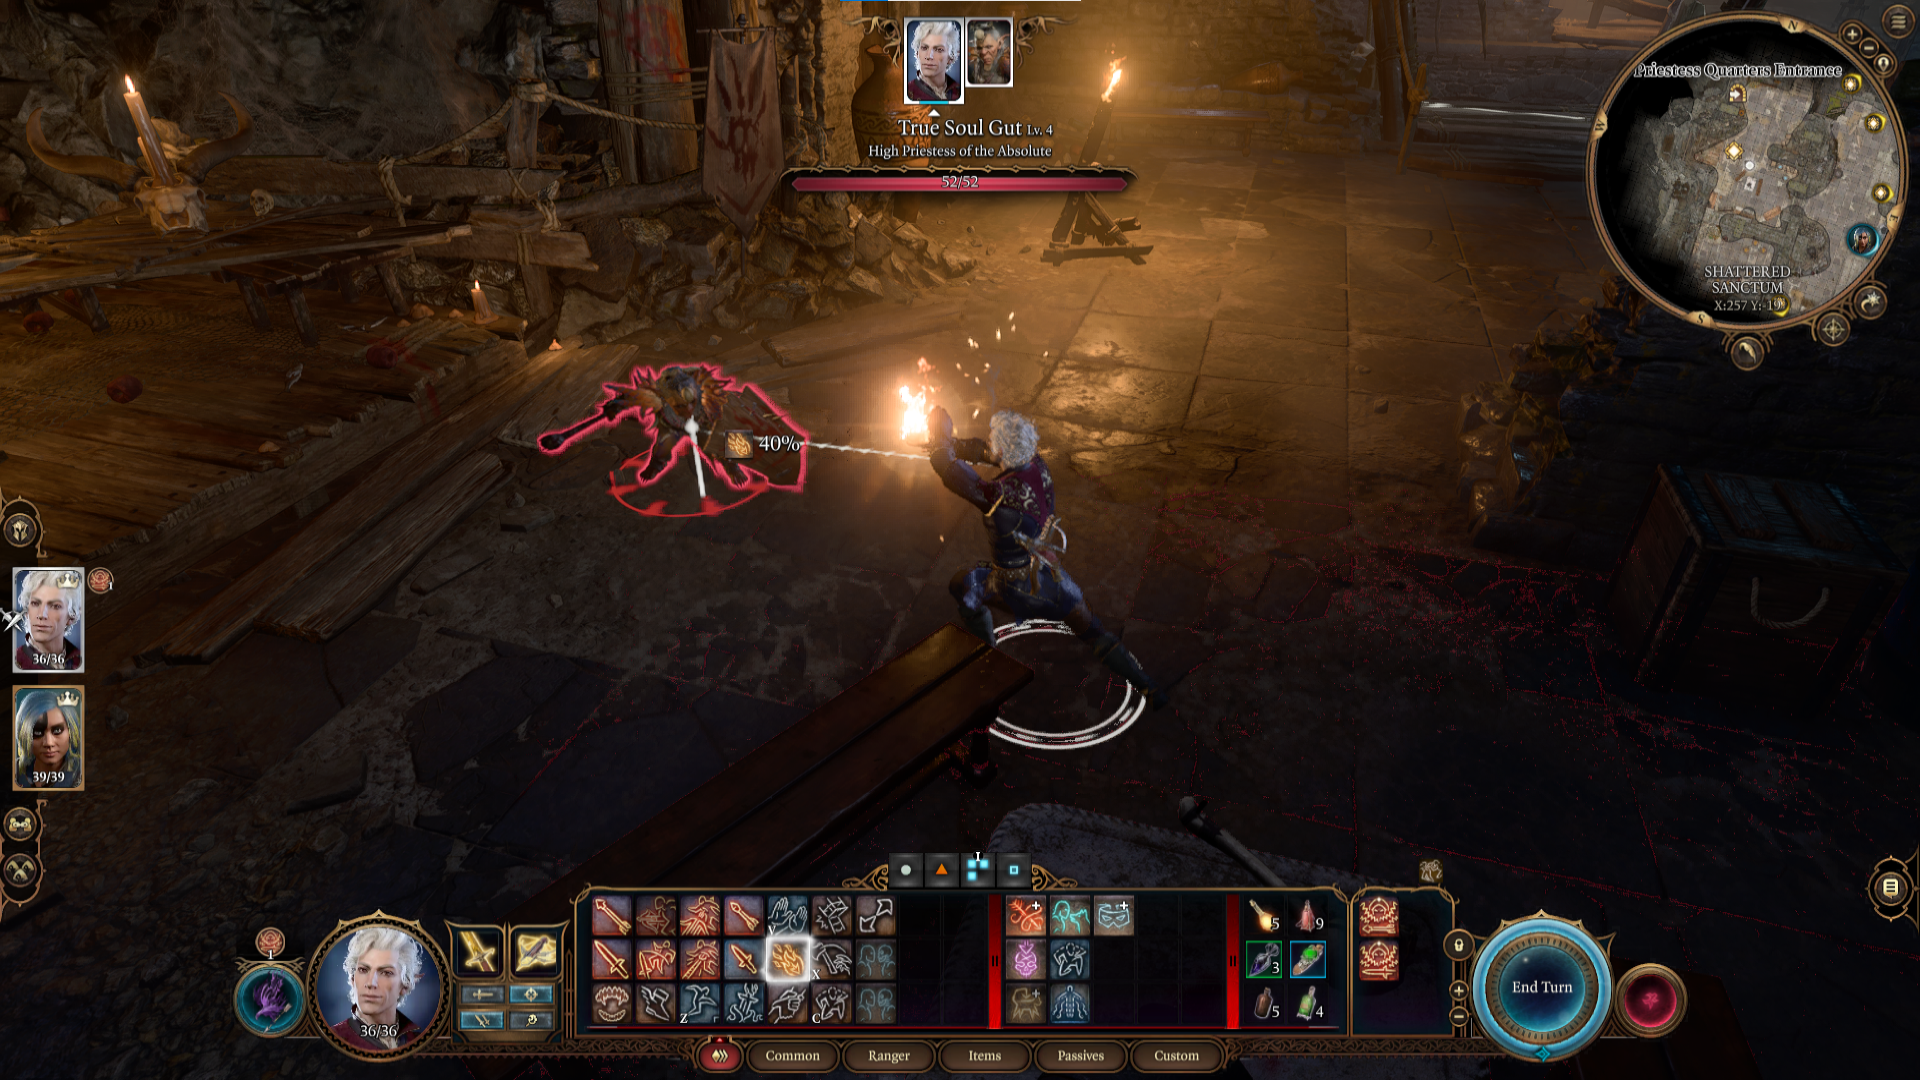
Killing True Soul Gut (Goblin Leader)
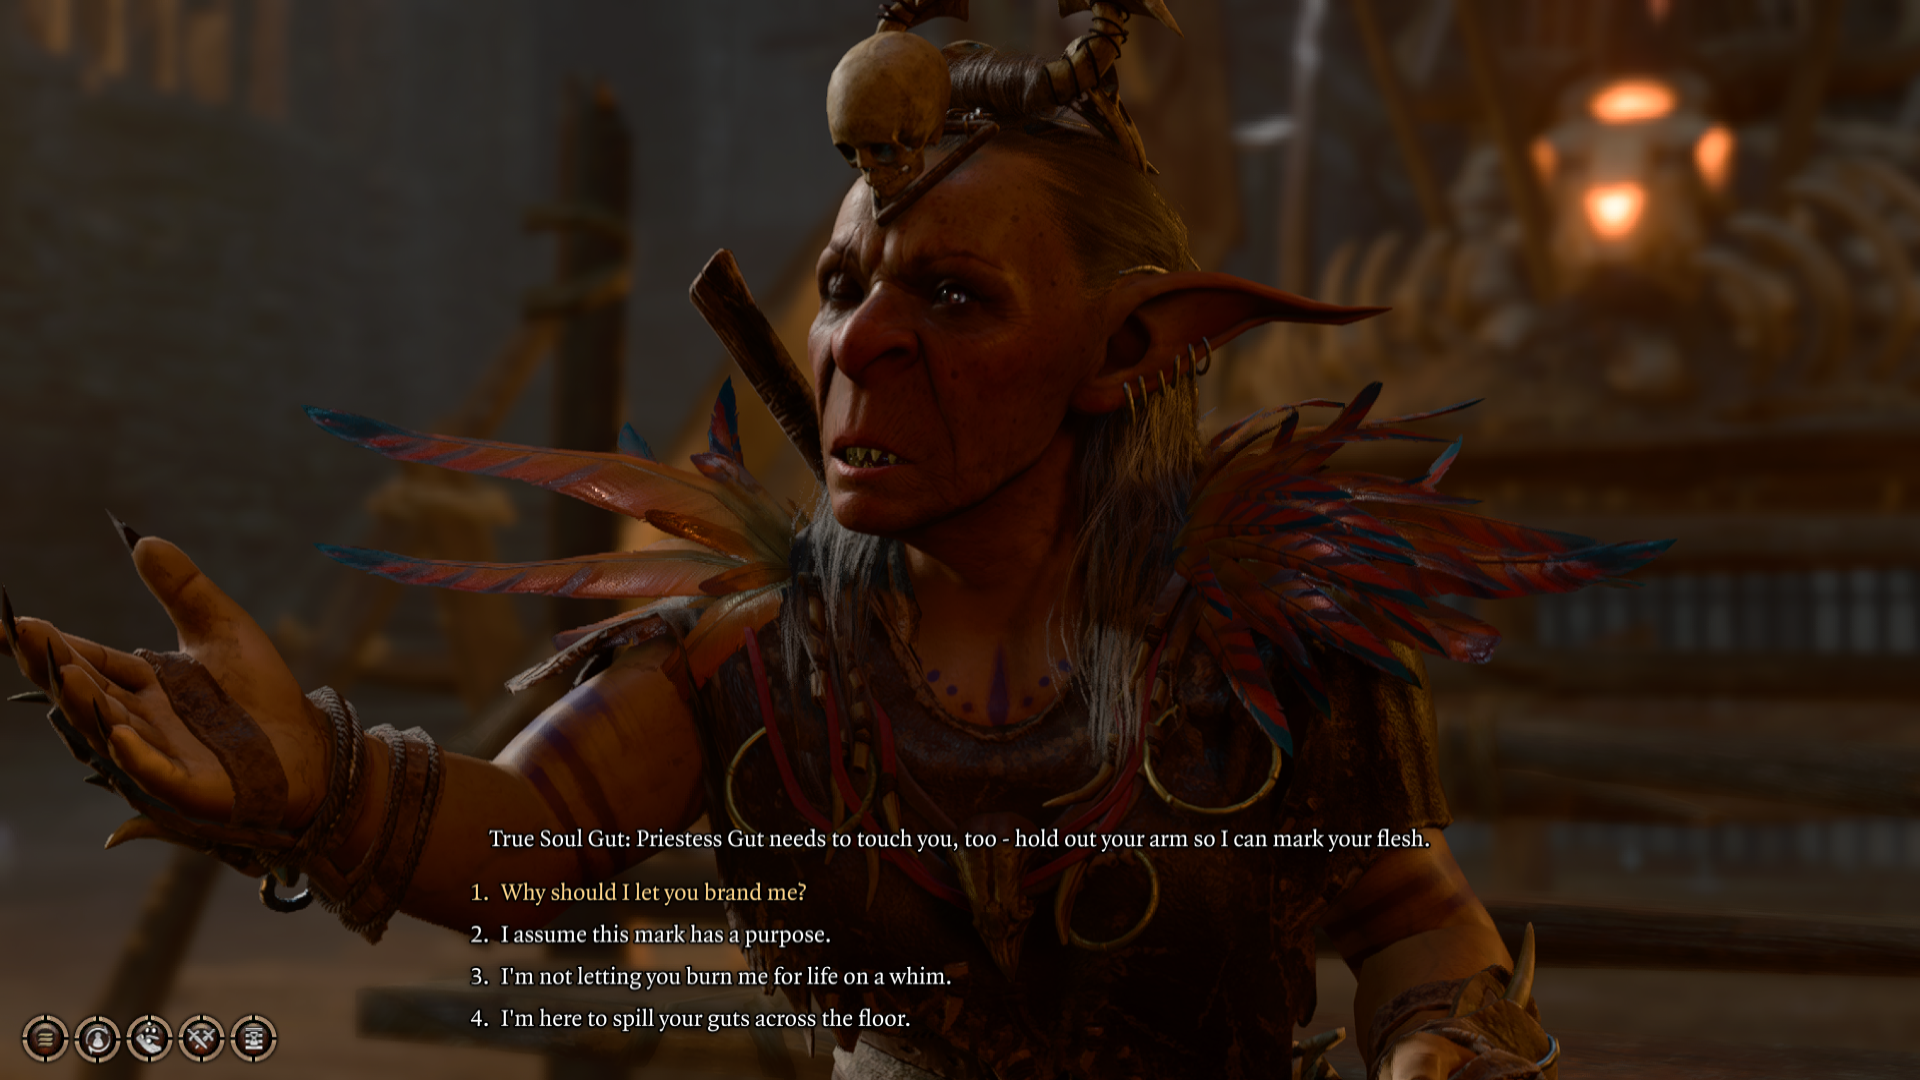
Another NPC you must talk to to progress in the Shattered Sanctum is a Goblin named True Soul Gut. Gut at X:296 and Y:25 in the middle of a platform. Talk to her so she can brand you.
- Why should I let you brand me?
- I assume this mark has a purpose.
- I’m not letting you brn me for life on a whim.
- I’m here to spill your guts across the floor.
Choose answer 2 to probe True Soul Gut and learn more about the Absolute and the Mind Flayer tadpoles.
- Hold out your hand.
- Actually, I’d rather not go through with this.
Choose answer one here so Gut can brand and establish a connection with you through the Mind Flayer tadpoles. With the connection established, next comes a tug-of-war between your character and Gut.
- Push deeper into her mind.
- Sever the connection.
Answer 1 will prompt Gut to call you out for digging around in her brain, but she mentions it works both ways as she also sees weird shadows swimming around your character’s head. Gut will then offer help by inviting you to her chapel.
- Do you think you can fix whatever’s causing those shadows?
- There’s a creature inside my head. Can you help with that?
- Any help would be appreciated. I need a healer.
- Can we talk privately? This is a sensitive matter.
- Leave.
Choose answer four; this will be your chance to draw Gut away from other goblins. Follow Gut into her chapel, but make the rest of your party members invisible first, then send them inside the chapel (don’t forget to close the door). Once you’re locked in the chapel with Gut, gang up on her and kill her.
Finding Halsin in the Shattered Sanctum
The next part of your journey in the Shattered Sanctum in Baldur’s Gate 3 will lead you to the Worg Pens. Head to X:393 and Y:-60 on the map, and inside, you will find Brawler Birka and other Goblins throwing stones at the Bear.
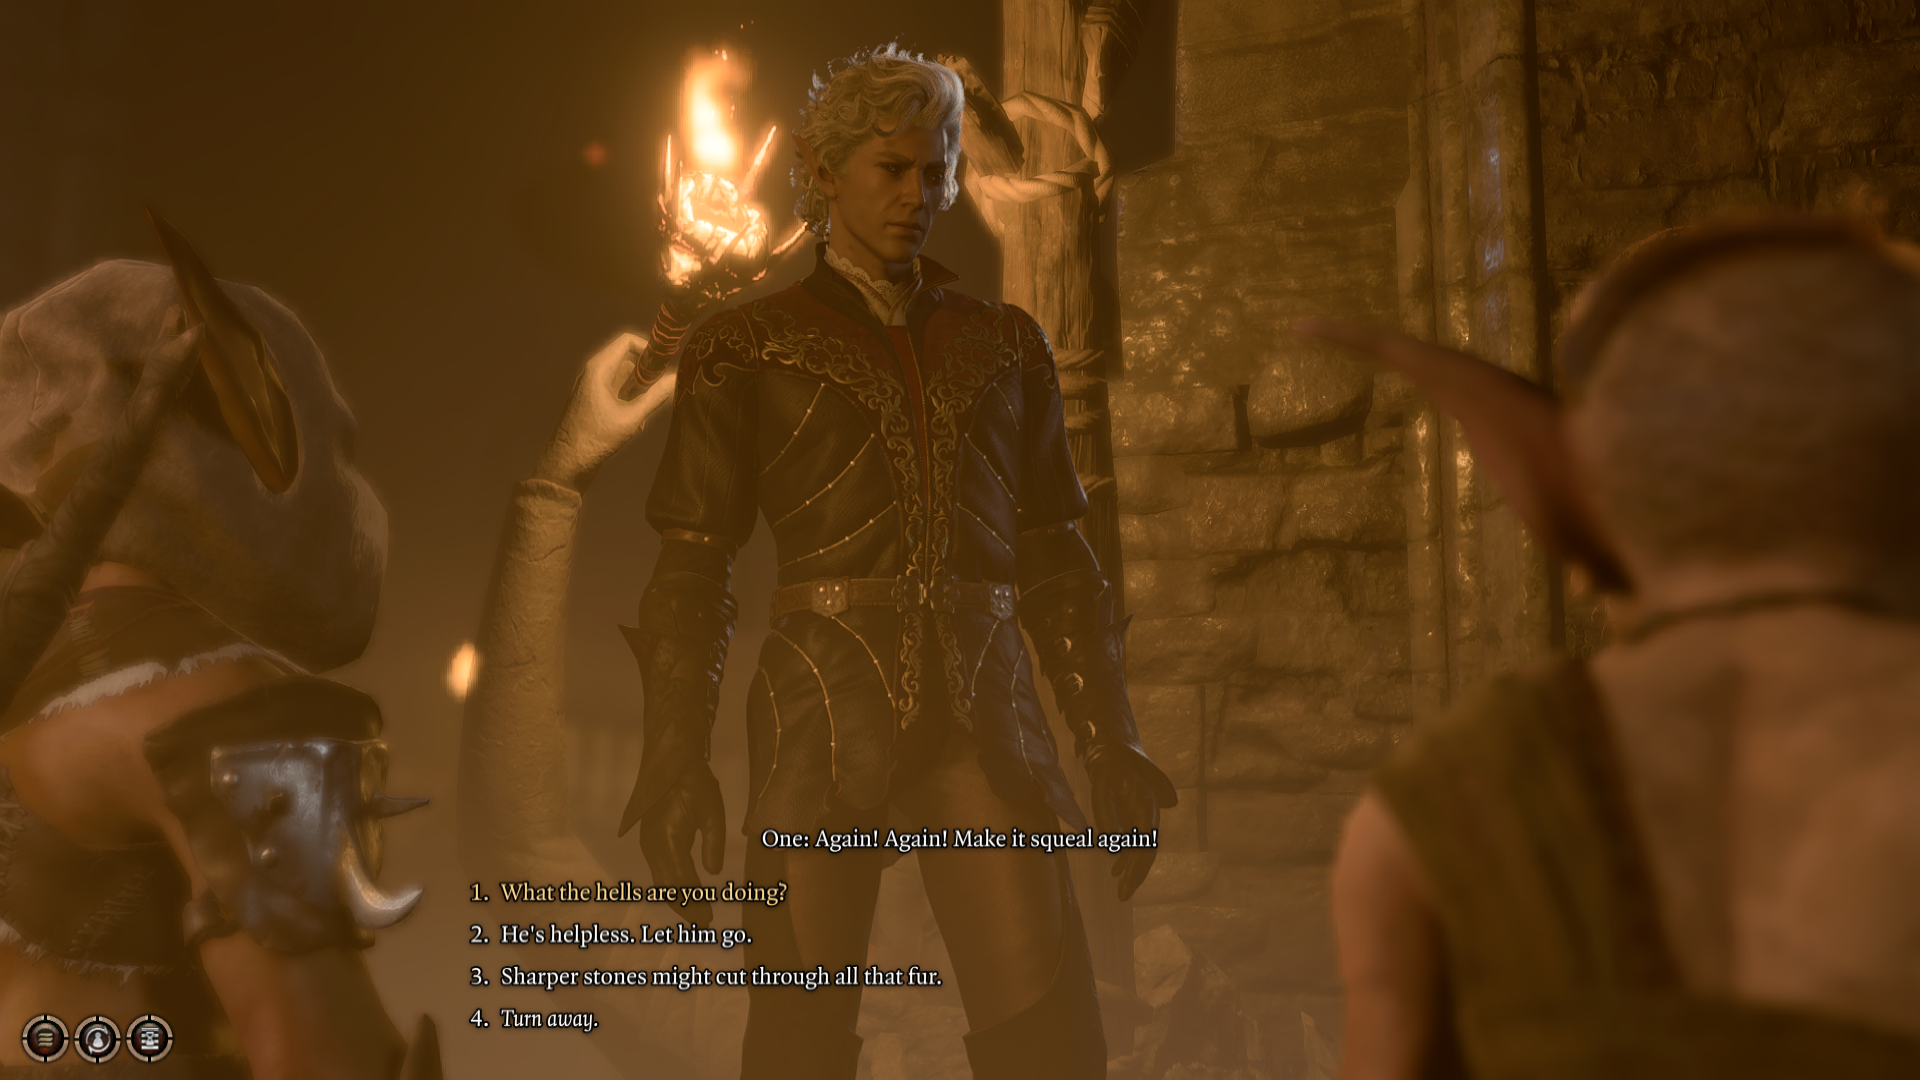
Approach Brawler Birka to get the following dialogue options:
- What the hells are you doing?
- He’s helpless. Let him go.
- Sharper stones might cut through all that fur.
- Turn away.
Choose answer 2 to get the following dialogue options:
- Stop it!
- Go on, then. Aim for his eye.
- I’m putting an end to this. Now.
- [ILLITHID] [WISDOM] Let him out. I’ll take care of the beast.
Choosing answer three will trigger a negative response from Brawler Birka and a request from the bear to release him and get rid of the Goblins.
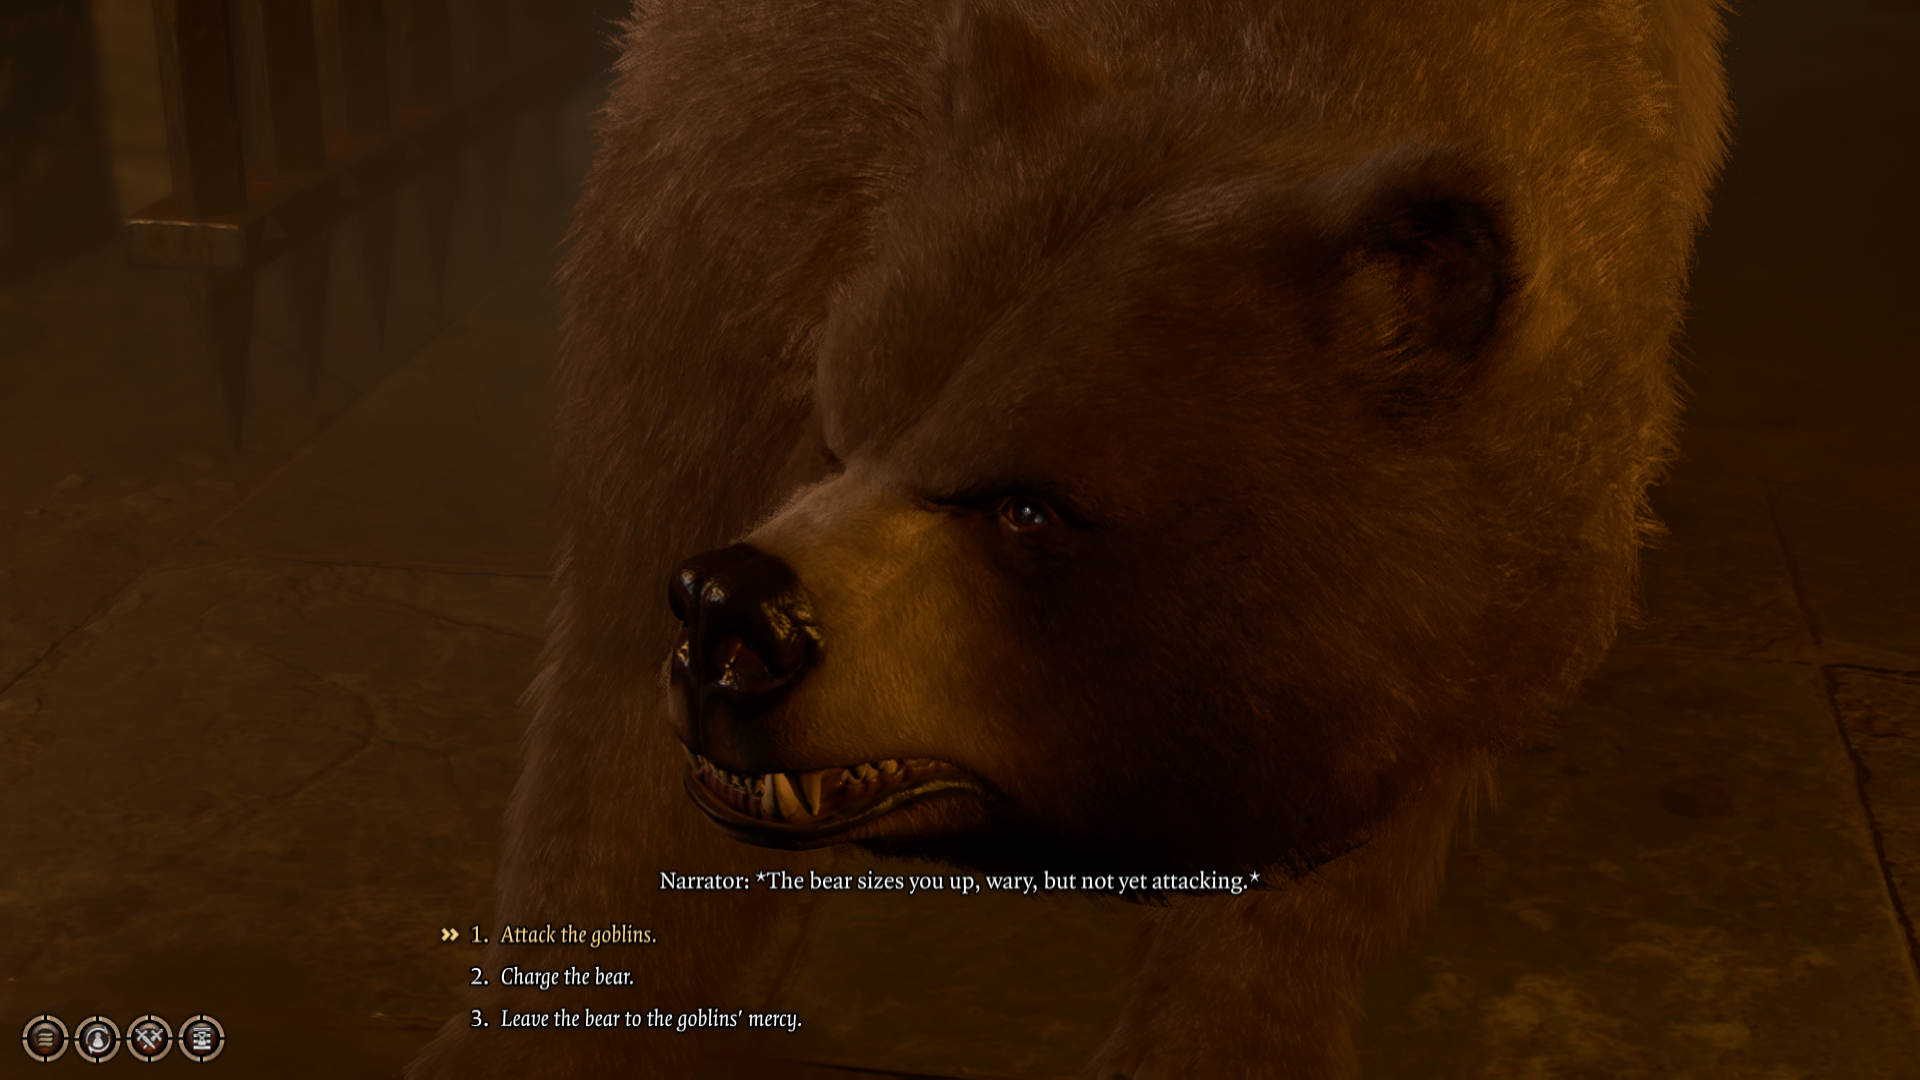
- Attack the goblins.
- Throw a rock at the bear.
- Leave the bear to the goblin’s mercy.
If you choose answer 1, the bear will break out and start a fight against the goblins. Your goal here is to keep any goblins from escaping the room alive. Otherwise, the same goblins can call for backup from the rest of their friends at the Goblin Camp.
After your fight with the goblins, the bear will approach you and reveal itself as Druid Halsin himself. Halsin will commend you for being a friend of nature and thank you for helping him.
- Glad I could be of help.
- You’re Halsin? The Master Halsin of the Emerald Grove?
- I spoke to Nettie – she said you could help me with the parasite in my head.
- I’ve heard you’re an unmatched healer. I need your help.
- I’ve been to the Emerald Grove. It’s in danger.
- You should get out of here. It’s not safe.
Answer 5 will trigger a firm response from Halsin, where he acknowledges the Druid Camp’s dire situation. However, he will also quickly notice a peculiar look in your character’s eyes and mention he’s seen it before.
After a quick examination, Halsin will realize your character is infected by Mind Flayers, but note that something is different as your character does not bow down to the Absolute, just like the True Souls do.
- I don’t know.
- I escaped from an illithid ship after being infected. Maybe the process was interrupted.
- I think the artefact has something to do with it.
Choosing answer two will prompt Halsin to share his knowledge about the Mind Flayer tadpoles, noting that someone uses powerful magic to modify the tadpoles. Halsin will also tell your character that he cannot cure your character, as he cannot undo the magic used on the tadpoles.
Nevertheless, while he hasn’t found a way to remove the tadpoles, he has figured out where they come from and believes going to the same place will lead to the cure – Moonrise Towers.
You can continue to probe Halsin through the numerous dialogue options available during your conversation. At the end of it, Halsin will join you, but only if you help him protect the Druid Camp first.
Related: Where To Find Halsin in Baldur’s Gate 3
Fight Against Dror Ragzlin
Depending on the dialogue options or actions you choose in the sanctum, Minthara, and True Soul Gut should be dead by now, which leaves only Dror Ragzlin as the final Goblin Leader, keeping you from completing the Shattered Sanctum in Baldur’s Gate 3.
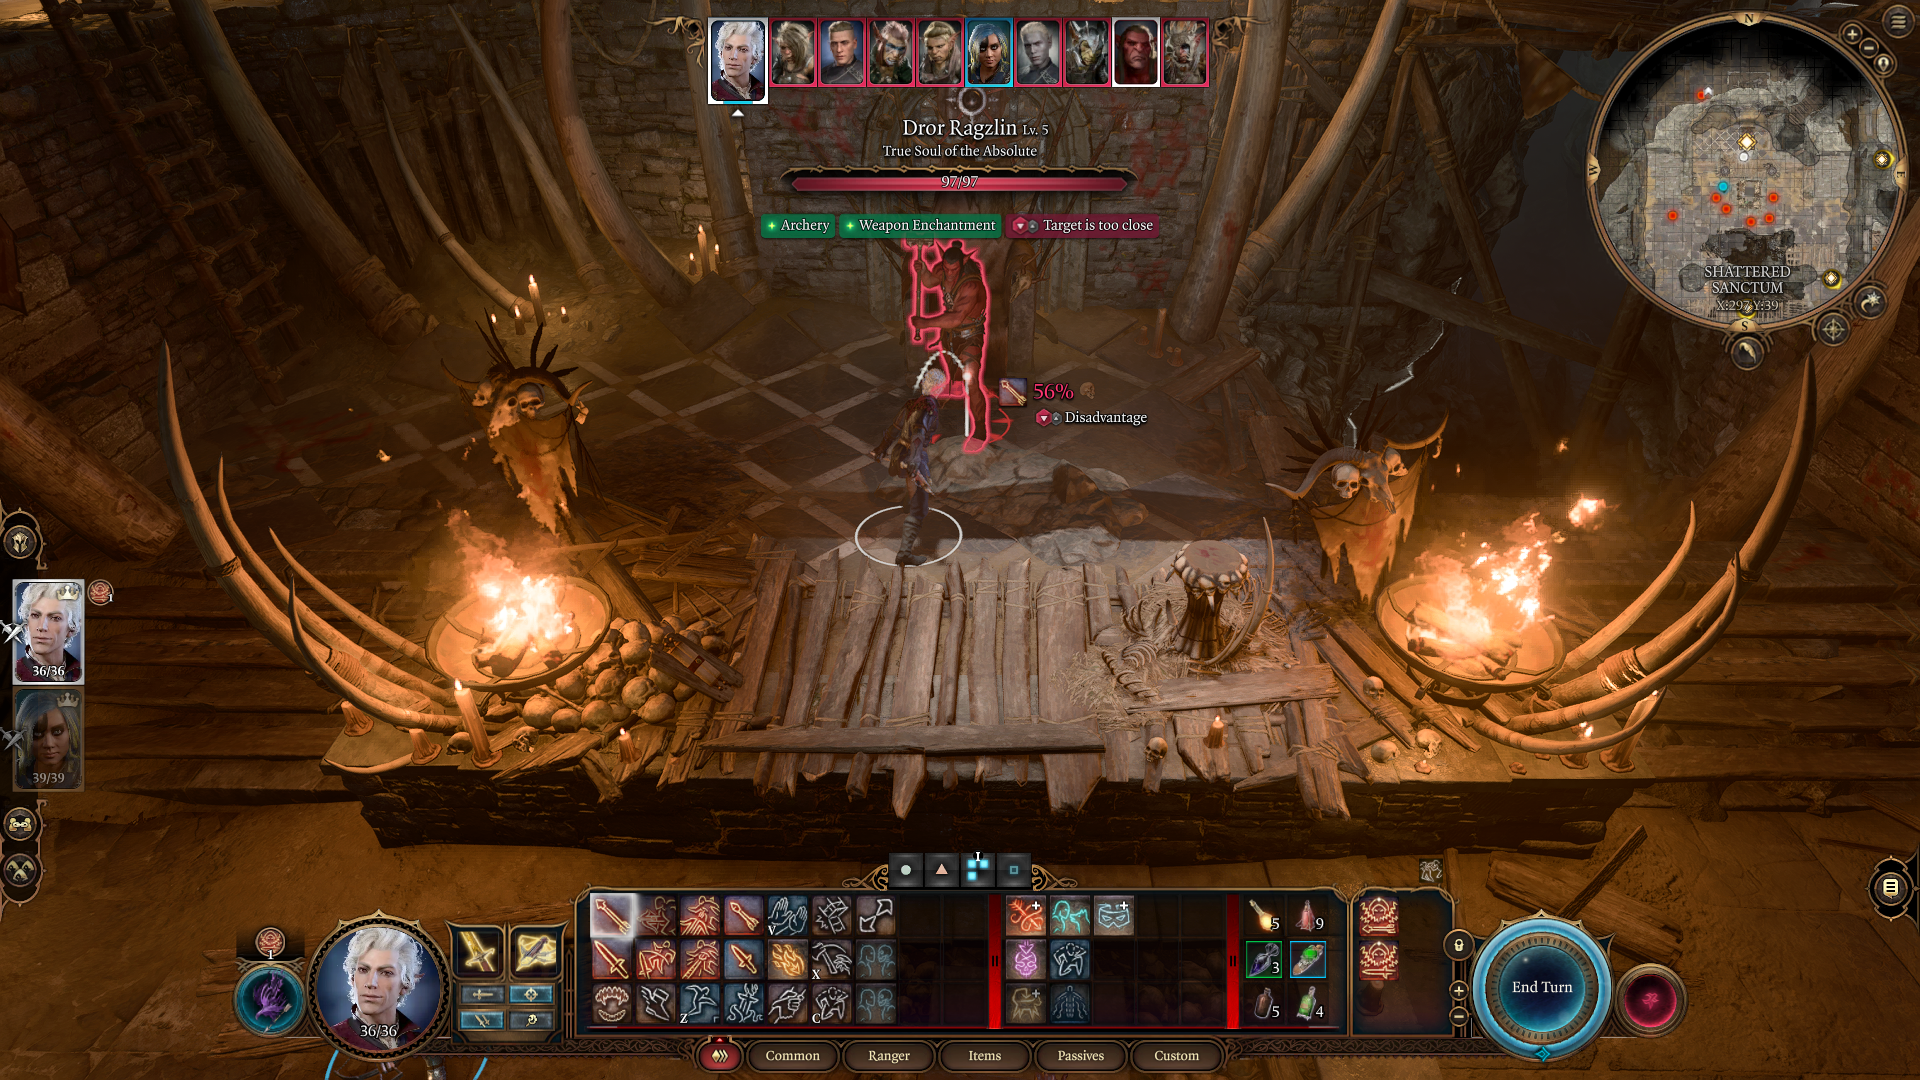
There are many ways to defeat powerful bosses, such as Dror in Baldur’s Gate 3. You can try craftier methods such as using a Void Bulb to drag Dror Ragzlin into a pit, place explosive barrels around Dror and detonate them for a firey finish, or simply engage him in a battle to the death.
While pushing Dror down a chasm sounds like good fun, doing so will keep you from looting his body afterward. If you care about the loot from these bosses, you’ll want to face all three Goblin Leaders in traditional engagements, as this allows you to loot them after you kill them.
Final Thoughts
Your journey through the Shattered Sanctum in Baldur’s Gate 3 should be fairly easy as long as you know where to go and how to respond to NPC dialogues in the sanctum. For the most part, you’ll have to find Halsin, kill the Goblin Leaders, free the refugees, and eventually rid the camp of any remaining goblins to complete the Shattered Sanctum in Baldur’s Gate 3.