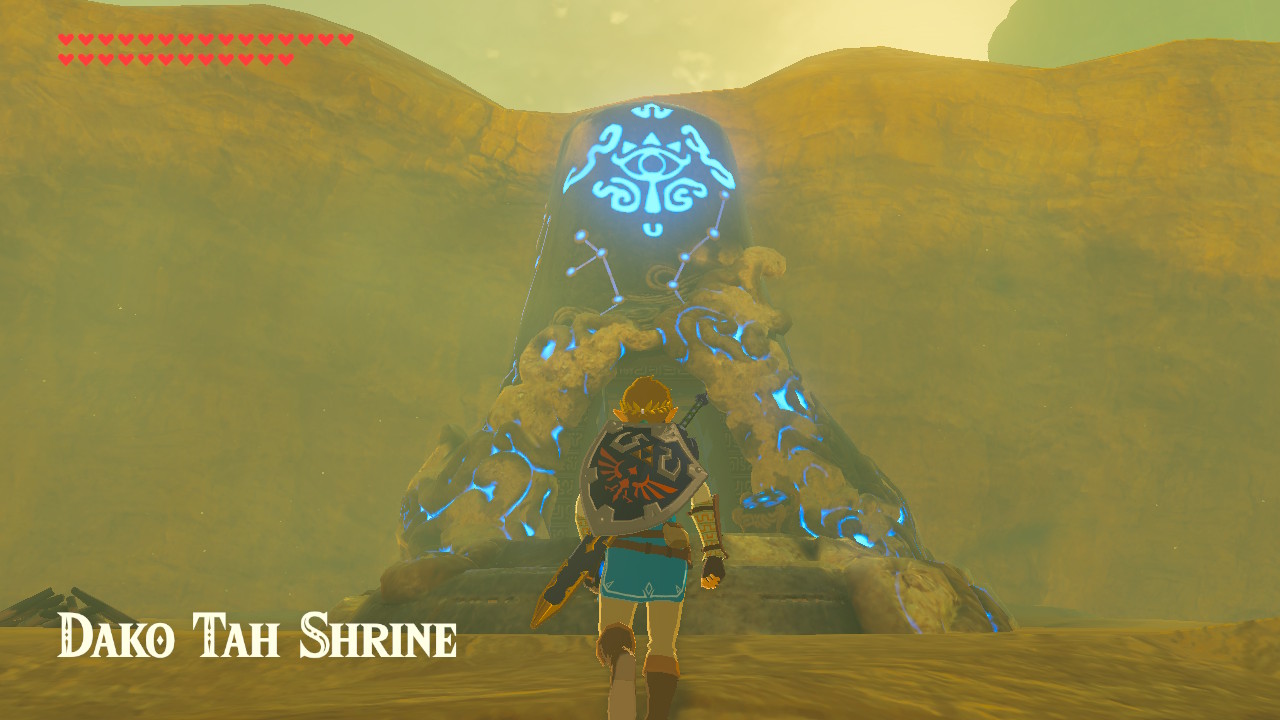
One of the Shrines in The Legend of Zelda: Breath of the Wild is the Dako Tah Shrine or the Electric Path. This Shrine requires Link to traverse the shrine by overcoming and solving multiple electricity-based obstacle puzzles. This shrine may seem confusing and intimidating, but this shrine is fairly easy to complete, and in this guide, you will learn how to complete the Dako Tah Shrine, obtain the chest inside, and claim the Spirit Orb.
Link will be rewarded with Spirit Orbs for completing Shrines. The Spirit Orbs obtained can be exchanged for more Heart Containers or Stamina Vessels. As there are 120 Shrines all over Hyrule, Link can get 120 Spirit Orbs. You can decide whether you want Link to have more Hearts or Stamina.
Location

The Dako Tah Shrine can be found near the edge of a rock formation in the middle of the Great Cliffs, which is just north of the Kara Kara Bazaar (the shrine is west of the Gerudo Canyon Stable and the Kay Noh Shrine or southeast of the Gerudo Tower and the Sasa Kai Shrine). The Dako Tah Shrine is one of 12 shrines in the Wasteland Tower region.
The Eye of the Sandstorm
Although not required to find the shrine, finding the Dako Tah Shrine completes The Eye of the Sandstorm Shrine Quest.
To start The Eye of the Sandstorm Shrine Quest, Link must first head to the Kara Kara Bazaar and the lookout post on the northwestern part of the Kara Kara Bazaar (near the campfire). On top of the lookout post, you will find a man in blue and white clothing named Nobiro looking towards the Great Cliffs. Talk to Nobiro, and he will tell Link that the sandstorm in the Great Cliffs is said to stop for a few hours a day but has not yet stopped since he started watching it. He will then tell Link that there is a rumor that an ancient civilization hid a treasure inside that sandstorm, and he has been waiting for the sandstorm to stop so he can get the treasure. Then, after that conversation, The Eye of the Sandstorm Request started!
After that, Link can go to the Dako tah Shrine, the treasure the rumor was referring to, to complete the shrine quest. The challenge, however, is the sandstorm Link has to pass through to reach the shrine. Once Link is in the sandstorm, Link’s map will start to become static, preventing you from knowing where Link and the shrine are. A tip can be to get to higher ground and look for the shrine from there.
It is worth noting that a Lizalfos Camp is near the shrine, so be cautious in the area.
After accessing the Dako Tah Shrine, The Eye of the Sandstorm Shrine Quest will be completed!
Electric Path

Upon entering the Dako Tah Shrine, you will see Link is in a small room, and just ahead of Link is a flight of stairs. To complete the Dako Tah Shrine, this is what Link must do:
- Head up the flight of stairs, continue on the path, take the turn on the right, and Link will encounter a Guardian Scout.
- Now Link must defeat the weak Guardian Scout. The Guardian Scout will drop a few Ancient Springs and Screws after defeating it.
- Next, take the path on the left, take the next path on the left, and Link will eventually reach a room with a large gap on the ground, a moving platform, an electric rail on its left with a lamp powering the moving platform on end nearest to Link and the power source on the other end which is a metal cube on top of a platform.
- Wait for the moving platform to be close to Link, and let Link step on the moving platform. While waiting for Link to be transported to the other end, press the up directional button, select the Magnesis Rune ability, press the L button to aim, aim at the metal cube power source, and once Link is close enough, press the A button to activate the Magnesis Rune ability on the metal cube power source.
- After that, removing the power source from its pedestal will stop the moving platform from operating. Using the Magnesis Rune ability, bring the power source just above the electric rail so that the power source will still conduct electricity on the electric rail as the moving platform is moving back to the other side.
- After reaching the other side, do not deactivate the Magnesis Rune ability from the power source. Step off the moving platform, bring it up the ramp just ahead of the lamp and place it on another platform with a lamp so the moving platform will start to move vertically.
- As the moving platform goes up, you will see a chest on top of a platform in the same direction as the previous entryway. Disembark from the moving platform at the right time towards the platform with the chest, then open the chest to obtain a Moonlight Scimitar.
- Next, ride the moving platform again, wait for it to reach the peak of its path, pick up the power source, and disembark towards the next ramp.
- Continue on the entryway, and on this next part of the shrine, you will see that Link below the platform are two more Guardian Scouts, and part of the floor is metal. On the room’s northern end, part of the wall is a huge metal cube. Defeat the weak Guardian Scouts first to get rid of the nuisance. To do that, you can drop the power source on the metallic part of the floor on which the Guardian Scouts are standing to conduct electricity on the metal floor and electrocute the Guardian Scouts. The Guardian Scouts will also drop a few Ancient Springs and Screws for the taking after it is defeated.
- After that, head back in the direction of the previous entryway, and you will see a chest next to a ladder. Open the chest to obtain an Ancient Core.
- Next, press the L button to aim the Magnesis Rune ability, aim at the power source, and press the A button to activate the Magnesis Rune on the metal cube power source.
- Using the Magnesis Rune ability, bring the power source to the room’s northern end and set it down near the huge metal cube. Make sure to raise the power source above the ground so it will not conduct electricity on the metal parts of the floor and electrocute Link.
- After that, press the L button again to aim the Magnesis Rune ability, aim at the huge metal cube, press the A button to activate Magnesis on the huge metal cube, and push it to reveal the path to the next part of the shrine.
- On the next part of the shrine, you will see a ramp that leads up on the left and a ramp that leads down on the right. Head down the ramp on the right that leads down and you will see a switch.
- Strike the switch with any of Link’s weapons, and a moving platform will appear near the switch and start moving vertically. Ride the moving platform down, and you will find another chest. Open the chest to obtain a Silver Rupee (100 Rupees).
- After that, ride the moving platform back up to the platform with the switch, go back to where you left the metal cube power source, pick up the power source, head up the ramp that leads up on the left while bringing the power source, and ride the moving platform that moves vertically on the end of it up.
- On this next part of the shrine, you will see a pedestal for the power source with a metal chain attached to it and the other end near the altar in the distance. Set the power source down on the pedestal, and electricity will start conducting on the metal chain, resulting in a platform moving.
- Next, wait for the moving platform to be near Link, ride the moving platform, press the L button to aim and ready Link’s Magnesis Rune ability, and aim at the huge metal cube that is on the moving platform’s path when it is possible to press the A button to activate the Magnesis Rune ability on the huge metal cube and push it out of the path of the moving platform.
- When the moving platform reaches the platform with the altar, do not disembark from the moving platform yet as there is a final chest behind the huge metal cube. Instead, press the L button again to aim the Magnesis Rune ability, aim and press the A button to activate it again on the huge metal cube, and move the huge metal cube slightly to the left so that there is an opening to the platform with the chest, wait for the moving platform to be near the platform with the chest, jump towards it, and open the chest to obtain a Radiant Shield.
- After that, wait for the moving platform to be near Link again, jump and ride the moving platform, and disembark on the platform with the altar and the monk.
- Finally, go near the altar, talk to the monk, and claim your Spirit Orb!
As mentioned above, the Dako Tah Shrine or the Electric Path is one of 12 shrines in the Wasteland Tower region. The other shrines are the Kay Noh Shrine or the Power of Electricity, the Daqo Chisay Shrine or The Whole Picture, the Tho Kayu Shrine or Tho Kayu’s Blessing, the Jee Noh Shrine or the On the Move, the Hawa Koth Shrine or The Current Solution, the Dila Maag Shrine or Dila Maag’s Blessing, the Raqa Zunzo Shrine or Raqa Zunzo’s Blessing, the Kema Zoos Shrine or the A Delayed Puzzle, the Suma Sahma Shrine or Suma Sahma’s Blessing, the Korsh O’hu Shrine or Korsh O’hu’s Blessing, and the Misae Suma Shrine or Misae Suma’s Blessing.