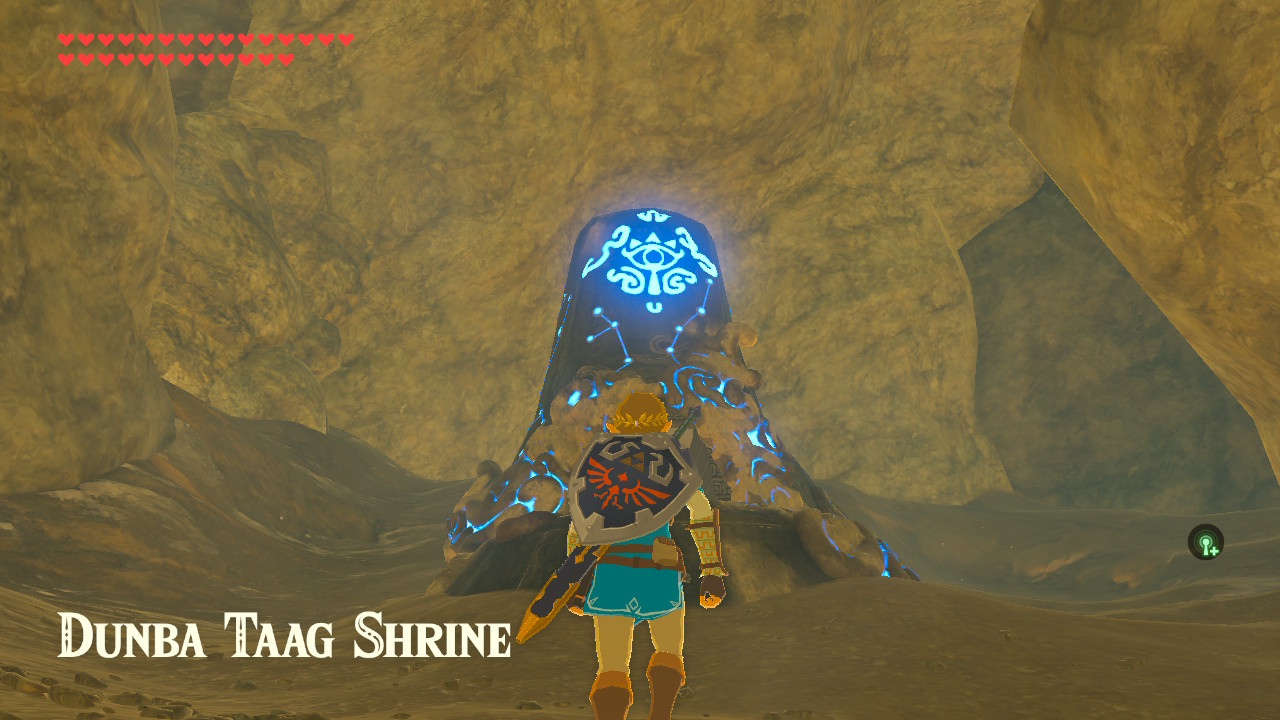
One of the Shrines in The Legend of Zelda: Breath of the Wild is the Dunba Taag Shrine or the Build and Release. This shrine requires Link to overcome various puzzles that involve pushing large buttons to access certain parts of the shrine, reach the altar, and complete the shrine. This shrine may seem intimidating and confusing, but it is fairly easy to complete. This guide will teach you how to reach and complete the Dunba Taag Shrine, get the chests, and claim the Spirit Orb.
Link will be rewarded with Spirit Orbs for completing Shrines. The Spirit Orbs obtained can be exchanged for more Heart Containers or Stamina Vessels. As there are 120 Shrines all over Hyrule, Link can get 120 Spirit Orbs. You can decide whether you want Link to have more Hearts or Stamina.
Location

The Dunba Taag Shrine can be found under a few rock formations at the bottom and near the edge of Tanagar Canyon, just southwest of the Hebra Tower, Tabantha Village Ruins, and Tabantha Hills (the shrine is southeast of Rito Stable or northwest of Thundra Plateau). The Dunba Taag Shrine is one of 13 shrines in the Hebra Tower region.
Build and Release

Before descending on this shrine, make sure that Link has a lot of weapons, preferably two-handed weapons like Claymores and Battle Axes, as they would be used in the shrine, and you would not want to run out of weapons.
Upon entering the Dunba Taag Shrine, you will see a steep ramp across a gap with huge concrete spheres rolling down one after the other; beside the ramp on the left side is a large spinning gear with a narrow and straight platform in the middle and spinning along with it, besides the large spinning gear on the left side is another ramp but small this time and goes up, at the end of the small ramp on its left side is a large glowing button, and on the left side of the room is a closed entryway.
To complete this shrine, this is what Link must do:
- Go near the huge spinning gear, press the up directional button, select the Stasis Rune ability, press the L button to aim, aim at the huge spinning gear, wait for the platform to be in a horizontal position, then press the A button to activate the Stasis Rune ability on the huge spinning gear once that happens.
- If timed correctly, the huge concrete spheres will roll down the ramp, roll on the currently frozen horizontal platform, roll up on the small ramp, and hit the button. Link may need to activate the Stasis Rune ability on the huge spinning gear multiple times to press the button completely.
- After successfully pressing the button, the entryway on the left side of the room will be opened. Go through the entryway to continue on the shrine.
- Head to the entryway on the left. Head up a small flight of stairs and see a closed entryway to the altar on Link’s right side. Just ahead of the room of the altar is a gap and another huge button. A gap and a platform with vast concrete standing on top just ahead of the huge button. On the left side is an entryway to a puzzle with a gap and another closed entryway, and just ahead of the gate’s entrance is another entrance to another puzzle.
- Here, you will see four concrete barrels and a gap. Across the gap is a wall of concrete cubes, and near the wall of concrete cubes is a closed gate with a chest inside. To solve this puzzle, Link must first take down the wall of concrete barrels, which can be done by carrying one of the concrete barrels, placing it near the edge of the gap, activating the Stasis Rune ability on it, strike the currently frozen concrete barrel as much as you can with Link’s weapon while pointing the arrow towards the wall of concrete cubes so that when the timer for the Stasis Rune ability runs out, the concrete barrel will go flying towards the wall of concrete cubes and take it down.
- However, to save Link’s weapons’ durability (as it is possible Link may need to do this multiple times), Link can go near the wall of concrete cubes as close as possible, press the up directional button, select either of the Remote Bomb Rune abilities, press the L button to conjure one up, press the R button to throw it towards the wall of concrete cubes, and quickly press the L button to detonate the Remote Bomb. Link may also need to do this multiple times to remove the concrete cubes wall fully.
- After the wall of concrete cubes is gone, another huge button will be revealed on the wall. To press the button, pick up one of the concrete barrels, set it down near the edge of the gap, press the up directional button, select the Stasis Rune ability, press the L button to aim, aim at the concrete barrel, press the A button to activate the Stasis Rune ability on it and strike the currently frozen concrete barrel as much as you can with Link’s weapon while pointing the arrow towards the huge button on the wall so that when the timer for the Stasis Rune ability runs out, the concrete barrel will go flying towards the huge button and press it. Link may need to do this multiple times to press the button successfully. Link will not run out of concrete barrels as it will replenish after Link uses one, so do not worry about that.
- After successfully pressing the huge button, the gate to the chest will be opened. Open the chest to obtain a Falcon Bow.
- Next, head out of this gated room and to the next entryway, just ahead with another puzzle.
- Upon entering the room, you will see that the room has a lowered ground level, a huge concrete sphere, and a small ramp on the northern side of the room. Just ahead of the ramp is a huge pressure plate; just ahead of the pressure plate is another small ramp that leads to a closed gate, and behind the gate is another chest. To solve this puzzle, LInk must first push the huge concrete sphere to line up with the ramp.
- Next, press the L button to aim the Stasis Rune ability, aim at the huge concrete sphere, press the A button to activate the Stasis Rune ability on it, and strike the currently frozen concrete sphere as much as you can with Link’s weapon while pointing the arrow towards the ramp so that when the timer for the Stasis Rune ability runs out, the huge concrete sphere will go rolling up the ramp and roll down towards the huge pressure plate and press it.
- Once the huge concrete sphere is pressing on the pressure plate, the gate to the chest will be opened. Open the chest to obtain a Great Thunderblade.
- After that, head out of this room straight from its entryway, and you will see another set of concrete barrels. Pick up one of the concrete barrels, set it down near the edge of the gap close to and facing the large concrete slab, press the L button to aim the Stasis Rune ability, aim at the concrete barrel, press the A button to activate the Stasis Rune ability on it and strike the currently frozen concrete barrel as much as you can with Link’s weapon while pointing the arrow towards the large concrete slab so that when the timer for the Stasis Rune ability runs out, the concrete barrel will go flying towards the large concrete slab, hit it, and let it fall on the huge button just ahead of it to press it. Link will also not run out of concrete barrels for this puzzle as it will replenish after Link uses one, so do not worry about that.
- Finally, the entryway to the altar will be opened after successfully pressing the huge button. Go near the altar, talk to the monk, and claim your Spirit Orb!
As mentioned above, the Dunba Taag Shrine, or the Build and Release, is one of 13 shrines in the Hebra Tower region. The other shrines are the Goma Asaagh Shrine or A Major Test of Strength, the Sha Gehma Shrine or the Shift and Lock, the Hia Miu Shrine or A Major Test of Strength, the Mozo Shenno Shrine or A Major Test of Strength, the Rin Oyaa Shrine or the Directing the Wind, the Shada Naw Shrine or the Red Giveaway, the To Quomo Shrine or Quomo’s Blessing, the Rok Uwog Shrine or the Power of Reach, the Lanno Kooh Shrine or Lanno Kooh’s Blessing, the Maka Rah Shrine or the Steady Thy Heart, the Gee Ha’rah Shrine or the Tandem, and the Qaza Tokki Shrine or Qaza Tokki’s Blessing.