In Stardew Valley, you’re equipped with five essential skills — farming, mining, foraging, fishing, and combat. All of these are necessary to help you to be a successful farmer. Under each of these skills in Stardew Valley are Professions that are gained at certain levels, and they all come with benefits that will make key changes to how you play the game.
In this in-depth guide, we’ve noted all the perks you’ll earn from improving your skills. We’re also going to help you pick out the Professions that will be most useful to you, depending on the playthrough you would like to aim for.
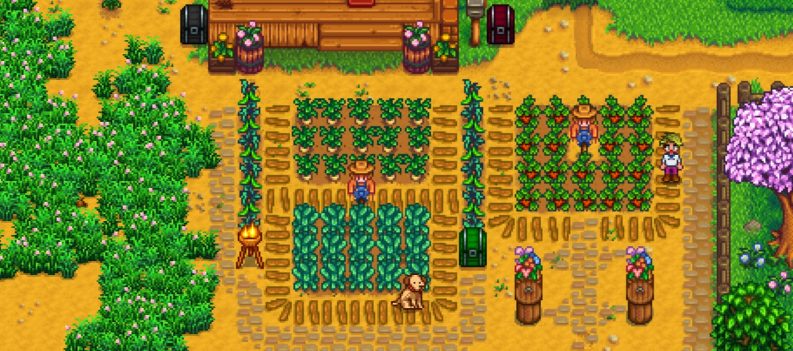
Farming

Farming is a skill that involves agricultural work like crops and animals. To gain experience in farming, you’ll need to constantly harvest crops, take care of your animals, and gather animal products. Watering and planting crops will not earn you any farming experience points. Since you will spend most of your time working in the Farmhouse, this skill is most likely the easiest one to max out.
Perks and Recipes
Each time your level increases, your Hoe and Watering Can proficiency also improves. You will also receive these recipes every time you level up.
Level 1: Scarecrow and Basic Fertilizer
Level 2: Stone Fence, Mayonnaise Machine, and Sprinkler
Level 3: Bee House, Speed-Gro, and Farmer’s Lunch
Level 4: Iron Fence, Preserves Jar, and Basic Retaining Soil
Level 6: Hardwood Fence, Cheese Press, and Quality Sprinkler
Level 7: Loom and Quality Retaining Soil
Level 8: Keg, Oil Maker, and Deluxe Speed-Gro
Level 9: Seed Maker, Iridium Sprinkler, and Quality Fertilizer
Professions
At level 5, you must choose between the Rancher and the Tiller Professions. If you choose the Rancher profession, the animal products you ship out (except Dinosaur eggs) are worth 20% more. Meanwhile, all crops sell 10% more in the Tiller profession.

When you reach level 10 with the Rancher profession, you may choose Coopmaster or Shepherd. Coopmaster allows animals that live in a Coop to become more friendly towards you, while animals that live in a Barn develop affection faster towards you in the Shepherd profession.
The Tiller Profession will let you select between Agriculturist and Artisan. The Agriculturist profession makes your crops grow 10% faster. Artisan products such as wine, cheese, oil, loom, etc., get a 40% increase in price if you choose the Artisan profession.
Conclusion

Choosing the Rancher profession works best with breeders who want to build a farm chock-full of different animals.
Agriculturist is great for crops that take time to grow, like the Ancient Fruit or Sweet Gem Berry, but Artisan is by far the fan-favorite. Most players who would like to get rich faster in this game usually opt for the Tiller and Artisan combination.
Mining

Mining and selling gems and ores might not be financially rewarding, but it’s a useful skill for collecting resources for crafting money-making devices like kegs and casks. Destroying a mound of rock using a pickaxe or a bomb will improve this skill.
Perks and Recipes
At every level you reach, you gain one point in Pickaxe proficiency along with these recipes:
Level 1: Cherry Bomb
Level 2: Staircase
Level 3: Miner’s Treat
Level 4: Transmute (Fe) and Glowstone Ring
Level 6: Bomb
Level 7: Transmute (Au)
Level 8: Megabomb
Level 9: Crystalarium
Professions
When you reach level 5, you will be prompted to choose either the Miner or Geologist profession. The Miner profession gives you an extra ore in every rock you break. Alternatively, the Geologist profession grants you a 50% chance to acquire two gems in one node (geodes obtained from breaking rocks included).

At level 10, if you chose the Miner profession, you must choose between Blacksmith and Prospector. The Prospector profession doubles your chances of finding coal. Selling ores like Copper, Iron, Gold, and Iridium bars earns you 50% more money in the Blacksmith profession.
Read: How To Change Language
If you choose Geologist, you’ll have the Excavator and Gemologist professions as your two options. The Excavator profession gives you a higher chance to attain geodes, while the Gemologist profession increases your gem profits by up to 30%.
Conclusion

For players who like crafting items, the Miner and Prospector professions will be your best pick for the Mining skill in Stardew Valley. While Prospector’s perk might not seem that impressive, getting a lot of coal is very beneficial in crafting. Coal is important in making several artisanal machines and all kinds of bombs. However, you’ll also be able to craft Coal using the Charcoal Kiln if you have plenty of wood.
If you’re the type of player who wants to focus on profit, the Geologist profession is the way to go. Whichever profession falls under Geologist can aid you in raising money from selling various rocks.
Foraging

Foraging skill is improved each time you gather items from the ground, whether from the farm, the forest, the mountains, or the beach. Chopping down trees, logs, and stumps will also gain you experience in Foraging. Truffles may come from pigs, but they are also considered forage items.
Perks and Recipes
Each level will grant your Axe proficiency an increase apart from receiving these crafting recipes and perks:
Level 1: Wild Seeds (Spring) and Field Snack
Additional perk: Trees sometimes drop seeds.
Level 2: Survival Burger
Level 3: Tapper
Level 4: Charcoal Kiln and Wild Seeds (Summer)
Additional Perk: +1 Wild Berry Harvesting
Level 6: Lightning rod, Wild Seeds (Fall), and Warp Totem: Beach
Level 7: Tree Fertilizer, Wild Seeds (Winter), and Warp Totem: Mountains
Level 8: Warp Totem: Farm
Additional perk: +1 Wild Berry Harvesting
Level 9: Rain Totem and Cookout Kit
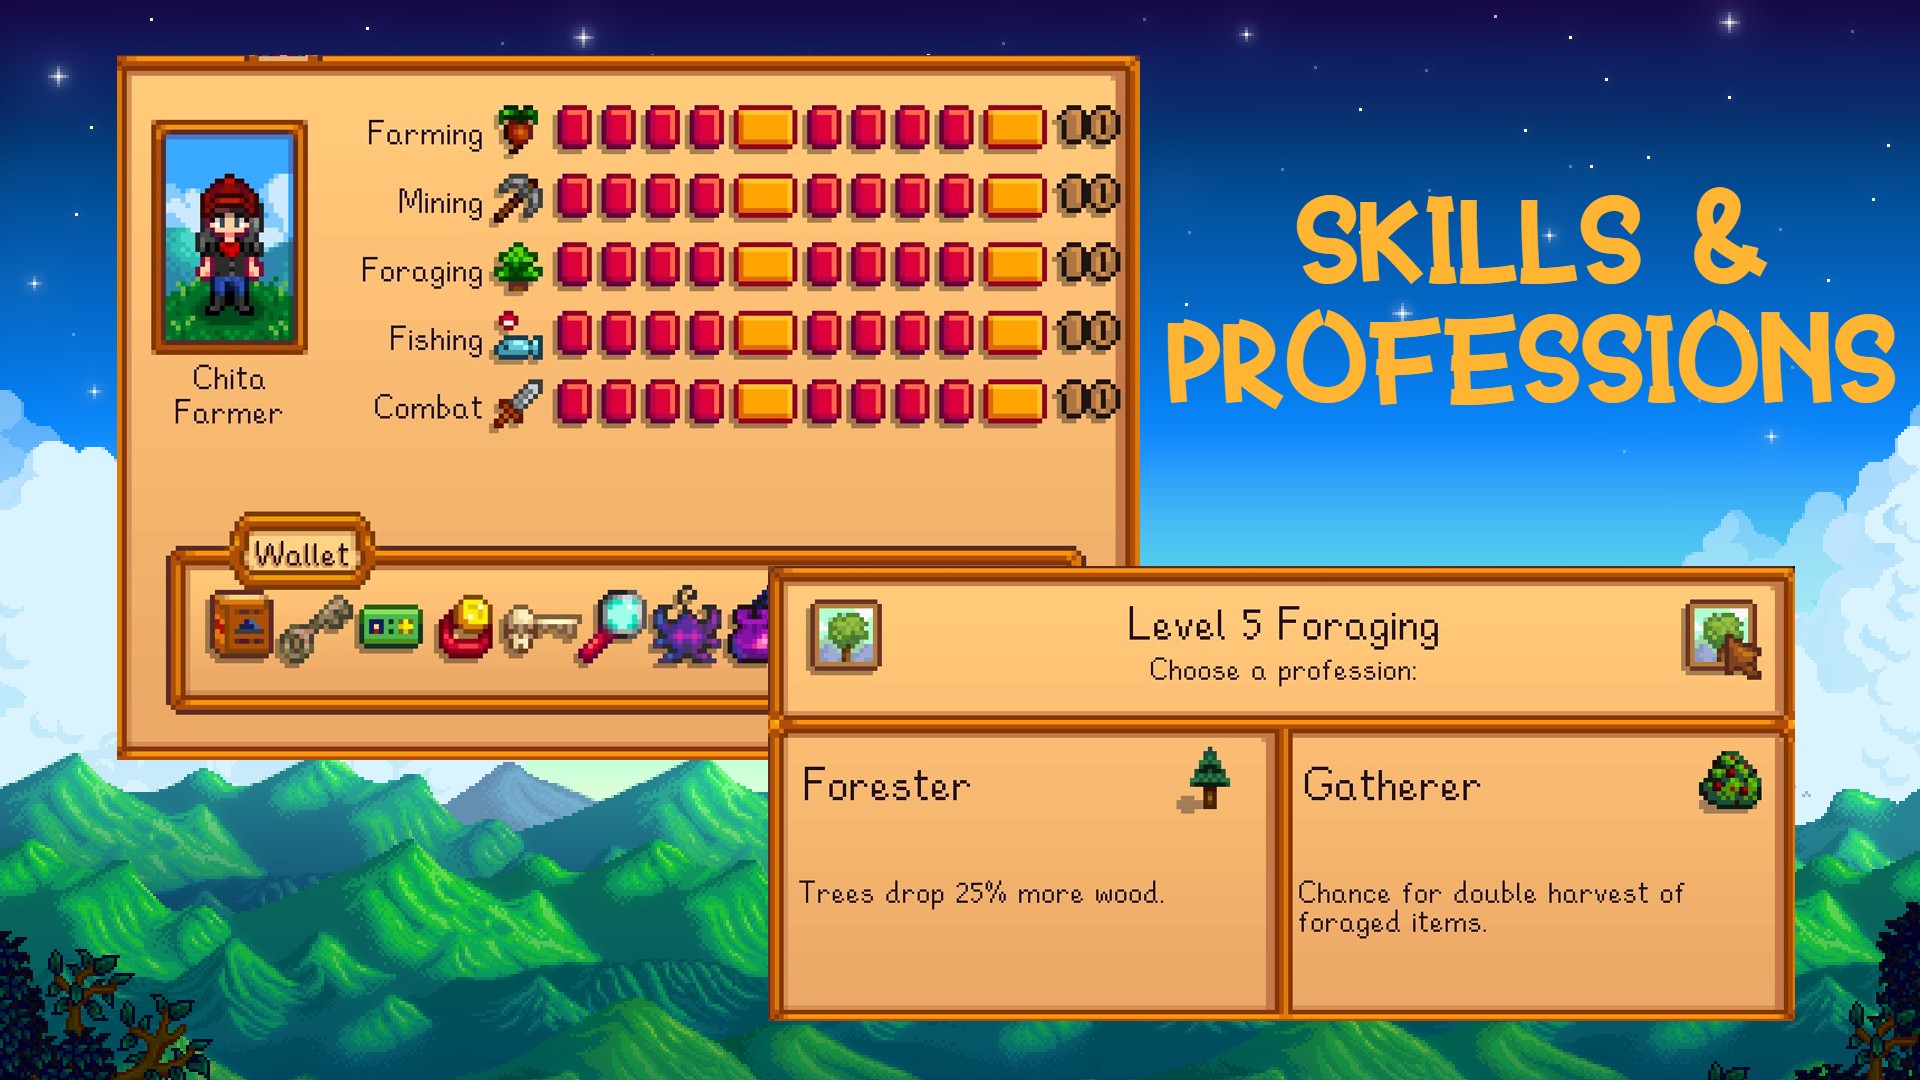
Professions
At level 5, you may pick Forester or Gatherer as your Profession. Forester increases wood and hardwood price by up to 30%. Gatherer grants you a chance to double harvest forage items.

With the Foraging skill at level 10, you’ll have either the Lumberjack or Tapper profession in Stardew Valley. You get an accelerated chance to get Hardwood from all kinds of trees in Lumberjack. On the other hand, Tapper lets you earn 20% money from selling syrups.
The Botanist and Tracker professions are your two options if you choose the Gatherer profession. The Botanist allows you to forage items with the highest quality, and the Tracker reveals the location of all the items you can forage.
Conclusion

The Forester route can be a bit lackluster because wood isn’t profitable, and you can chop and replant plenty of Mahogany trees in this game. However, if you plan on adding a bunch of buildings to your farmhouse, you can settle on Forester and Lumberjack.
Most players would benefit from The Gatherer and Botanist profession because there’s nothing terrible about getting more Gold or Iridium quality forage items. However, if you want to locate more rare items like artifacts or scarce resources, like dinosaur eggs or prismatic shards, you can choose the Tracker profession.
Foraging is a skill that is often disregarded in the skill tree. But it would be very helpful for players to max out this skill to get the level 10 professions, particularly the Botanist profession considering Truffles and some mushrooms are bountiful resources that can earn you a huge amount of money.
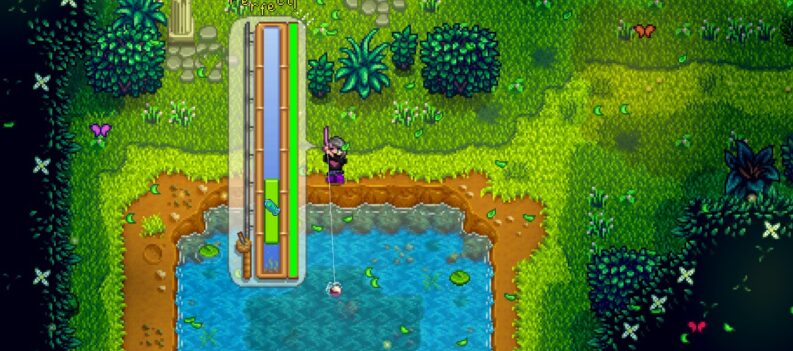
Fishing

When you catch fish or harvest from crab pots, you earn an experience point in Fishing. You reel any marine animal, including seaweed, algae, and trash; using your fishing rod can improve your skill. The same can be applied to using crab pots.
Perks and Recipes
With the increase in Fishing Rod proficiency at each level, you will also obtain these recipes and perks:
Level 1: Perk: Casting distance increased by one tile
Level 2: Bait
Additional perk: Fiberglass Rod and Bait unlocked in Willy’s shop
Level 3: Crab pot and Dish o’ The Sea
Additional perk: Crab pot unlocked in Willy’s shop
Level 4: Recycling Machine
Level 6: Spinner and Trap Bobber
Additional perk: Iridium Rod, Lead Bobber, Spinner, and Trap Bobber unlocked in the shop.
Level 7: Cork Bobber and Treasure Hunter
Additional perks: Cork Bobber and Treasure Hunter unlocked in Willy’s Fish Shop.
Level 8: Worm Bin, Dressed Spinner, and Barbed Hook
Additional perks: Barbed Hook & Dressed Spinner unlocked in Willy’s Fish Shop. Also, the casting distance increased by one tile.
Level 9: Magnet and Seafoam Pudding
Additional perk: Magnet unlocked in Willy’s Fish Shop
Professions

Upon reaching level 5, you must choose between Fisher or Trapper. The Fisher profession increases the price of fish by 20%, while the Trapper profession reduces the required materials to make crab pots.
At level 10, if you chose Fisher, you may settle on either Angler or Pirate. Any fish you sell will have 50% more in the Angler profession. The Pirate profession gives you twice the chance to get treasure chests from fishing.
With the Trapper profession, you can decide on either Mariner or Luremaster. If you choose the Mariner profession, you no longer have to deal with junk from crab pots. The Luremaster profession no longer requires you to put bait in crab pots daily.
Conclusion

As usual, if you would like to go by any means necessary to get rich quickly, you can choose the Fisher and then Angler profession. If you hope to haul out a bunch of treasure chests to get rare artifacts like the prismatic shard, opt for the Pirate profession instead.
Since the fishing mini-game isn’t everyone’s favorite, players who would rather focus on trapping creatures in a crab pot could go for the Trapper profession.
Combat

Slaying monsters with a sword, a slingshot, a hammer, or a weapon will give you experience points in Combat. Where these monsters dwell doesn’t matter as long as they incessantly attack you; fighting and killing them off will improve your combat skill.
Perks and Recipes
You will not gain proficiency points in any weapon that you wield. Instead, you will gain +5 hit points, along with these crafting and cooking recipes:
Level 1: Sturdy Ring and Bug Steak
Level 2: Life Elixir
Level 3: Roots Platter
Level 4: Warrior Ring
Level 6: Slime Egg Press and Oil of Garlic
Level 7: Ring of Yoba and Thorns Ring
Level 8: Slime Incubator and Explosive Ammo
Level 10: Iridium Band and Squid Ink Ravioli
Professions
You can choose between the Fighter and Scout professions when you get to level 5 in your Fighting skill in Stardew Valley. The Fighter profession enhances your attack damage by 10%. Your chance to get a critical attack increases by up to 50% in the Scout profession.
If you chose the Fighter profession at level 5, you must select either Brute or Defender when you reach level 10. Brute allows you to deal 15% more damage to enemies, while in Defender, you get an increase of 25 hit points.

Having the Scout profession at level 10 will allow you to choose either the Acrobat or Desperado profession. If you choose Acrobat, your cooldown on special actions is reduced by half. Desperado gives you massive critical damage.
Conclusion
Fighting off monsters in dungeons can inconvenience some, but it is necessary to get some mining and foraging done. Some important quests also require you to slay several enemies.
The Fighter and Brute professions can help you survive the surge of monsters in The Mines and Skull Cavern. The Defender profession can shield you from the endless swooping of bats if you chance upon a bat invasion on one of the floors. Equipping the Galaxy Sword with these professions will especially be useful for tough monsters like Serpents or Pepper Rexes.

If you want to make things more challenging, you can go for the Scout and Desperado combination. The Acrobat professional will only be advantageous if you frequently use special moves to finish off enemies. You will have to rely on chances; that’s why it’s recommended to go hunting for monsters on an auspicious day.
Again, what you ultimately decide on will be up to your play style. There are many things to watch out for when you’re in the dungeons, so most players would rather pick the most useful Combat professions. But if you find the combat in this game a little too easy, you can set more hurdles and have fun with your random critical rate.
The Statue of Uncertainty

You cannot change your profession any time you like, but there is one way to modify a skill’s profession by offering money to a statute, and here are the following steps on how to do it:
1. Find at least 60 artifacts and donate them to the Archeology Center or Gunther’s Museum. Gunther will give you the Rusky Key afterward.
2. Enter the Sewer using the key and head to the Statue of Uncertainty. Offer 10,000 gold to change a skill’s professions that you want. Note that you can only change one skill per 10,000 gold.
3. Go to sleep; by the next morning, you can change your level 5 and level 10 professions.