Learn everything you need to know about the Mayachin Shrine in Tears of the Kingdom!
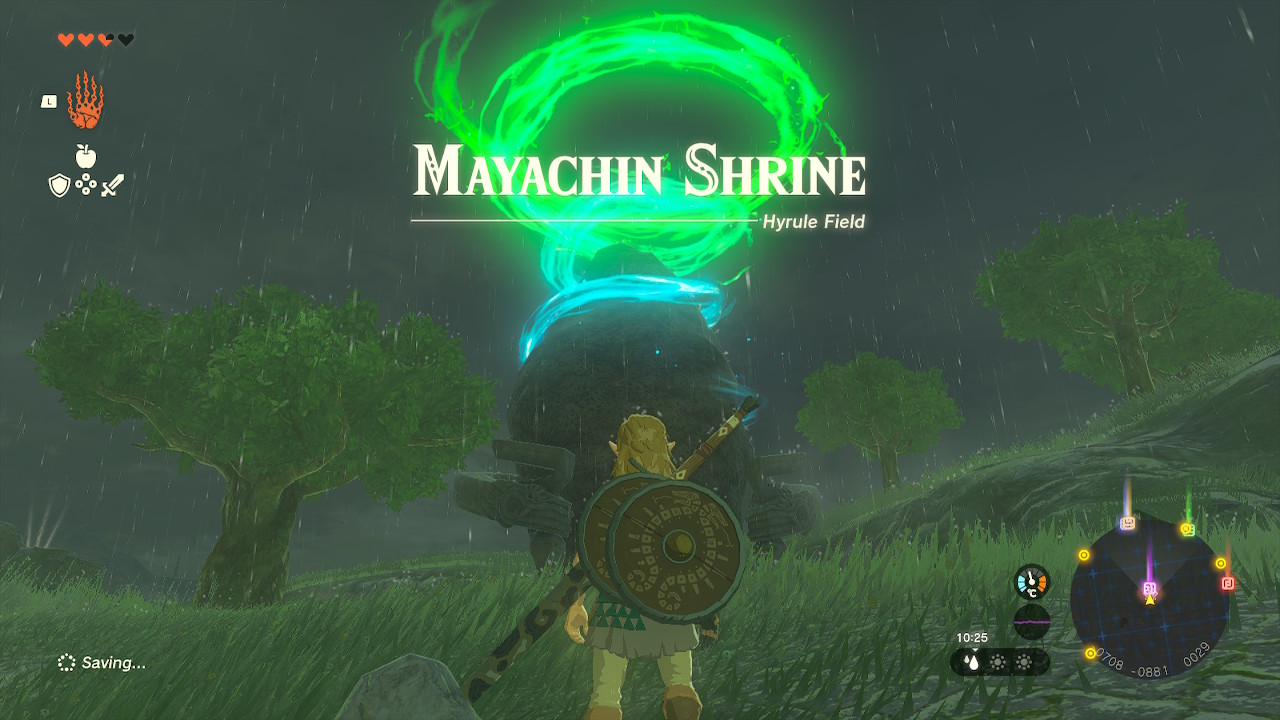
To collect Lights of Blessing, Link must complete Shrines in The Legend of Zelda: Tears of the Kingdom. Link can exchange a few of these Lights of Blessing to increase his vitality for more heart containers or stamina vessels. The Mayachin Shrine, or “A Fixed Device,” is one of many Shrines throughout Hyrule.
Link must overcome challenges within this Shrine by finding a way to hit a glowing target using a sphere. In doing so, Link can reach the altar at the shrine’s final point. This Shrine may appear complicated, but it is pretty simple to accomplish.
In this guide, we’ll teach you everything Link needs to do to finish the Mayachin Shrine, uncover the treasure chest inside, and claim the Light of Blessing!
Location
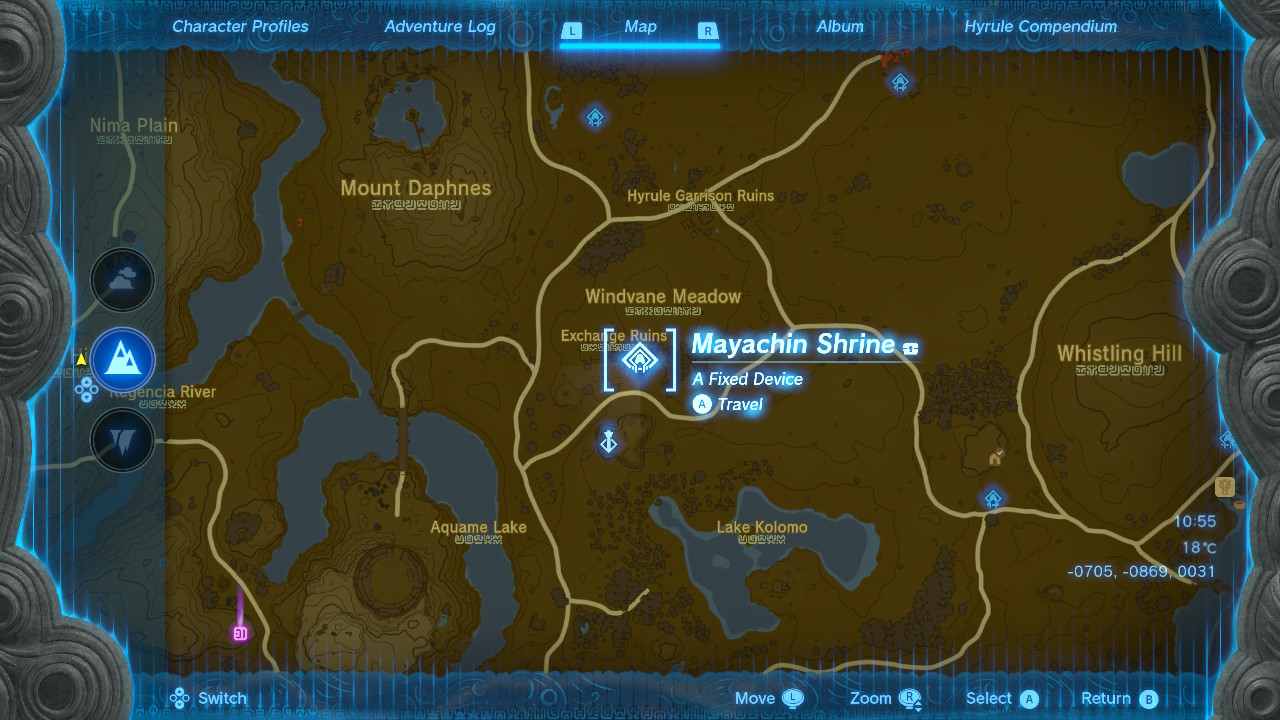
Link can find the Mayachin Shrine in the middle of Exchange Ruins. This area is northeast of the Hyrule Field Skyview Tower or southeast of Mount Daphnes. To be more precise, Link can find the Mayachin Shrine at these coordinates: -0705, -0866, 0031. The Jiosin Shrine is one of 10 Shrines that Link can find in the area unlocked on the map after activating the Hyrule Field Skyview Tower.
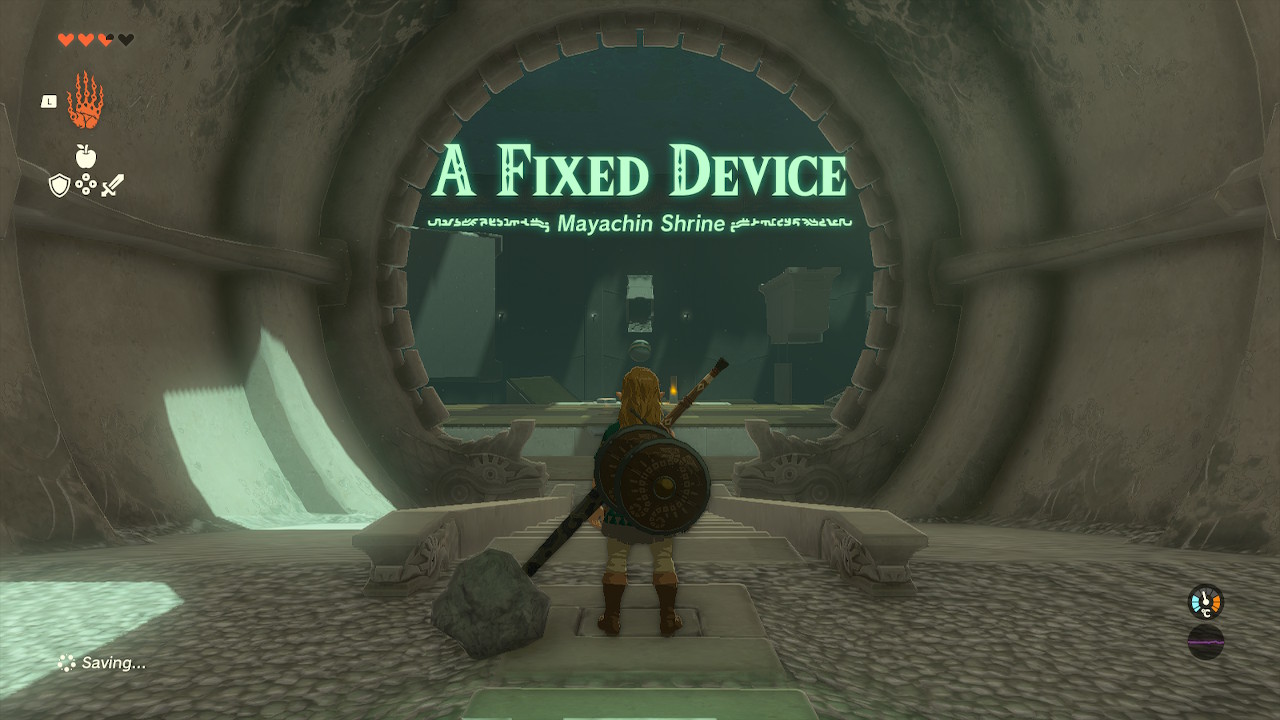
A Fixed Device
Inside the Mayachin Shrine, as stated above, Link must find a way to let a sphere hit a glowing target. To do that, Link must use the Ultrahand ability. This ability will allow Link to manipulate and attach the objects inside the Shrine.
Mayachin Shrine Guide
To complete the Mayachin Shrine and claim a Light of Blessing, these are the things that Link must do:
- Go down the stairs, and there, Link will find a massive room. Just ahead is a large gap with a rotating device in the middle. Link will find a platform attached to the rotating device. Wait for the platform to arrive near Link and jump on it to ride it. Wait for the platform to bring Link to the other platform and jump on the next platform to continue.
- After that, Link will find a closed doorway on the left with the altar behind it. On the right, Link will find a flight of stairs with another closed doorway on top and a treasure chest behind it. Just ahead is a button on the floor and a glowing switch.
- There is also a large platform in front of these. Here, a sphere will roll down one at a time. Stand on the button next to the glowing switch to reveal a glowing target in the distance.
- Next, head down the platform ahead, and there Link will find the titular fixed device in the middle, a stake near it, another stake on the left with two concrete poles near it, a ramp towards the target ahead of it, and a large concrete platform held up by chains on the right.
- Hold the L button and select the Ultrahand ability with the right stick. Aim on the stake near the fixed device and press the A button to grab it. The bottom part of this stake can phase through objects if grabbed using the Ultrahand ability.
- After Link deactivates the ability, the stake will solidify in place. Hold the R button and press the directional buttons to rotate the stake to be in the horizontal position. Move the stake towards the green part of the fixed device and let the pointy part of the stake phase through it. Press the B button to let go of it and let it solidify in place.
- Then, press the L button again to ready the Ultrahand ability. Aim on one of the concrete poles and press the A button to grab it. Move it and let either of its ends touch the end of the other pole. Press the A button to attach them.
- Next, press the L button again to ready the Ultrahand ability. Aim on the attached concrete poles and press the A button to grab it. Move it and let one of its ends touch the end of the stake attached to the fixed device. The attached items should be the fixed device, the stake, and the two attached concrete poles.
- Afterward, head back up the stairs and approach the glowing switch. Press the Y button to prepare a weapon. Then, wait for the rolling sphere to be near the attached objects in the middle of the platform and quickly attack the switch.
- This will cause the attached objects to pivot from the fixed device and hit the sphere like a baseball bat. Because of this, the sphere should hit the target near the ramp. Hit the switch again to revert the fixed device and repeat this step if the sphere misses the target. Once the target is hit, the doorway to the altar will be opened.
- The only thing left now is the treasure chest. Head back down the stairs and approach the large slab of concrete held up by two chains. Behind this concrete slab is another stake and another target above a gap. Press the L button again to ready the Ultrahand ability.
- Aim on the stake behind the concrete slab and press the A button to grab it. Hold the R button and press the directional buttons to rotate it so that the pointy part of the stake is pointed up. Raise it and let it phase through the platform above the concrete slab. Press the B button to deactivate the Ultrahand ability and let the stake solidify in place.
- Next, press the L button again to ready the Ultrahand ability. Aim on the large concrete slab and press the A button to grab it. Hold the R button, press the directional buttons, and raise it to rotate it so that the large concrete slab is flat and in a horizontal position. Move the large concrete slab towards the stake above and press the A button to attach it to the stake. Because of this, no more objects are blocking the glowing target.
- Then, head back up the stairs and hit the glowing switch again to set the fixed device back to its original position. Wait for the large sphere to be near the concrete poles on the fixed device, then quickly hit the switch.
- This will cause the objects on the fixed device to hit the sphere like a baseball bat. Because of that, the sphere should hit the target on the right. Attack the switch again to revert it to its original position, and repeat this step if the sphere misses the target. Once the target is hit, the doorway to the treasure chest will be opened.
- Afterward, head up the stairs on the right and enter the newly opened doorway to find a treasure chest. Open the chest to get an Energizing Elixir.
- Finally, head to the opposite side of the room, enter the doorway, approach the altar, and interact with the glowing symbol to claim a Light of Blessing!
Conclusion
As mentioned above, the Mayachin Shrine, titled “A Fixed Device,” is one of the 10 Shrines that Link can find in the part of the map that the Hyrule Field Skyview Tower unlocks. The other nine Shrines in this area are the Kamizun Shrine, titled the “Proving Grounds;” the Kyokugon Shrine titled the “Alignment of Circles;” the Riogok Shrine, titled the “Force Transfer;” the Sonapan Shrine, titled the “Missing Pathways;” the Tajikats Shrine, titled the “Building With Logs;” the Teniten Shrine, titled “Combat Training: Throwing;” the Tsutsu-um Shrine, titled “The Stakes Guide You;” the Tadarok Shrine, titled the “Fire and Water;” and the Usazum Shrine, titled “Rauru’s Blessing.”