One of the Shrines in The Legend of Zelda: Breath of the Wild is the Ketoh Wawai Shrine, or the Ketoh Wawai’s Blessing. The Shrine itself is no challenge at all. As you enter the Ketoh Wawai Shrine, Link will be able to access the Shrine’s chest, he will be able to access the altar, and he will be able to talk to the monk immediately. The real challenge is completing the Shrouded Shrine Quest to access Ketoh Wawai Shrine. In this guide, you’ll learn how to complete the Shrouded Shrine Quest to access and complete Ketoh Wawai Shrine, obtain the chest inside, and claim the Spirit Orb.
Link will be rewarded with Spirit Orbs for completing Shrines, and you can exchange them for more Heart Containers or Stamina Vessels. Since there are120 Shrines all over Hyrule, Link can also get120 Spirit Orbs. You get to decide whether you want Link to have more Hearts or more Stamina.
Location

The Ketoh Wawai Shrine can be found in the middle of Thyphlo Ruins, which you can find in the northern part of Hyrule, north of the Great Hyrule Forest and west of the Eldin Mountains. The Ketoh Wawai Shrine is one of eight shrines in the Woodland Tower region.
Shrouded Shrine Quest
To start this shrine quest, all you have to do is enter the Thyphlo Ruins through its opening on the west side (east of Drenan Highlands). Cross the bridge to Thyphlo Ruins, and upon reaching around the middle, the screen will turn black. Everything will be pitch black except for a lit bird statue in the distance when it comes back. After this, the Shrouded Shrine Quest will start.
The game wants the player to complete this shrine quest by following where the bird statues are pointing in a straight line until you reach another bird statue. For example, the first bird statue is pointing to the bird statue on the right, and that bird statue is pointing straight, so Link must head straight until he reaches another bird statue and follow where it is pointing. However, as you are already reading a guide to complete this shrine quest and reach the Shrine, it might as well teach you how to complete it. To complete the Shrouded Shrine Quest, this is what Link must do:
- Head towards the lit bird statue, and just below it, there is a torch. If you don’t have one or any weapon that emits light or fire, take the torch and strike the fire to light the torch Link is holding. This bird statue is pointing to another bird statue on the right, which is pointing straight.
- Next, head straight along the path until you see two more bird statues. As the previous bird statue was on the right, it was probably pointing to this bird statue on the right, but then this bird statue is pointing to the bird statue on the left, and this one is pointing straight. Follow where the left bird statue is pointing and head on straight. You can light these bird statues and others you may find to bring light further.
- Then, you will see another bird statue that is still pointing straight, and after that, another bird statue that is pointing slightly northwest. Follow where that bird statue is pointing.
- After that, you will see a bird statue pointing to the right. There is a chest just beyond this bird statue. Open the chest to obtain an Opal and follow where the bird statue is pointing. While following this path, you will encounter some Keese. Deal with them, light your torch again, and continue on.
- Next, you will see a bird statue pointing straight. Follow where it is pointing, and you will see another bird statue pointing to the left. Follow where it is pointing, and you will see another one pointing in the same direction.
- After that, head up a small ramp, and you will find a bird statue pointing to the right, and just a small distance from it is another one pointing in the same direction. Follow where it is pointing, and just after a platform, you will find another bird statue still pointing in the same direction. Follow where this bird statue is pointing.
- Beyond some trees, you will find another bird statue pointing in the same direction as the last. Follow where it is pointing.
- Next, you will find another bird statue pointing northwest. Head to where it is pointing, and you will find another bird statue pointing to the left. Follow where it is pointing.
- Then, you will find a bird statue pointing straight to a path under a large tree’s roots. Follow where the bird statue is pointing, and just beyond the tree’s roots, there is another bird statue pointing to the right. Follow this path, and just beyond a few pieces of rubble, you will find another bird statue pointing in the same direction as the last. Head on to where the bird statue is pointing.
- After that, you will find another bird statue pointing slightly northwest. Upon following that, you will find another one pointing slightly northwest again. Follow where it is pointing.
- Next, you will be on a path surrounded by large walls, and you will find a bird statue pointing to the right. Follow this path, and you will reach what looks like a dead-end and a bird statue pointing back to where you were. Just follow this, and you will find another bird statue pointing to the left.
- Then, by following where the last bird statue was pointing, you will find another one pointing to the left, where you will find a glowing orb socket. After the glowing orb socket, you will find two bird statues pointing in the same direction. Follow where they are pointing.
- After that, you will find the next pair of bird statues next to a Hinox, carrying the glowing orb for the socket. Defeat the Hinox. Fortunately, the orb’s glow will make it easier for you to locate him, and the Hinox’s eye is visible even if it is pitch black, making it easier to shoot and stun the Hinox.
- Next, after defeating the Hinox, pick up the dropped loot and, most importantly, pick up the glowing orb and bring it to the glowing orb socket.
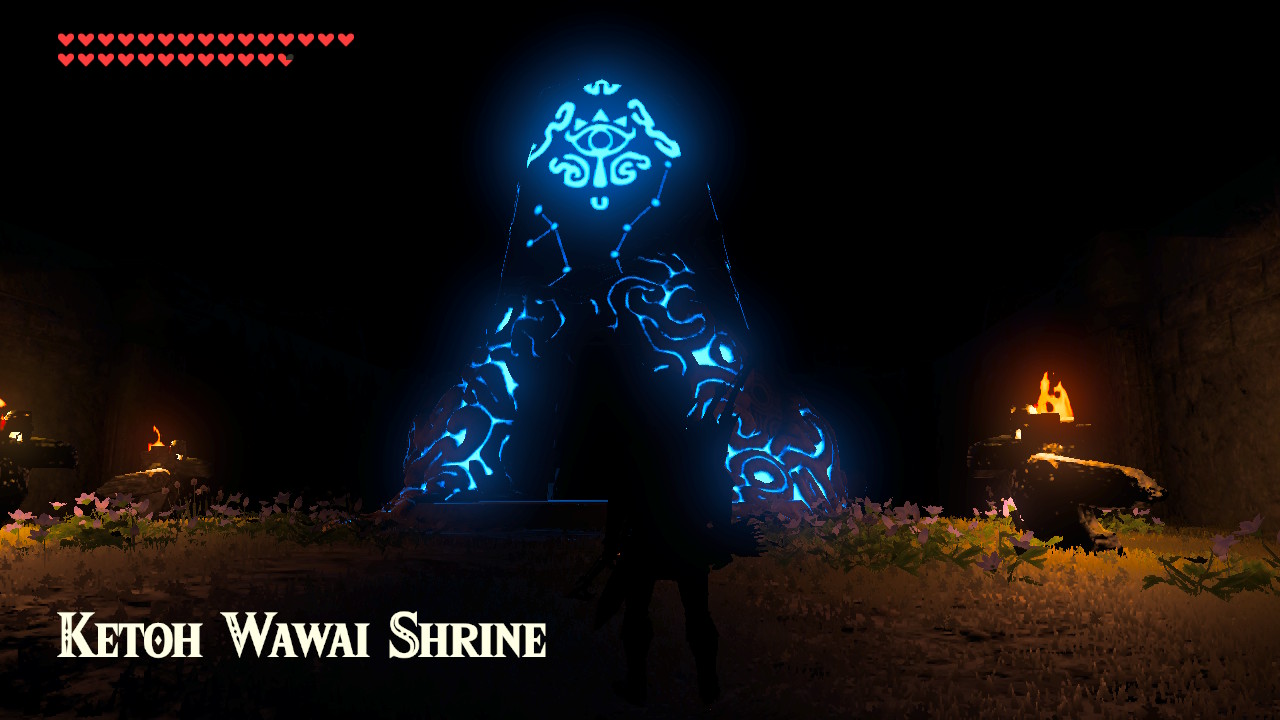
- Finally, the Ketoh Wawai Shrine will emerge from the ground in the distance, and, just like that, the Shrouded Shrine Quest is completed.
Ketoh Wawai’s Blessing

Now that you have completed the Shrouded Shrine Quest, you can enter the Ketoh Wawai Shrine. This Shrine will no longer have a challenge or puzzle inside as the challenge was already on trying to access the Shrine. Upon entering the Shrine, this is what Link must do:
- Upon entering the Rona Kachta Shrine, head up the stairs, and there will be a chest. Open the chest to obtain an Ancient Core.
- Then, just after the chest, continue ahead and talk to the monk and claim your Spirit Orb!
The Ketoh Wawai Shrine or Ketoh Wawai’s Blessing is one of eight shrines in the Woodland Tower region. The other shrines are the Monya Toma Shrine or Drawing Parabolas, the Keo Ruug Shrine or the Fateful Stars, the Mirro Shaz Shrine or the Tempered Power, the Rona Kachta Shrine or Rona Kachta’s Blessing, the Maag Halan Shrine or Maag Halan’s Blessing, the Daag Chokah Shrine or Daag Chokah’s Blessing, and the Kuhn Sidajj Shrine or Kuhn Sidajj’s Blessing.