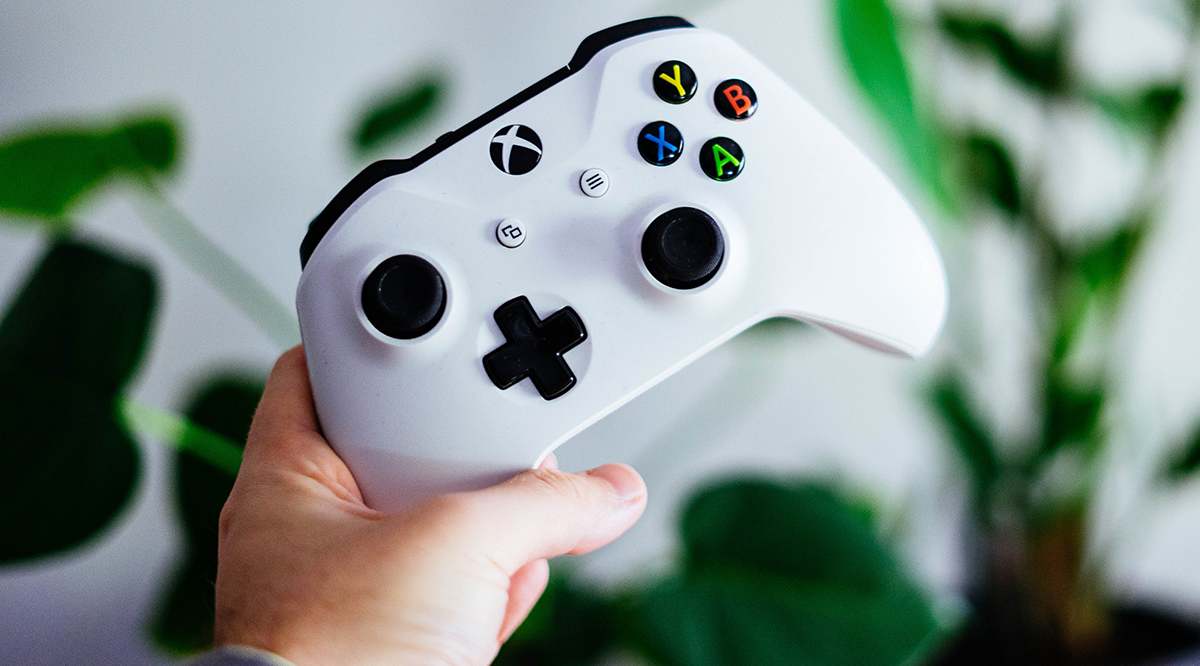
Since the early days, vibration or rumble has been a big part of console gaming. It offers more immersion into what you’re playing, as the controller is your most direct link to the game. However, in some instances, you may want to turn off the vibration/rumble on your Xbox One controller.
Let’s see whether that’s possible and how you can do it.
Can You Turn Off Rumble/Vibration Off?
Unfortunately, no, there isn’t a global option to turn your Xbox One controller vibration off. There isn’t an off switch for this setting on the controller, and you’re wasting time looking for the option inside the Xbox One’s OS.
Fortunately, there are a couple of ways to get rid of vibration inside your Xbox One controller.
The Easy Way to Do It
The easiest way to potentially turn off the vibration/rumble in your controller is if the game that you’re playing allows it. Although the settings menu differs from game to game, this command is usually found in controller settings. If you can’t find these settings, google them for the specific game.
Bear in mind, however, that some (if not most) games don’t offer a feature that allows you to turn off the rumble/vibration inside your controller. The setting simply isn’t there because no one at Microsoft predicted that you’d prefer to play that way.
The Painful Way
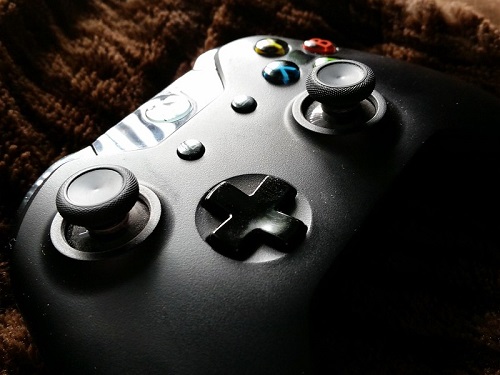
Vibrations and rumble within the controller are caused by small motors located all over the joypad. These motors mechanically cause vibrations that you feel while playing. If you’re certain that the game you’re playing doesn’t have an option to turn vibration/rumble off, you can always open the controller up and remove the motors.
This involves cutting wires, and removing the actual motors. If you’re certain that you want to proceed, here’s the gist of it.
First, you’ll need to remove the battery pack cover, located on the bottom side of the controller. Then, go ahead and remove the batteries. Once this is done, remove the side handles. You could use your typical screwdriver or a similar tool for this, but a nylon spudger is the safest option.
To do this, wedge the spudger tool between the main body of the controller and the handle plates. Once wedged into the seam, slowly start prying the side plate. Once a part of the side plate is detached, do it all around the seam.
Now, look at the controller’s backside, where the battery was placed. You’re going to have to lift the label, using the spudger method. It’s essential that you handle this with great care, to avoid damaging the controller. Then, remove the 10mm screws on the back of the pad.
After you’ve removed the screws, you’ll be able to remove the controller’s backplate and faceplate, leaving you with the actual chipset.
The rumble/vibration motors are located where each of the controller “wings”. You can take out the motors freely, but you’re either going to have to cut the wires that connect the rumble motors to the controller chipset or de-solder them. The latter is recommended.
Once the motors are free from the wiring, remove them, and re-assemble the controller. In addition to no longer vibrating, the joypad will be significantly lighter.
Other Xbox One Controller Tips
Now that you’ve learned how to get rid of rumble/vibration in your Xbox One controller, let’s dig a bit deeper into this device. Here’s how to make the most out of it.
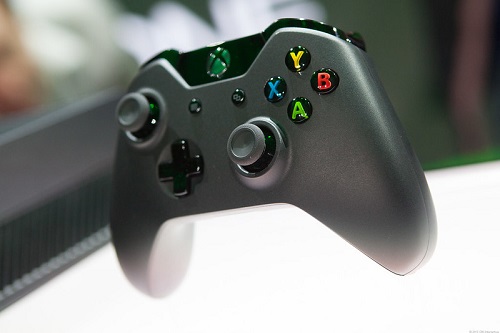
Use Your Phone Charger
You’ll hear many people claiming that you should never charge your controller using the wall socket. However, you shouldn’t be too scared of this, as the Xbox One controller was built to handle charging while the actual console is powered off. You don’t have to use the official Xbox cable, either. The whole reason behind the controller using the Micro USB charger is so that you’re able to charge it anywhere.
Check Your Controller Battery
Unfortunately, the Xbox One controller doesn’t display its current battery level. Yes, this is very annoying at times, but there’s an easy way to check the actual battery level. Just turn on the console and at the bottom-right part of the home screen, you’ll see an icon indicating how much battery you have left.
If you’re in the middle of the game, simply switch to the home screen by pressing the Xbox guide button.
Having a way to see how much battery you have left without turning on the console would be nice. Unfortunately, this is impossible.
Remap the Buttons
The Elite Xbox One joypad offers a ridiculous degree of customization. However, many Xbox users are unaware of the fact that you can, in fact, customize the regular Xbox One controller. To remap keys on your standard controller, navigate to Settings. Then, go to Kinect & Devices, followed by Devices and Accessories. From the list, select the controller that you want to remap, and go to Configure.
From this screen, you can remap buttons, invert the Y-axis, and so on.
Updating the Controller
Updating your controller with the latest firmware may significantly improve its performance. Luckily, the update process easy enough to perform. Using the original cable that the joypad came with, connect the controller to the Xbox One console. Then, go to Settings, followed by Devices & Accessories. Find the controller that you wish to update, select it, and then navigate to Update. This will download and update the new firmware on your Xbox One controller.
Turning Off Xbox One Rumble
Unfortunately, there isn’t a master setting that will help you turn off the rumble motors. Certain games may offer this option, but if you want to turn off the vibrations on your Xbox One controller altogether, you’re going to have to disengage them manually. This is done either by cutting the wires (not recommended) or by de-soldering them.
Did you manage to turn off the rumble on your Xbox One controller(s)? Did this tutorial help? Let us know in the comments section below and feel free to ask any additional questions that you may have.


