To stomp noobs into Radiant in VALORANT, you only need insane game sense, cracked aim, good vision, and inhuman flicks. In short, we need to be able to play like Tenz.
Sadly, not everyone is like Tenz, who is practically a walking aimbot at this point. Tenz hits fast, hard, and with laser-like precision. Mere mortals like us can only hope for the muscle memory Tenz has built up.
What we can do, though, is configure some settings within both Valorant and Windows to improve visibility. This should help us see a little better when spotting enemies in VALORANT. So even though we can’t react to targets as fast as Tenz can, we can see enemies better and hopefully land the first shot.
1. Increase Saturation
Saturation is how intense or pure colors are when viewed on a screen. More saturated pictures are extra colorful, while less saturated images are more grayish.
Intense colors make objects on screen more identifiable since each color on-screen becomes more and more distinguishable from other colors on screen. Compared to a less saturated picture, these objects will be less visible because colors blend more as they get closer to the grayscale.
Today we will increase on-screen Digital Vibrance using the Nvidia Control Panel. AMD users can also change Saturation using the Saturation setting within Radeon Software. For this tutorial’s sake, we will use Nvidia’s Control Panel.
To increase Saturation using Nvidia Control Panel
- Go to your Windows Desktop

2. Right-click on any blank space on the desktop:

3. Select Nvidia Control Panel:

4. On the Nvidia Control Panel, select Adjust desktop color settings:

5. Just above the Hue Slider, at the bottom of the page, you will find Digital Vibrance. Set it to anywhere between 60-75%:

6. Click Apply on the bottom right corner of the Nvidia Control Panel:

2. Enable Anti-Aliasing
All the pictures or objects you see on-screen are made up of tiny little pixels that group to create an image. Since these pixels are square-shaped, objects on-screen will likely look jagged or rough.
That is where Antialiasing comes into play.
Antialiasing is simply smoothing the jagged or rough edges of the objects on-screen.
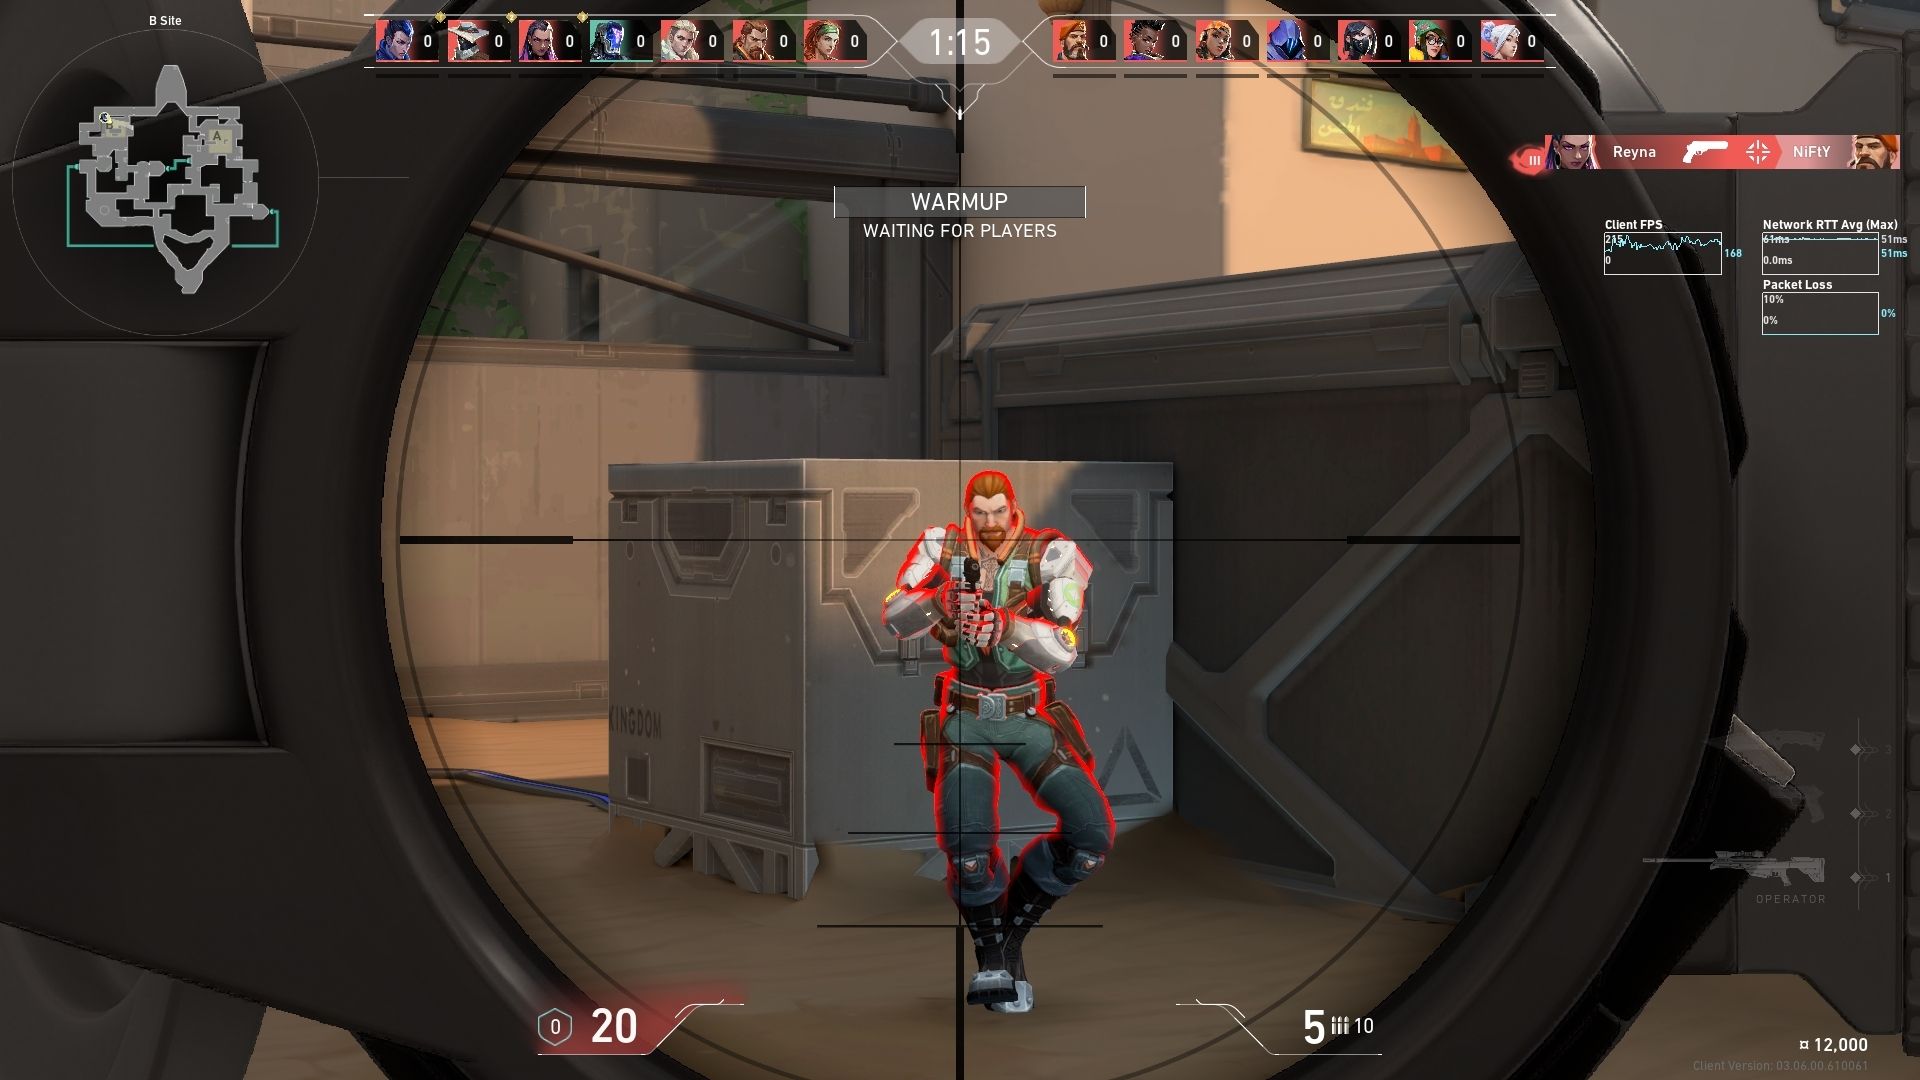
A first-person tactical shooting game must have easily visible or distinguishable targets from any background since these games rely heavily on pixel-perfect accuracy.
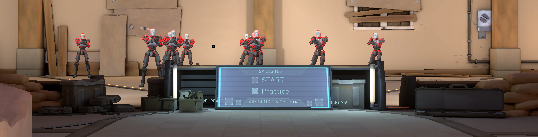
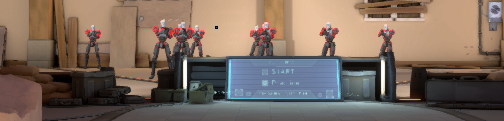
It may not look like there is any difference between Antialiasing OFF and FXAA ON. When you try to pixel-peep, or in layman’s terms, look closely at the monitor enough to see the pixels, you will find that MSAA 4X provides the clearest picture, especially at longer ranges.
But At What Cost?
Players will tell you that turning on Antialiasing is a death sentence to your overall FPS. That is simply not true, at least for VALORANT.
Read: How To Get Better FPS in Valorant
VALORANT is a very CPU-biased game. You can run VALORANT at upwards of 200+ frames per second with a potato for a GPU.
The following tests were done on an ancient Nvidia GTX 760 2GB Video Card, which is on par with a more modern GTX 1050 2GB. Let’s find out how much FPS anti-aliasing eats up when turned on:
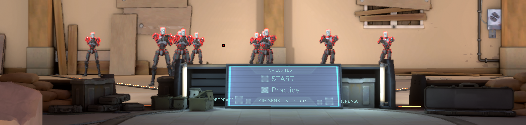
- Anti-aliasing OFF
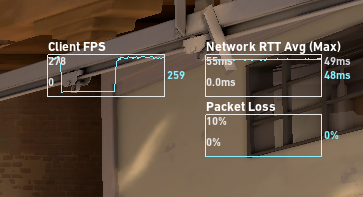
2. MSAA 2X
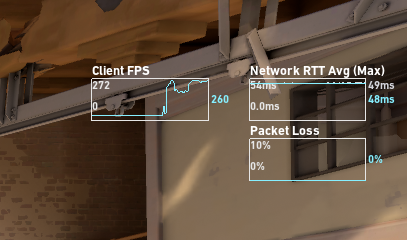
3. MSAA 4X
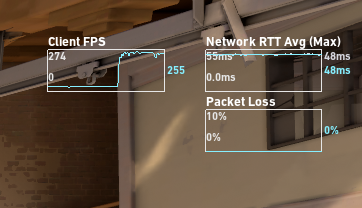
4. FXAA
As you can see, there is almost no difference between all these settings.
If you have a low-midrange modern GPU, I highly suggest you turn anti-aliasing to at least MSAA 2X to improve visibility for those crispy headshots in Valorant.
3. Change First-Person Dominate Hand

While this might seem trivial, changing your First-Person Handedness might help you see and center your targets more clearly. This is because humans have what we call a Dominant Eye.
The dominant eye has a better input towards the brain’s visual areas. Google Search a quick Dominant Eye Test to figure out which eye is your dominant eye.
To change First-Person Handedness
- Open the VALORANT settings menu:

2. Click on General:

3. Scroll down to Other:

4. Under First Person Handedness, you can select either Left or Right:

Visibility is Everything
Landing headshots is difficult in VALORANT due to the small target head sizes and the random spray patterns. You won’t be able to react to enemies as fast as Tenz, but at least you can see them clearly from a distance. Whichever settings you employ from the three on the list will help you identify targets faster and improve visibility in Valorant. These settings help you see and spot targets more easily in-game.