Post-plant molly lineups to punish those defusers on Ascent.
KAYO is a great pickup on just about any map in VALORANT, but the humanoid robot Agent is strong, particularly on Ascent, where his EMP Knife can cover a large area on either bombsite on the map.
But we are not here to talk about KAYO’s EMP Knife. Instead, we look at some of the best KAYO Molly lineups on Ascent that you can use to stop the Defending team from defusing the Spike post-plant.
Here are some quick and easy KAYO FRAG/ment lineups for both A-site and B-site on Ascent.
KAYO FRAG/ment Molly

FRAG/ment is KAYO’s molly ability. Like most molly utilities in VALORANT, FRAG/ment deals powerful damage over time over a large area. This can be very good for clearing out cubbies or driving enemy players away from contested grounds around maps.
Unfortunately, unlike Viper’s Snake Bite or Brimstone’s Incendiary, KAYO’s FRAG/ment only lasts 4 seconds, making it less ideal for delaying the Spike defuse on post-plant. It does, however, make up for the low duration with high tick damage that should deter enemy players from standing in its radius.
- Equip Time: 0.7 seconds
- Unequip Time: 0.6 seconds
- Windup: 0.5 seconds
- Radii: 1 meter (inner) and 4 meters (outer)
- Damage: 25-60 per tick (inner radius deals more damage)
- Ticks/Tick Rate: 1 every 1 second
- Duration: 4 seconds
KAYO Molly Lineups on Ascent A-site
A-Default and A-Dices are arguably the best places to plant the Spike on Ascent A-site.
You can not go wrong with A-Default – the generator provides impenetrable cover from Defenders at A-Balcony. On the other hand, planting in A-Dices makes playing post-plant from A-Main and A-Tree very easy.
A-Default Post-plant Molly from A-Main
- Stand in the middle of this scooter at A-Lobby:


2. Look up and aim for this small wire:


3. Throw KAYO’s molly:

When done properly, KAYO’s molly should land at A-Default.

A-Dices Post-plant Molly from A-Main
- Stand along the right side of this Radianite box in A-Lobby:


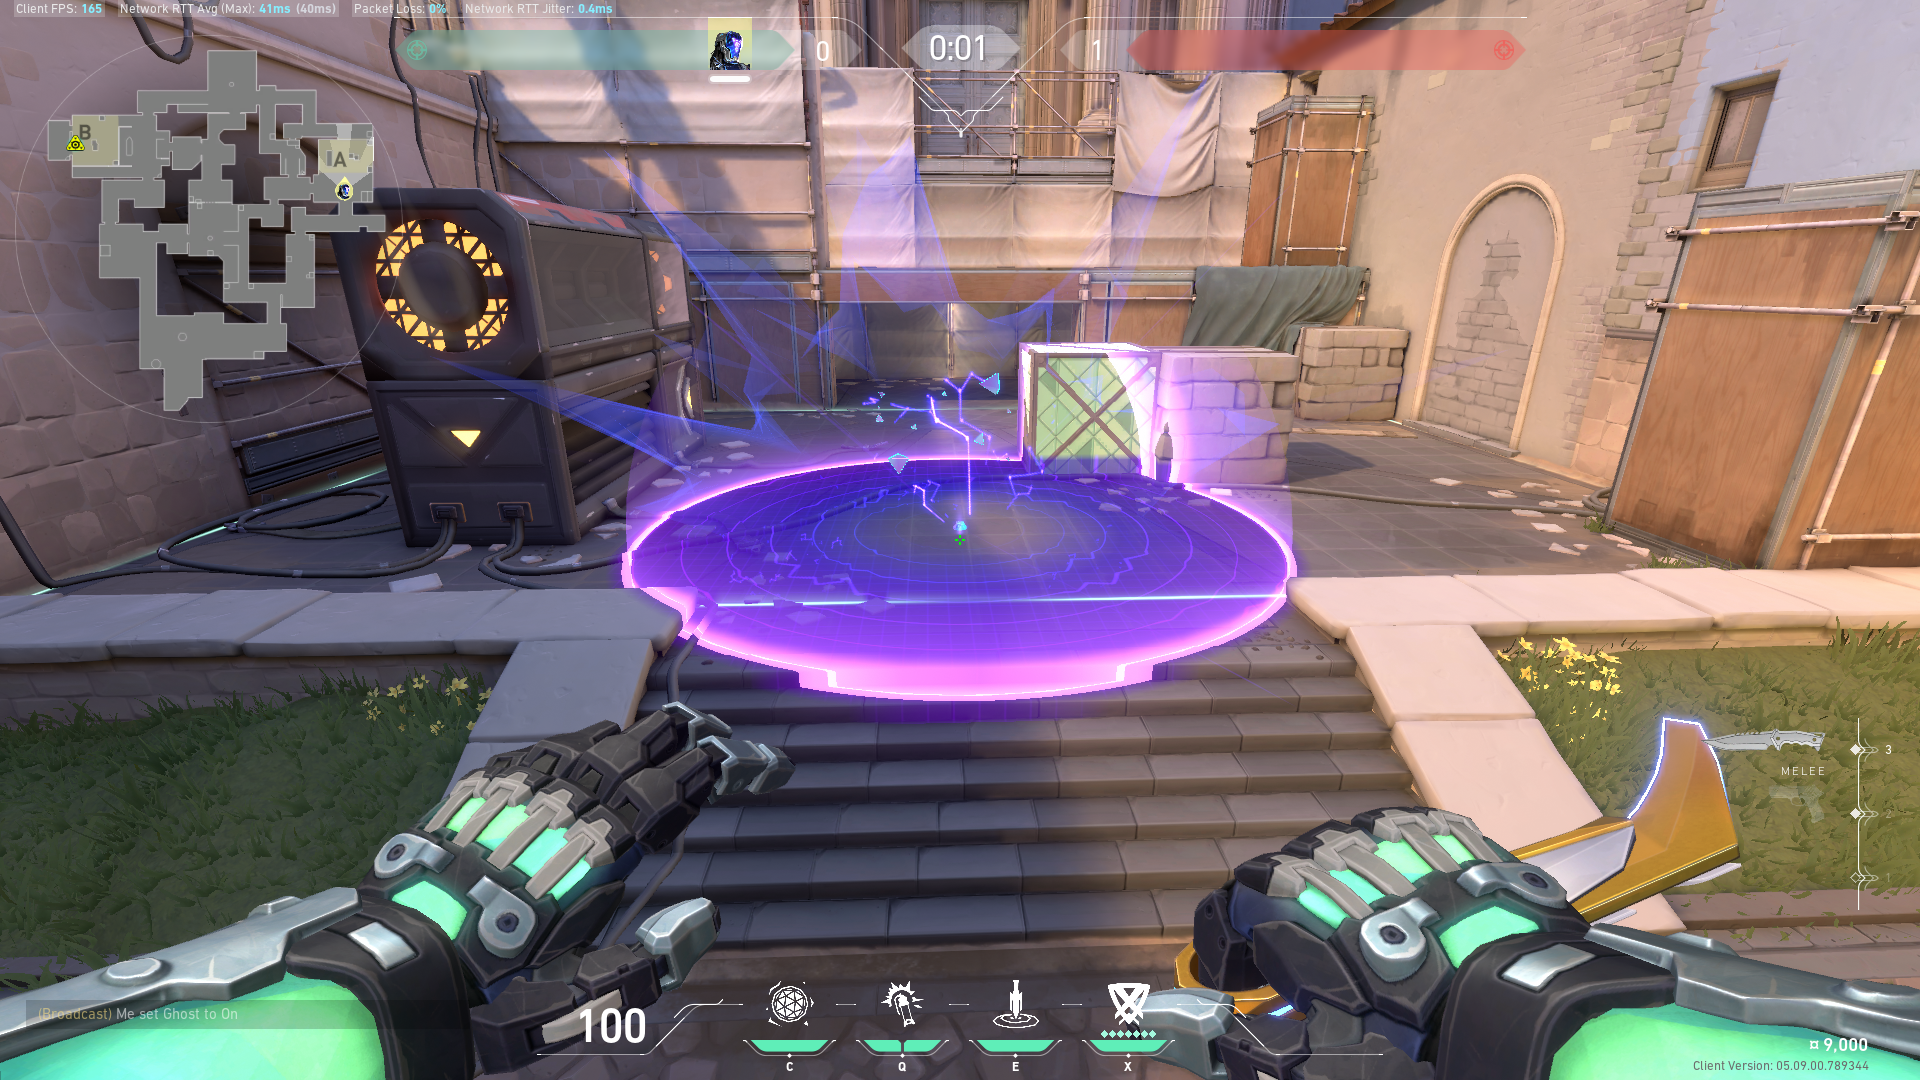
2. Aim for the tip of the rift in the sky that is closest to the cloud:


3. Throw KAYO’s molly:

KAYO’s molly should land just in front of A-Dices:

KAYO Molly Lineups on Ascent B-site
You can plant the Spike in just about any spot in B-site and get decent cover while planting the Spike, but only B-Default and the spot just outside B-Boat House provides the necessary angles for optimal post-plant play. In addition, you can easily line up KAYO’s molly for these spots to delay the Spike defuse.
B-Default Post-plant Molly from B-Main
- Stand against the middle of this wall in B-Main:

2. Aim along the bottom of the small plank in the wall:


3. Throw KAYO’s molly:

This lineup is very easy to execute and is easily repeatable.

B-Boat House Post-plant Molly from B-Main
- Stand against this wall in B-Main:

2. Place your crosshair on the tip of the v-shaped cracks on the wall:


3. Throw KAYO’s molly:

When done properly, KAYO’s molly will land just outside B-Boat House:

Line Them Up and Take them Down
Most molly lineups for every Agent in VALORANT will try to cover very similar spots around Ascent, and KAYO’s FRAG/ment molly is no different. With the help of the lineup featured above, you can cover A-Default, A-Dices, B-Default, and B-Boat House and help delay the Spike defuse or punish defusers post-plant.