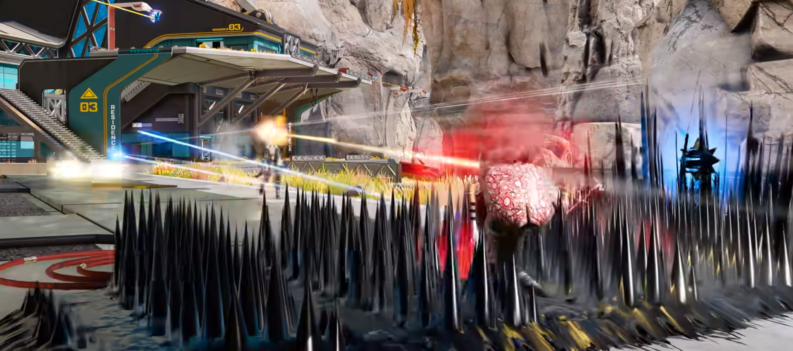
KAYO shines in VALORANT’s cool and breezy map.

Out of the seven maps in the current VALORANT map rotation, Breeze is where players pick KAYO the most and where he wins the most games. KAYO currently stands with a 21.8% pick rate and a 45.9% win rate on Breeze, making it one of the best maps when playing the high-tech Initiator.
With KAYO’s EMP Knife and powerful flash abilities, it is not surprising that players have been seeing so much success when using the Radiant-slayer on both Attacking and Defending sides on the map. Of course, how can we forget about his powerful molly that you can also line up and use for post-plant Spike defense?
We have compiled all the best KAYO molly lineups for post-plant on Breeze, so you can help your team defend the Spike post-plant on VALORANT’s largest map to date.
KAYO FRAG/ment Molly

FRAG/ment is KAYO’s molly ability. Like most molly utilities in VALORANT, FRAG/ment deals powerful damage over time over a large area. This can be very good for clearing out cubbies or driving enemy players away from contested grounds around maps.
Unfortunately, unlike Viper’s Snake Bite or Brimstone’s Incendiary, KAYO’s FRAG/ment only lasts 4 seconds, making it less ideal for delaying the Spike defuse on post-plant. It does, however, make up for the low duration with high tick damage that should deter enemy players from standing in its radius.
- Equip Time: 0.7 seconds
- Unequip Time: 0.6 seconds
- Windup: 0.5 seconds
- Radii: 1 meter (inner) and 4 meters (outer)
- Damage: 25-60 per tick (inner radius deals more damage)
- Ticks/Tick Rate: 1 every 1 second
- Duration: 4 seconds
Best KAYO Molly lineups on Pearl A-site
Breeze A-Default
A-Default plants are common on Breeze A-site. It is a good spot that lets the Attacking team defend the Spike post-plant from A-Cave.
You can easily throw KAYO’s molly from A-Cave if your team has planted the Spike at A-Default. If you are forced to play post-plant from A-Lobby, you can use this molly lineup to cover the A-Default area post-plant.
- Align yourself with this steel pillar at A-Lobby:

2. Place the leftmost tip of the HP HUD line on this spot on the A-Hall balcony:


3. JUMPTHROW KAYO’s molly:

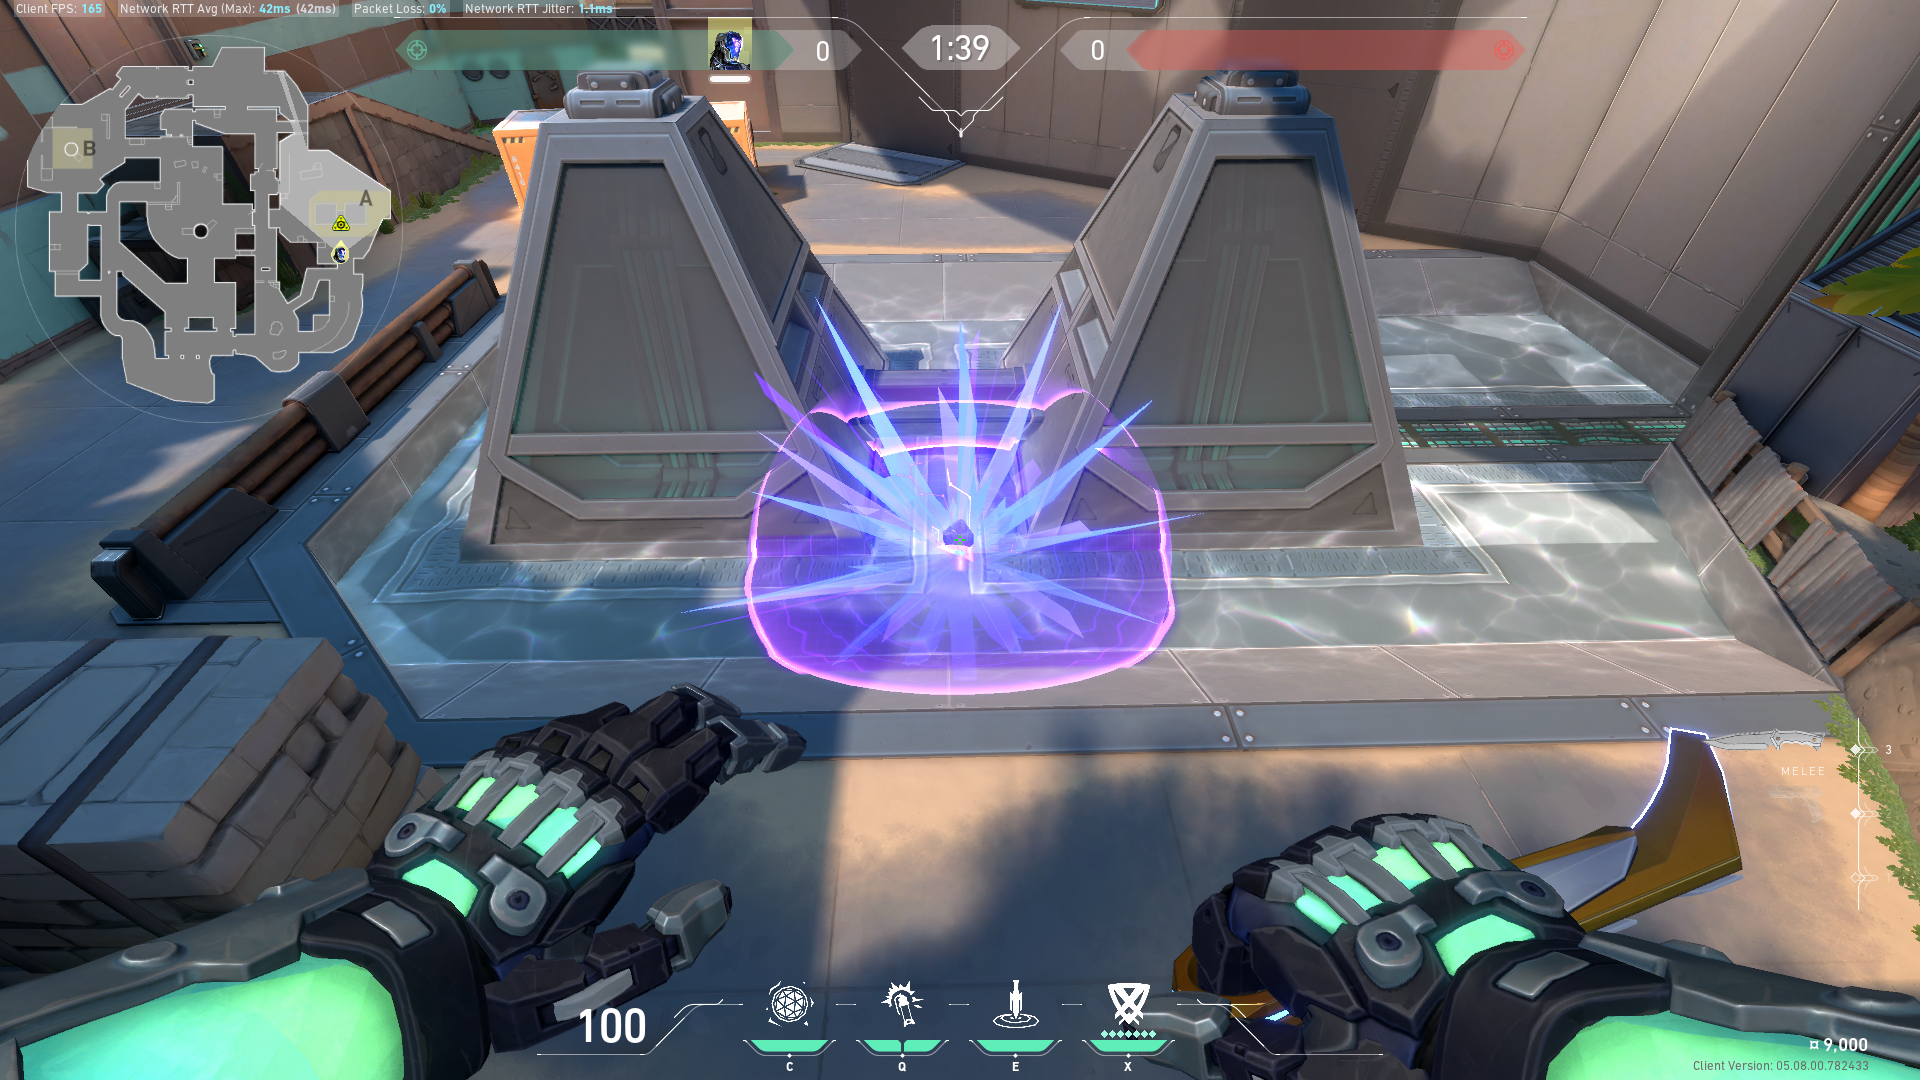
If you manage to line it up correctly, KAYO’s molly should land at A-Default and cover the Spike on post-plant.

A-Pillars (Middle)
Some Spike plants will end up between the two Pillars out of necessity. No worries! You can use this molly lineup to help with post-plant Defense if your team plants the Spike between the two Pillars on A-site.
- Stand in the middle of the steel pillar at A-Lobby:

2. Place the upper right corner of the FRAG/ment mouse click indicator in this corner of A-Hall:


3. JUMPTHROW KAYO’s molly:

When done properly, KAYO’s molly should land at A-Pillar:

A-Pillar Safe Plant
The A-Pillar Safe plant spot provides cover from basically every other angle on the A-site except A-Cave (where your team is coming from,) but it can be tough to Defend post-plant.
Use this post-plant molly to help cover the safe plant spot.
- Stand in the same steel pillar in A-Lobby:

2. Place the middle line on the FRAG/ment mouse click indicator icon on this corner of the A-Hall balcony:


3. JUMPTHROW KAYO’s molly:

When done correctly, KAYO’s molly should land on the right side of A-Pillar:

Best KAYO Molly Lineups on Pearl B-site
B-Default
B-Default is valuable for playing post-plant from B-Main or B-window. If you are forced to Defend the Spike from B-Elbow/B-Tunnel, you can use this post-plant molly lineup to cover the Spike planted at B-Default.
- Stand on top of the barrels in Mid Top/B-Elbow:

2. Place the leftmost tip of the HP HUD line in the corner of this small gap on the wall:


3. Left-click-throw KAYO’s molly:

This post-plant molly lineup should cover the B-site safe plant spot/Default. You can plant for A-Main/A-Window or opt for the safer Default spot with no problems.

B-Default from B-Lobby
It is important to have variations to the same lineup spot. This way, you can throw the same molly lineups from different parts of the map when the situation calls for it.
This molly lineup from B-Lobby will cover B-Default.
- Stand in the middle of these arches at Defender Side Snake:


2. Place the left tip of the HUD line between KAYO’s knife and the Ultimate icon on the right side of this flower on the wall:


3. JUMPTHROW KAYO’s molly:

If you manage to line this up correctly, KAYO’s molly will land at B-Default:

Defuse Denied
KAYO’s FRAG/ment molly might not have the same duration as most other molly abilities in VALORANT, but it can still be valuable for post-plant situations. FRAG/ment’s damage output should be enough to deter the enemy team from trying to tank the damage while defusing the Spike. KAYO’s molly only lasts 4 seconds, but that should be enough time to delay the Spike defuse post-plant significantly.


