Freeze key spots around Icebox with some well-placed Killjoy Turrets.
Icebox is one of those VALORANT maps where both sides want to take control of the middle to gain easier access to either bombsite on the map. Depending on where Killjoy plays on the map, a few strategic Turret placements will help make site defense on Icebox a breeze.
In this guide, we have compiled the best Killjoy Turret spots on Icebox so that you can defend multiple lanes and sightlines on the icy-cold map.
Killjoy Turret

VALORANT veterans will tell you just how broken Killjoy’s Turret was in the early days. Not only was Killjoy’s Turret tanky, but it also dealt decent damage with its burst fire. Oh, who can forget about getting slowed to a crawl whenever the Turret landed a few shots on them?
Many players complained about Killjoy’s Turret and how broken. It overpowered it was, especially on Ascent, which led to a nerf back in patch 3.05 that significantly reduced the Turret’s bullet-tag slow from 72.5% to just 29.5%.
This change significantly reduced Killjoy’s control over key entry points on most bombsites in VALORANT and forced Killjoy mains to be more creative in their bombsite setups.
Still, Killjoy’s Turret is as close as teams will get to having another player on their team and gives Killjoy’s team the ability to hold an extra lane/sightline on any map passively.
Best Killjoy Turret Spots on Icebox
A-site Default Turret


This is arguably the most annoying Turret in all of VALORANT.
With this Turret spot in A-site Default, the Turret will be half-exposed in the Attacking team’s POV. This makes the Turret much harder to take down and could result in some Attackers getting traded immediately as soon as the Turret spots them at A-Belt.
You can play from basically anywhere on A-site with this Turret. Just remember to swing out and peek as soon as the enemies shoot the Turret so you can attempt to trade it.
A-Rafters Turret


If you are looking for a solid defensive Turret that will cover A-Pipes and Middle Boiler, then look no further.
This Turret spot at A-Rafters will alert you of any Attackers as soon as they show their skin at A-Pipes/A-Maze and Middle Boiler. This is great in situations where you do not have anyone holding the middle actively, as the Turret can also spot incoming Attackers from that area.
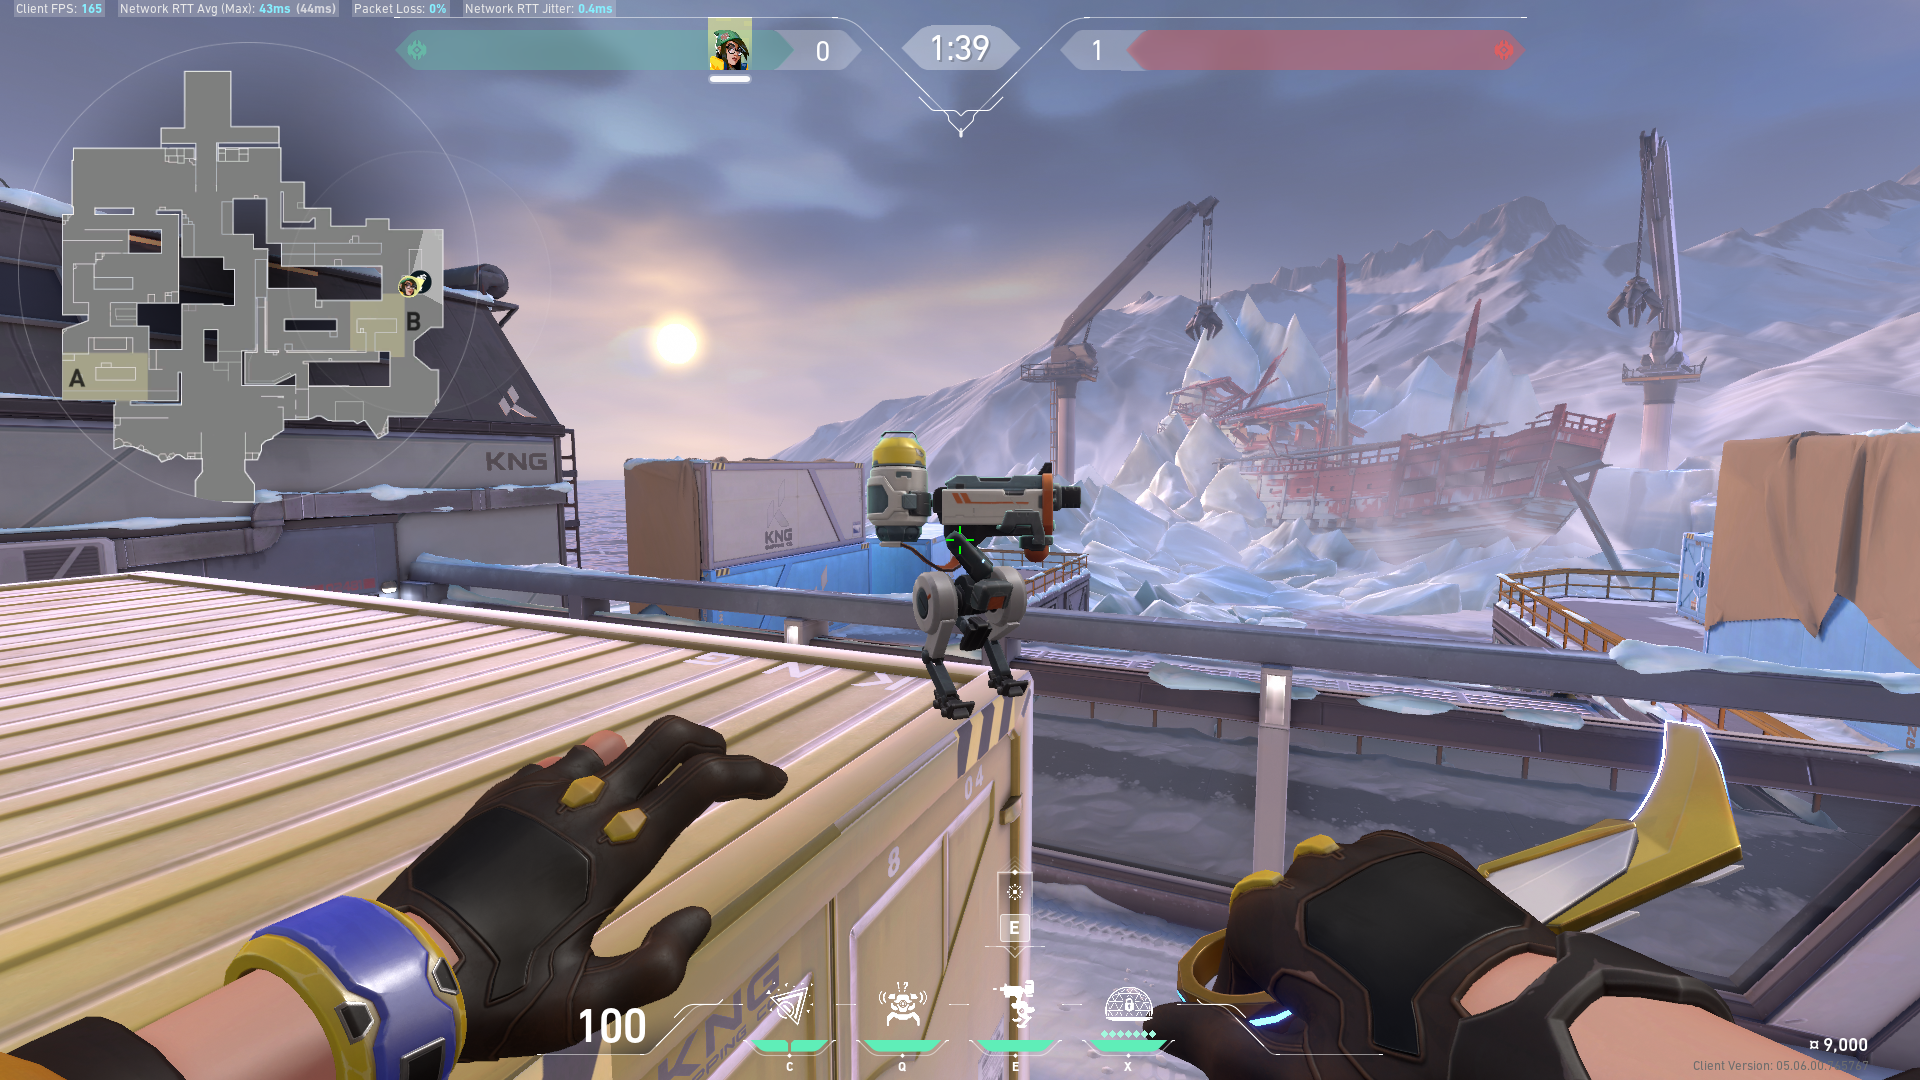
Middle Boiler Turret


You will see this Turret spot in just about any VALORANT match with a Killjoy in it. Not only is the Turret difficult to take down from Middle Boiler, but it will also immediately spot Attackers swinging out of the Blue.
This Turret can function as a deterrent, but it works even better if you can trade the Turret as soon as the enemy team attempts to shoot it down.
Just make sure to place it towards the middle or left side of the Middle Boiler to force Attackers to swing out into the open.
B-Kitchen/Snowpile Turret


Middle control is essential on Icebox, and most of the time, you will see Attackers try to take control of the Kitchen from Tube and B-Orange as they make their way to B-site.
This simple Kitchen/Snowpile Turret will easily spot any Attacker entering B-Orange. Stand by and wait for the Turret to shoot before you swing out and trade it out.
This angle will be very awkward from the Attack team’s POV as they must look up and aim toward the small window to destroy the Turret.
B-Default Turret


Do not get us wrong, Killjoy can easily defend B-site with her Nanoswarm, Alarm Bot, and Turret combo, but she will not be as effective. If you have a teammate that can hold down A-site better than a Killjoy can, then, by all means, play B-site.
Despite not being at the best spot to play the German Sentinel, you can have a ton of fun at B-site all the same.
You can opt to play Killjoy aggressively by using your Turret as bait at B-Default while you hide behind Yellow. You can swing out as soon as the Turret spots an incoming Attacker from B-Green or activate your Nanoswarm traps in the same area.
Cold Metal
Killjoy can be very effective on Icebox when played right. The German prodigy can cover a large area with her Nanoswarm traps and watch multiple sightlines with her Turret on Defense.
So whether you are playing A-site, Middle, or B-site, some well-placed Turrets can easily deter and spot enemy team players from pushing mindlessly into your bomb site in fear of getting traded or tripping up some nasty nanotech traps along the way.
Visit the PlayerAssist website for more Gaming Guides, Gaming News, Game Codes, and other Gaming Content!