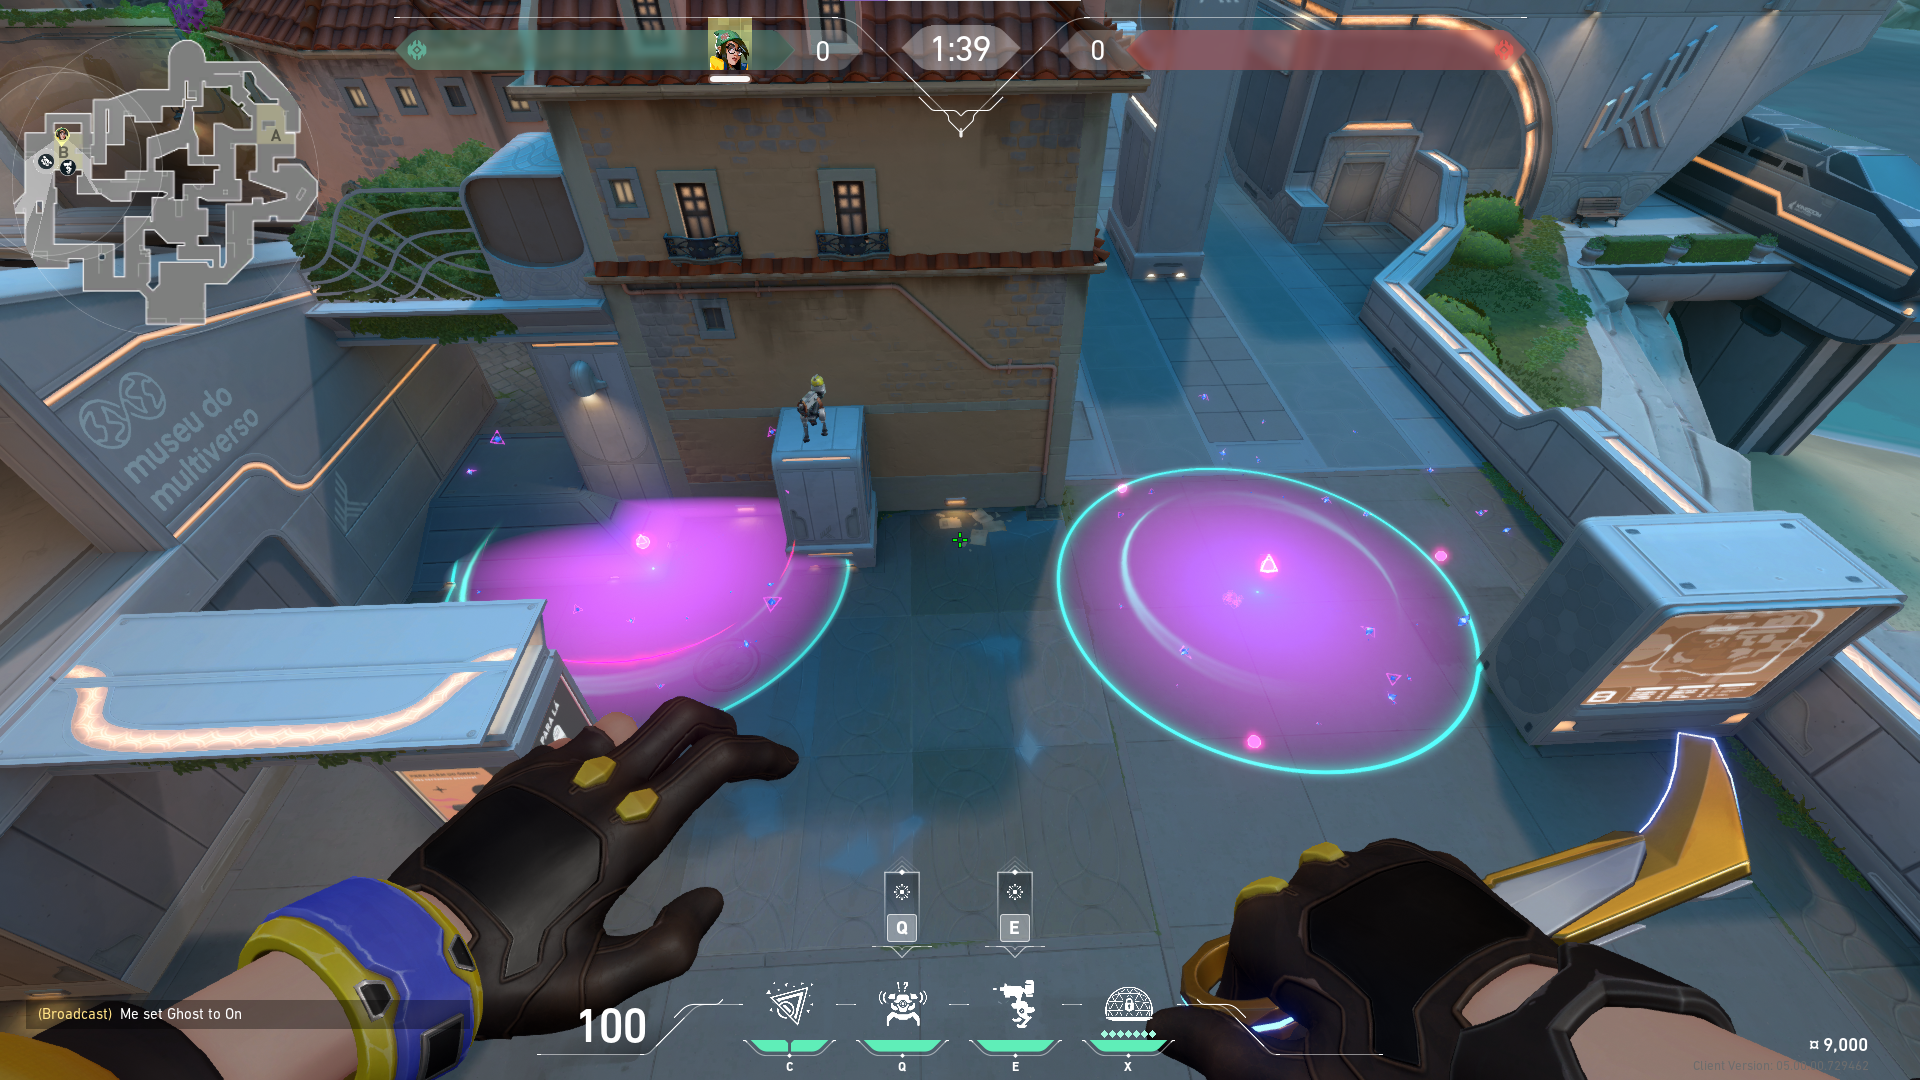
In the right hands, Killjoy can have a ton of defensive impact with her setups on Pearl in Valorant.

Killjoy has not seen a ton of usage since the beginning of Patch 4.08, as players prefer Sage and Chamber for Sentinel duty lately. Still, even though her pick rate has been relatively low since Episode 4, her win rate is another story.
Killjoy is currently in 3rd place among all VALORANT Agents regarding pure win rate. Valorbuff says Killjoy is enjoying a successful run with a 50.9% win rate, just behind Brimstone and Raze with 51% and 53%, respectively.
It is no secret that a good Killjoy is a nightmare to go against, especially if she plays defense. With that in mind, we have lined up some Killjoy setups to help you anchor down on any bombsite on Pearl.
Killjoy Setups on Pearl A-site

There are two very good setups for Pearl A-site – an Aggressive setup for A-Main that will punish incoming Attackers and a more Passive setup for delaying the Spike plant from the site.
Killjoy Setup Aggressive A-site Defense
- Place your Turret in this corner on A-site:


2. For the first Nanoswarm, place the Nanoswarm along these tiles by the A-Main stairs:


3. For the second Nanoswarm, go to A-Link and place your Nanoswarm and Alarm Bot in the middle of this diamond tile:

This setup will help Killjoy cover two entryways that the Attacking team might use to enter the A-site. Both setups will give Killjoy an alarm or cue (Turret and Alarm Bot) if any enemy is spotted around these areas.
Killjoy Setup Passive A-site Defense
- Place your Turret on top of this half wall at A-Dugout:

2. Place your Alarm Bot on this corner of the small cafe stall:

3. Place the first Nanoswarm on this corner of the dark tile:

4. Place the second Nanoswarm on the upper left corner of this dark tile behind the cafe stall:

The point of this second setup is to play passively on-site and wait for your teammates to arrive so you can retake together. So it might be best to use each Nanoswarm in succession rather than together to delay the Spike plant even further.
Killjoy Setups on Pearl B-site
Killjoy Setup Passive B-site Defense
- Place your Turret along the small walkway outside B-Tower:

2. Place your Alarm Bot along the middle of the B-site wall and B-Screen:

3. Place your first Nanoswarm slightly to the right of your Alarm Bot:

4. Place the second Nanoswarm along the right corner of the B-Link entryway:

Your Turret should be able to see both B-Link and B-Main with no problems, while your B-Main trap will properly cover the entire entryway leading to the B-site.
Use the Nanoswarm trap as needed and wait for your Turret or Alarm Bot to go off before setting off your Nanoswarm traps.
Killjoy Setup Passive A-site Defense
- Place your Turret on top of this control box at B-site:

2. Your Alarm Bot placement from the Aggressive Setup above will remain unchanged. So place it along the entryway from B-Main:

3. Place the Nanoswarm slightly towards the right of the Alarm Bot:

4. Lastly, place the second Nanoswarm along this corner on the small ramp at B-Link:

Pearl’s B-site is open and spacious, so Killjoy’s setups can only be used on key choke points around the bomb site.
Nevertheless, this passive Killjoy setup should help deter the enemy team from rushing into B-site or forcing them into difficult positions where you can swing out and take the easy kills.
This bombsite is closed until further notice – Killjoy
For Pearl, Killjoy’s setups are best used to delay the Spike plant on either A-site or B-site so Killjoy can buy her teammates time to rotate and help her on the retake. However, nothing stops you from trying out the more aggressive setups on Pearl, so you can get some early kills and make the round even more difficult for the Attacking team.
Try out the Nanoswarm setups featured above to delay the enemy team’s Spike Plant and pressure them into making mistakes around A-site or B-site on Pearl.
Visit the PlayerAssist website for more Gaming Guides, Gaming News, Game Codes, and other Gaming Content!


