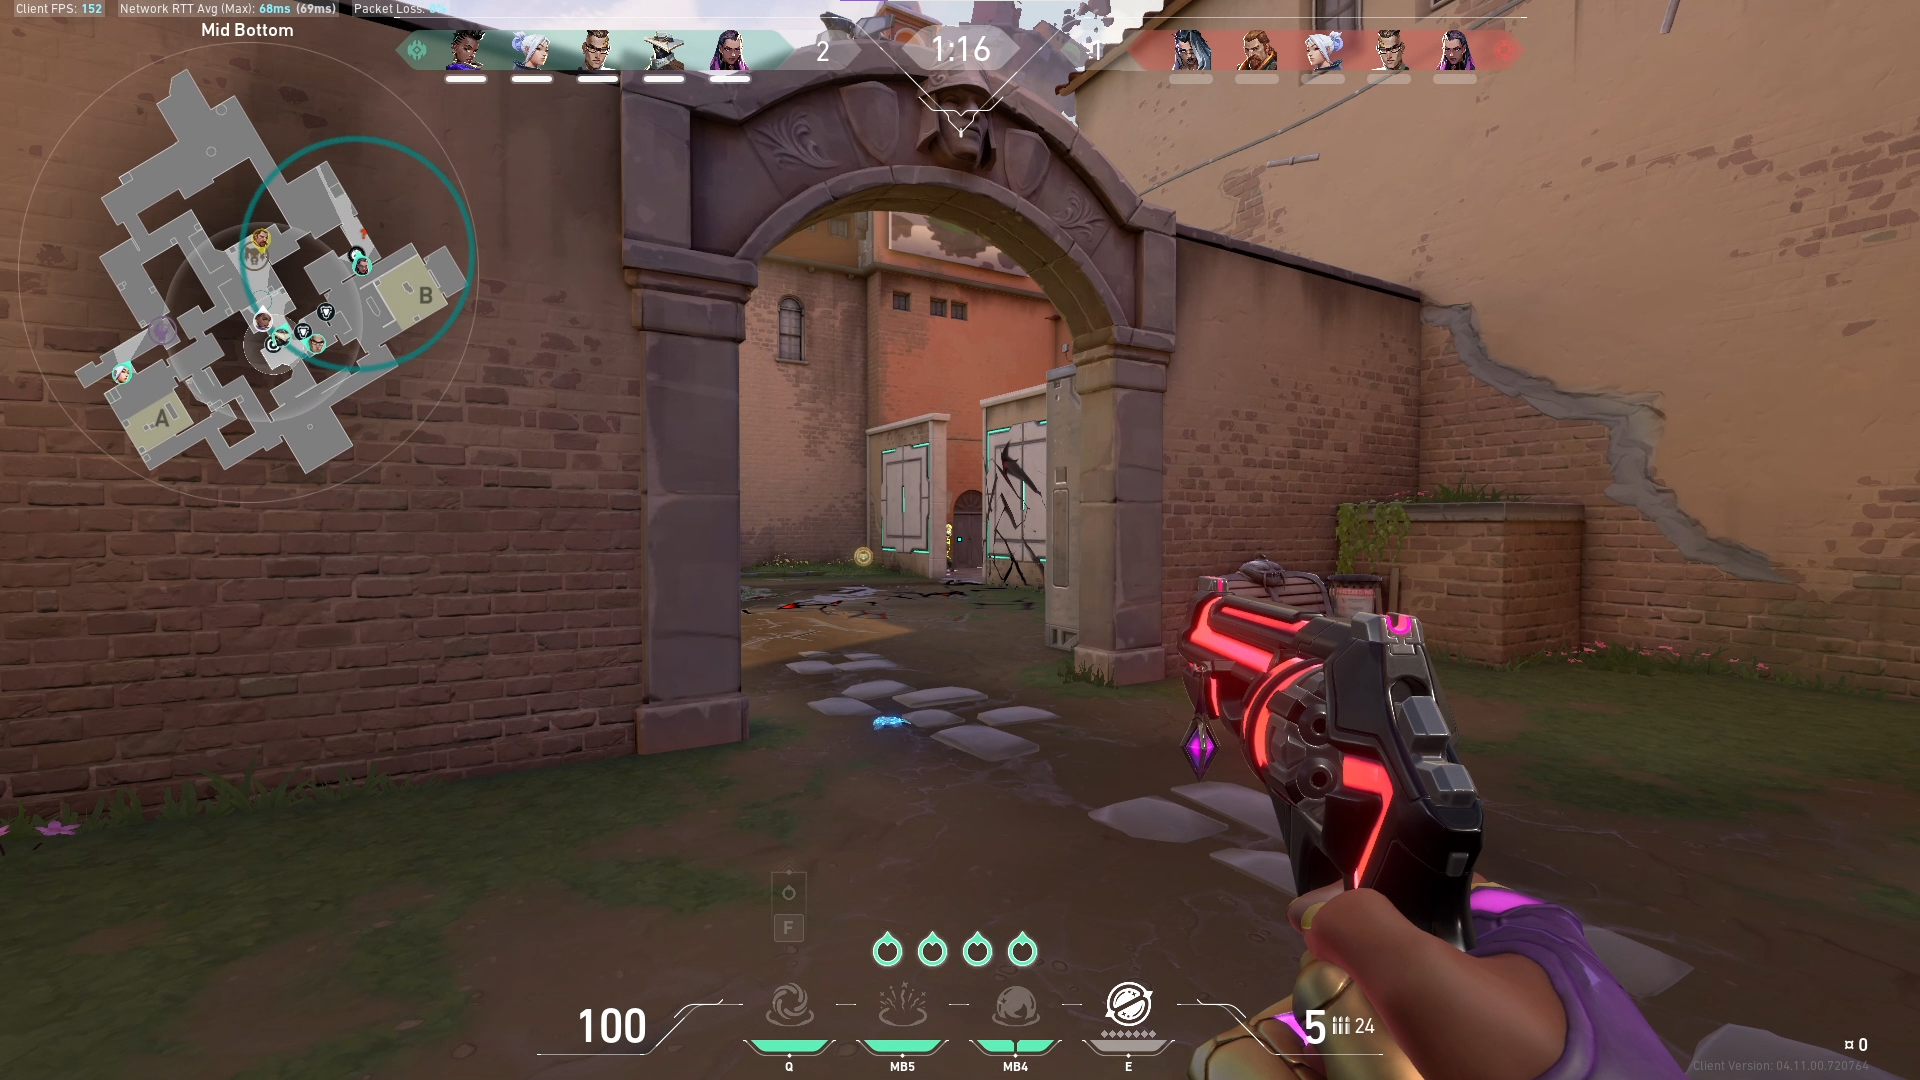
Unless you play DOTA 2 exclusively on a high-end gaming rig, chances are you’ve probably had a session that got derailed by performance issues, which usually happens when a new patch is released. To spare yourself the frustration, you have two realistic options: upgrade your PC – or optimizing settings for performance.
When tweaking your settings for maximum performance, it’s important to keep an eye on your FPS. While you can keep track of your FPS using third-party software like MSI Afterburner, it’s smarter to take advantage of the in-game monitor, which is easier to set up and doesn’t place an additional performance burden on your system.
Here is how to turn on and use the DOTA 2 FPS and ping monitor.
How to Toggle DOTA 2’s In-Game FPS Counter
1.) Click on the gear icon in the upper-left corner of the screen.

2.) Click the “Options” tab.

3.) Look under the tab and click “To Advanced Hotkeys” to pull up the advanced options.

4.) Look at the “Miscellaneous” box on the far-right. Find “Display Network Information” and toggle it on

Now the FPS and ping meters will be displayed on the upper-right corner of the screen during games. To remove the counters, return to the “Advanced Options” menu and toggle off “Display Network Information“.

And there you go, It’s as easy as 1-2-3. Now you can keep an eye on your FPS while smashing enemies, enjoy!


