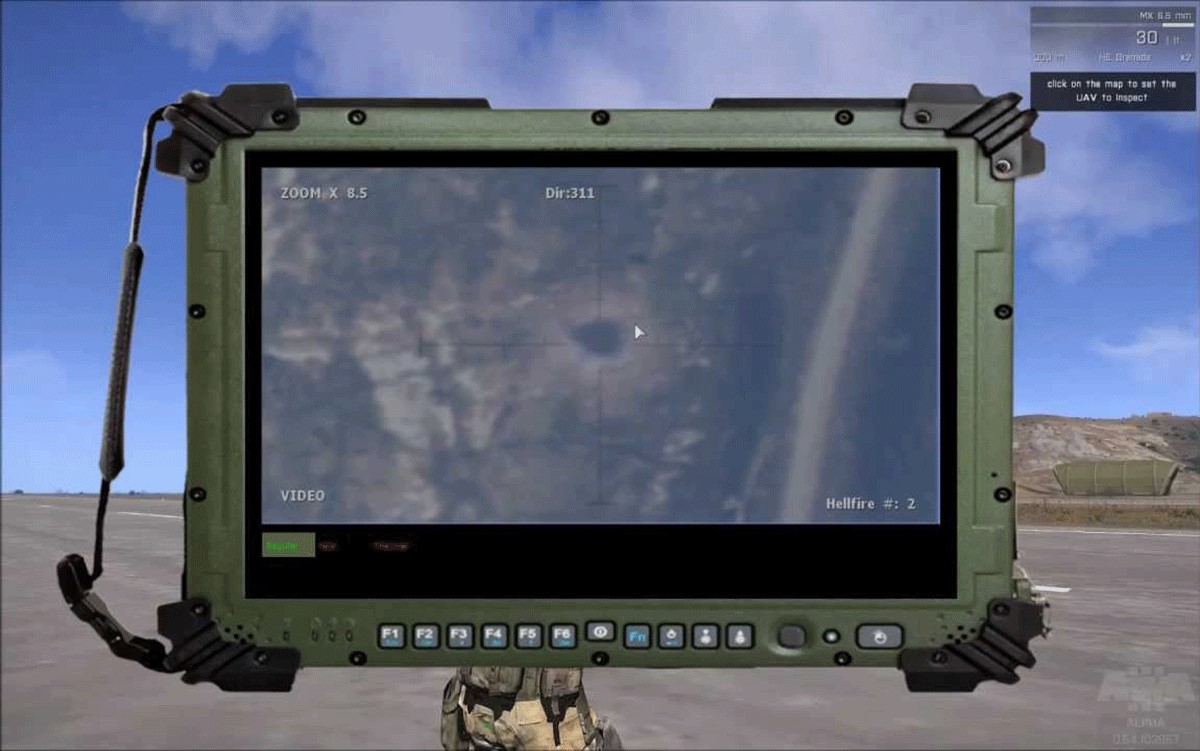
A UAV terminal is a handheld device that controls drones, turrets, and other autonomous machines in Armed Assault 3 (ArmA 3). Becoming a UAV operator isn’t a simple task. You’ll need to spend plenty of time practicing but being able to eliminate enemies autonomously is worth it.

We created this guide to help you improve as a UAV operator. We’ll share detailed instructions on using the terminal to control and automate the drone and fire into targets. Keep reading to learn more about controlling autonomous vehicles in Armed Assault 3.

Connecting to the Drone
The UAV terminal can be found in your inventory under the “Terminals” section. After pulling out your terminal, the first step is to connect to your drone. This connection can happen in a couple of ways.
The first one is physically connecting to the drone. The second way to connect the drone is to open the terminal and click the box at the upper right. Once you check the correct box, choose your drone model on the screen.

Controls and Take Off
Once connected, you can control the drone with the plane controls under “Options.“ The average speed required for take-off is 90 to 100 kilometers per hour, though it depends on the drone model.

Automation
After taking off, you can set the drone control on automation. Find an unobstructed flight path and check “Autonomous” on the left. If you don’t do this, the drone will start falling. Next, use the following controls to automate specific actions:
- Left mouse button – set an invisible destination point for the drone to fly to
- Shift + left mouse button – set a visible destination point for the drone to fly to
- Right mouse button – view settings of the destination point
- Control + T – lock the gunner camera
Firing GBU-12 Laser-Guided Bombs
Select the drone’s gunner spot through your terminal at the interface’s upper right corner. At the bottom left, your targets will be visible on the terminal’s screen grid in a selected vision mode. Use the “N” key to switch between camera views and “+” or “-“ to control zoom.
Read: How To Use Medkits in ArmA 3
Don’t forget to communicate with the teammate controlling the laser.

Press “R,” and you’ll see a box around the laser on your terminal screen. Next, switch to the drone’s first-person view and zoom out fully until you see a “+” icon in the HUD. This indicator shows where a bomb will land if you drop it now. Engage fire when the “+” is within the laser box.
Firing Other Missiles
Other missiles are more straightforward to control than laser-guided bombs. To launch a radar-guided missile, lock onto the target using the “Control + T” shortcut and fire away. The missile may shift about 45 degrees to the side to reach the target.
Dumbfire rockets, as the name suggests, don’t lock to the target. They fly in a straight line, and the only way to control them is to adjust the distance accurately. You can adjust the missile distance in your terminal.

Practice Is Key
Covering every aspect of controlling a UAV terminal in ArmA 3 in one guide is challenging. While we can tackle the basics, in the end, it all boils down to your skill. Stay dedicated, and don’t neglect practice to become a successful UAV operator.
What’s your favorite drone model in ArmA 3? Share your thoughts in the comments section below.


