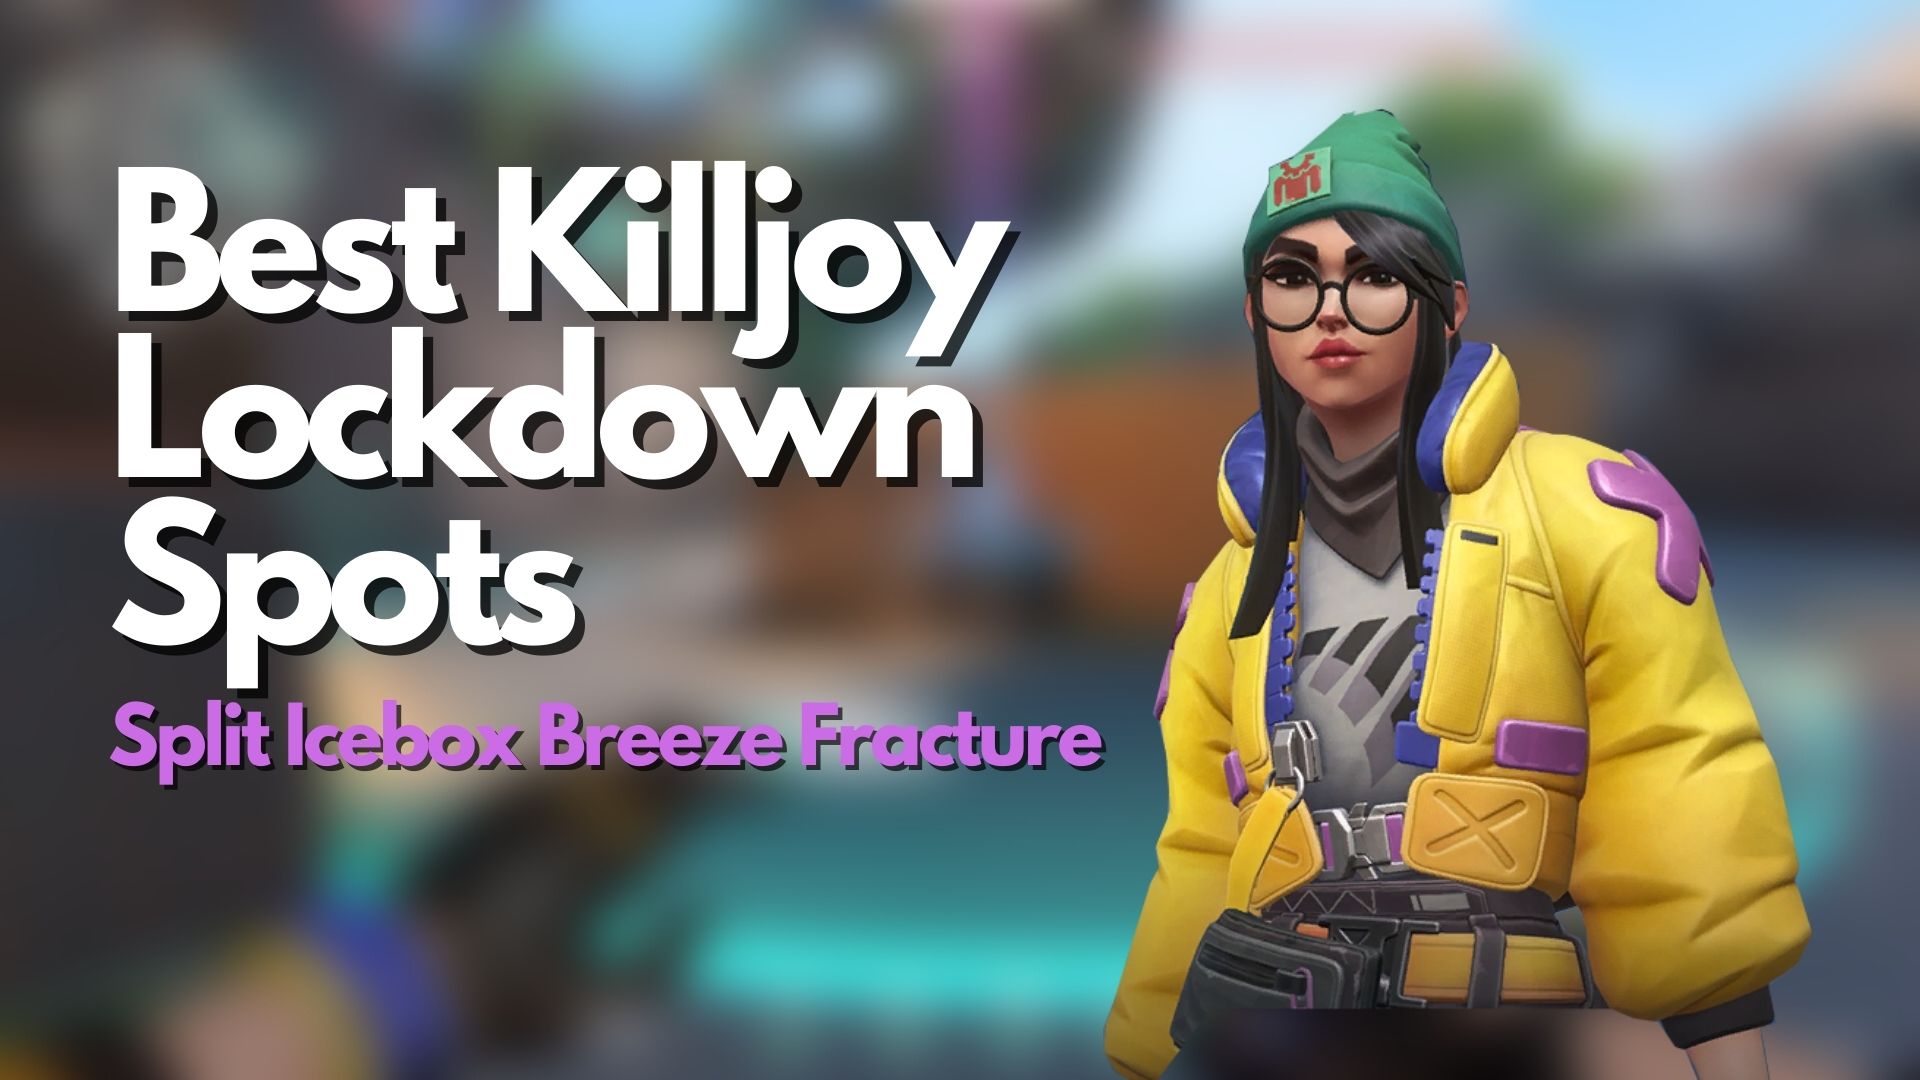
Killjoy’s Lockdown is one of the more powerful crowd-control abilities in VALORANT.

Not much has changed around Killjoy’s Ultimate Ability in the recent patches. It remains a powerful area of effect ability that can cover entire bombsites (except for Breeze, where the bombsites are as big as some maps in VALORANT)
Kidding aside, Killjoy’s Lockdown is a free-round-win pass when used correctly. Its ability to drive away enemy team players from entire bombsites allows for easy site access on Attacking and Defending.
Killjoy’s Ultimate Ability can be placed just about anywhere on the map the player wishes to place it. However, certain spots within maps can maximize the Lockdown radius.
Let’s take a look at some of the Best Killjoy Lockdown spots on Split, Icebox, Breeze, and Fracture.
Killjoy Lockdown

Killjoy’s Ultimate Ability, Lockdown, is a powerful CC (crowd-control) ability that allows Killjoy to secure a large amount of space on any map.
Killjoy needs seven Ultimate Points to be able to cast Lockdown. Killing opponents will give one Ultimate Point per kill. Defusing the bomb also gives out one Ultimate Point. When enough Ultimate Points are collected, Killjoy can cast and deploy her Lockdown ability to cover a large area, in this case, entire bomb sites. Killjoy also has the option of securing Ultimate Orbs around the map.
When deployed, Killjoy’s Lockdown creates a large 32-meter dome-like area of effect. The Lockdown device will immediately start winding up for a total of 13 seconds after it is deployed. After the brief wind-up, any enemy caught within the dome will be detained for 8 seconds.
While in a detained state, enemy players cannot equip weapons or abilities, and their movement speed is reduced significantly.
However, keep in mind that Lockdown can be destroyed by enemy fire and utility such as Brimstone’s Ultimate and Breach’s Aftershock Ability.
Split A-site Lockdown (Attacking/Retake)

The left corner of this A-Main Cubby will give Killjoy’s Ultimate the most area coverage when Attacking. This Lockdown placement covers the entire Split A-site, including the entire Elbow area and most of A-Tower, making it a great option for Attacking and retakes as well.

Since the Lockdown device will be hidden inside a cubby at A-Main, it will be out of immediate reach of the Defenders holding Split’s A-site. They will have to push your team out at A-Main to destroy the Lockdown device, making this spot is a nice and quick option that provides decent coverage.
However, do remember that abilities such as Breach’s Aftershock can destroy Killjoy’s Lockdown from this cubby.
Split A-site Lockdown (Retake/Defense)

As for Split A-site retakes and defense, placing the Lockdown device at the spot in A-Tower as shown in the picture above sacrifices a little bit of coverage when compared to this Lockdown placement:

However, the small coverage difference at the left and right corner of A-Backsite (negligible at best) is a small tradeoff to secure the Lockdown device from enemy fire, as the spot shown in the picture above might be susceptible to enemy wall bang from weapons such as the Odin.


Split B-site Lockdown (Attacking)

For Split B-site on the Attacker side, the corner between the wall and the stacked pallets inside B-Main provides the best Lockdown coverage for Split B-site. Take note, though, that Lockdown will not be able to cover B-Back, which can easily be mollied off by yourself or your teammates anyway.

This particular Lockdown placement easily covers all of Split B-site and most of B-Tower. Your teammates can take advantage of this coverage and assume aggressive positions at B-Tower if you wish.
Once again, be mindful of Breach’s Aftershock Ability since Killjoy’s Lockdown can easily be destroyed from the other side of the B-Main wall. It might be best to use Killjoy’s Lockdown just after your duelist takes position on-site, which forces Breach (if the enemy team has a Breach at all) to fall back into cover.
Icebox A-site Lockdown (Attacking/Retake)

This corner on A-Pipes provides decent A-site coverage that includes all but a small corner at A-Backsite, which can easily be covered with some molly utility. The Lockdown device will be completely safe from enemy fire since the wall surrounding this corner is thick enough.
However, be mindful of some Jett or Omen players who can easily access the other side of A-Pipes before the round starts.
This Lockdown placement covers areas outside of Screens, which forces the enemy team to weather the storm from Boiler and outside A-Rafters.

Icebox A-site Lockdown (Retake)

As for Icebox A-site retakes, this corner behind A-Screen covers most of the A-site and forces the Attackers to fall back to A-Belt.
Since this particular Lockdown placement is located deep within the corner behind A-Screen, post-plant Attackers who want to try to destroy the Lockdown device themselves will be forced to swing wide and commit to their peek. You can easily take advantage of this opportunity to punish them for their mistake.

As you can see, the Lockdown placement covers the whole A-site up to the A-Belt area. Your team’s Controller Agent can easily smoke off A-Belt while your other teammates attempt to defuse the bomb.
Icebox B-site Lockdown (Attack/Retake)

On the Attacking Side, B-site post-plant is best played from B-Green and B-Yellow as the enemy team will be forced to push into your team’s heavily contested territory to eliminate you and your teammates.
With this in mind, the best Lockdown placement for Icebox B-site will be placed in the corner of the tall box in B-Green. Here your team can easily defend the Lockdown while it completes its wind-up cycle.

This Lockdown placement offers a decent coverage of Icebox’s B-site, covering all of B-site itself, B-Hall, and most of B-Blue.

Overall, this Lockdown placement is a quick, easy, and effective choice when Attacking B-site on Icebox.
It is also worth noting that, depending on where the enemy team is positioned on post-plant, this Lockdown placement can also be used for Retake situations.
Icebox B-site Lockdown (Defense/Retake)

On defense, if you think that the enemy team will commit to a B-Green push, then this quick and easy Lockdown placement just behind the Default boxes covers the most area in B-site, which includes B-Garage’s entrance as well.

Breeze A-site Lockdown (Attacking)

Despite Breeze’s humongous bomb sites, Killjoy’s Lockdown Ultimate can still cover a decent amount of space in A-site.
Because of the large floor area, there is no better place to plant Killjoy’s Lockdown device other than the left cubby just outside of A-Cave.
You’re going to have to make sure your team gets decent control of pyramids at the very least so you can lay down Lockdown safely in this corner.

This Lockdown placement offers decent site coverage that covers most of A-site to Yellow. However, as you can already see, Lockdown will not cover A-Backsite.
You will not have to worry too much about that, though, as you’re always going to want to play post-plant from Cave and Shop anyway. Killjoy’s Nanoswarm Grenade, Alarm Bot, and Turret can also help with the cause.
Breeze A-site Lockdown (Retake)

In Retake situations, placing the Lockdown device on top of the small box behind Yellow will cover most of the A-site.
This Lockdown placement forces post-plant Attackers to vacate the site and fall back into Cave and Shop. At this point, all your team has to do on a retake is smoke off Cave to block the enemy team’s vision towards the Spike.

Breeze B-site Lockdown (Attack)

Unfortunately, because Breeze’s B-site is laid out, there will not be an elegant Lockdown solution for the Attacking team.
The spot where Lockdown covers the most ground in Breeze B-site will be in the corner between the pillar and the square-shaped bricks. This Lockdown placement covers all of B-site, some of B-Arches, and all of B-Tunnel.
You will want to ensure your teammates clear out B-site itself first before you plant your Lockdown device, though.

This will give your team enough time to plant the Spike and fall back to B-Window and B-Main for post-plant play.
Breeze B-site Lockdown (Defense)

If the enemy team decides to commit to B-site on Breeze, this Lockdown placement might make them rethink taking more space within site.
This corner between the half wall and the small pillar at B-Backsite covers a similar area to the Attacker-side Lockdown placement. It is also relatively safe and out of reach for Attackers unless they push out deep into B-Backsite.
Fracture A-site Lockdown (Attack)

Unfortunately, the left corner of the A-site entrance is the only place on the A-site where Lockdown will be safe and can cover as much ground as possible. You will have to work with your teammates to secure this Lockdown plant.

This position covers all A-site, the A-Ropes area, and some Defender Spawn. This should be enough space for you and your team to position yourselves in the most advantageous spots safely on-site.
Fracture A-site Lockdown (Defense/Retake)

For A-site Retake, this spot just to the left of the A-site entrance covers a similar overall area as the previous Attacking side Lockdown placement.
Defending the Lockdown device from this spot is fairly easy, as post-plant Attackers will have to commit to the peek to destroy Killjoy’s Lockdown, which you can capitalize on easily as they will probably be more focused on the Lockdown device anyway.
Fracture B-site Lockdown (Attack)

Fracture B-site’s Lockdown placement is easiest to plant on Fracture. The underground Tunnel is easy to access as an Attacker, and this corner in B-Tunnel is a fairly safe spot to plant the Lockdown device.
A Lockdown placed here can cover the entire B-site with no problems at all.

Fracture B-site Lockdown (Defense/Retake)

For Defense and Retakes, placing the Lockdown device in this corner on B-Tower offers the best coverage and protection from the Attackers.
One slight caveat here is that the right side wall can be wall banged with an Odin. Vandals and Phantoms cannot penetrate the same wall, though.

This Lockdown placement covers the entire B-site bombsite, including Tunnel, B-Main, and the entire Arcade area.

Ready For Lockdown
That’s about it! These Lockdown spots offer the best combination of area coverage and protection from the enemy team. These positions are great for driving the enemy team away as far as possible from your team’s bombsite of choice when Attacking. These Lockdown placements can help you buy your teammates enough time to rotate on defense and help you with site retake.
However, keep in mind that these are the best locations to place Killjoy’s Lockdown in theory. There will always be situations where some of the spots featured here will not be a safe option. In these situations, just placing Killjoy’s Lockdown in a relatively sensible area will be better than forcing a plant at the spots featured here and risk dying for no good reason.


