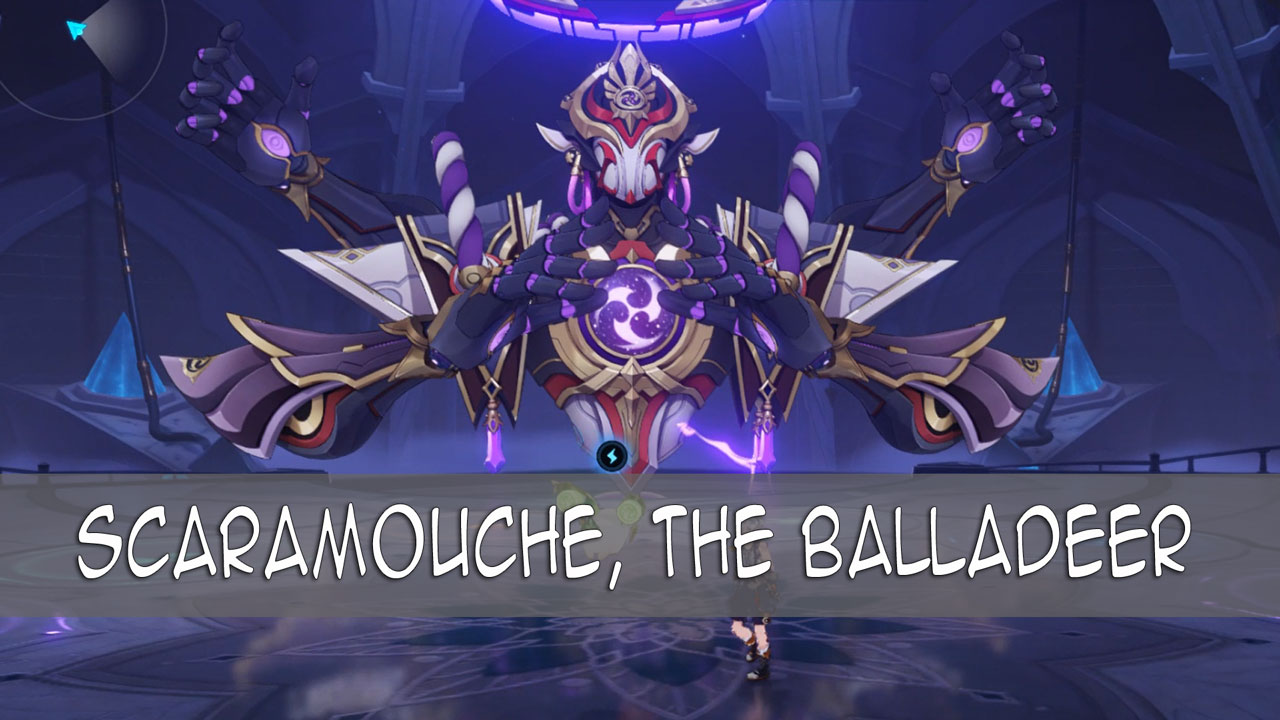
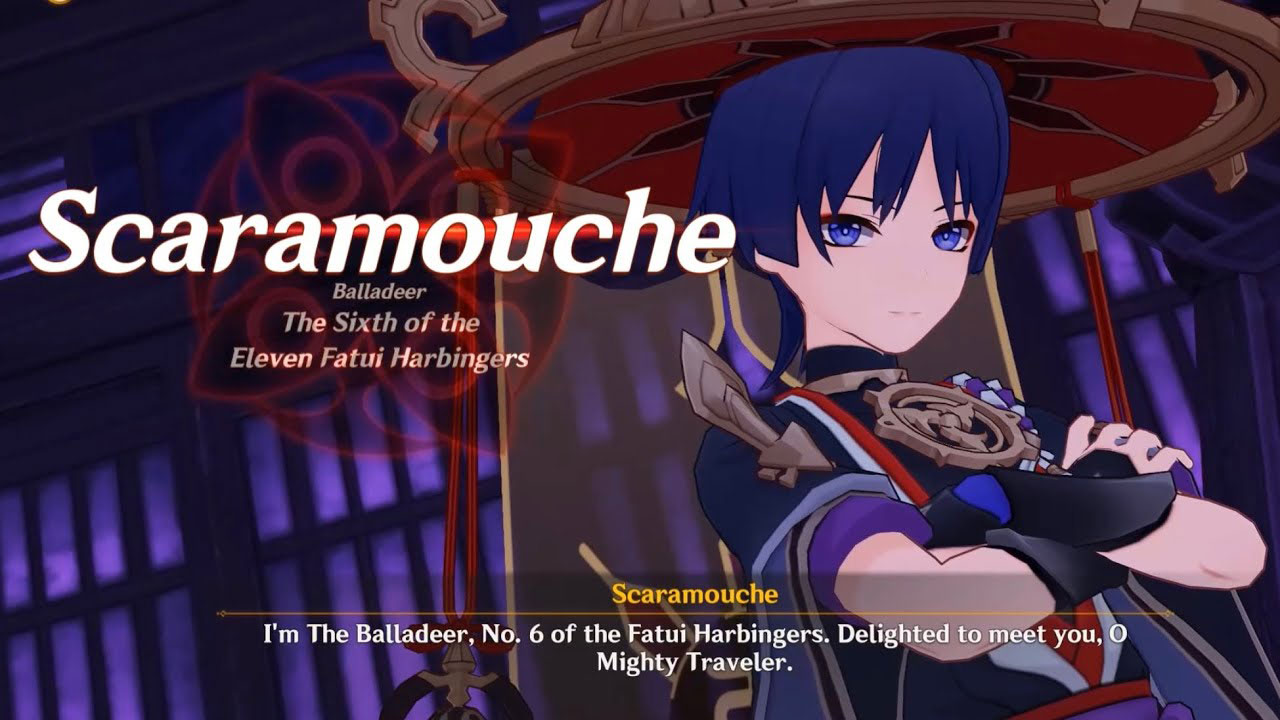
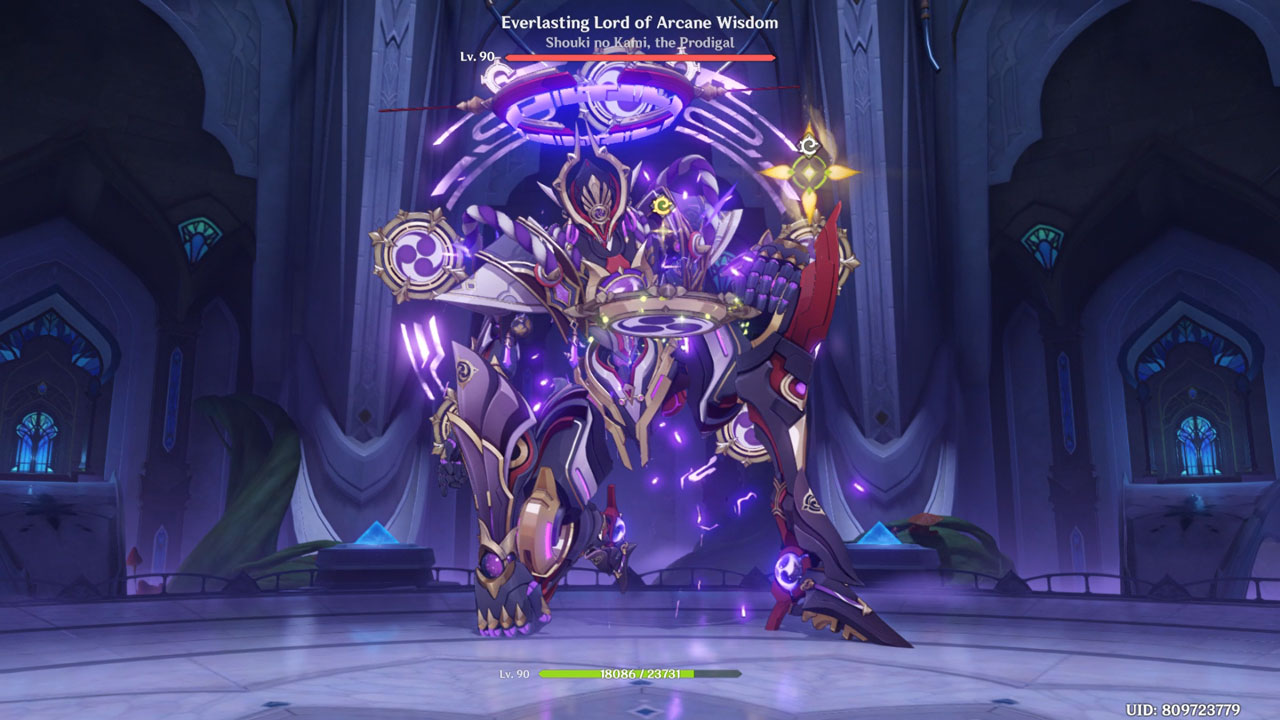
With the arrival of the Dendro nation Sumeru, a new weekly boss, was introduced, who is none other than Scaramouche. He is the Sixth of the Eleven Fatui Harbingers, dubbed the Balladeer Boss in Genshin Impact. In this boss domain challenge, the Balladeer is known as the Everlasting Lord of Arcane Wisdom, Shouki no Kami, and the Prodigal in the Joururi Workshop Trounce Domain.
Contents
- Background
- Unlocking the Trounce Domain
- Location
- Special Mechanics
- Attack Abilities
- Combat Strategy Summary
- Achievements and Rewards
Genshin Impact Balladeer Boss Background
Scaramouch, the Sixth of the Eleven Fatui Harbingers, known as the Balladeer in their ranks, was chosen by the sages of Sumeru Akademiya to be ascended as the new God of Wisdom under the name of “Shouki no Kami, the Prodigal.” This plan started when Greater Lord Rukkhadevata, the original Dendro Archon of Sumeru, passed away during the cataclysm five hundred years ago.
The “project” was all thanks to the assistance of the Second of the Eleven Fatui Harbingers Il Dottore, also known as The Doctor. The sages thought that after Rukkhadevata’s death, scientific breakthroughs had been rare and on the decline, so The Doctor took advantage of this to approach the sages and convince them to create a new god.
After defeating the false god in this quest, the structure crumbles down, and the Balladeer is seen falling to a distant location. That location seems to be where the entrance to the trounce domain: Joururi Workshop, will be.
Unlocking the Trounce Domain
Joururi Workshop
The secret workshop hidden in the forest cavern revealed its entrance upon being struck with immense force. The seeds of “surpassing” are sprouting within and are about to burst forth from the earth…

This Trounce Domain can only be unlocked after you, the player, completes the Archon Quest titled Where the Boat of Consciousness Lies in Chapter III: Act V – Akasha Pulses, the Kalpa Flame Rises. When the quest is complete, the trounce domain icon in the map will be active for you to access and relive the battle against the false god, Everlasting Lord of Arcane Wisdom, Shouki no Kami, the Prodigal.
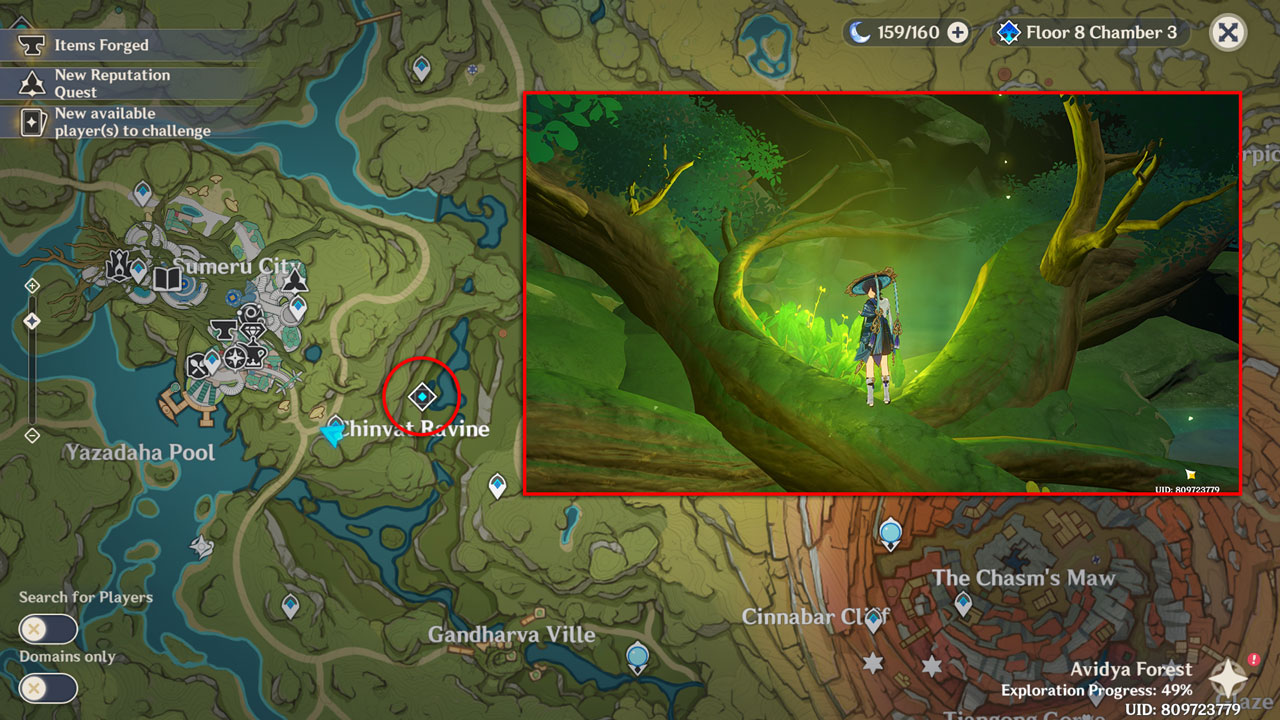
Location
The entrance to the Joururi Workshop Trounce domain can be found in a small enclave in the Chinvat Ravene. It is by a shallow river path east of Sumeru City. You can teleport to the domain via the game map if it has been unlocked.
Genshin Impact Balladeer Boss Special Mechanics
Elemental Damage and Resistance
The Everlasting Lord of Arcane Wisdom can perform Elemental attacks dealing with Pyro, Cyro, Anemo, Hydro, and Electro Damage. Each attack will have your character affected by that element, and getting hit with another element will trigger Elemental Reaction, in turn doing greater damage to you.
With Electro as its main element, the Everlasting Lord of Arcane Wisdom has high resistance to Electro Attacks compared to all other elements. In Phase 1, it has 50% resistance to Electro and only 10% to all other elements.
In Phase 2, things get a bit tricky. Without his shield, the Balladeer has 90% resistance to Electro and 30% resistance to all other elements. When his shield is up, indicated by a white bar below his HP, all resistance will be increased by 200%.
When the Everlasting Lord of Arcane Wisdom is paralyzed during the second battle phase, his Electro resistance will be reduced by 80%. In comparison, his resistance to all other elements in this state will be reduced by 140%.
Neo Akasha Terminal
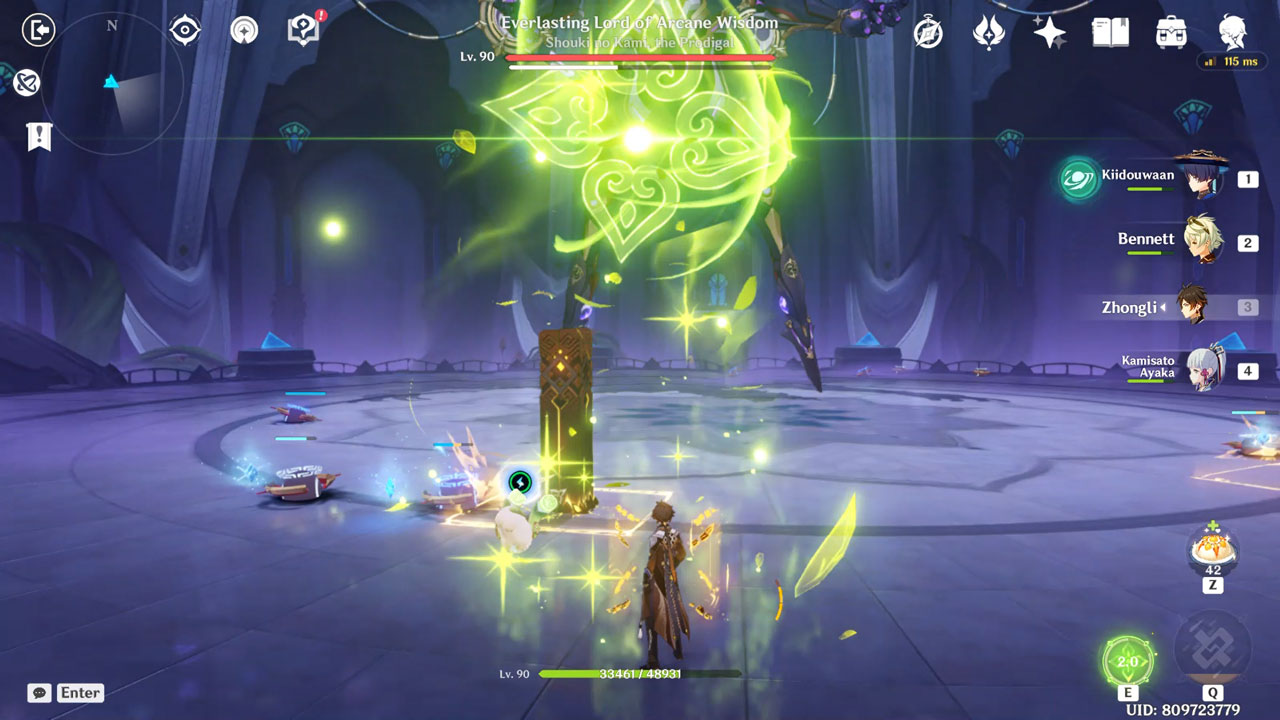
During this boss battle, you will be accompanied by a small creature-like device to help attack the Shouki no Kami. This fellow is the Akasha Terminal, modified by the Dendro Archon Nahida to help you defeat the false god.


Throughout the fight, at least one Energy Block will be dropped after the Everlasting Lord of Arcane Wisdom throws an attack. You need to pick this up to charge the Neo Akasha Terminal. The Energy level of this device is indicated by the small circle beside it that turns green when fully charged. This is essential to activate the special mechanic attacks on each battle phase.
In Phase 1, with a fully charged Neo Akasha Terminal, you can activate the Elemental Seals on the floor if you have a fully charged Neo Akasha Terminal. While in Phase 2, a fully charged Neo Akasha Terminal will allow you to trigger and shoot a more powerful Dendro projectile, greatly reducing the shield of the Everlasting Lord of Arcane Wisdom.
Genshin Impact Balladeer Boss Phases
The battle will have two parts, which we will call phases. The first phase will be much easier than the second one, but that does not mean there are no mechanics to note. After defeating this boss’s enemy in the first phase, the battle area and the boss will change.
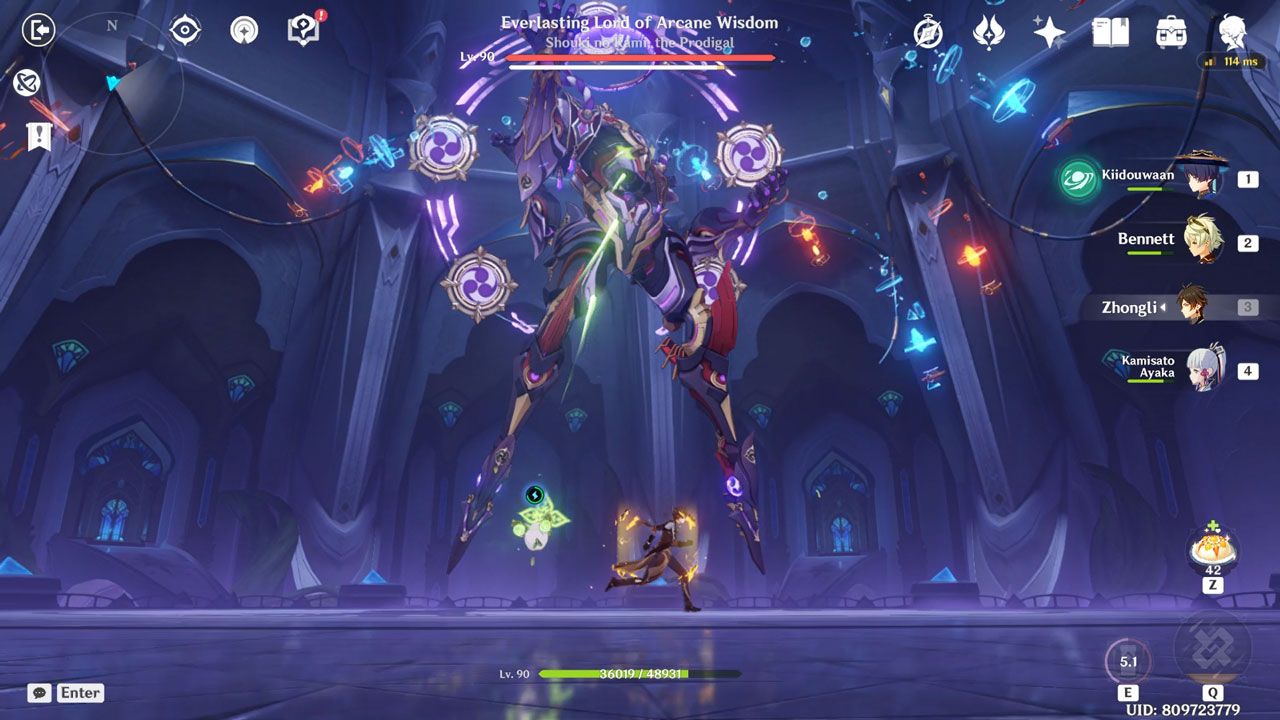
Phase 1

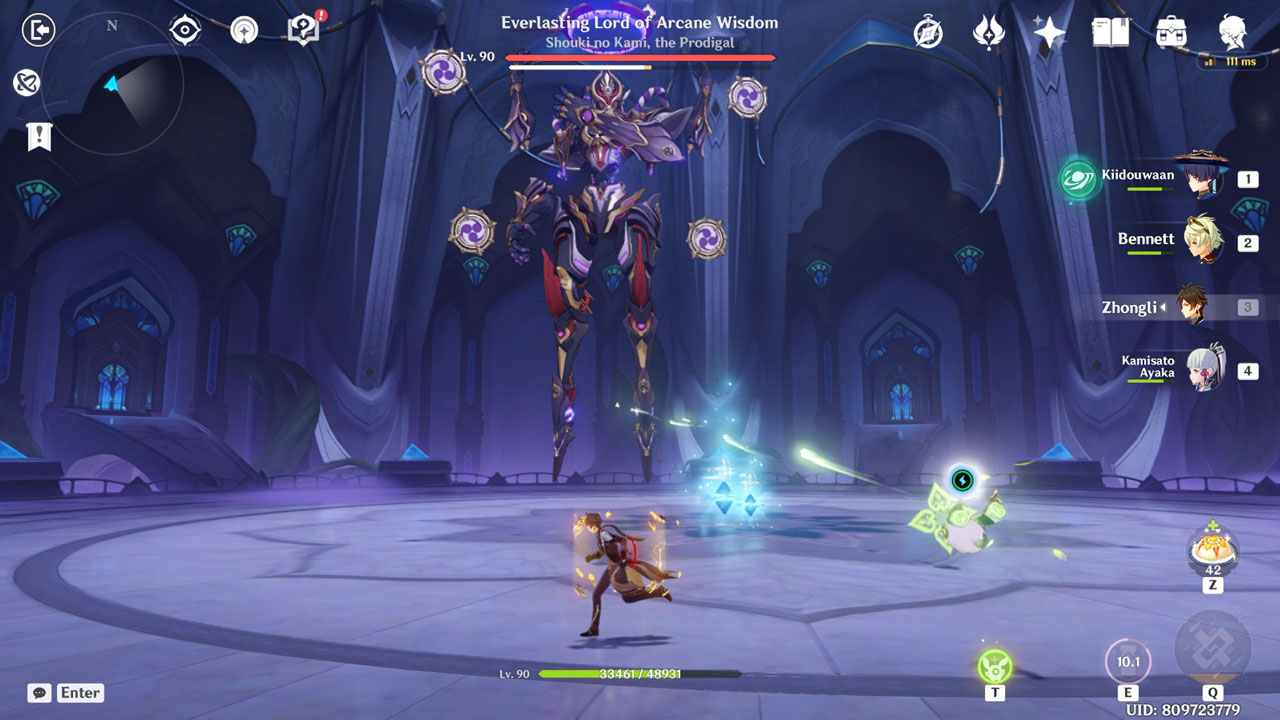
During the first phase of the battle, only the torso of the Everlasting Lord of Arcane Wisdom will be battling with you. The stage will only be a half circle where you can run around to avoid the boss enemy’s attack.
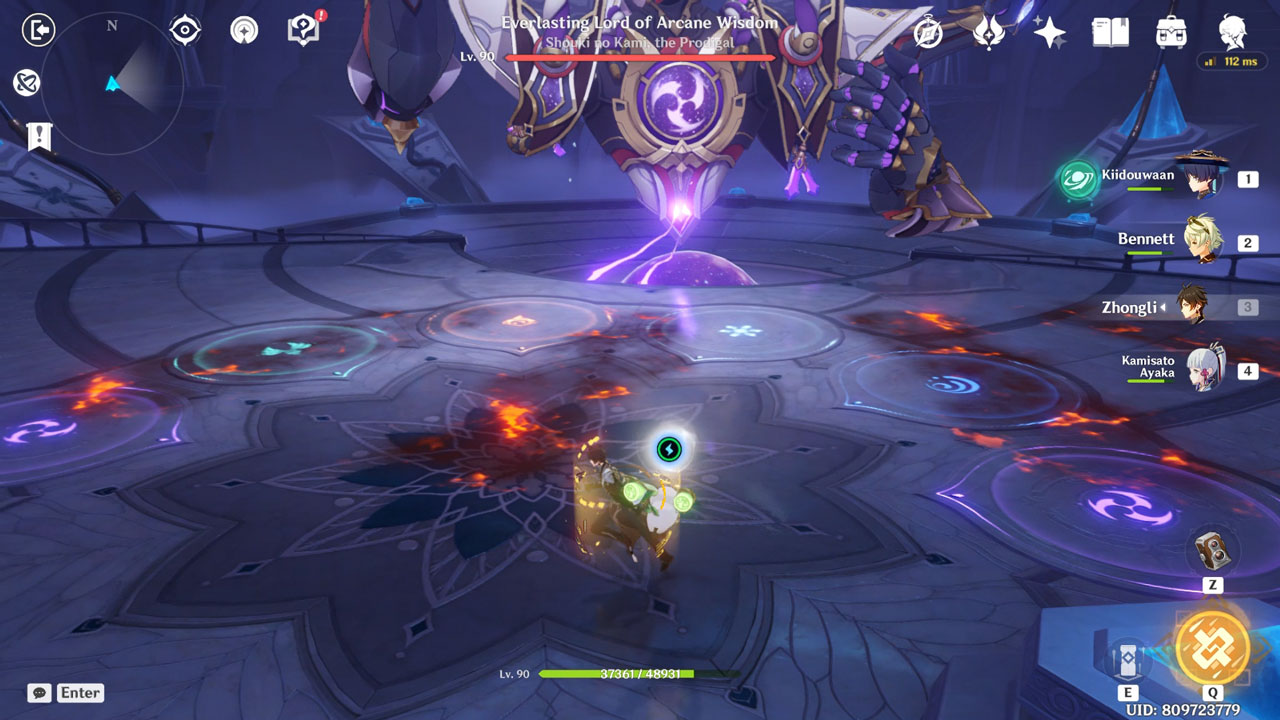
In this phase, there will be seals on the floor, called Elemental Matrices, that you can activate using a fully charged Neo Akasha Terminal. Activating a Matrix will trigger an Elemental effect that you can use to help you survive the battle. The effects they give will be the following:
- Pyro Seal: Clears the Raw Frost effect from the ground and has 10 seconds of cool-down time.
- Cryo Seal: Clears the Remnant Flame effect from the ground and has 10 seconds of cool-down time.
- Anemo Seal: Creates a wind current with which you can use to glide up and avoid some of the Everlasting Lord of Arcane Wisdom’s attacks. It has a 15 seconds cooldown time.
- Hydro: Grants a continuous healing effect to the active character and has a 15-second cool-down time.
- Electro: Suppresses Shouki no Kami. Each Matrix has 5 seconds cooldown time.
Phase 1 Paralyzed State
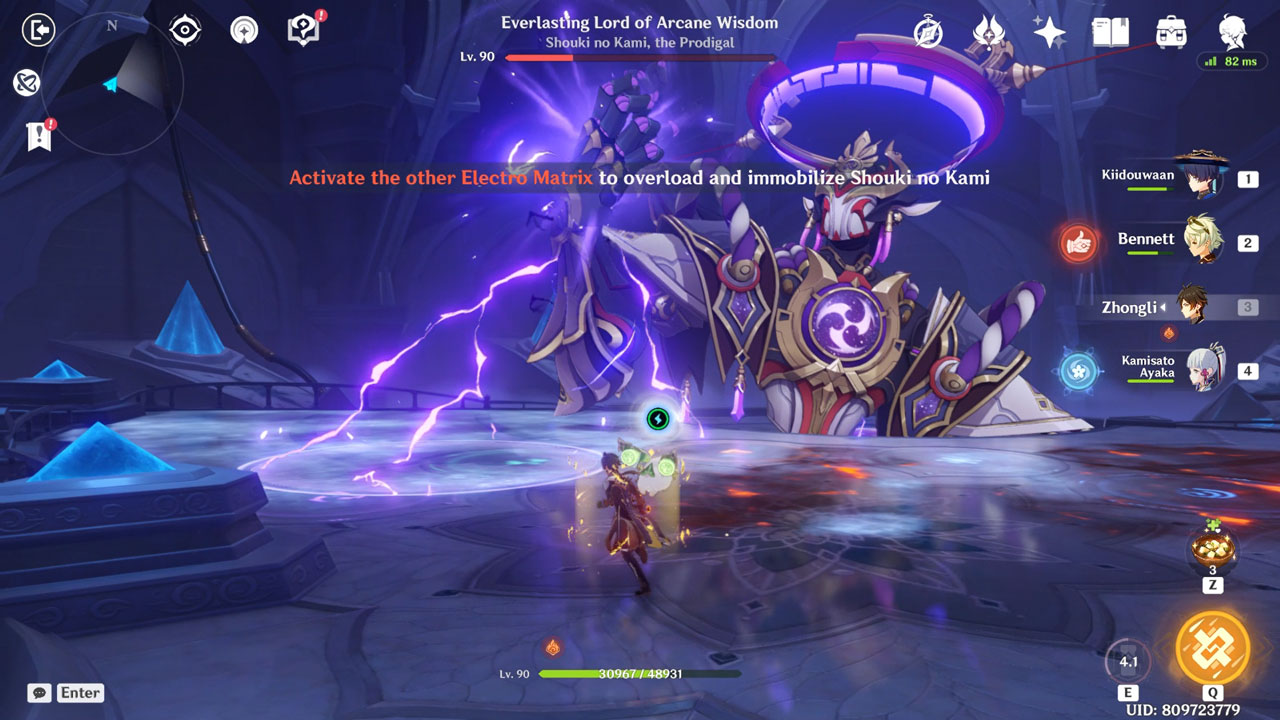
Activating one of the Electro Matrices will partially disable the Shouki no Kami, but he can still attack using one hand. In this state, you must activate the other Electro Matrix to overload and immobilize him for a certain duration.


When you have successfully paralyzed the Shouki no Kami, you will have 20 seconds to damage him without looking out for his attacks.
To know the boss’ attack abilities during this phase, click here to go to Phase 1 Attacks.
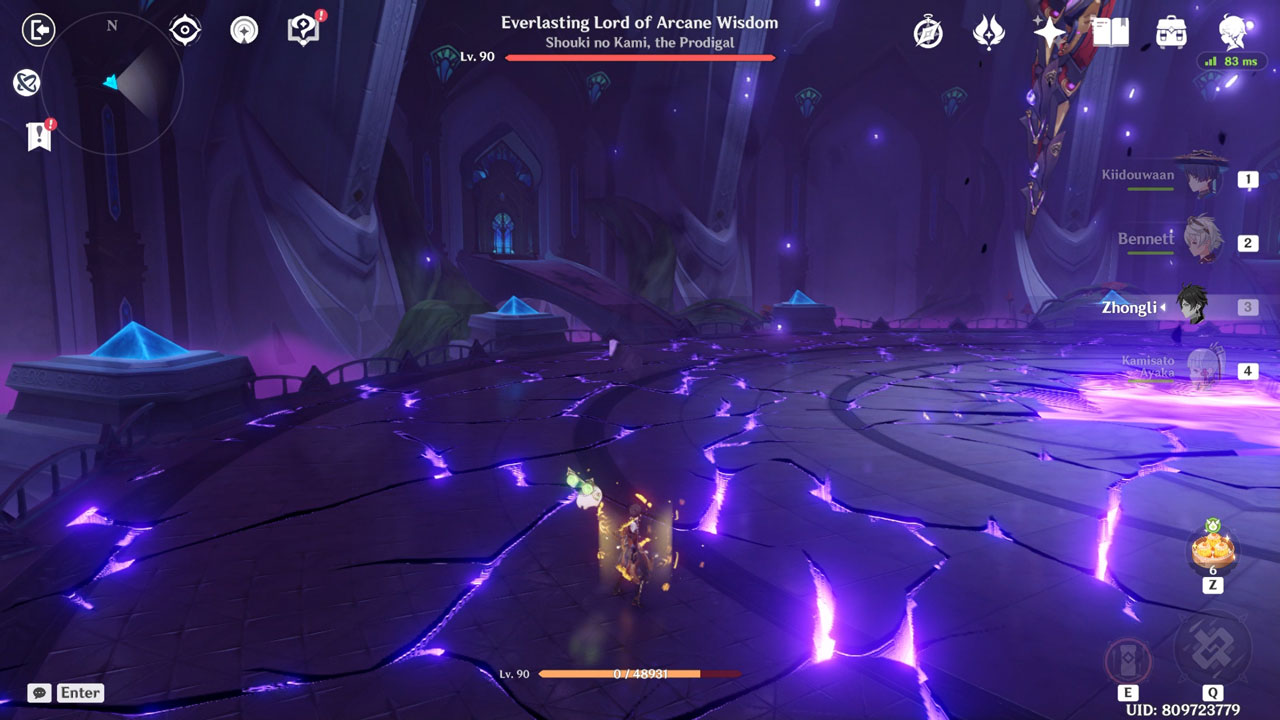
Phase 2
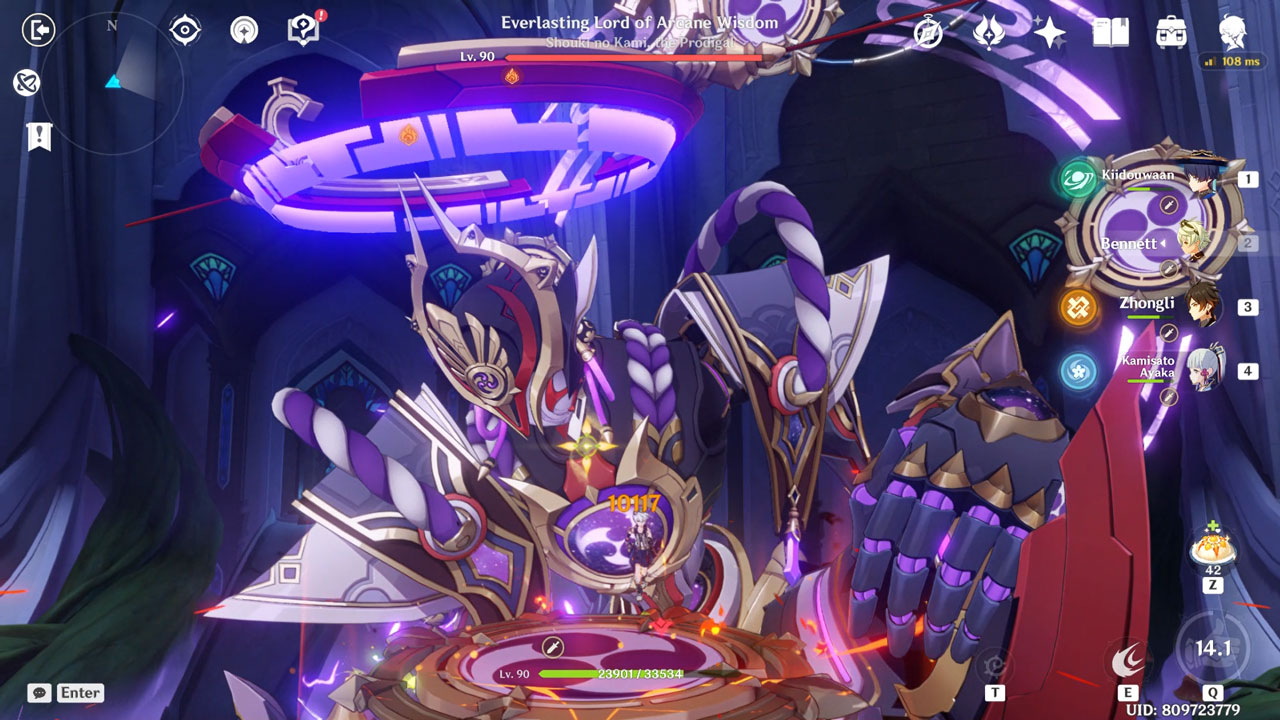
After defeating the Shouki no Kami in the first phase, a cut scene will be played, and he will enter his second phase form. The arena will be more prominent, and the Shouki no Kami will reveal and use his full false god form, complete with legs and two more arms, looking like a giant mechanical being.

In this phase, the Shouki no Kami will have a shield on and throw attacks with wider AOE that deal more significant damage. The Neo Akasha Terminal will start shooting Dendro Elemental projectiles to deal damage and break the said shield. Energy Blocks will also be dropped during this phase, with each having a Four-Leaf Sigil on them to make it easier to pick them up and charge the Neo Akasha Terminal.
When the Neo Akasha Terminal gains enough Energy in this phase, a special aimed attack can shoot the Shouki no Kami with a more powerful Dendro attack and greatly deplete his shield.
To know the boss’ attack abilities during this phase, click here to go to Phase 2 Attacks.
Phase 2 Unshielded State: Charging the Setsuna Shoumetsu
Once the Shouki no Kami shield has been depleted, he will enter another Setsuna Shoumetsu phase. At this point, the Shouki no Kami will start charging to prepare for a powerful attack called Setsuna Shoumetsu. More about these abilities is in the Attack Abilities section below.

While charging, 4 Nirvana Engines will be summoned to the arena’s center to attack the players. When the Nirvana Engines are destroyed, they will drop small Energy Blocks you must pick up to charge the Neo Akasha Terminal again. At the same time, the Energy of the Neo Akasha Terminal will be reset to 0%.


As soon as the Neo Akasha Terminal is fully charged, you have to shoot the Shouki no Kami with the Neo Akasha Terminal’s aimed Dendro shot to cancel Setsuna Shoumetsu and paralyze the Shouki no Kami. All these should be done within 40 seconds of the charging time of this attack.
Phase 2 Paralyzed State
Suppose you have successfully canceled the Setsuna Shoumetsu attack. In that case, the Everlasting Lord of Arcane Wisdom will get paralyzed, and its giant mechanical body will kneel with one of its back plates hanging down to serve as a platform for you to get closer to the Balladeer.
Once you have knocked the Everlasting Lord of Arcane Wisdom down, Four-Leaf Sigils will appear, which you can use to quickly travel up to the platform to attack the Balladeer up close. You will have 30 seconds to throw all your damage to this boss enemy.
If you fail to defeat the Everlasting Lord of Arcane Wisdom within 30 seconds, he will stand up and repeat the cycle of attacks. But this time, he will no longer have a shield, and the projectiles that the Neo Akasha Terminal shoots will damage the Everlasting Lord of Arcane Wisdom’s HP.
Genshin Impact Balladeer Boss Attack Abilities
Phase 1 Attacks
Fist Slam and Hand Sweep (Pyro or Cryo)
This is the most repeated attack move of the Everlasting Lord of Arcane Wisdom. His left hand will deal Pyro Elemental damage while his right arm deals Cryo Elemental damage. Other times, this false god will also make a weeping attack with the same arm, each dealing corresponding elemental damage.


A fist slam on the right will leave the floor on that side to burn, and stepping on it will damage your character over time and apply the Pyro effect. Since the right arm holds the Cryo element, a slam will damage that element and leave the floor on that side frozen.
Like the burning floor, stepping on the frozen one will damage your character and inflict Cryo. Getting affected by this element will also slow the character’s movement speed.


These fists slam and palm sweep attacks have animations that are easy to predict. To remove flaming and frozen effects on the floor, you only need to activate the Elemental Matrix on that side. It will be your cue to move to the other side of the area. Remember that you can only do this if the Neo Akasha Terminal is fully charged, so be sure to pick up those Energy Blocks that get dropped every after an attack from the boss enemy.
Palm Gust and Slap Combo (Pyro and Cryo)
This move is a modified version of the arm slap attack because, with this, the Everlasting Lord of Arcane Wisdom uses both of his arms alternately to make two consecutive attacks with two different elements. He will start with one arm to blow a gust of Pyro or Cryo from one side to the center and then slap the other arm to the ground and deal another elemental blow.


When this attack starts with the left arm, a gust of Pyro will be blown, and a Cryo arm slam will be the second move. If it’s the other way around, then the gust and slam will be of the opposite elements. These attacks will also leave the floor flaming and frozen on their respective sides.
Again, the preparation animation of the arm attacks is pretty slow and obvious, giving you enough time to position yourself to avoid getting hit.
Read: How To Defeat Setekh Walnut in Genshin Impact
Hydro Windstorm
For this attack, the Everlasting Lord of Arcane Wisdom will summon 3 Anemo vortexes and then fill them with Hydro to create a windstorm that will deal greater damage than the vortexes.


It takes a while for the Anemo vortexes to appear, and windstorms move around quite slowly, giving you time to dodge and reposition yourself to avoid getting damaged.
Electro Projectiles
The Everlasting Lord of Arcane Wisdom will cross his front arms and use the ones behind him to shoot Electro shards from those palms. Shower shards will start from the sides and move toward the center. The boss enemy will end the move by throwing two Electro Prisms toward your location.


Laser Array
With this ability, the Everlasting Lord of Arcane Wisdom will summon Electro seals around him that will shoot off arrays of Electro lasers as they rotate. Before this attack ends, the seals will stop rotating and shoot stronger Electro laser arrays.


To avoid getting hit by this attack, you can simply move between the laser rays and do short dodges when you’re about to get hit.
Electro Beam
This ability is the strongest attack the Everlasting Lord of Arcane Wisdom can do in this first phase. He will gather Electro Energy in front of him and then use it to shoot a massive Electro beam toward the floor. Damaging Electro Energy will flow throughout the arena floor as the beam is shot.


And at the end of this attack, a more powerful shockwave will be unleashed to deal greater damage.
The way to avoid this attack is to activate the Anemo Elemental Matrix on the floor and then ride the wind current so that you will not get hit by the attack. Holding down Venti’s Elemental Skill can also be an alternative tactic to protect from this attack.
Lightning Strikes (Partial Paralysis State)
This attack move will only be performed when the Everlasting Lord of Arcane Wisdom is partially paralyzed. You have once activated one of the Electro Elemental Matrices on the floor and stunned him.
When this happens, the Everlasting Lord of Arcane Wisdom will raise one of his arms and use it to summon the power of lightning to strike you multiple times. A marking on the floor will appear where the lightning strike will hit, which makes it easy to dodge. This move will continue for up to 15 seconds when you must activate the other Electro Elemental Matrix and completely disable or paralyze the Everlasting Lord of Arcane Wisdom.
Each lightning strike will drop an Energy Block you can pick up to charge the Neo Akasha Terminal again and trigger the other Electro Matrix.
Genshin Impact Balladeer Boss Phase 2 Attacks
Triple Trample Combo
For this attack, the Shouki no Kami will perform a combination of 3 moves, first with a foot stomp, then a punch to the ground, and end with a shock wave from the previous punch. All moves deal Electro AOE damage, with the shock wave sent to the battle area.


The stomp and punch damages can be avoided by staying away, while you can jump over the shock wave to avoid getting hit.
Triple Thunder Spears
This attack involves three Electro spears that the Shouki no Kami will use. He will summon these lightning weapons on three arms and thrust the first two into the ground. The third spear will immediately follow these. Upon hitting the floor, the spears will continue to deal AOE Electro Damage every 0.5 seconds until they disappear.


Cosmic Barrage
This move is very obvious when cast and gives you time to also prepare for it. With this, the Shouki no Kami will move to and float on the other side of the arena, do a little charge, and then summon multiple black holes beside him.


A barrage of Electro energy projectiles will fly off the black holes and be sent to a certain location in the arena. The location will be marked by a purple circle marker, moving around as the barrage is long. The marker moves slowly, giving you just enough chance to sprint away.
Hydro Swirl Strike
The Shouki no Kami will also summon the power of Anemo and Hydro to trigger a Swirl Elemental Reaction Damage. For this move, he will mark the floor with a crossing path where the two elemental attacks meet in between. The elemental attacks hit will do successive explosions along its trails, and each deals 75% ATK as Anemo and Hydro elemental damages.


This attack is simple and easy to dodge, so it will less likely be a problem.
Flying Thrust (Pyro and Cryo)
To perform this attack, the Shouki no Kami will teleport to the opposite side of the battle arena and then do a flying thrust toward you, summoning a violent elemental attack on his path. This will be done twice: one that deals with Pyro Elemental damage and the other dealing with Cryo.


You can simply dodge at the right time to avoid getting hit by this move. The teleportation and the short charging animation will be your queue to prepare for this attack ability.
Bombshell Scatter
Another move that the Shouki no Kami has is one where he will send out bombs that will scatter around the arena floor. He will then throw elemental sparks that will trigger the bombs to explode. The bombs are of the Cryo, Hydro, and Pyro elements and will deal elemental damage upon landing. You will be given several seconds to try and destroy the bombs before they get triggered and explode.


Each bomb can be destroyed but only with strong elemental attacks against its element. Dendro and Anemo could be the safest elements to break these bombs. However, you can simply break one with the weak element against your current characters’ elements.
Electro Orbs
The Shouki no Kami can also summon multiple Electro orbs that he can throw to the players, and each of these spheres can deal 50% ATK as AOE Electro damage. However, this move will only be performed if the players are behind the Shouki no Kami.


This move is made by Shouki no Kami sweeping one of his arms as he turns around.
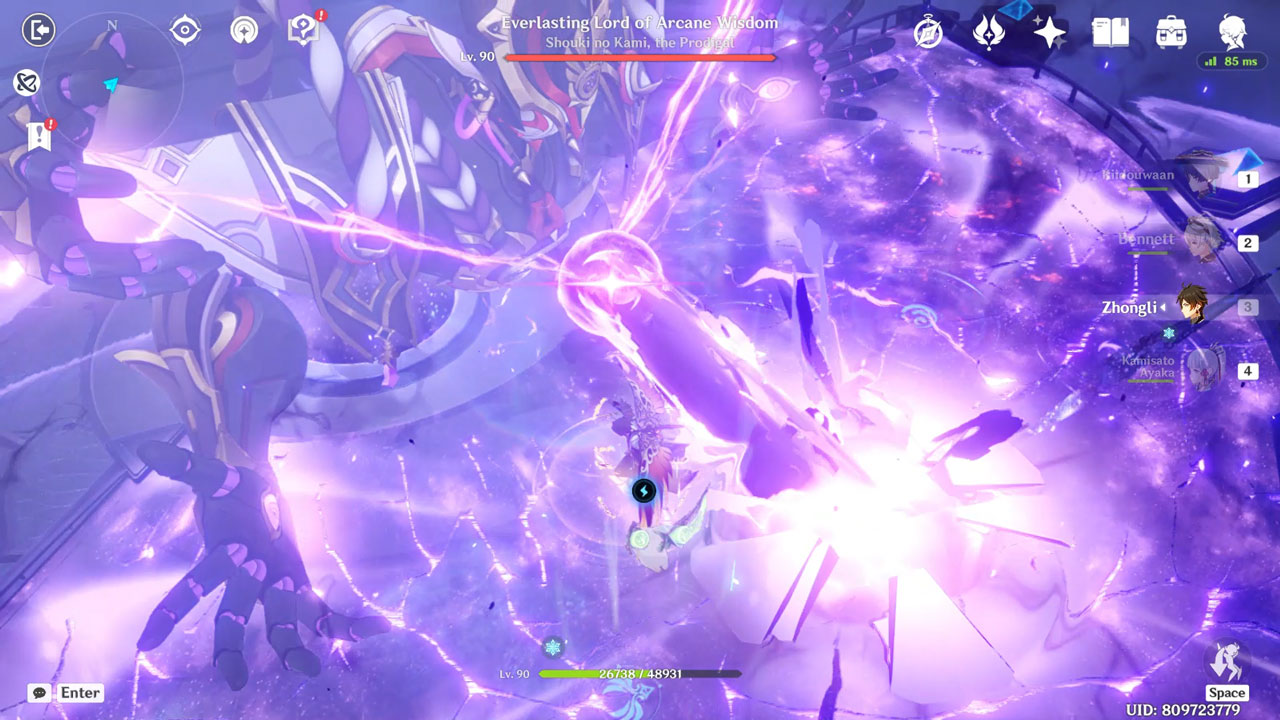
Setsuna Shoumetsu
As mentioned above, when the Shouki no Kami’s shield in phase 2 is broken, he will enter the charging state. See section: Phase 2 Unshielded State: Charging the Setsuna Shoumetsu.
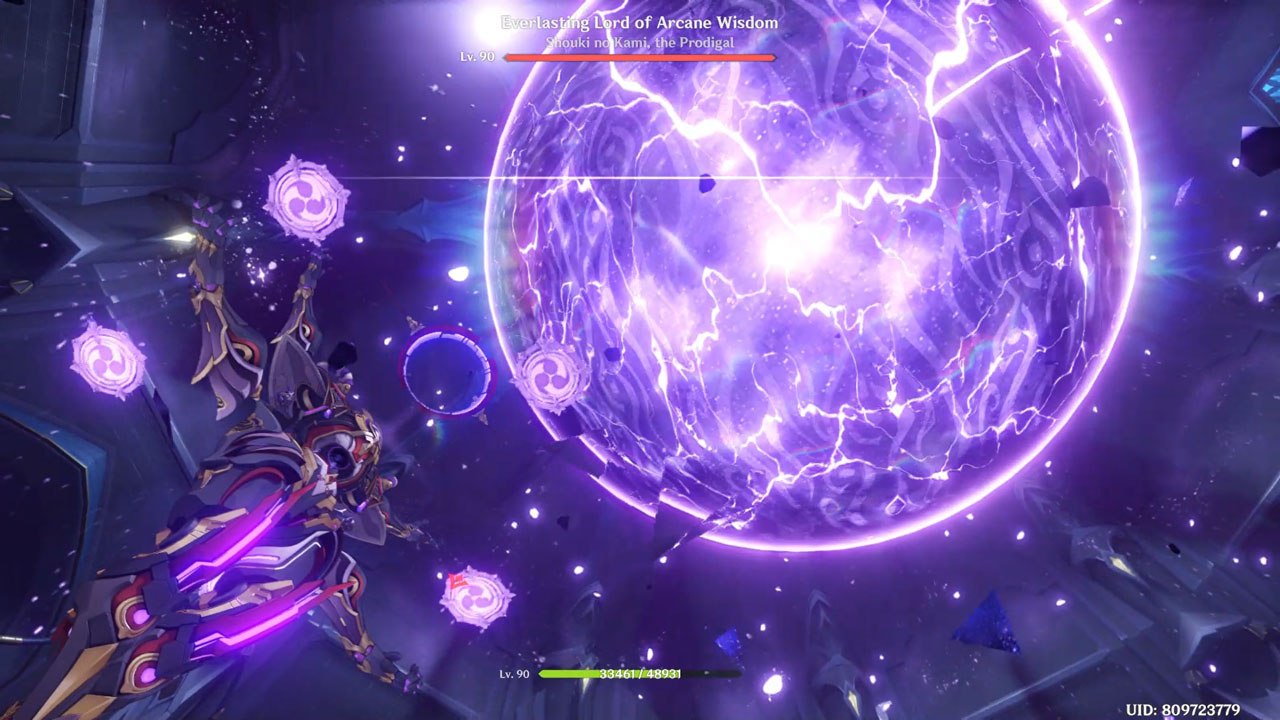


Here is what happens if you fail to shoot the Shouki no Kami with the strong Dendro projectile using the Neo Akasha Terminal within 40 seconds. This gigantic boss will complete the summoning of the Setsuna Shoumetsu. He will then throw it to the ground where you are.
This attack will be a giant Electro-like orb that will deal massive AOE damage covering the entire arena. Setsuna Shoumetsu will instantly kill the active character, ignoring shields and other defensive stats. In a co-op game, only one of the players will be killed by this attack, while the rest of the party will receive 100% Electro damage.
Combat Strategy Summary
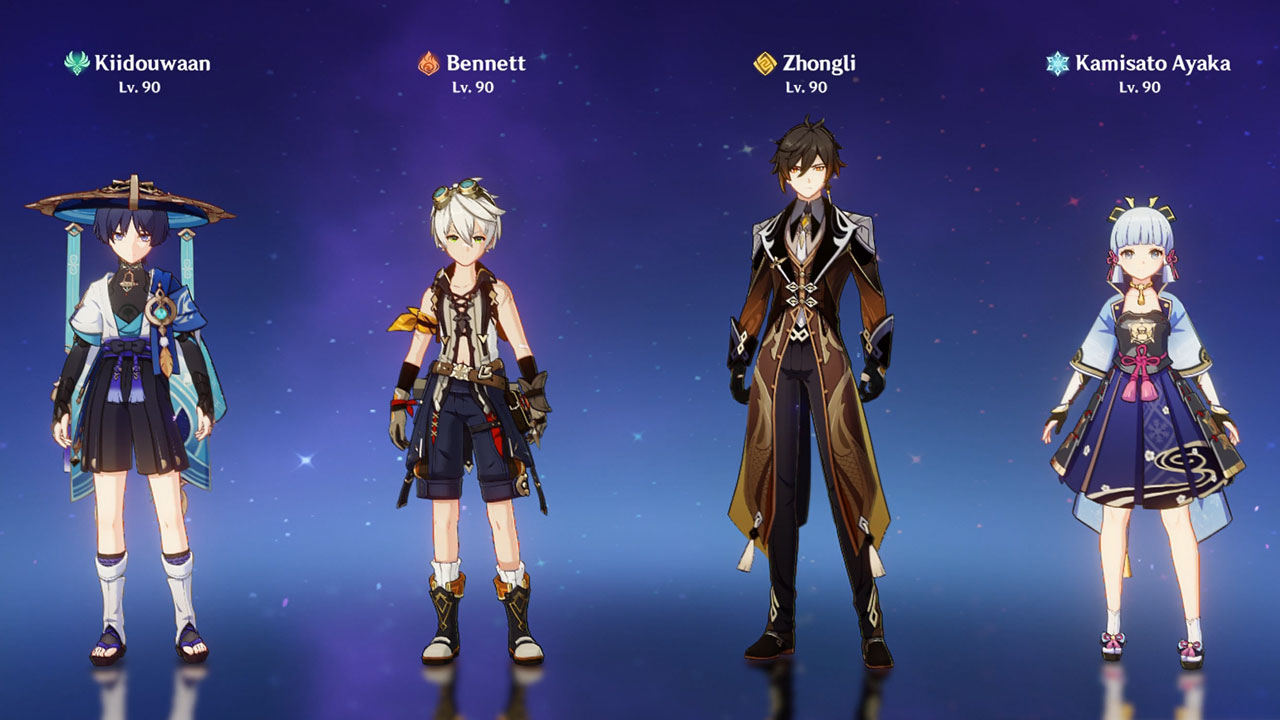
The major factor in defeating any boss is the party composition you bring to the battle. When facing the Balladeer, the recommended teammates use Dendro, Anemo, Pyro, and Cryo elements.
In Phase 1, all you need to do is pick up the Energy Blocks that get dropped every time the Everlasting Lord of Arcane Wisdom performs an attack. Do not immediately activate the Electro Elemental Matrix once the Neo Akasha Terminal is fully charged. Wait for another attack from the boss to have more Energy Blocks dropped.
Once you have both, activate one of the Electro Elemental Matrices. Then pick up the existing Energy Blocks to charge the Neo Akasha Terminal to activate the other Electro Elemental Matrix.
In Phase 2, just like in the previous phase, lookout for Energy Blocks that get dropped after the Shouki no Kami performs an attack. Once the Neo Akasha Terminal is fully charged, try to shoot the enemy boss with its Powerful Aimed Shot. Failing to hit the boss will not deplete the energy of the Neo Akasha Terminal.
You’ll also need Pyro and Cryo Elemental Attacks in this phase, as they are the strongest against the Nirvana Engines. At the same time, the Shouki no Kami charges the Setsuna Shoumetsu.
Like all the other boss fight challenges, bringing a Shielder Healer or both is always safe. But, if you’re confident enough with your dodging time skills, then replacing them with other DPS or damage support characters will be best.
Achievements and Rewards
Achievements
You can unlock the following achievement once you meet certain criteria when fighting against the Everlasting Lord of Arcane Wisdom, Shouki no Kami, the Prodigal.
- It All Comes Tumbling Down – Use the Elemental Matrices to overload and paralyze Shouki no Kami.
- This achievement can be unlocked when you paralyze the Everlasting Lord of Arcane Wisdom in Phase 1 by activating both Electro matrices.
- This achievement can be unlocked when you paralyze the Everlasting Lord of Arcane Wisdom in Phase 1 by activating both Electro matrices.
- Causality of Birth and Extinction – Even at the edge of obliteration, a comeback is still on the cards…
- Die to the Everlasting Lord of Arcane Wisdom’s Setsuna Shoumetsu attack.
- Die to the Everlasting Lord of Arcane Wisdom’s Setsuna Shoumetsu attack.
- …It’s Payback Time – Destroy Shouki no Kami’s shield while he is delivering a powerful barrage of attacks.
- Wait for the Everlasting Lord of Arcane Wisdom to start casting the Cosmic Barrage attack again before hitting him with the special aimed shot of the Neo Akasha Terminal that destroys his shield,
Trounce Domain Rewards
Completing the Trounce domain challenge, a Trounce Blossom will appear from which you can claim rewards using 60 Original Resins. The items you can get are the following:
Talent Level-Up Materials
Puppet Strings
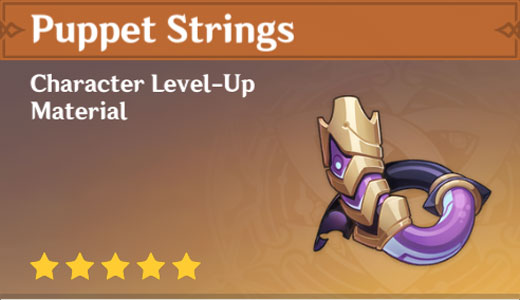
These tubes were inserted into the mechanical puppet’s back to provide power to it. At the same time, they serve as the strings that control and bind it. The colors that flow within them are sometimes dull and, at others, vibrant. The contrast is so great as to be fearful. When the support of these tubes was lost, the puppet became as weak as a newborn infant.
Mirror of Mushin
This mirror in Shouki no Kami’s chest separates him from the outside world. The mitsudomoe symbol found in it is not to show obeisance to the master of lightning. Rather it is to serve as a blade pointing at the existing powers in this world. A deliberate show of status and might.
The mirror, however, is not a means to shut out the looks of judgment from onlooking people. Instead, it is rather a bulwark against this base and sullied world. It is to send a message that Within this great temple shall punishment be meted out and ignorance be cleansed. Dreams shall be overturned, desires will be cut away, and karma will be reset.
Daka’s Bell
This item is a ball joint with a similar shape to a bell. Although dainty, it can carry an unimaginably large amount of energy. It is used to connect the puppet’s mechanical limbs.
Connect it to one’s legs, and all the strength from those legs will dissipate. If connected to one’s arms, then one will lose all feeling in them. When connected to one’s skull, none of the individual’s hatred, pain, madness, and pride will be washed away.
Elemental Jewels
You can also get these from quest and commissions rewards by crafting them using the ones with lower rarity levels.
Vajrada Amethyst


Vayuda Turquoise


Varunada Lazurite


Midlander Weapon Billet


These rare items can only be obtained from weekly trounce domains in Sumeru and rewards by completing certain game contents.
Dream Solvent

A consumable item converts one kind of 5-star material to another with the same origins.
Artifacts
You can also get artifacts from this domain, including 4 and 5 stars in rarity. The possible artifact sets you can get are the Berserker, The Exile, Instructor, Wanderer’s Troupe, and Gladiator’s Finale.