Gears 5’s developers have presented us with an all-new DLC, that has so much content. Gears 5 has always been a game that new things are being implemented once every few months or years. The game hasn’t become stale, much like other similar titles on the market. Now, with the newest DLC, the Hivebusters, there have been a lot of locations and chapters added to the game.
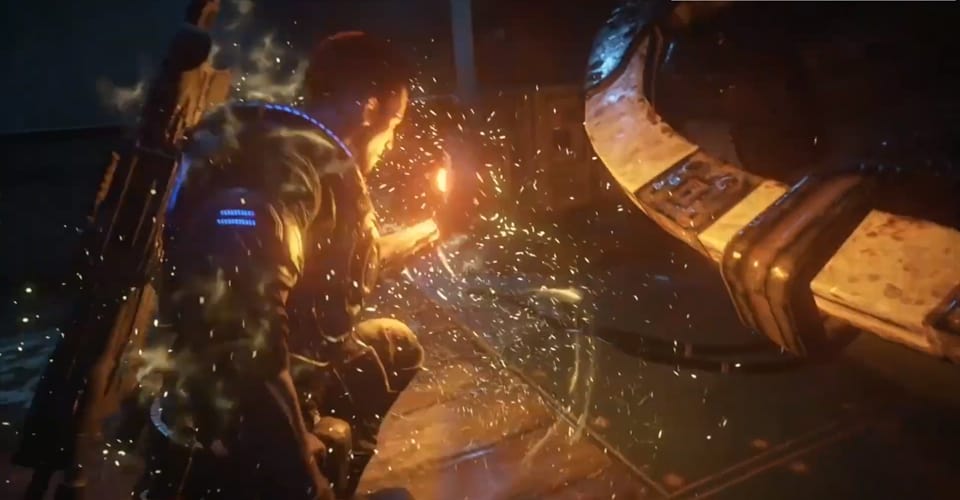
When playing, you can find some upgrades and collectibles that are hidden on the maps. Because of that, we decided to show you the locations for all ability upgrades in Chapter 4.
Chapter 4 All Ability Upgrades Locations – Gears 5 Hivebusters
In total, there are around five ability upgrades in Chapter 4, which seems to be all of them. There have been any more found by the players in the Gears 5 community.
We will cover each individually, in order to make this guide as clear as possible. Here are all the upgrades in Chapter 4 with locations in Gears 5 – Hivebusters:
1. Fishing Hut Intro
After getting here, go straight and then down the staircase. Go inside the first hut on your right, and you should see the first upgrade.
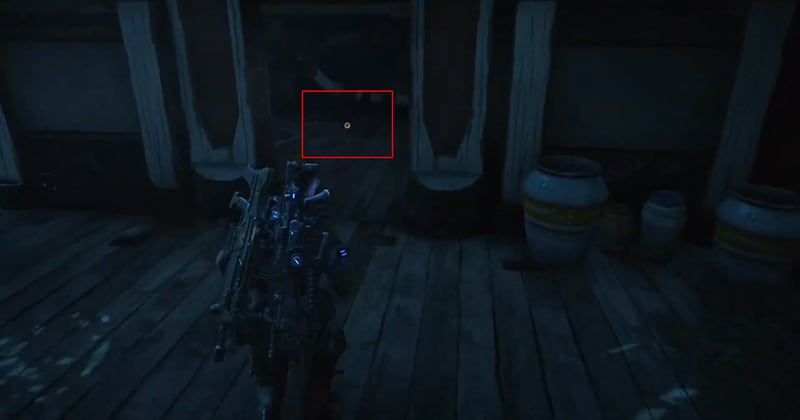
This upgrade is for Mac’s ultimate, and enemies that touch Mac’s barrier will take a substantial amount of damage.
2. Left of the Intro Hut
Go to where the NPC will talk about her father and some life philosophy. Here is the specific location, left of the intro hut:
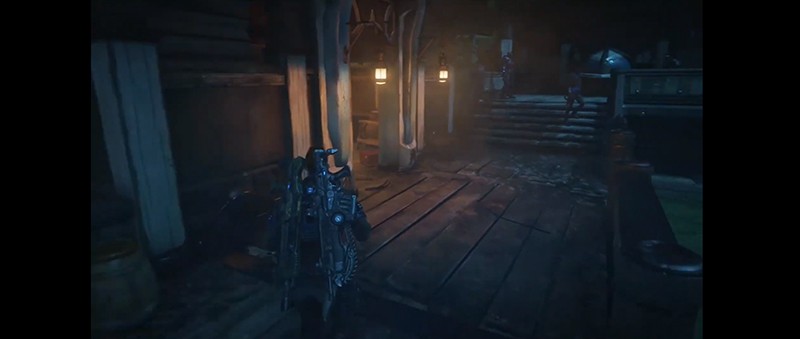
Inside, you will find a Lahni ultimate upgrade, which will give you the ability to strike to additional nearby enemies when you hit with melee attacks with Electroblade.
3. Dining Hall – With the Loud Radio
Take a right and go straight until you get to the wall and the windows. The third upgrade should be left on the ground.
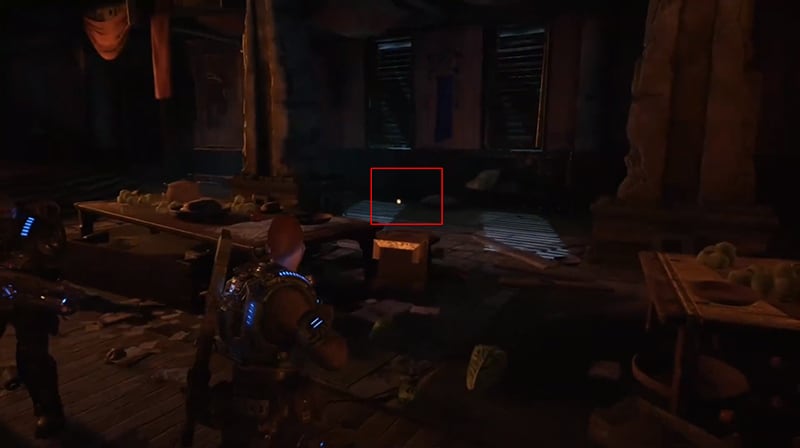
Chronologically, this upgrade is for Keegan, and it will allow him to reduce damage when using Resupply.
4. Before the Objective, Behind the Dead Beast
When you get to the dead beast, behind it there are two pillars. Go here and you should see the fourth upgrade on the ground:
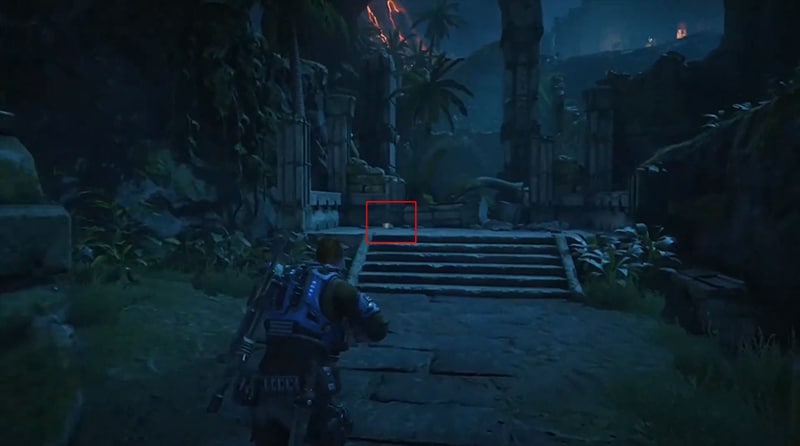
With this upgrade Lahni’s Electroblade duration will be increased.
5. Before the Staircase to the Temple
Before entering the big temple, look left. You should see the last upgrade left on the wall of the platform. Here is a reference picture:
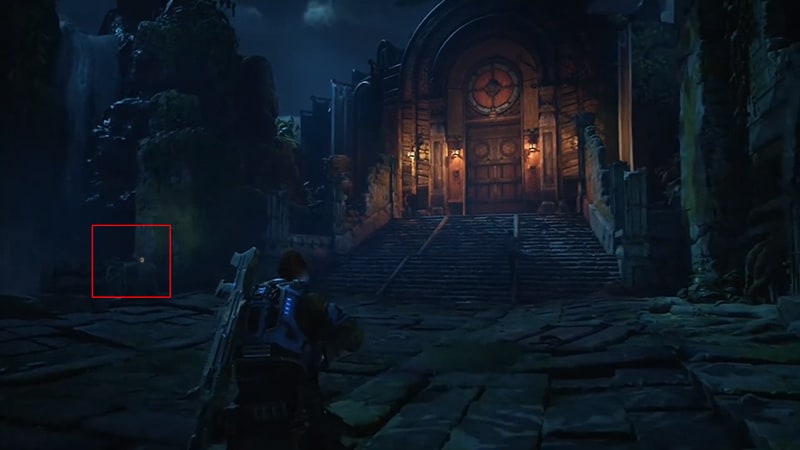
This will increase the width of Mac’s barrier by a whopping 30%.
READ NEXT : Gears 5 Hivebusters: Chapter 1 All Collectible Locations


