Learn how to complete the Trial of the Warrior in Hollow Knight!
Team Cherry’s Hollow Knight has an arena called the Colosseum of Fools, where the Knight can participate and battle many enemies to be rewarded with items like Geo and Charm Notches. The Colosseum of Fools offers three different Trials, each packed with different enemies to defeat: the Trial of the Warrior, the Trial of the Conqueror, and the Trial of the Fool.
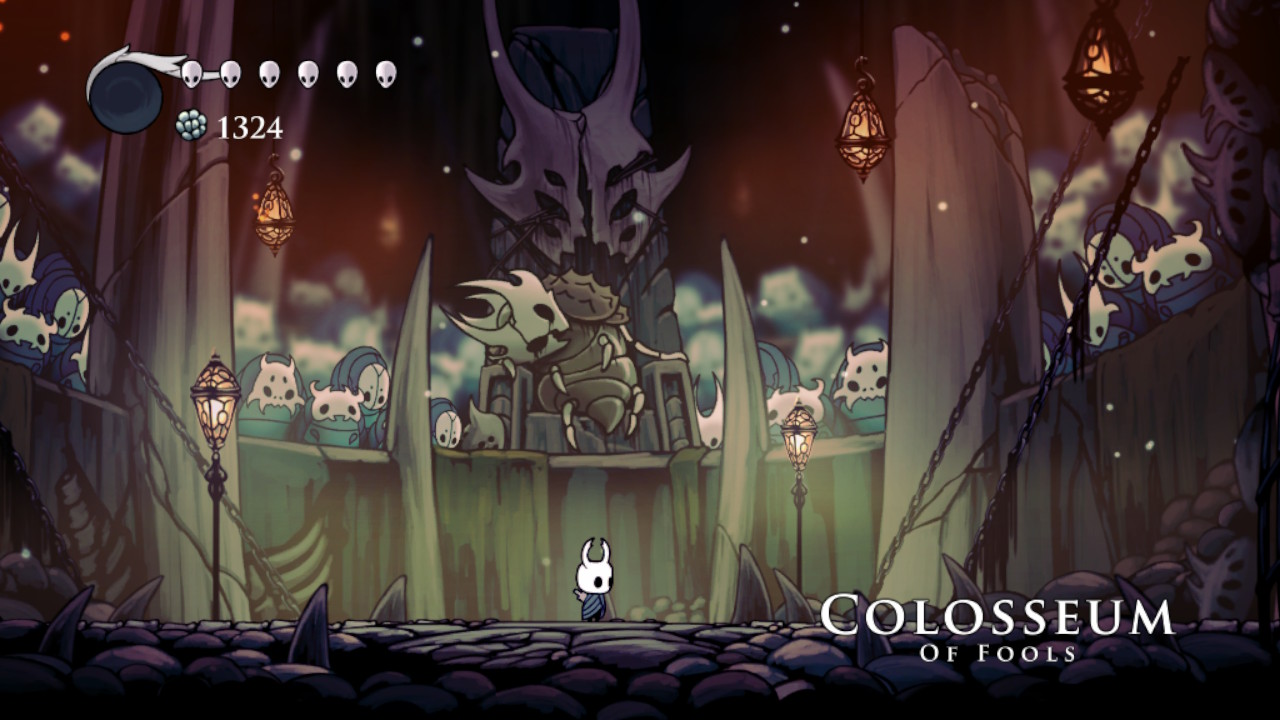
This guide will teach you about the Colosseum of Fools’ Trial of the Warrior.
Trial of the Warrior
As mentioned above, the Trial of the Warrior is the first of three Trials in the Colosseum of Fools. As expected, this Trial is the easiest of the three, as the enemies are slow and manageable. Even though it is the easiest, the Trial of the Warrior should not be taken lightly.
Emerging as the victor in the Trial of the Warrior for the first time rewards the Knight with 1000 to 1024 Geo, a Charm Notch, and the Warrior achievement (subsequent wins in this Trial will only reward 1000 to 1024 Geo).
To unlock the Trial of the Warrior, the Knight must pay Little Fool by the entrance of the Colosseum of Fools 100 Geo. After that, inspect the trial board just behind him to start the trial and proceed to the arena, accessed through the exit on the right.

The enemies the Knight will face in the Trial of the Warrior will come in waves. This is the order of the enemies that the Knight will encounter:
Wave 1
For the first wave, one Shielded Fool will appear. Then, two more Shielded Fools will appear on both sides of the arena after killing it. After successfully killing them, two Sharp Baldurs will appear on both sides of the arena. Defeat the two Sharp Baldurs to continue on the second wave.
Wave 2
After the first wave, five platforms will rise to different heights, each a Sharp Baldur. It is important to note that the Sharp Baldurs can be triggered to attack the Knight one at a time by going near each one of them individually. After defeating one Sharp Baldur, downtime can be a great time to heal before taking down the others. Defeat all five Sharp Baldurs to proceed to the next wave.
Wave 3
After that last wave, the five platforms will disappear, and the arena will return to its original state. Then, one Sturdy Fool will appear inside the arena. After killing it, two more Sturdy Fools will appear on both sides of the arena. It is worth mentioning that Sturdy Fools’ attack behavior is similar to that of a Husk Miner, wherein it throws projectiles, and if the Knight gets close, it performs a melee attack. Kill them to continue to the next wave.
Wave 4
For this wave, three platforms will rise (the middle platform will be slightly higher than the ground, and the two other platforms will be the same height but higher than the middle one), and two Primal Aspids will appear. Defeat the Primal Aspids to continue.
Wave 5
After that, two more platforms will rise and be higher than the previous platforms (a total of five). Spike spikes will also appear and cover the arena’s floor. Then, two Primal Aspids will appear on both sides of the arena. Kill them to proceed to the next wave.
Wave 6
Next, the five platforms will go away individually and be replaced by double platforms (two connected platforms) on the left and right and a triple platform (three connected platforms) in the center. The double platforms on the left and right are higher than the triple platforms in the center, and below them are the spikes from the last wave.
Then, two Sturdy Fools will appear on the double platforms. After defeating one of them, another Sturdy Fool will appear on the triple platform in the center. These enemies can easily be avoided if equipped with the Shape of Unn Charm. Aside from allowing the Knight to move while using Focus, it makes the Knight smaller and shorter, allowing him to duck through enemies. Kill all the enemies to continue.
Wave 7
After that, the triple and double platforms will be exchanged with three quadruple platforms on top of each other. Then, two Primal Aspids will appear, one on the bottom left and one on the upper right. After killing one of the Primal Aspids, a Sharp Baldur will appear on the center quadruple platform.
Then again, after defeating one of the remaining enemies, another Sharp Baldur will appear on the quadruple bottom platform. To avoid being damaged by the Sharp Baldurs when they appear, you can try to defeat the Primal Aspids on the topmost quadruple platform, and then, afterward, you can defeat the Sharp Baldurs one by one. Defeat all the enemies to proceed to the next wave.
Wave 8
The quadruple platforms will go away and leave a single, double platform on this next wave. It is important to note that there are still spikes below. After that, four Vengeflies will appear, two on both sides. Then, after defeating all these Vengeflies, a Vengefly King will appear on the right. Defeat the Vengefly King to continue on the Trial.
Wave 9
After that last wave, the arena will return to its original state by removing the platforms and the spikes. Then, two Sturdy Fools will appear. After defeating one of the Sturdy Fools, a Shielded Fool will appear in the arena. Then, after defeating one of the enemies, a Primal Aspid will appear in the arena. Again, another Shielded Fool will appear in the arena after defeating one of the enemies.
Then, after defeating one of the enemies, another Sturdy Fool will appear in the arena. Then, finally, after defeating one of the enemies, another Primal Aspid and a Sharp Baldur will appear in the arena. Kill all the enemies to continue to the next wave.
Wave 10
The ceiling will drop on this next wave, leaving only about 10% of the arena. Then, three Sharp Baldurs will appear in the arena. They will spawn one after another as you kill them. Kill all the Sharp Baldurs to continue on the Trial.
Wave 11
After that last step, the ceiling will rise to about 50% of the arena. Then, two Volatile Gruzzers will appear in the arena. After killing them, three more will appear in the arena. Then, after killing all the Volatile Gruzzers, two Gruz Mothers will appear. Defeat them to proceed to the final wave.
Wave 12
Finally, the ceiling will ultimately rise back and return the arena to its original state for this final wave. Then, if you have saved him back in Greenpath and Deepnest, Zote the Mighty will appear as the final enemy in the Trial of the Warrior (if you have not saved him in the previous areas, the Trial will end after Wave 11). After the Knight defeats Zote the Mighty for the first time in the Trial of the Warrior, he will no longer appear as the final enemy on the Knight’s subsequent attempts on the Trial on the Warrior and will end after Wave 11.