Learn how to change your car’s ignition coils in Car Mechanic Simulator.
Spark is necessary in combustion engines. An engine cannot ignite the fuel and air mixture in its cylinders without a spark. One of the components responsible for sending sparks to cylinders is ignition coils. If your car’s engine is rough, the ignition coil is one of the parts you’ll want to check in Car Mechanic Simulator.
This quick guide will walk you through how to change ignition coils in Car Mechanic Simulator.
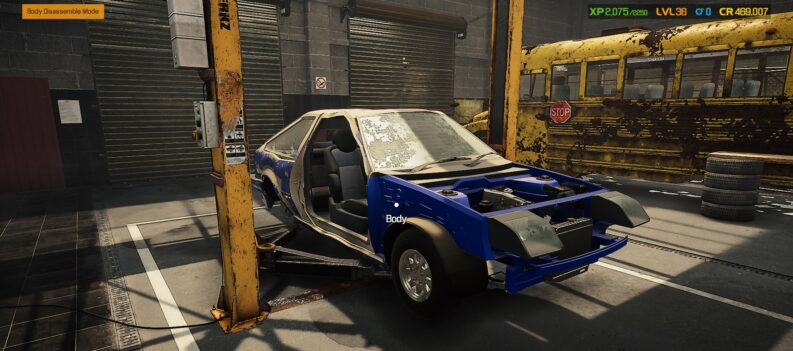
Where to find the Ignition Coils in Car Mechanic Simulator
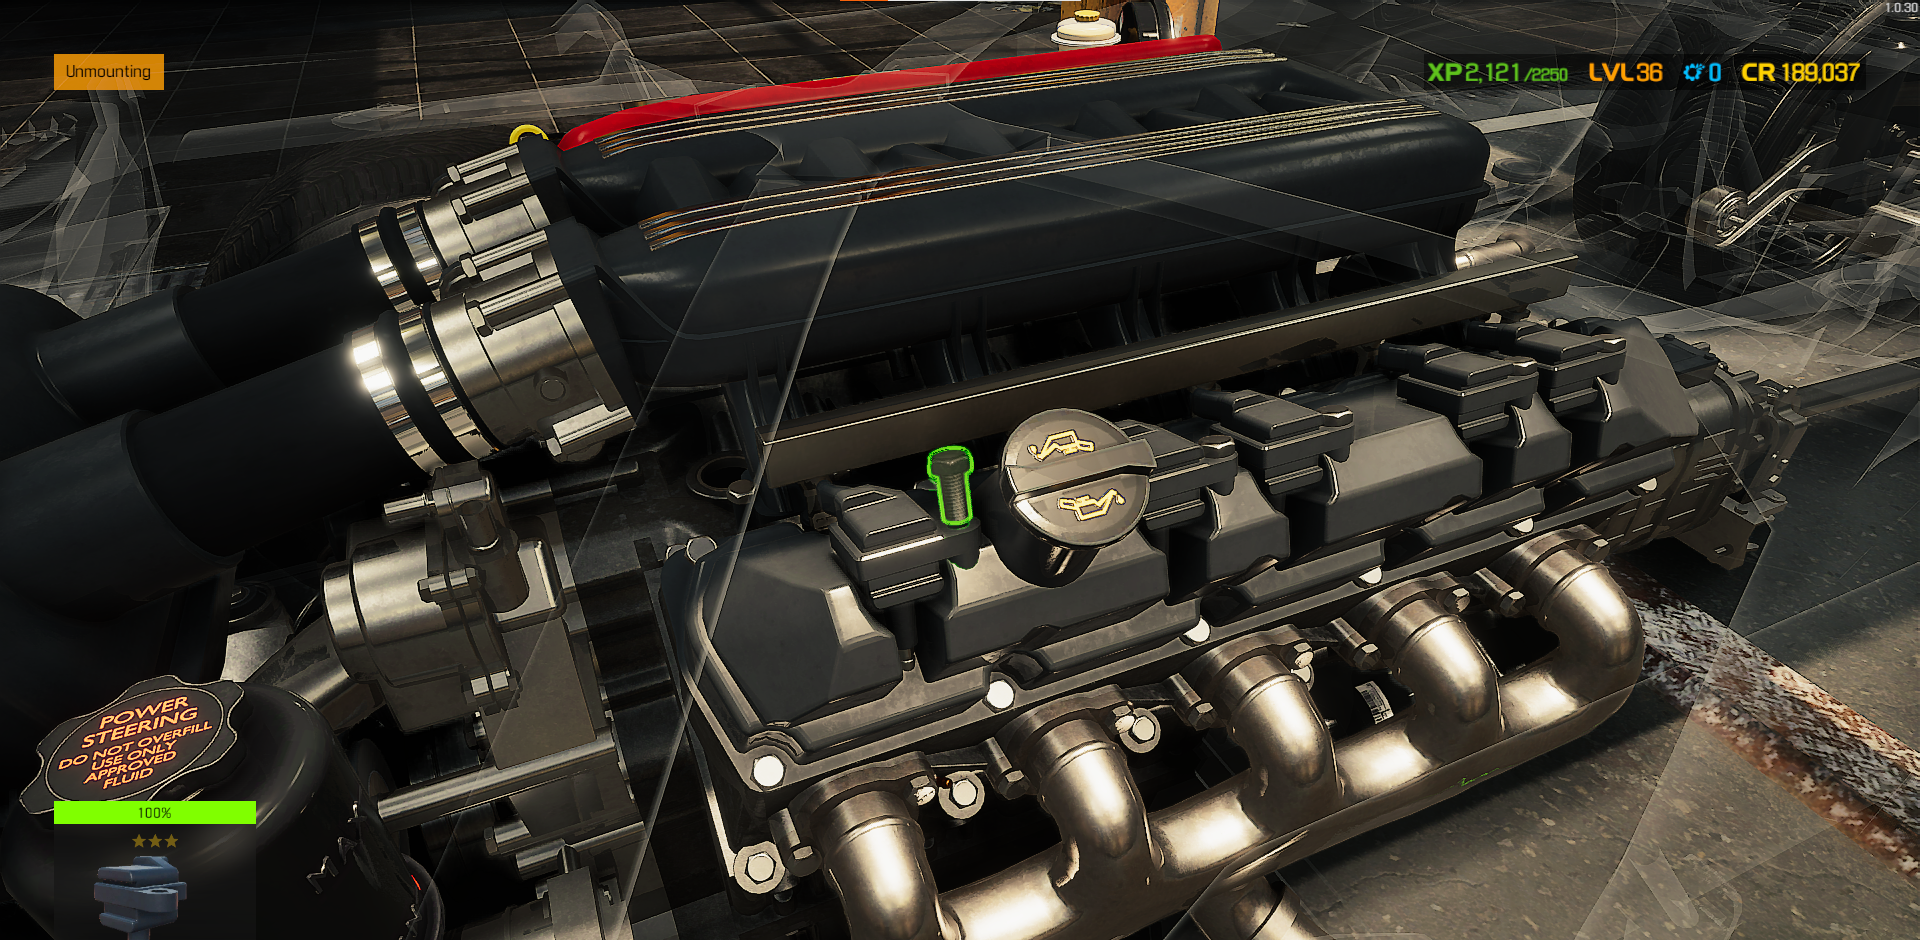
In Car Mechanic Simulator, Ignition Coils are typically located directly above a car’s Engine Head Cover, but the location can vary between different engine types.
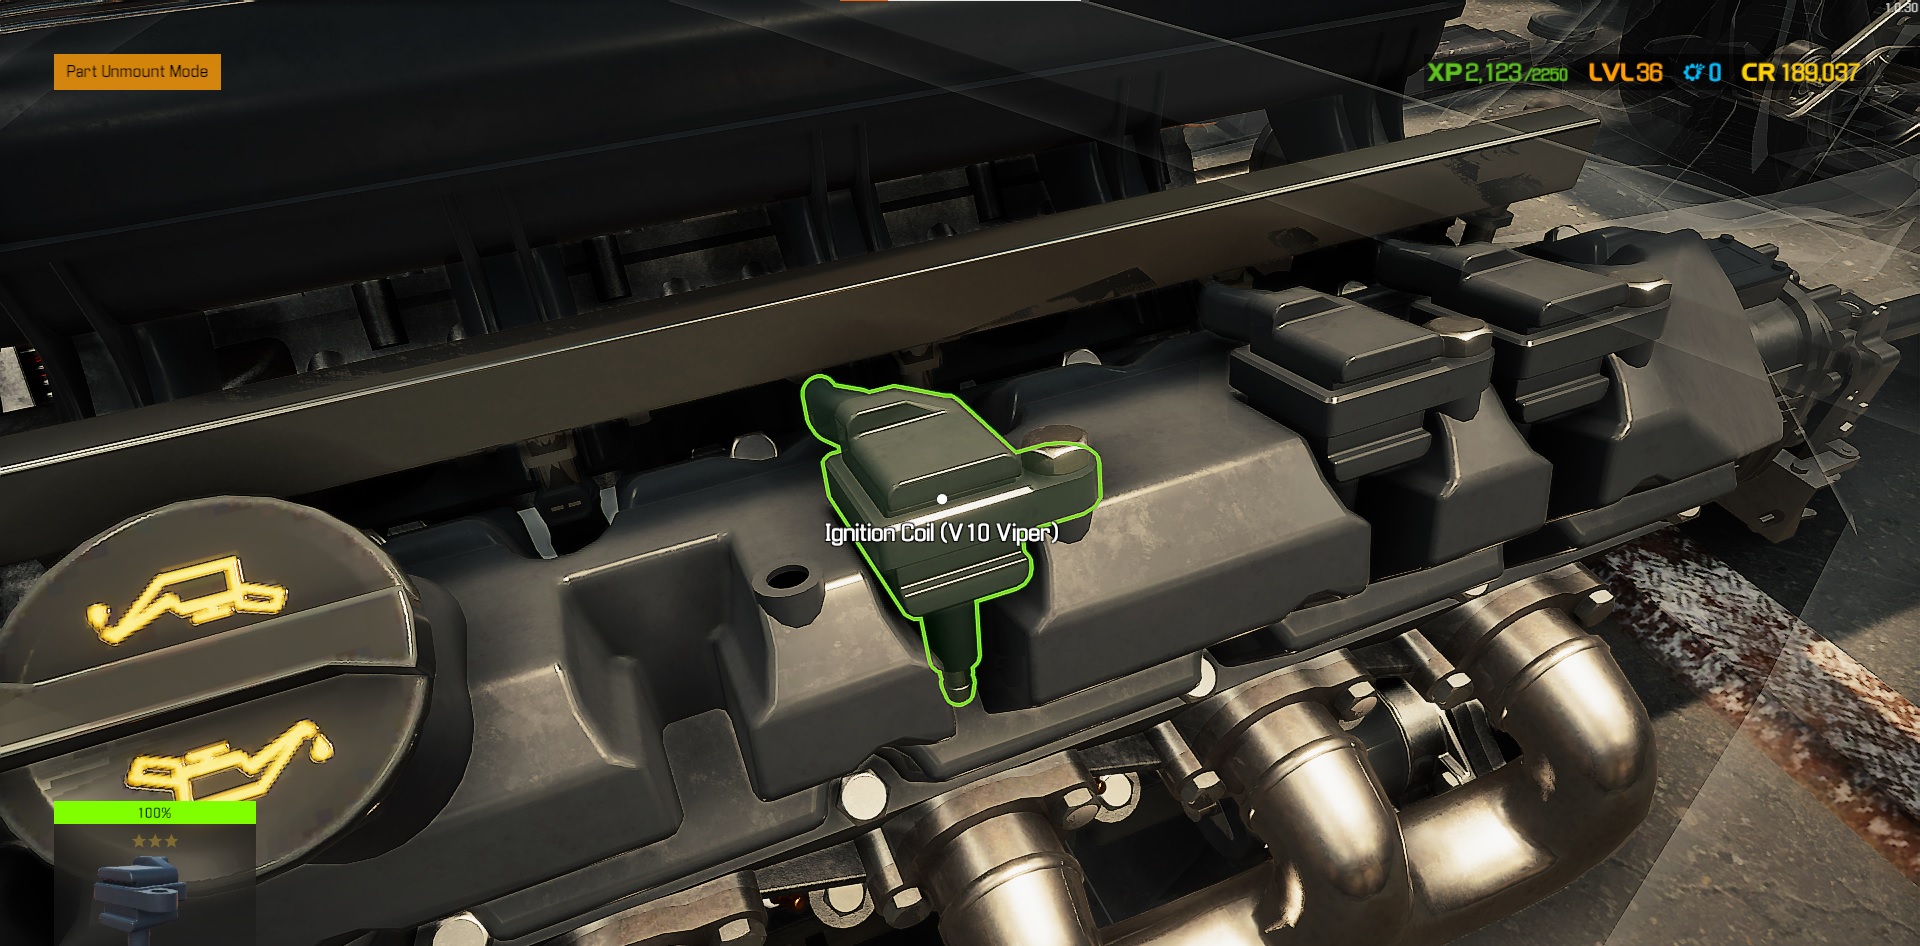
The engine below is a fairly common inline four-cylinder engine layout. The Ignition Coil is located in the center of the Engine Head Cover.
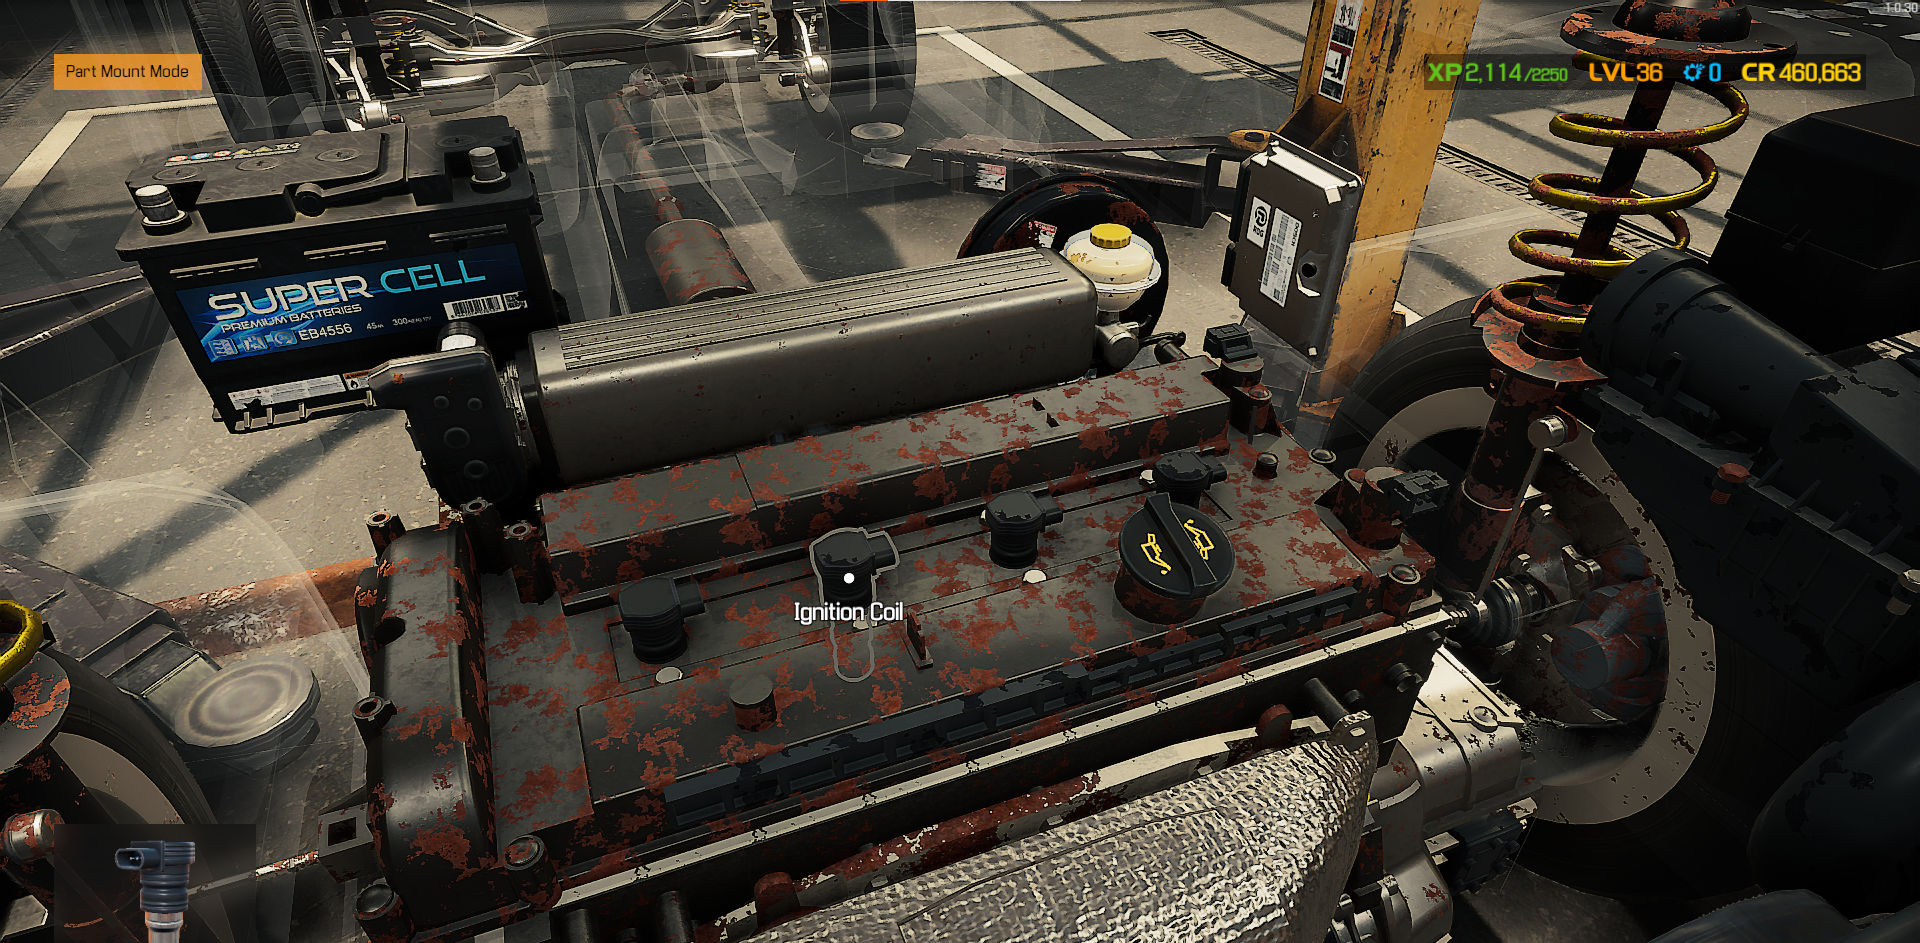
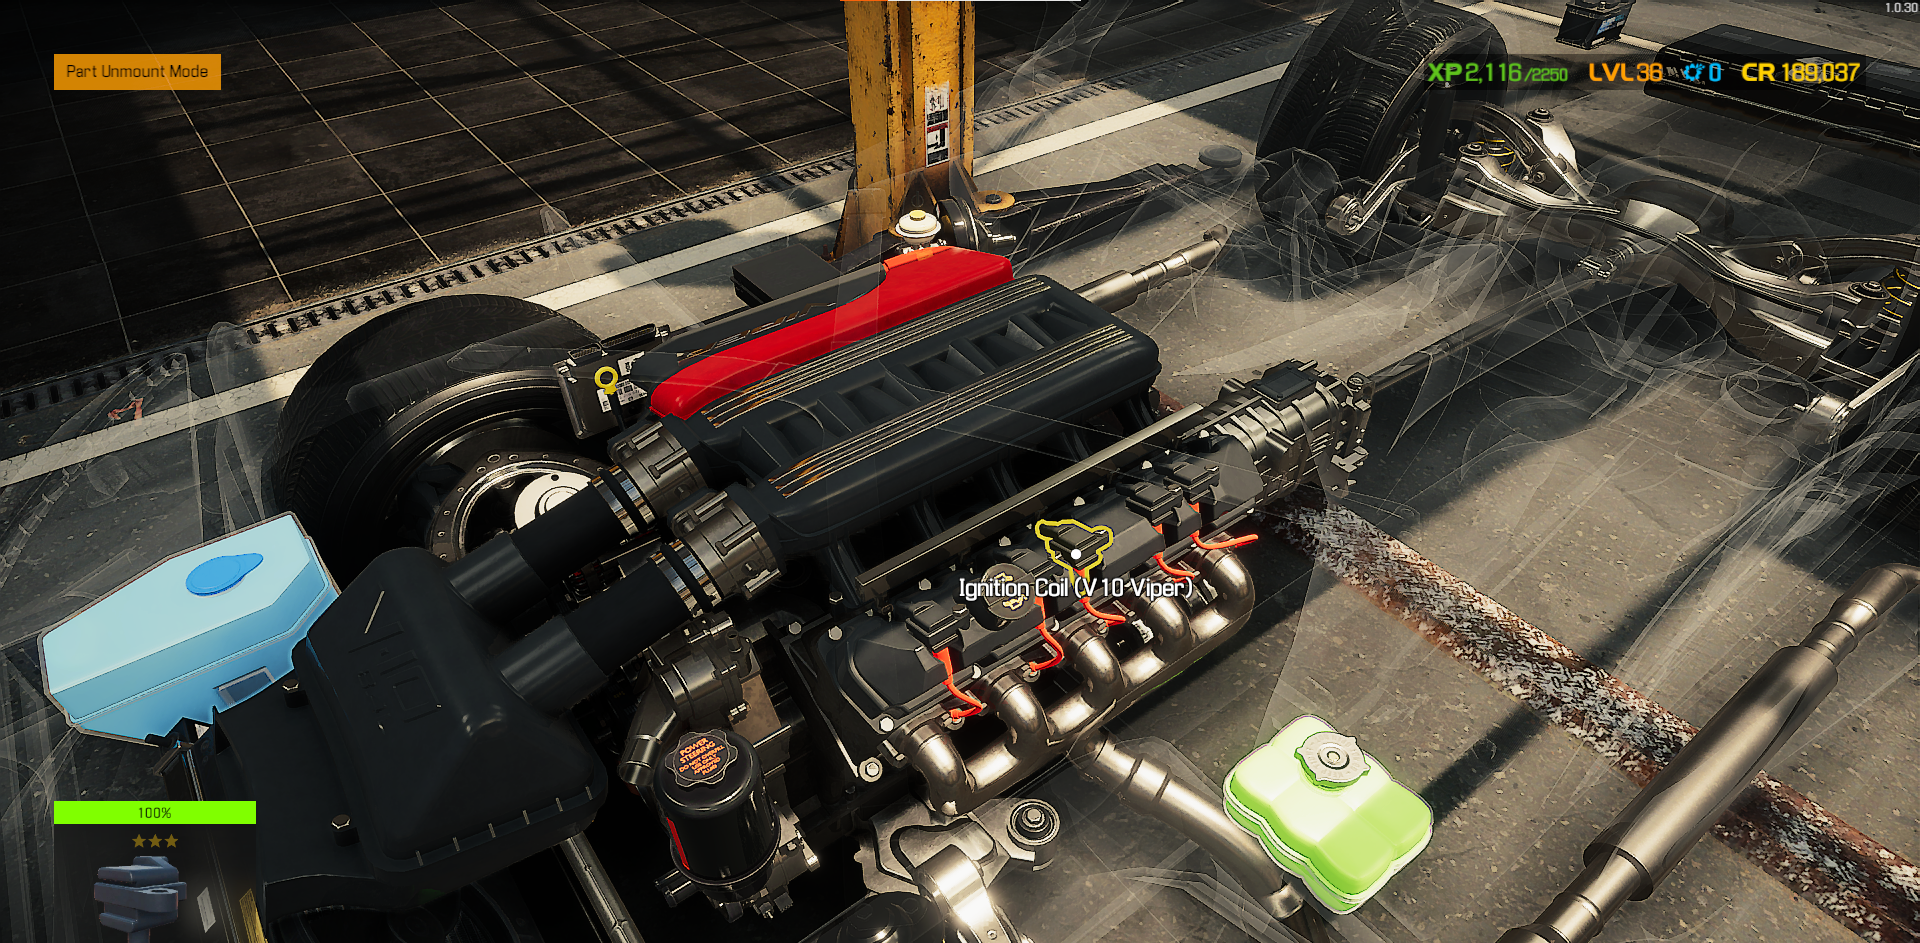
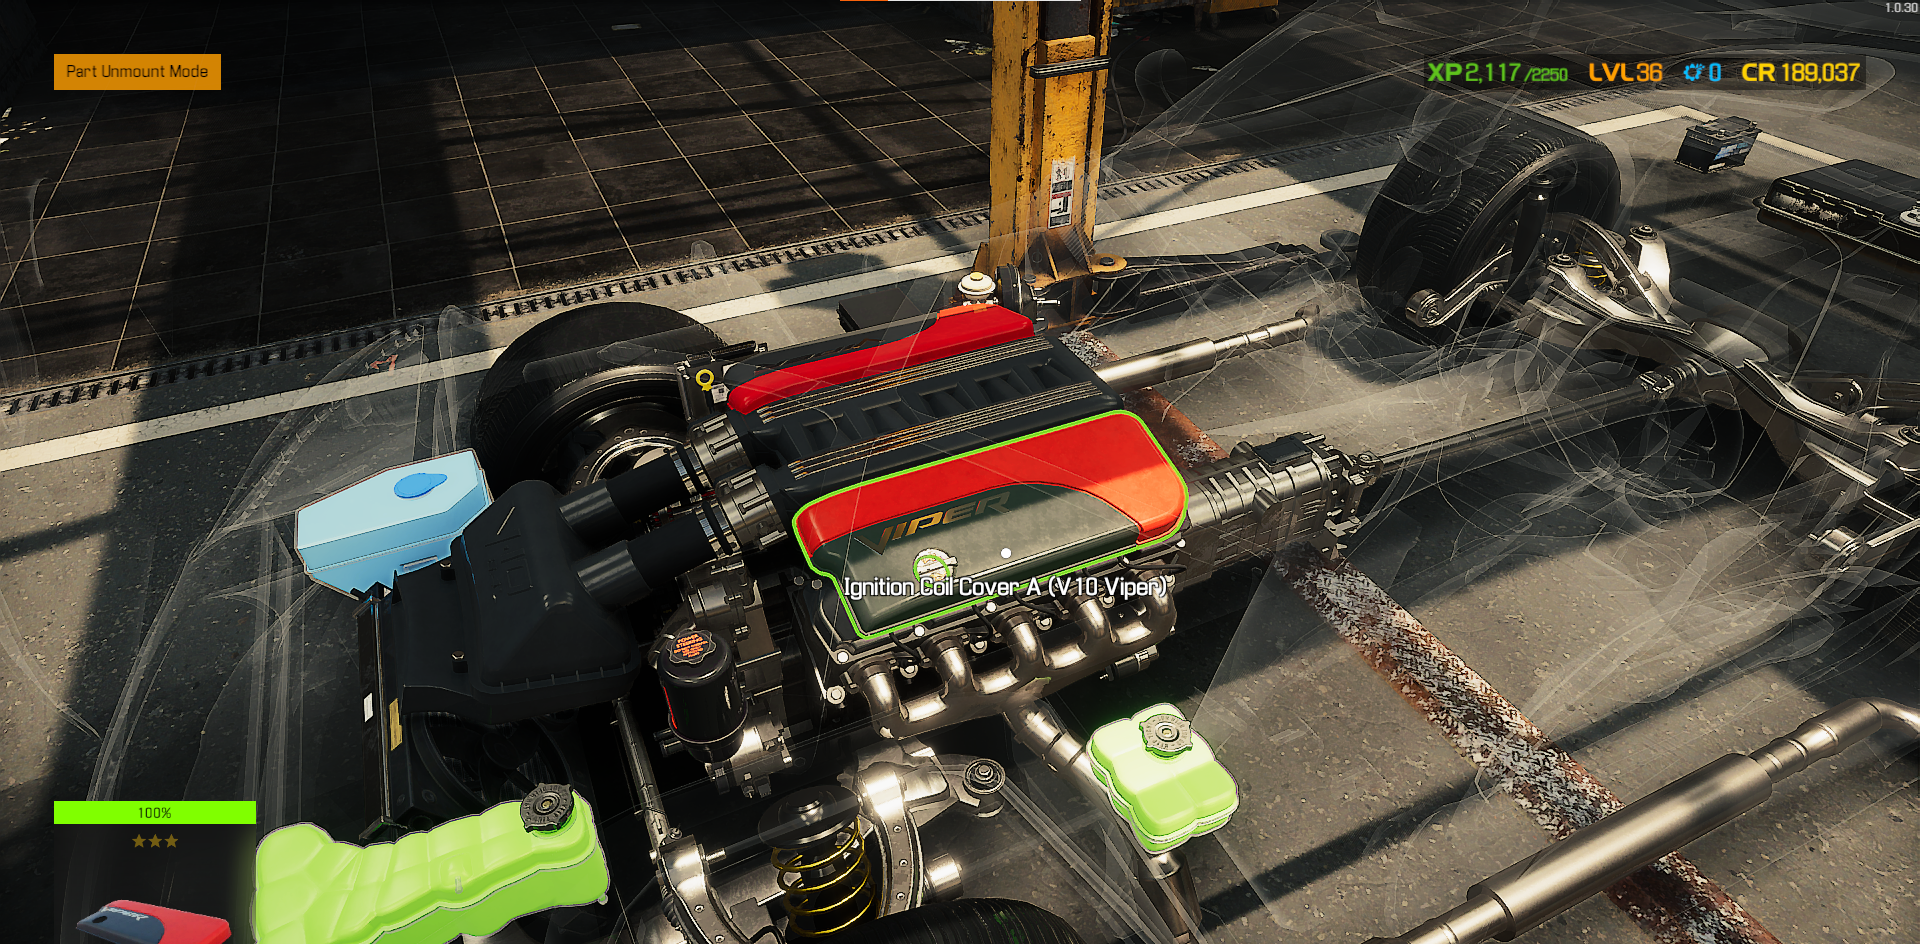
On other engine types, such as V engines, you will find the Ignition Coils in the middle of each Engine Head Cover on the left and right banks of the engine. You might have to remove the Ignition Coil Cover first to reveal the Ignition Coils.
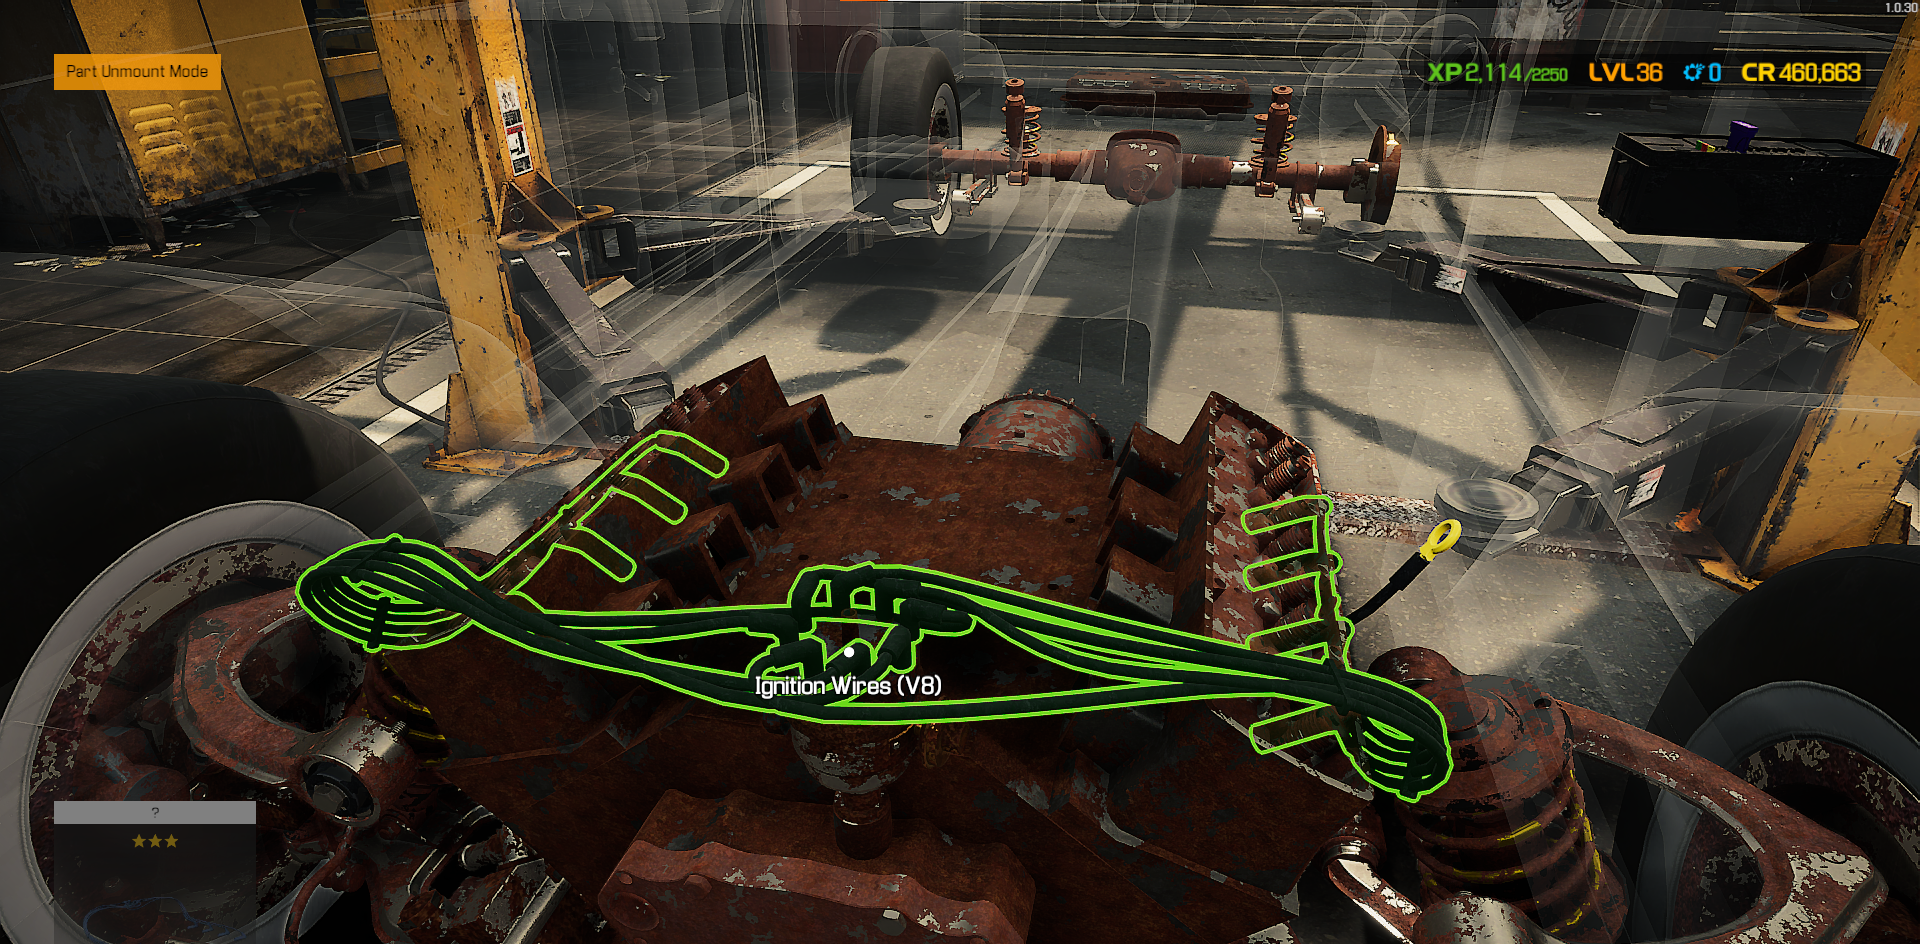
Older vehicles in the game, such as the Car Mechanic Simulator Bolt Cape, will not have Ignition Coils. Instead, you will find a set of Ignition Wires leading to a single Distributor Cap and Ignition Distributor.
How to Change Ignition Coils in Car Mechanic Simulator
To change the Ignition Coils in Car Mechanic Simulator, open the hood and focus on the car’s engine first. While you’re focused on the engine, remove the Engine Head Cover (if the car has one), and the Ignition Coil should be under the cover. Remove the Ignition Coils and replace each one as necessary.
Changing Ignition Coils is easy in Car Mechanic Simulator. The only challenge is finding the Ignition Coils we covered above. After locating the Ignition Coils, remove them from the car to check their condition.
- Open the car’s hood.

2. Focus on the car’s engine.
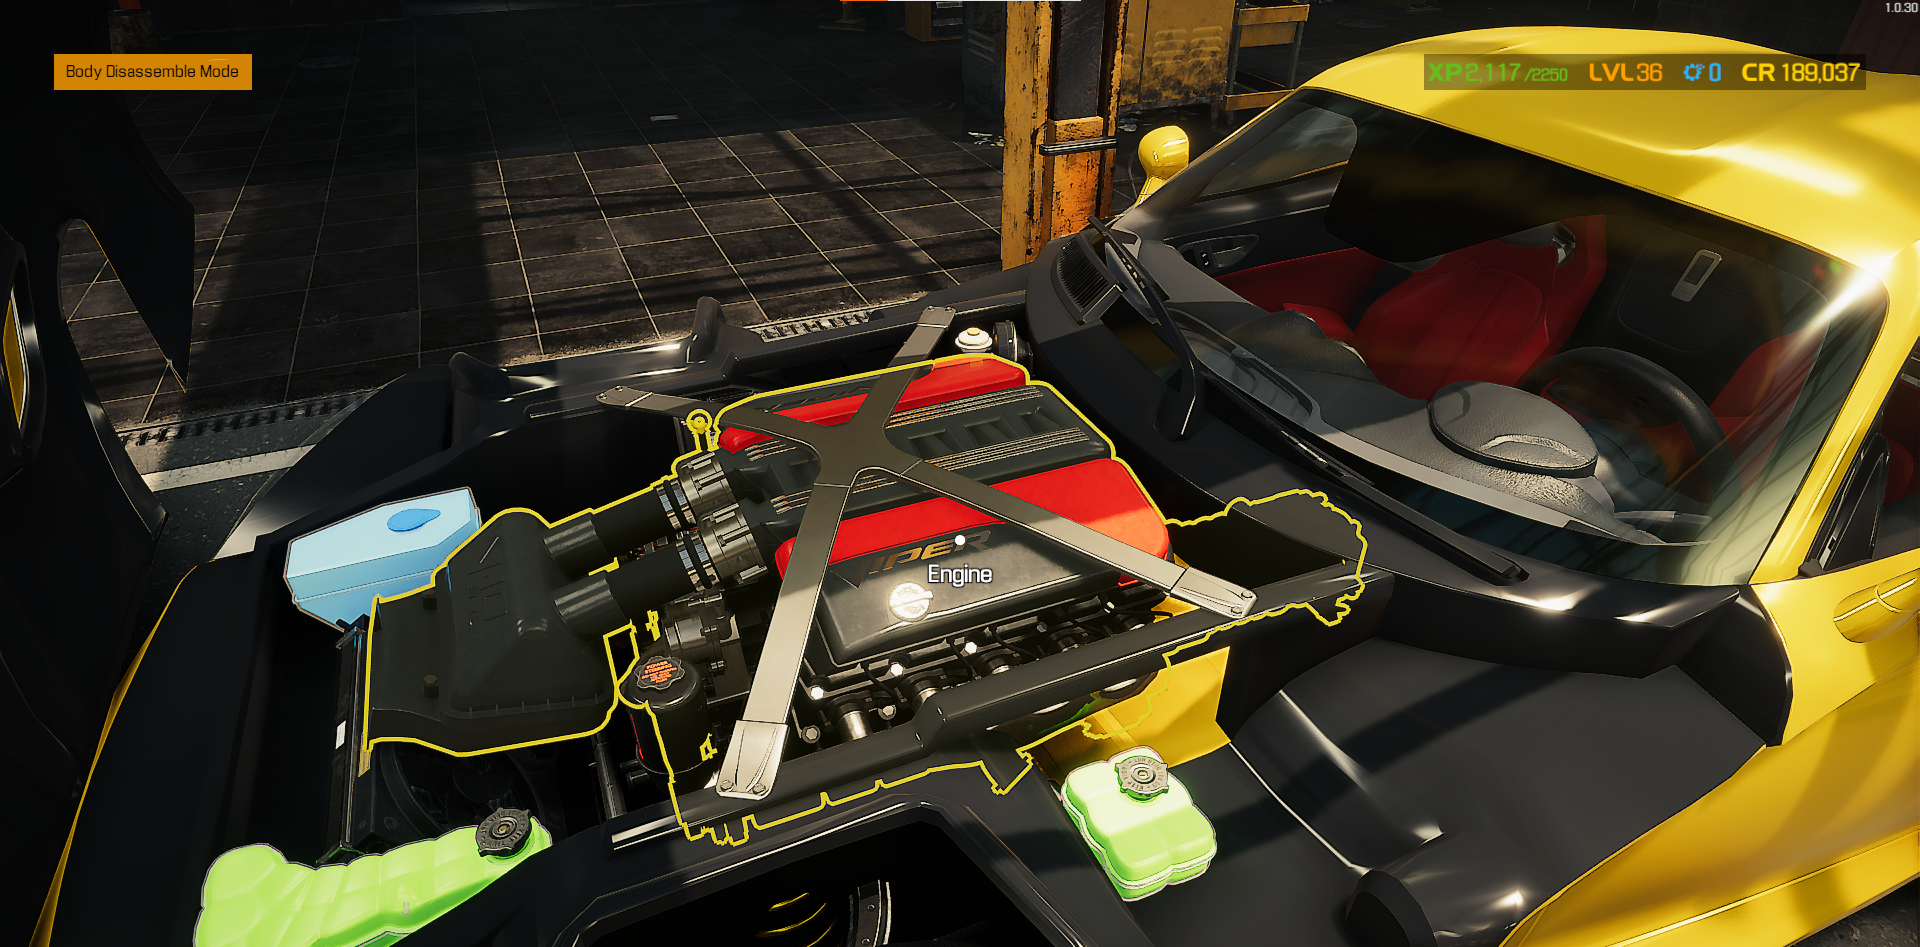
3. Remove the Ignition Coil Cover (if applicable).
4. Remove the Ignition Wires.
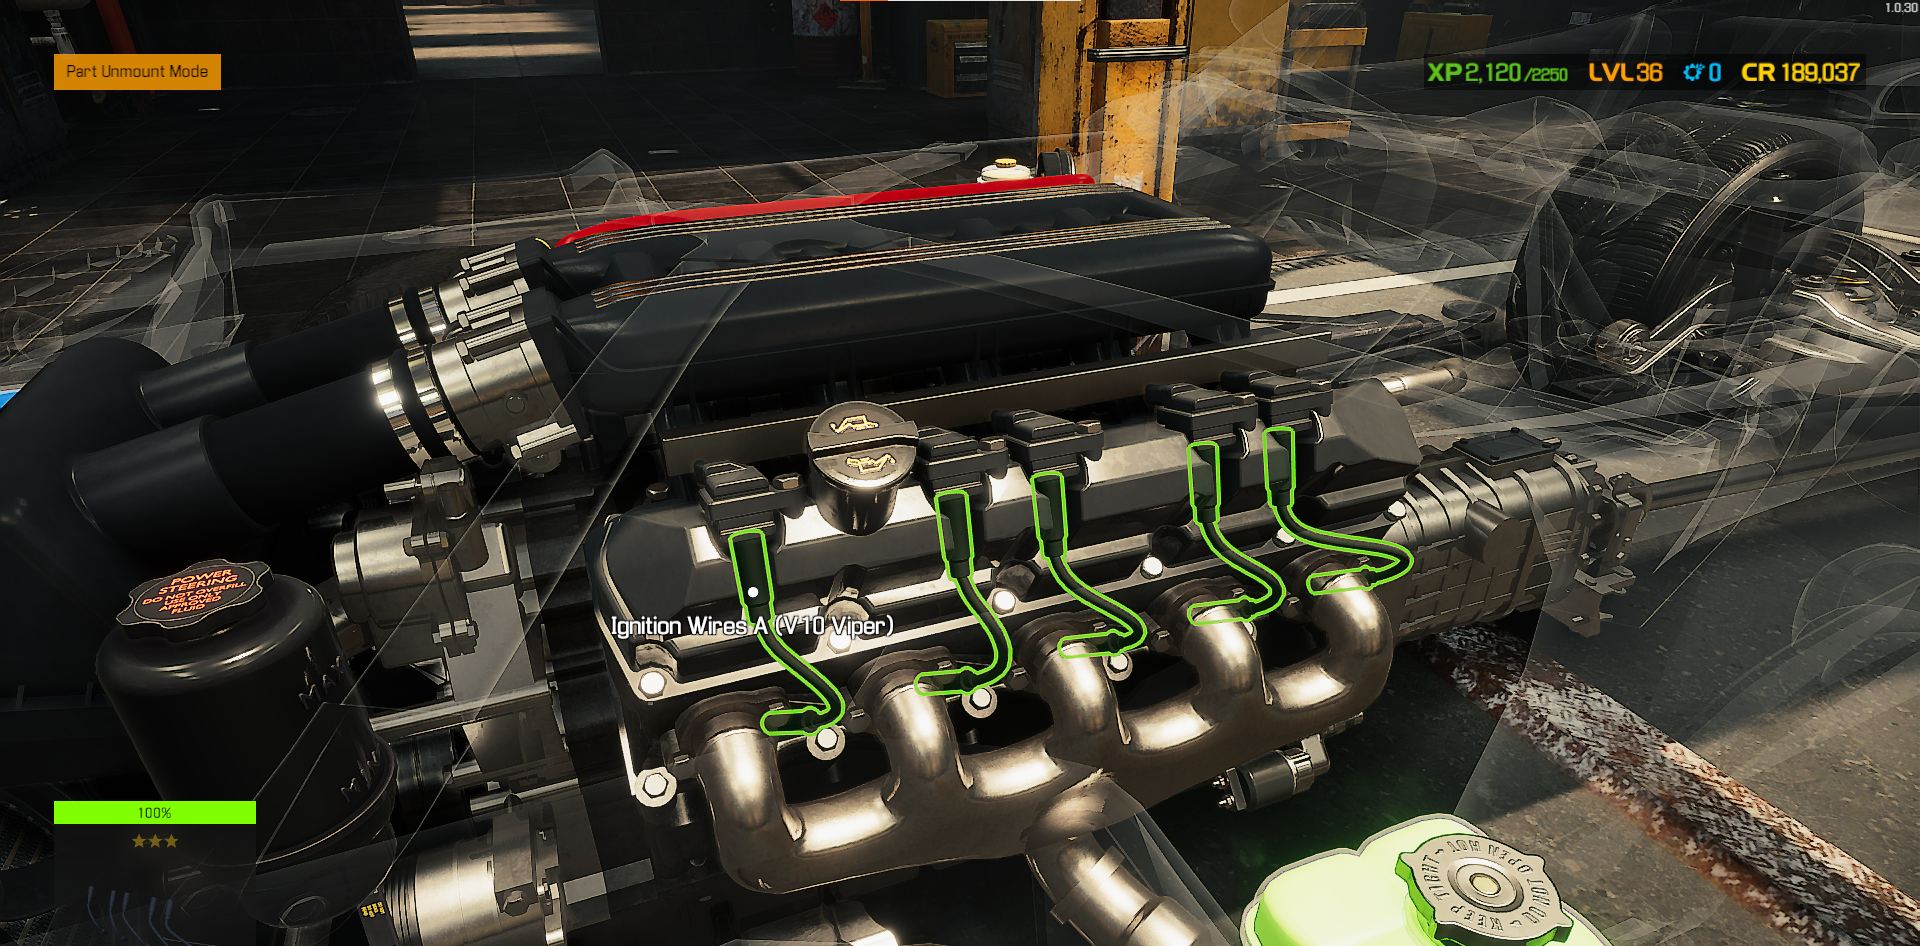
5. Remove the individual Ignition Coils.
Are Ignition Coils Repairable?
You cannot repair Ignition Coils in Car Mechanic Simulator. If your car has faulty Ignition Coils (less than 15% condition), your only option is to purchase new Ignition Coils through the in-game computer or tablet.
Spark plugs are also not repairable in Car Mechanic Simulator, much like in real life.
Final Thoughts
Ignition Coils are hard to miss in Car Mechanic Simulator as these parts are typically located directly above the middle of most cars’ Engine Head Cover. Removing the Ignition Coils is as simple as removing the Ignition Wires and the bolts holding each Ignition Coil to the engine.