This guide will teach you how to play Mona in Genshin Impact!
Mona Megistus is an enigmatic and prideful astrologer and is unique among them. She claims to busy herself with servicing a debt known as “life.” Mona strongly believes that astrologers must rid themselves of material desires. Only by ridding oneself of clutter can one see the world around them. She will, however, vigorously deny being “poor” and explain that her frugal lifestyle is a form of training to access the truth.
Contents
- Character Background
- How to Get Mona
- Team Role and Play Style
- Talents
- Constellation: Astrolabos
- How to Build Mona
- Mona’s Character Ascension
- Mona’s Talent Level-Up Materials
Mona’s Character Background in Genshin Impact
Mona’s astrology utilizes hydromancy, and the principle is that people’s fates shine in the night sky. Though their reflections in the water are an illusion, they nonetheless reveal the truth. Her astrological readings are exceptionally precise, and she will neither lie nor hold anything back when revealing the results of her readings.
The cold, hard truth is laid bare before people’s eyes, complete with all the gruesome details they would rather remain buried. Mona will make no exceptions to this, and as such, she can seem completely lacking in human emotion.

To Mona, that her Vision was sent to her by the gods doesn’t mean much. This is not to say that possessing an external focus for elemental power is useless. Power is always good, but when compared to lofty “truth,” “martial prowess” is a pathetically small concept. The gods, too, are bound by the rules of this world.

Mona seeks the final truth of the world, hidden amidst the sea of stars. As such, she does not revere her Vision, which the people of this world consider to be a sign of divine favor and the source of all power.
How to Get Mona in Genshin Impact
Mona is one of the permanent 5-star characters, so she is always available on the Standard Wish banner and any time-limited Character Event Wish banners. Despite this, it is still not guaranteed that the next 5-star character you get will be Mona, but the chance of getting her is higher than that of the special event characters.

To learn more about acquiring characters in Genshin Impact, please see our guide by clicking this link.
Mon’as Team Role and Play Style in Genshin Impact
With Mona’s elemental burst, she is commonly known as a support character who boosts the damage of the damage dealer of her team. However, look at her entire kit, including her constellations. She can perfectly work as a main DPS character who also increases the overall damage output of the entire team.

Her elemental skill, which creates a Phantom, damages opponents, applies the Wet status, triggers Hydro-related elemental reactions, and taunts the enemies to reduce damage to the entire team.
Mona’s Talents in Genshin Impact

Mon’as Combat Talents in Genshin Impact
Normal Attack: Ripple of Fate
This talent allows Mona to perform up to 4 water splash attacks that deal Hydro Damage.


Holding down the button for this talent will have Mona do a charged attack that deals AOE Hydro Damage after a short casting time. However, using the talent this way will consume a certain amount of Stamina.


Elemental Skill: Mirror Reflection of Doom
This talent lets Mona create an illusory Phantom of Fate from coalesced waterspouts. The said Phantom has the following special properties:

- Continuously taunts opponents, attracting their fire or attacks.
- Continuously deals Hydro Damage to nearby opponents.
- When its duration expires, the Phantom explodes, dealing AOE Damage.
This elemental skill can also be used by holding down the button for it, and doing so will have Mona utilize water currents to move backward swiftly before conjuring a Phantom.
Only one Phantom created by Mirror Reflection of Doom can exist at any time.
Elemental Burst: Stellaris Phantasm
When she uses her elemental burst, Mona will summon the sparkling waves and create a reflection of the starry sky, applying the Illusory Bubble status to opponents in a large AOE.


The Illusory Bubble will trap opponents inside a destiny pocket and make them Wet. This elemental burst effect will also render weaker opponents immobile. When an opponent affected by Illusory Bubble sustains Damage, it has the following effects:

- Applies an Omen to the opponent, which gives a Damage Bonus, also increasing the Damage of the attack that causes it.
- Removes the Illusory Bubble and deals Hydro Damage in the process.
During the duration of the Omen, which the Illusory Bubble applies, the damage taken by those opponents will increase.
Alternate Sprint: Illusory Torrent
This talent modifies the sprint that Mona will do, and with this, Mona will cloak herself within the water’s flow, consuming stamina to move rapidly.


When under the effect of an Illusory Torrent, Mona can move at high speed on water. This alternate sprint will also apply the Wat status to nearby opponents when Mona reappears.
Mona’s Passive Talents in Genshin Impact
“Come ‘n’ Get me, Hag!”
With this passive talent unlocked, after Mona has used Illusory Torrent for 2 seconds, a Phantom will automatically be created if any opponents are nearby. However, a phantom created in this manner lasts for 2 seconds, and its explosion damage equals 50% of Mona’s elemental skill, Mirror Reflection of Doom.
Waterborne Destiny
If this passive talent has been unlocked, Mona’s Hydro DMG Bonus will be increased by a degree equivalent to 20% of her Energy Recharge rate.
With this talent increasing, Mona’s Energy Recharge will surely increase her overall damage.
Utility Passive: Principium of Astrology
Mona’s utility passive is useful when crafting weapon ascension materials. When doing so, you can select her as a crafting companion; you will have a 25% chance to refund one count of one material out of all the crafting materials used.
Mona’s Genshin Impact Constellation: Astrolabos

Constellation Level 1: Prophecy of Submersion
This first level of Mona’s constellation will grant another effect of the Omen inflicted by her elemental burst. With this unlocked, when any of your party members hit an opponent affected by an Omen, the effects of Hydro-related Elemental Reactions are enhanced for 8 seconds. The damage increase is as follows:
- Electro-charged DMG increases by 15%.
- Vaporize DMG increases by 15%.
- Hydro Swirl DMG increases by 15%.
- Frozen duration is extended by 15%.
Constellation Level 2: Lunar Chain
Level 2 of Mona’s constellation is perfect for a damage dealer or DPS type. When this is unlocked, Normal Attack hits will have a 20% chance of automatically being followed by a Charged Attack. This effect can only occur once every 5s.
Constellation Level 3: Restless Revolution
Unlocking the 3rd level of Mona’s constellation will increase her elemental burst, Stellaris Phantasm, by 3 and upgrade the maximum level of that talent to 15.
Constellation Level 4: Prophecy of Oblivion
Prophecy oblivion, the 4th level of Mona’s constellation, will grant another effect to the Omen created by her elemental burst. With this unlocked, when any party member attacks an opponent affected by an Omen, their CRIT Rate increases by 15%.
Constellation Level 5: Mockery of Fortuna
Unlocking the 5th level of Mona’s constellation will increase her elemental skill, Mirror Reflection of Doom, by 3 and upgrade the maximum level of that talent to 15.
Constellation Level 6: Rhetorics of Calamitas
The final level of Mona’s constellation will grant her a boost to her damage the longer she uses her alternate sprint. If this level is unlocked, Mona gains a 60% increase to the DMG of her next Charged Attack per second of movement upon entering Illusory Torrent. A maximum DMG Bonus of 180% can be achieved in this manner. The effect lasts for no more than 8 seconds. The best way to maximize this effect when in combat is to use her alternate sprint and have her summon a Phantom 3 times. After the third Phantom appears, you can stop sprinting and have Mona use her charged attack.
How to Build Mona in Genshin Impact
Elemental DPS Build
As the main DPS who uses a catalyst for a weapon, Mona’s attacks are elemental and deal elemental damage. Since she is a Hydro Vision user, you need to increase her Hydro Damage as much as possible. Prioritizing Hydro Damage on artifacts set should be done, followed by a decent amount of 1,600 – 2,000 ATK.

Thanks to her passive talent, Waterborne Destiny, Mona has another way of increasing her Hydro Damage: to increase her Energy Recharge. You can have her stack up this stat to increase her Hydro Damage. With her elemental burst having a low energy cost of 60, the talent will be available most of the time and will have its cooldown limiting its spammability.

Critical Rate and Critical Damage
These two stats greatly increase the overall damage output of most damage-dealing characters. For Mona, you will still need to reach the ideal number of around 75 – 100%. For Critical Damage, you can focus on this once you have a decent amount of Hydro Damage, ATK, and Critical Rate.
Mona’s Genshin Impact Weapon: Catalyst
Catalyst is Mona’s weapon, and the ones you need to equip her with are ideally the ones with Elemental Damage, Critical Rate, or Critical Damage as their secondary stat. However, all other catalysts increasing her overall damage will work more than enough for her.
5-Star Catalysts
Lost Prayer to the Sacred Winds
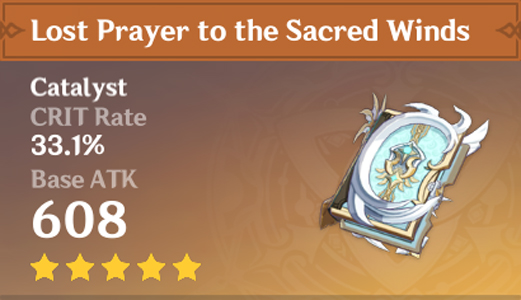
This is another 5-star weapon that is considered the top choice for any DPS character that uses a catalyst. Its secondary stat is Critical Rate, making it easier for you to achieve the ideal amount of the said stat.
The Lost Prayer to the Sacred Winds is also best for a play style where you keep the character on the field and rarely switch to other characters. This is because of the elemental damage bonus given by the weapon’s Boundless Blessing passive effect, which can only be gained if the character stays on the field for at least 4 seconds. If that character leaves the field, let’s say you switched to another character even for a moment; the bonus will be removed or canceled.
Kagura’s Verity
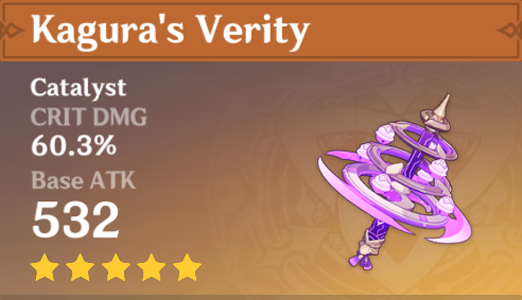
As a 5-star weapon, this catalyst has a higher Base ATK than the lower rarity ones. Its secondary stat is Critical Damage, which allows you to prioritize building Critical Rate and ATK to reach the ideal amount.
The passive effect of this catalyst is called the Kagura Dance of the Sacred Sakura, and it grants the weapon wielder a Kagura Dance effect when they use an elemental skill. The Kagura Dance effect will temporarily increase the damage of the character’s elemental skill, and this effect can be stacked up to 3. When the maximum stack of Kagura Dance is reached, the weapon user will have an additional increase to all their elemental damage.
Mona can easily trigger a stack of the refinement effect of this weapon based on her play style. Using her elemental skill, the Kagura’s Verity will also gain a Kagura Dance effect. Having the maximum stack of the Kagura Dance of the Sacred Sakura’s effect, Mona’s elemental damage is increased, which also increases the damage of her normal and charged attacks.
Kagura’s Verity is a time-limited 5-star catalyst that was first introduced with the arrival of the game’s 2.5 version. This catalyst can be obtained by making wishes on the Weapon Event Wish Banner only when it is the featured item.
Skyward Atlas
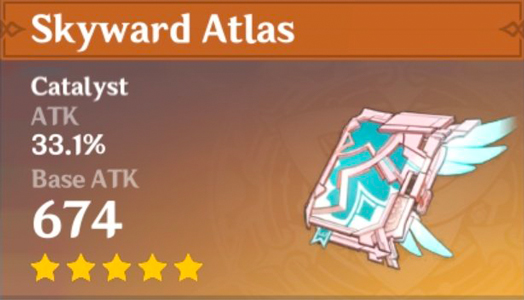
Another 5-star catalyst that Lisa can use is the Skyward Atlas. This weapon can provide a lot of ATK for Mona, thanks to it being the catalyst with the highest base ATK of 674 at level 90, plus the secondary stat of ATK% bonus of up to 33%.
Wandering Clouds is the passive effect of this weapon, which increases the elemental damage of the character using the weapon. This effect also provides the character’s normal attack hits a 50% chance to earn the favor of the clouds, which actively seek out nearby opponents to attack for 15 seconds. This attack deals 160% damage at refinement level 1 but can only be triggered once every 30 seconds.
Memory of Dust

This weapon can increase her overall ATK stat better than the other weapons. However, you need better Critical stats from your artifacts for better damage output.
This weapon’s passive effect also requires you always to pick up an Elemental Shard to have a shield and trigger the additional damage bonus unless you have a shielder on the team with Shikanoin Heizou.
4-Star Catalysts
The Widsith
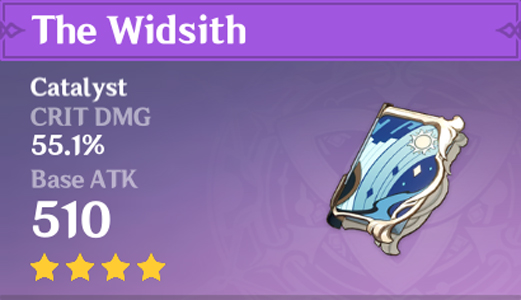
The Widsith is a 4-star catalyst with a secondary stat of a Critical damage bonus. This weapon is popular among those who like to do damage showcase videos because of its passive effect, greatly increasing the character’s damage output.
With the weapon’s passive effect called Debut, when the user wielding this catalyst takes the field, one of three stat boosts will be randomly bestowed to that character. The stat boost can increase ATK, elemental damage, or Elemental Master. However, this effect can only be triggered when switching between characters in the party. Thus, the passive is useless in a coop game setup.
Solar Pearl
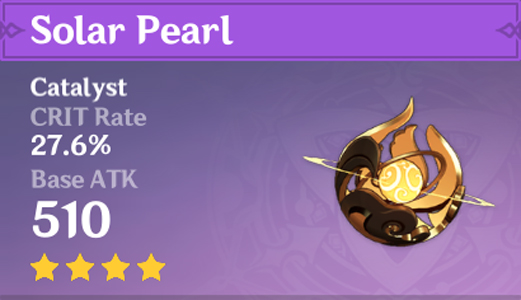
If you are willing to spend real money on this game, you might want to consider purchasing the Battle Pass to unlock one of its weapons: the catalyst, Solar Pearl.
This 4-star weapon has a secondary stat of Critical Rate bonus and its passive effect that works well with Lisa’s playstyle.
With Solar Shine, the weapon’s passive effect, if an elemental skill or elemental burst hits an opponent, the normal attack of the weapon wielder will be increased. Likewise, if a normal attack hits an opponent, the damage of the weapon wielder’s elemental skill and elemental burst is increased.
Blackcliff Agate
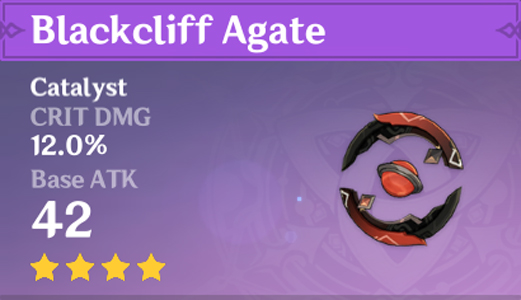
Another 4-star catalyst weapon that can boost Mona’s Critical Damage is the Blackcliff Agate. This weapon is perfect against a group of enemies with weaker opponents because its passive effect, called Press the Advantage, increases Lisa’s ATK for 30 seconds if she defeats one of those enemies. This effect can be stacked up to 3.
This weapon can be purchased from the Paimon’s Bargains shop using 24 Masterless Starglitters.
Dodoco Tales and Eye of Perception
These two 4-star catalysts have the same base ATK and secondary bonus stat of ATK%.
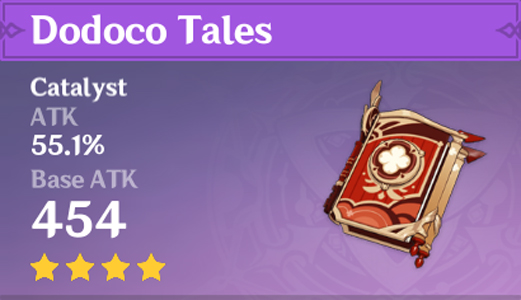
When using Dodoco Tales, Mona’s normal attack hits on opponents will increase the damage of his charged attacks and vice versa.
If you participated in the Midsummer Island Adventure event in the Golden Apple Archipelago during the 1.6 version of the game, you would have a copy and refinement materials of the Dodoco Tales catalyst. It is a weapon exclusive to that event and cannot be obtained anywhere else.
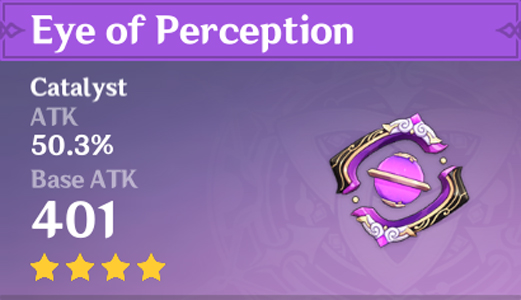
With the Eye of Perception’s (EOP) Echo passive effect, the character’s normal and charged attacks will have a 50% chance to fire a Bolt of Perception that will deal damage as it bounces from 1 to 4 enemies.
The passive effects of these two weapons are pretty easy to trigger based on Mona’s play style as a DPS character.
Mappa Mare
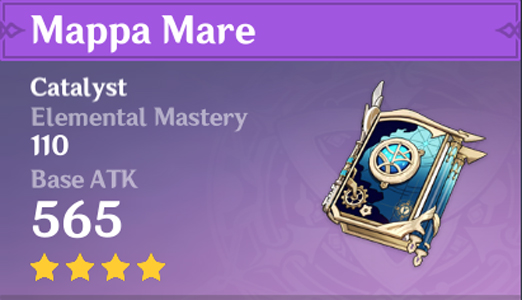
This catalyst is one of the weapons you can craft with the city smithy. With Elemental Master Bonus as its secondary stat, this weapon is good for an elemental reaction-type catalyst user. When the said character triggers an elemental reaction while using this weapon, their elemental damage will temporarily increase.
Increasing Mona’s Elemental Mastery will increase the damage of the Hydro-related elemental reactions she triggers. However, to keep triggering elemental reactions, such as Evaporate and Electro-Charged, characters that apply Pyro or Electro should present in the party with Mona.
Oathsworn Eye and Royal Grimoire
These two 4-star catalysts have ATK% as a secondary stat, which is safe for most DPS characters, including Mona.
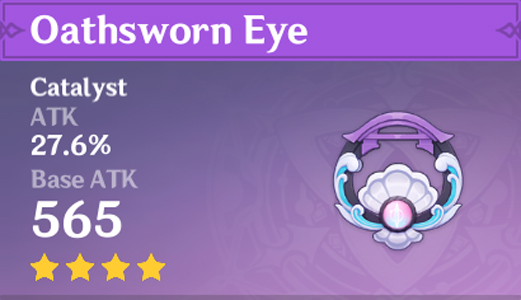
The Oathsworn Eye’s passive effect, People of the Faltering Light, increases the energy recharge of the character for 10 seconds after using an Elemental skill. This effect can make up for the high energy requirement of Mona’s elemental burst talent.
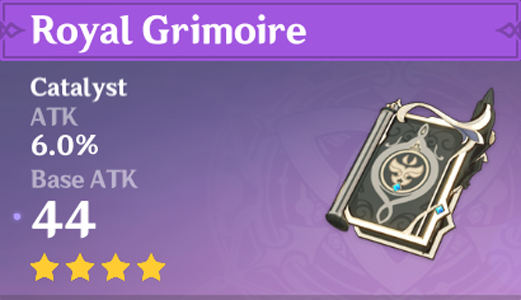
On the other hand, the Royal Grimoire’s Focus passive effect increases the Critical Rate of the character upon dealing damage to an opponent. This effect can be stacked up to 5 times, but once a critical hit has been triggered, all existing stacks of this effect will be removed.
Mona’s Artifacts in Genshin Impact
The artifacts are the main source of stats that greatly affect a character’s build. For Mona, as an elemental damage dealer, the first stat bonus you should look for is the one that boosts his Anemo damage.
4-Piece Sets
Heart of Depth
The 2-piece set of this artifact gives Hydro DMG bonus, and with the 4-piece set, after the character uses an elemental skill, their normal and charged attack damage is increased temporarily.
The 4-piece set effect works well for a DPS-type Mona.
Noblesse Oblige
For a sub-DPS type, you can have the 4-piece set of the Noblesse Oblige because it temporarily increases the entire party’s ATK after Mona uses her elemental burst. The 2-piece set effect increases the damage of the elemental burst, which perfectly fits the support and damager hybrid playstyle.
Wanderer’s Troupe
This artifact gives the character a bonus of 80 Elemental Mastery, making it a good choice if you want to increase Mona’s elemental reaction damage. If four pieces of this set are equipped, the damage of Mona’s charged attacks will also be increased by 35%.
Emblem of Severed Fate
The 2-piece set of this artifact gives a bonus of 20% Energy Recharge, and if four pieces are equipped, the elemental burst damage of the character will be increased by 25% of the character’s Energy Recharge. A maximum of 75% bonus damage can be obtained in this manner.
With the 4-piece set of Emblem of Severed Fate equipped, the higher the character’s energy recharge, the higher the damage of their elemental burst.
A full 4-piece set works well for Mona because a boost to her Energy Recharge will also boost the damage of her Hydro attacks. This also benefits a play style involving spamming her elemental burst.
Shimenawa’s Reminiscence
Since Mona’s play style involves a lot of normal attacks, the 4-piece set of this artifact can be a good choice.
Aside from the 18% increase in Mona’s ATK, when he has 15 or more energy, she will lose 15 more energy after using an elemental skill, but the damage of his normal, charged, and plunging attacks will be increased by 50% for 10 seconds.
Echoes of an Offering
Like the two above, the 2-piece set of this artifact gives an 18% ATK bonus. If a 4-piece set is equipped, when normal character attacks hit opponents, there is a 36% chance it will trigger the Valley Rite buff. This buff will increase the normal attack damage by 70% of the character’s ATK.
Again, with Mona’s play style involving normal attack combos, triggering the Valley Rite buff will not be a problem.
2-Piece Sets Combination
The 2-piece sets of the Noblesse Oblige or Heart of Depth can be combined with 2-piece sets of other artifacts such as Gladiator’s Finale, Shimenawa’s Reminiscence, Echoes of an Offering, and Emblem of Severed Fate.
Artifact Parts’ Main Stat
Make sure to have a Goblet of Eonothem with Hydro Damage Bonus as its main stat for Mona. You can then choose to have either Critical Rate or Critical Damage Bonus for the Circlet of Logos. For the Sand of Eon, you can choose either ATK or Energy Recharge for Mona.
Mona’s Character Ascension in Genshin Impact
What is Character Ascension in Genshin Impact
Each character has a certain level cap depending on their current ascension phase, and a character can ascend to 6 phases to reach the maximum character level of 90. You will unlock passive talents and special ascension stats when you ascend a character to certain phases.
Mona’s Ascension Materials in Genshin Impact
You will need several items to ascend a character, and for Sangonomiya Kokomi, the materials and the amount needed for each ascension phase are listed below.
Mora: 420,000
Mora is Genshin Impact’s main currency unit. It is accepted in all the nations of Teyvat and is used to upgrade weapons, artifacts, talents, and character levels.
Cleansing Heart: 46
A Cleansing Heart is a palm-size dew of eternal water that, despite being diffused among the lake’s depths, its purity remains the same.
A few of these pure water can be obtained by defeating the Oceanid in its lake in Wuwang Hill north of Bishui Plain in Liyue.
Philanemo Mushroom: 168
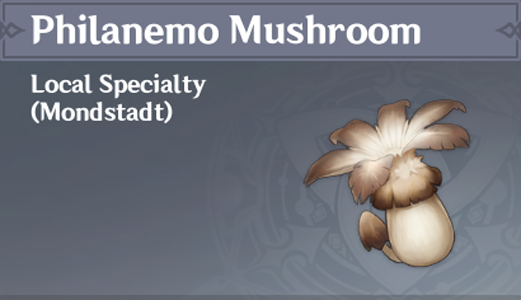
Philanemo Mushrooms are fungi believed to be as everlasting as the wind in nourishing life. They grow in the touch of warm wind and are commonly found under the eaves of houses in the City of Mondstadt, Springvale, and Dawn Winery.
Nectars from Whopperflowers


These are nectars extracted from the stamen of Whopperflowers that have a taste with a hint of Sweet Flower in it and contain trace amounts of elemental energy. Scholars then use them to concur a pure elemental energy syrup.
The amounts needed for each are as follows: Whopperflower Nectar: 18; Shimmering Nectar: 30; Energy Nectar: 36.
Varunada Lazurite


These mineral crystals can be obtained from boss enemies manipulating the Hydro element. Boss enemies include the Hydro Hypostasis, Oceanid, Tartaglia, Childe, and Azhdaha. You can also get these from quest and commission rewards by crafting them using the ones with lower rarity levels.
The amounts needed for each are as follows: Varunada Lazurite Sliver: 1; Varunada Lazurite Fragments: 9; Varunada Lazurite Chunks: 9; Varunada Lazurite Gemstones: 6.
Ascension Phases
Ascension Phase 1
This first ascension will be done after the character reaches level 20, and they cannot proceed to the next level without ascending to the next phase. The character level cap will be increased to 40, and Mona’s first passive talent, “Come ‘n’ Get Me, Hag!” will be unlocked.
Materials:
- Mora – 20,000
- Varunada Lazurite Sliver – 1
- Philanemo Mushroom – 3
- Whopperflower Nectar – 3
Unlocked Talent: “Come ‘n’ Get Me, Hag!” (1st Passive Talent)
Ascension Phase 2
Ascension Phase 2 can be reached at character level 40 and will increase the character level cap to 50. After this ascension, the character’s talents can be upgraded or leveled up. Mona will also unlock a special ascension stat on this phase: the Energy Recharge Bonus of 8.0%.
Materials:
- Mora – 40,000
- Varunada Lazurite Fragments – 3
- Philanemo Mushroom – 10
- Whopperflower Nectar – 15
- Cleansing Heart – 2
Unlocked Special Stat: 8.0% Energy Recharge Bonus
Unlocked Feature: Allows leveling combat talents from 1 to 2
Ascension Phase 3
After reaching level 50, Mona can ascend to ascension phase 3, increasing her character level cap to 60. The 3rd ascension phase will double the Energy Recharge Bonus special stat from 8.0% to 64.0%. Additionally, Mona’s combat talents can increase to level 4.
Materials:
- Mora – 60,000
- Varunada Lazurite Fragments – 6
- Philanemo Mushroom – 20
- Shimmering Nectar – 12
- Cleansing Heart – 4
Unlocked Stat: Energy Recharge Bonus increased from 8.0% to 16.0%
Unlocked Feature: Allows leveling combat talents from 2 to 4
Ascension Phase 4
At level 60, you can ascend Mona to ascension phase 4 and upgrade her character level cap to 70. After ascending, you will unlock her second Passive Talent, Waterborne Destiny, and all her Combat Talents can then be leveled up to 6.
Materials:
- Mora – 80,000
- Varunada Lazurite Chunks – 3
- Philanemo Mushroom – 30
- Shimmering Nectar – 18
- Cleansing Heart – 8
Unlocked Feature: Allows leveling combat talents from 4 to 6
Unlocked Talent: Waterborne Destiny (2nd Passive Talent)
Ascension Phase 5
The 5th ascension phase can be reached when Mona is at level 70, and ascending will increase her character level cap to 80. Her special ascension stat, Energy Recharge Bonus, will be increased to 24.0% at this phase. Mona’s combat talents will also upgrade their level cap from 6 to 8.
Materials:
- Mora – 100,000
- Varunada Lazurite Chunks – 6
- Philanemo Mushroom – 45
- Energy Nectar – 12
- Cleansing Heart – 12
Unlocked Stat: Energy Recharge Bonus increased from 16.0% to 24.0%
Unlocked Feature: Allows leveling combat talents from 6 to 8
Ascension Phase 6
Mona’s final ascension phase is at level 80, and it will increase her character level cap to 90. Her special ascension stat, the Energy Recharge Bonus, will be increased to 32.0%, and her Combat Talents can now be upgraded to the maximum level of 10.
Materials:
- Mora – 120,000
- Varunada Lazurite Gemstones – 6
- Philanemo Mushroom – 60
- Energy Nectar – 24
- Cleansing Heart – 20
Unlocked Stat: Energy Recharge Bonus increased from 24.0% to 32.0%
Unlocked Feature: Allows leveling combat talents from 8 to 10
Mona’s Talent Level-Up Materials
What are the Talent Level-Up Materials for Mona
Aside from Mora and Nectars from Whooperflower, you will need a few Hellfire Butterflies to increase Mona’s combat talents.
Ring of Boreas
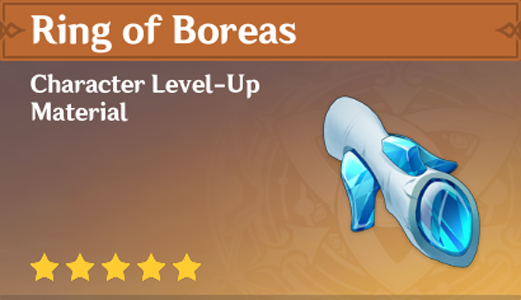
This item is a broken piece of crystallized ice from the Great Wolf King of the North.
This land was once a realm of sub-zero blizzards and ice storms filled with razor-sharp ice shards, all at the command of Boreas. Though its powers may have diminished, flash-freezing the land is still a breeze.
You can obtain a few of these after defeating Andrius Lupus Boreas, Dominator of Wolves in Wolvendom.
Talent Level Book: Resistance


The talent books you will need for Noelle to master her combat capabilities are the ones of the “Resistance” series, which you can obtain from the Forsaken Rift Domain of Mastery: Frozen Abyss in Mondstadt.
These books include The Teachings of Resistance, Guide to Resistance, and The Philosophies of Resistance. The last two can be crafted using the crafting bench in the town.
Crown of Insight
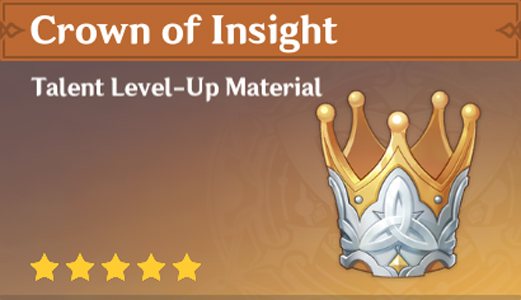
Leveling a combat talent up from level 9 to 10 will need a Crown of Insight, a special item that can only be obtained as a reward from the game’s events.
- Mora: 1,652,500
- Whopperflower Nectar: 6
- Shimmering Nectar: 22
- Energy Nectar: 31
- Teachings of Resistance: 3
- Guide to Resistance: 21
- Philosophies of Resistance: 38
- Ring of Boreas: 6
- Crown of Insight: 1