When Genshin Impact rolled out Inazuma this summer, players were excited to explore the islands of this brand-new ocean region. However, when many players experience the frustrating weather on Yashiori Island for the first time, they find that their enthusiasm for adventure is dampened.
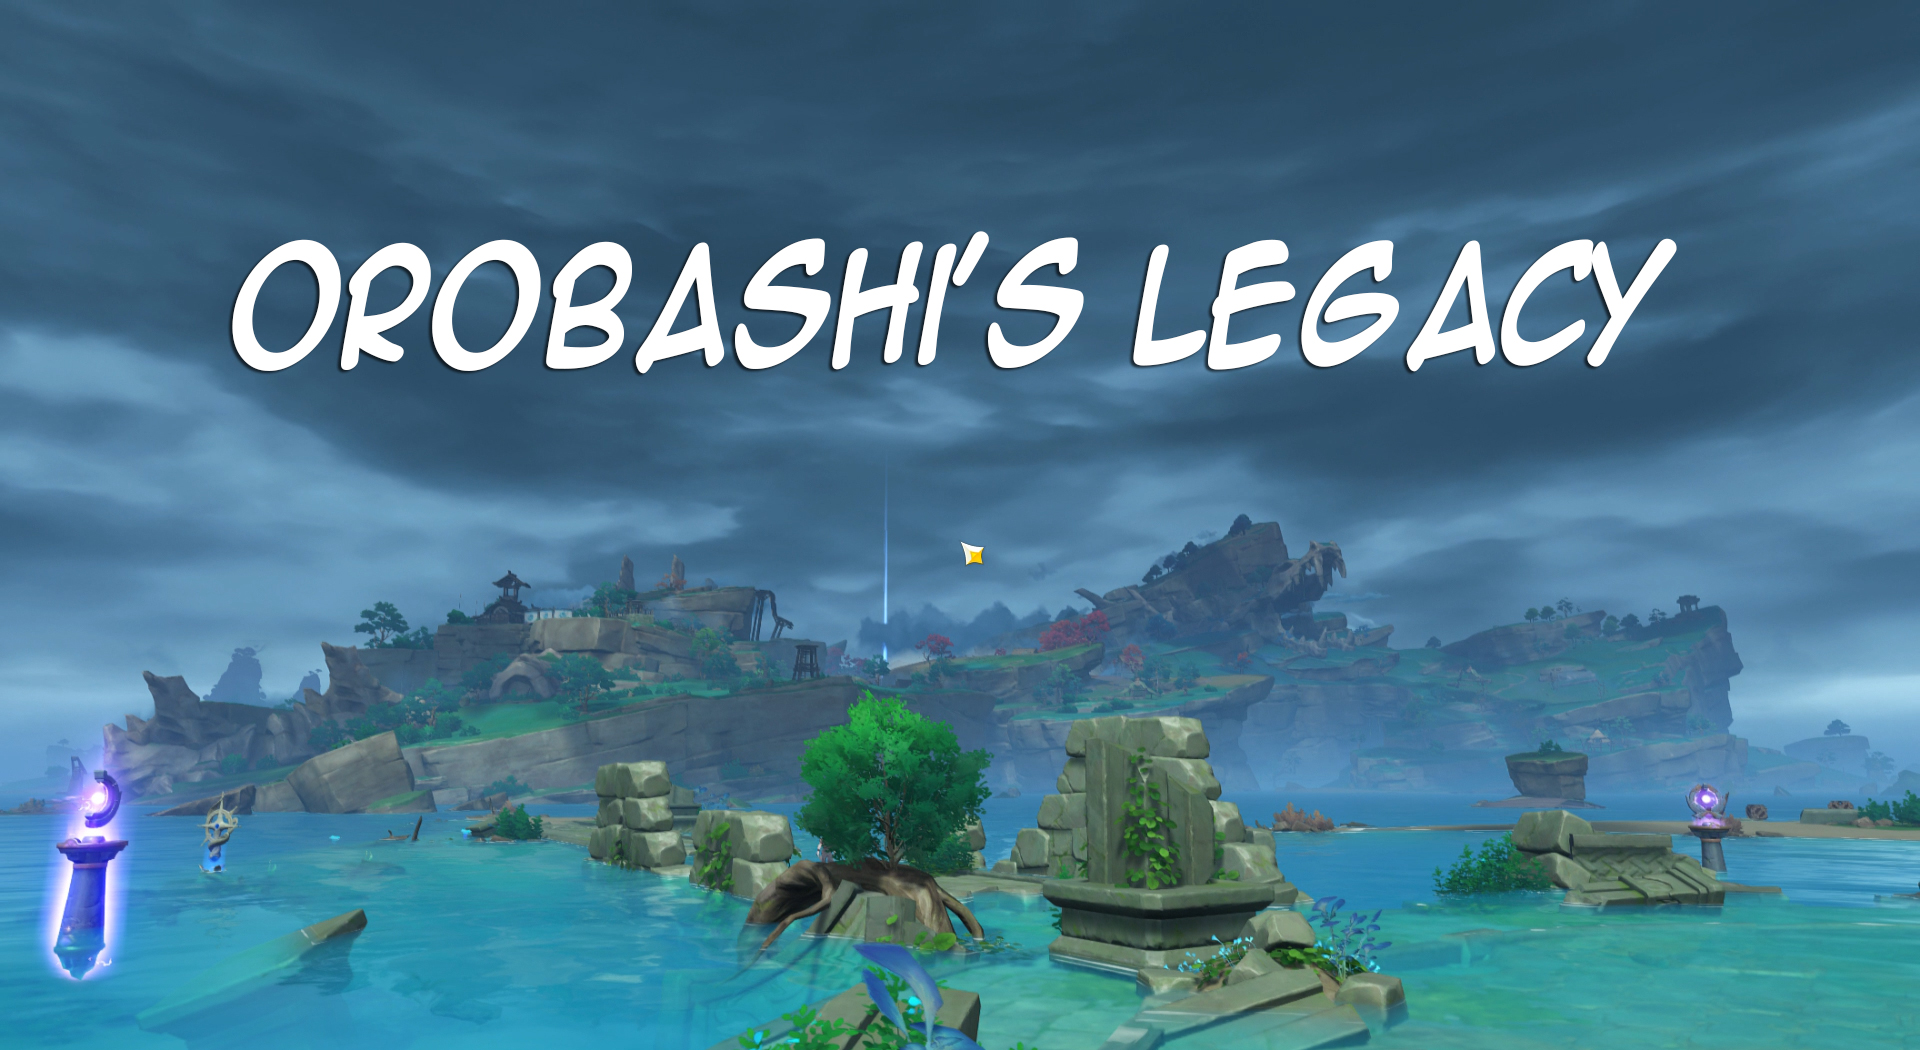
The constant rain on the island causes a permanent wet status while random lightning strikes can interrupt your attacks or even kill your character.
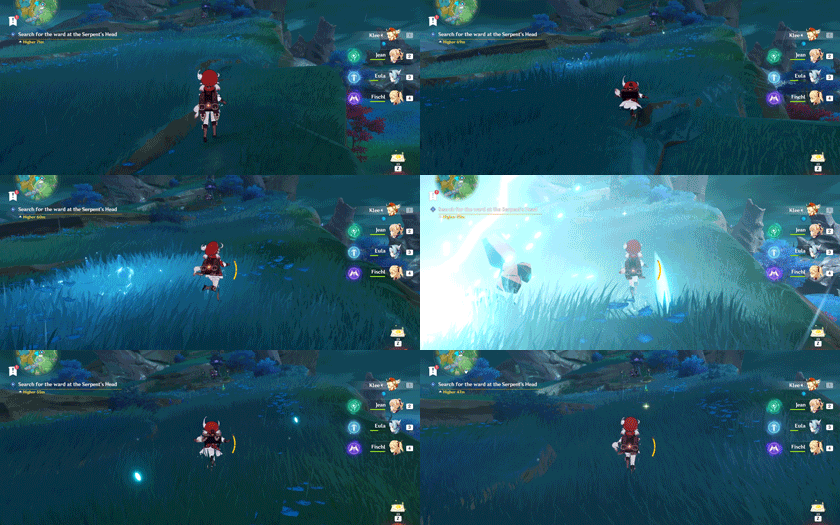
Stopping this abnormal weather is the key to unlocking one of the domains in Inazuma. This quest will also reward you with the blueprint for one of the Amethyst Weapon Series or the Inazuma signature weapons that you can craft.

Unlike Dragonspine’s Subzero Climate, the storm in Yashiori Island can be stopped.
First, you need to go east of Fort Fujitou and talk to an NPC named Kaji. A World Quest icon on the map will make him easy to locate.

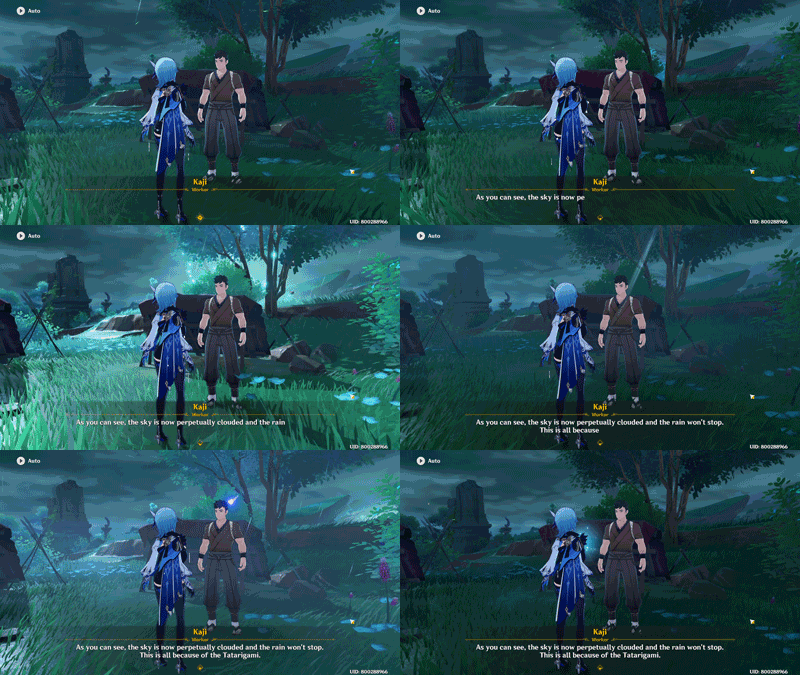
Kaji believes that the awful weather on the island is due to the destruction of the island’s wards. If you cannot fix the wards, he suggests you leave the island for your own safety.
This conversation will start the Orobashi’s Legacy questline.
First Ward: Musoujin Gorge
When you check the first ward, you will find that it is missing some parts. Use Elemental Sight to find a ruin with a Hydro dome barrier.

Jintoubans inhabit the ruins, so you’ll have to defeat them before trying to figure out how to remove that protective barrier.
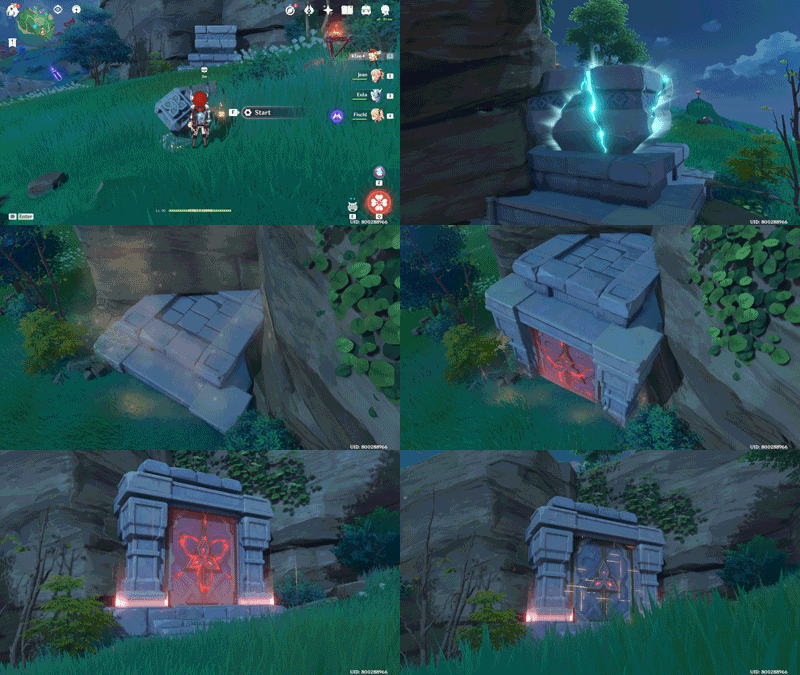
The pillars surrounding the ruins are mechanical devices that suppress Tatarigami power. One of these is a Sacred Stone Mound that shoots an electrical current when you strike it. All the other devices are Thunderbearer Mirrors that redirect the electrical current.

Adjust these devices to channel the electrical current toward the Hydro barrier to destroy it.
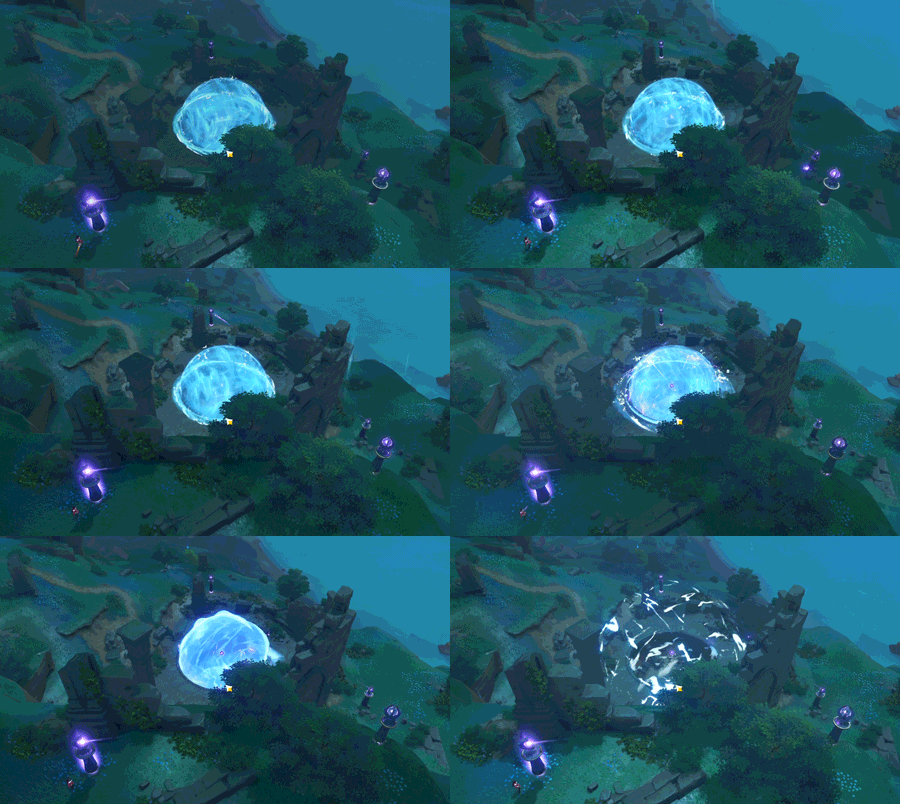
Pick up the floating Musoujin Gorge: Rock Pillar Pearl and the Musoujin Gorge: Rock Pillar Warding Stone below.

You’ll find a Dancing Thunder Nobushi resting right next to the Warding Stone. You can fight it if you want or just pick up the stone and be on your way.

Bring the pearl and stone to the ward to fix it, and the sky around Musoujin Gorge will clear up.
Talk to Kaji and he will ask you to also fix two more wards, one at the Serpent’s Head and another at Jakotsu Mine.
Second Ward: Serpent’s Head
The second ward is located at the Serpent’s Head and Kaiji will mark the location for you.
A Dancing Thunder Nobushi is resting at this ward, so be prepared to fight. There is a storm in the area, so this enemy’s Electro elemental affinity can be your friend or foe.

After defeating the enemy, use Elemental Sight and follow the elemental energy to a hole on the ground just a little to the right of the ward.

Before going down the hole, summon an Electrogranum because you will need to get through a Thunder Barrier to activate one of the mechanisms.
You will then need to defeat three Ruin Destroyers and solve a little puzzle. Completing these challenges will open a cage further underground.

As you descend you will come across a Seelie. Follow it, and you will find the Warding Stone in front of a waterfall.

You can continue following the Seelie to exit the underground cave.
The Serpent’s Head: Rock Pillar Pearl is located on the opposite side of the cave. Go back to the ward and use Elemental Sight.

The flowing energy will lead you to a cliff with the same Hydro barrier and mechanical devices like you saw in Musoujin Gorge. Solve this puzzle to remove the barrier protecting the pearl.
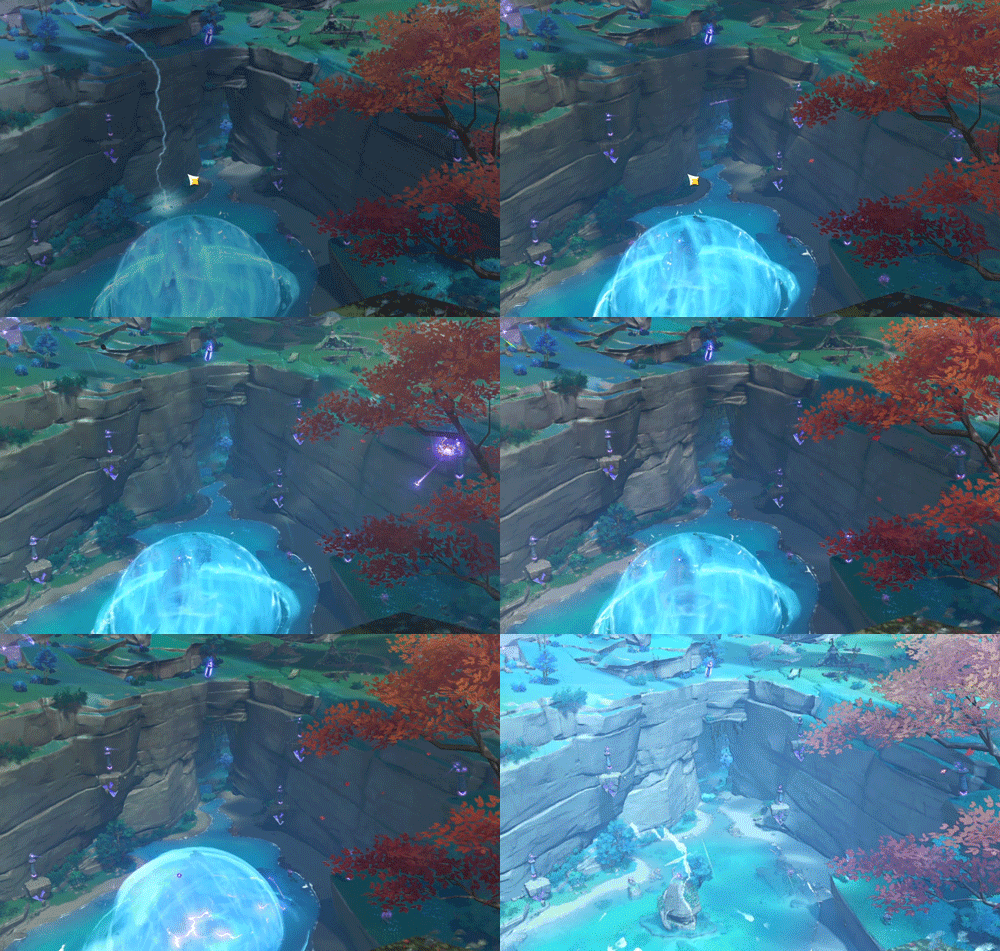
Place the pearl and the stone into the ward to fix it and clear the storm in Serpent’s Head.
Third Ward: Jakotsu Mine
The third location is the Jakotsu Mine. The ward itself is sealed off by another Hydro barrier.

Repeat the same steps used to repair the other wards. Adjust the Sacred Stone Mound and the Thunderbearer Mirrors to destroy the barrier.
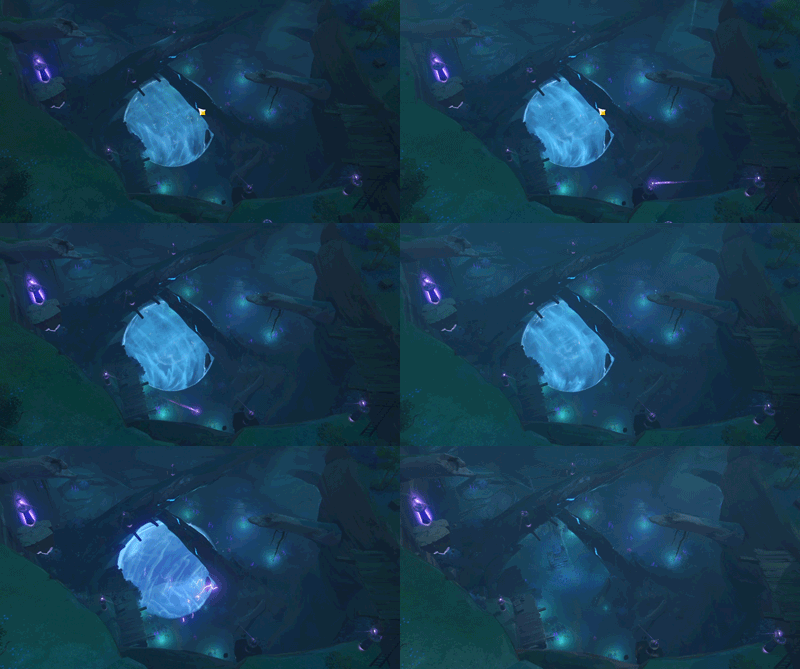
Use Elemental Sight again to find the pearl and stone.

The warding stone can be found in a little area near the cave’s ceiling. You can use the Electrogranum and Thunder Sphere in the area to help you glide up.

After collecting the warding stone, go back to the ward and use Elemental Sight again to discover the direction of the warding pearl.

You will go through the cave out to a water-logged cave with a Thunder Barrier. Near it is an Electro Abyss Mage that you have to defeat.

When you deactivate the Thunder Barrier, three more Hydro Abyss Mages will spawn, so be prepared for battle.

Once again, head back to the ward and use the parts to fix it, stopping the storm around Jakotsu Mine.
Final Ward: Fort Mumei
After fixing the wards in all three locations, return to Kaji. He is now at Fort Mumei, west of Fort Fujitou. Kaji will tell you that Fort Mumei has suddenly risen up from the sea.
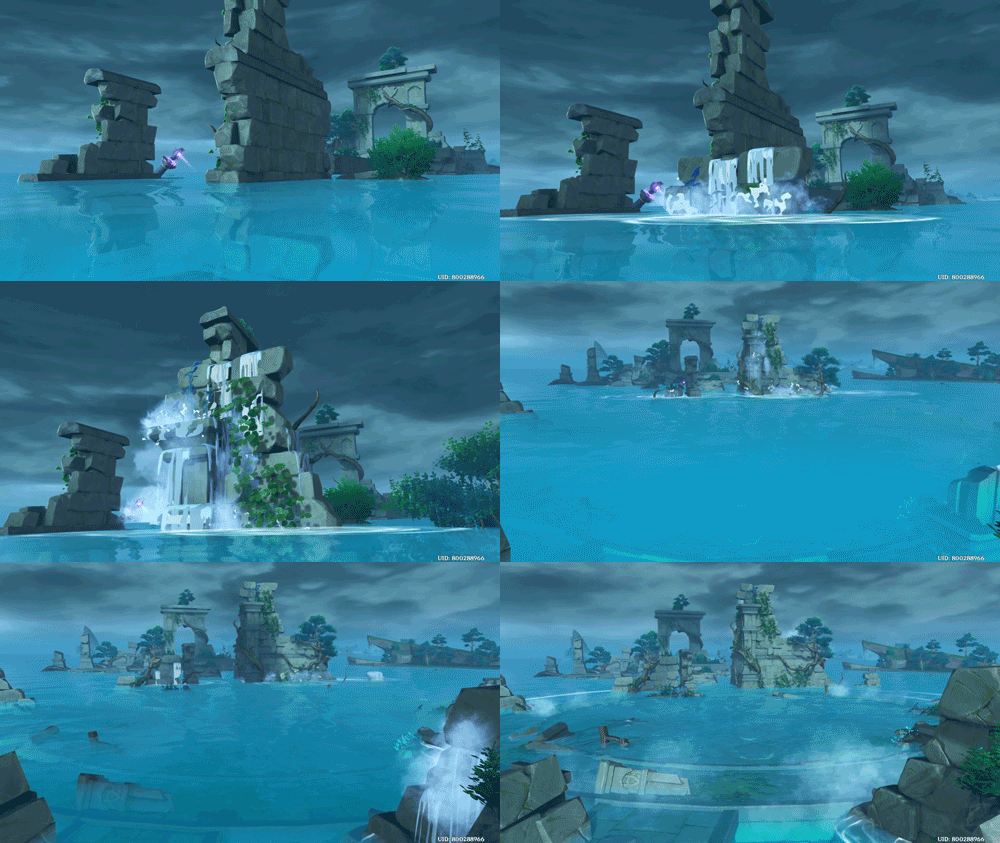
You’ll find that another Hydro barrier blocking the ward with a Maguu Kenki next to it. Solve the puzzle again to break the Hydro barrier.

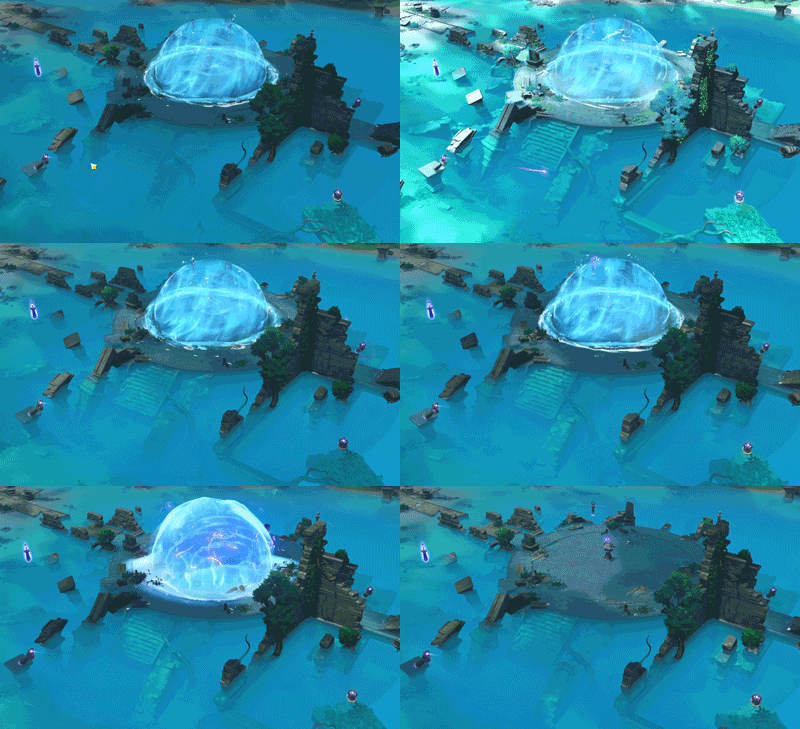
You’ll have to defeat the Maguu Kenki to put the warding pearl and warding stone back in place.
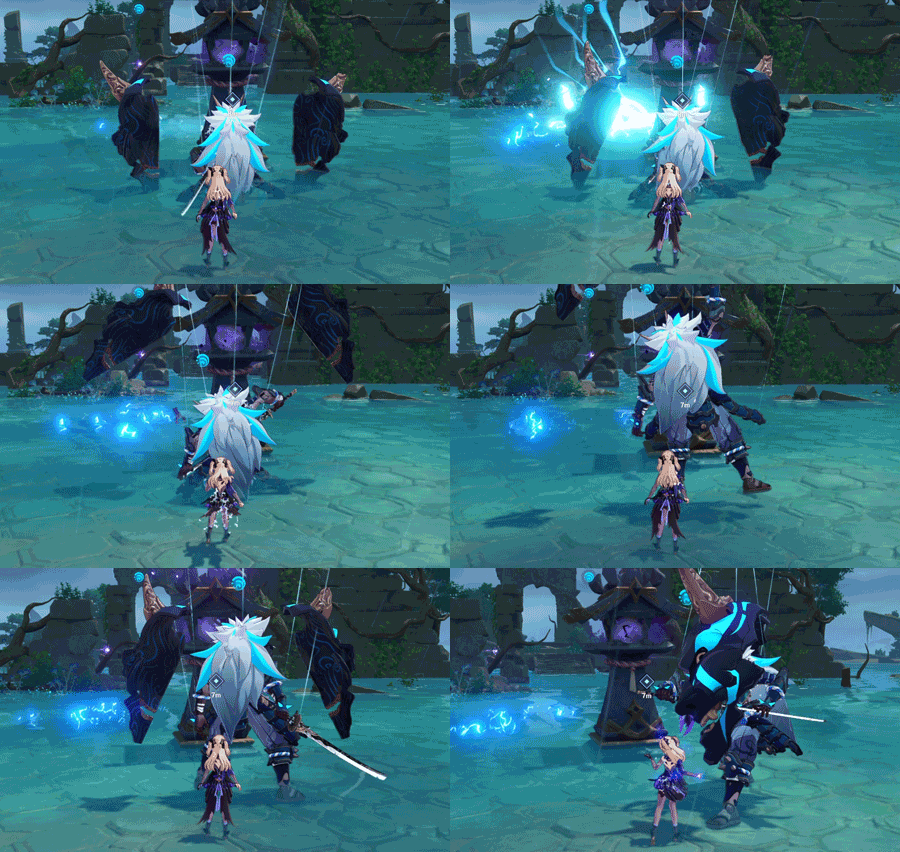
Now that you have fixed all the wards and the weather in Yashiori Island has improved, Kaji will give you a drawing of a famed spear used by the Yashiori Guardians.

It is a blueprint used to craft the Kitain Cross Spear, which is one of the Amethyst Weapon Series and Inazuma signature weapons.


Unlocking the Formation Estate Domain

This special domain is located at Serpent’s Head in Yashiori Island. It can only be unlocked after stopping the thunderstorm because the puzzle involves light torches.

In this domain, you’ll see a sealed mechanism. You’ll also notice a Seelie floating above a torch a little farther away. Pay attention to this little creature as it moves from one torch to another. You have to light the four torches in the same order.
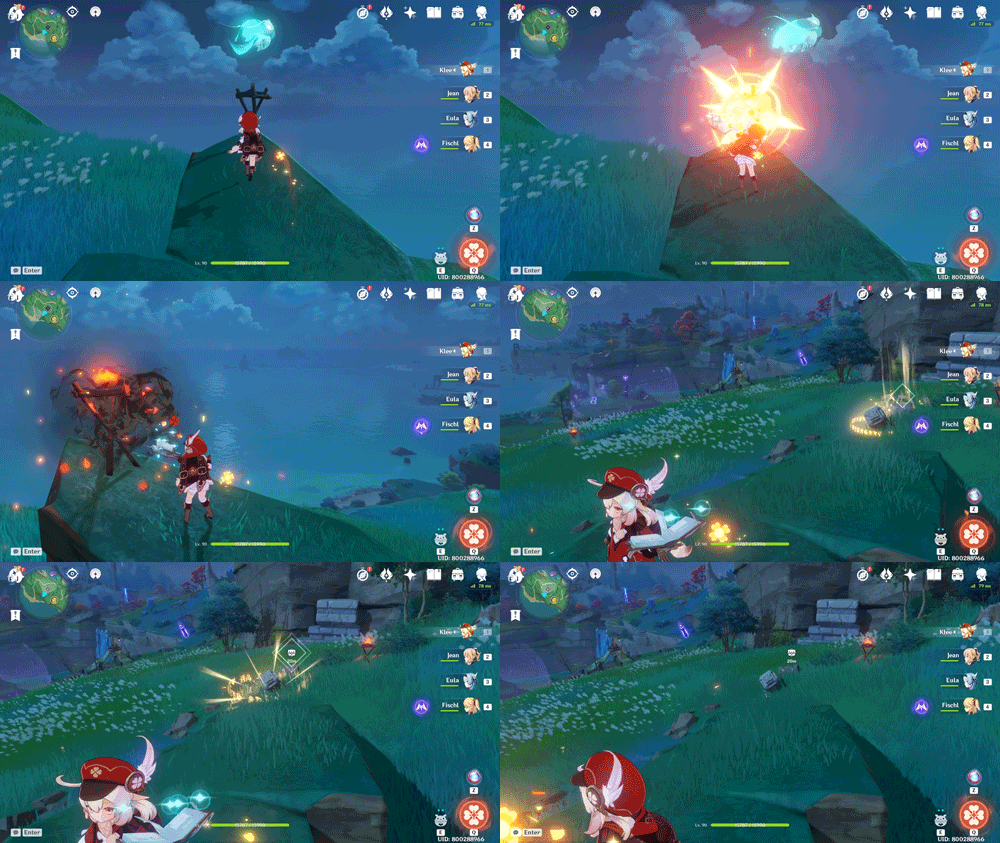
When the torches are lit in sequence, the seal around the mechanism will be removed and you can activate it to reveal the domain’s door.
