

One of the Shrines in The Legend of Zelda: Breath of the Wild is the Jee Noh Shrine or the On the Move. This Shrine requires Link to get glowing orbs from or use conveyor belts to their glowing orb sockets to traverse the Shrine. This Shrine may seem confusing and intimidating, but this Shrine is fairly easy to complete, and in this guide, you will learn how to complete the Jee Noh Shrine, obtain the chest inside, and claim the Spirit Orb.
Link will be rewarded with Spirit Orbs for completing Shrines. The Spirit Orbs obtained can be exchanged for more Heart Containers or Stamina Vessels. As there are 120 Shrines all over Hyrule, Link can get 120 Spirit Orbs. You can decide whether you want Link to have more Hearts or Stamina.
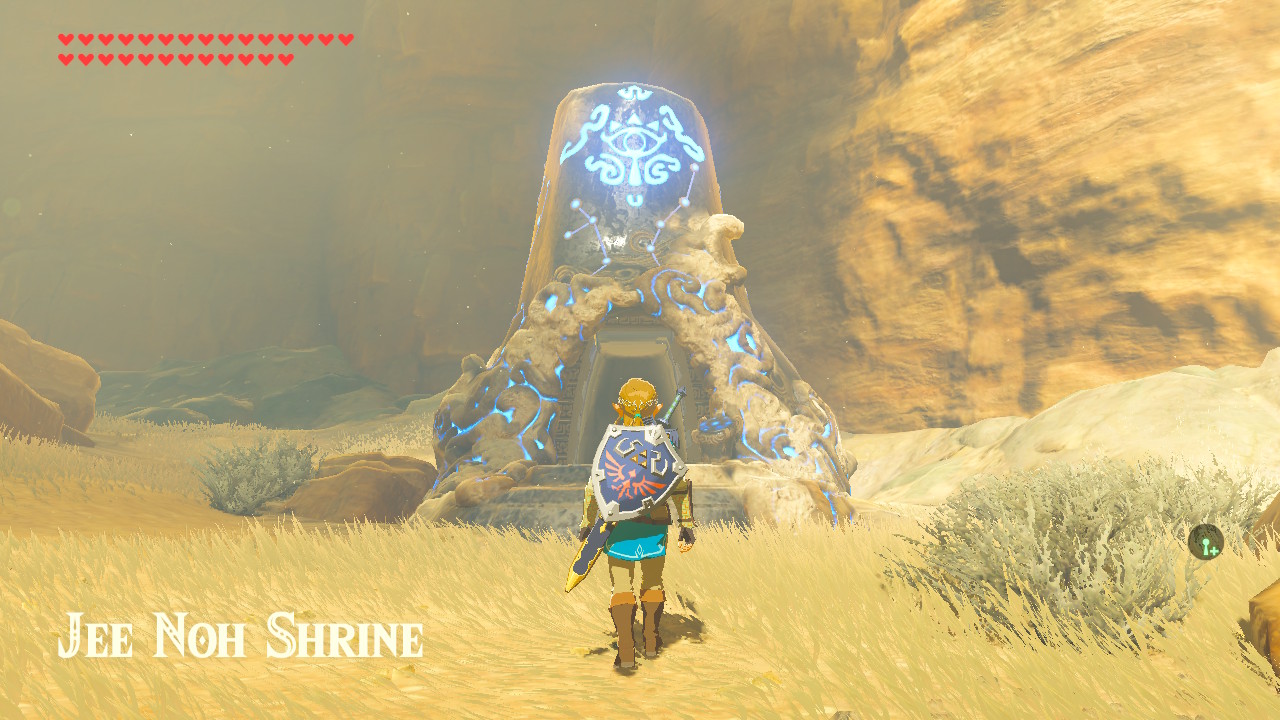
Location

The Jee Noh Shrine can be found near the edge of the cliff east of Wasteland Tower and Gerudo Canyon (the Shrine is south of Mount Nabooru and the Gerudo Canyon Pass or southwest of Mount Hylia in the Great Plateau region). The Jee Noh Shrine is one of 12 shrines in the Wasteland Tower region.
On the Move

Before descending on the Shrine, make sure that Link has enough bows and arrows to help make puzzles easier to solve.
Upon entering the Jee Noh Shrine, just ahead of Link, you will see a gap and a long conveyor belt that is going to the right with a glowing orb rolling along with the conveyor belt, just ahead of the conveyor belt but a little bit lower is the glowing orb socket, and on Link’s right side is a closed entryway.
To complete the Jee Noh Shrine, this is what Link must do:
- First, go near the conveyor belt, press the up directional button, select the Stasis Rune ability, and press the L button to aim the Stasis Rune ability.
- Next, wait for the glowing orb to align with the glowing orb socket. Once that happens, quickly aim at the glowing orb and press the A button to activate the Stasis Rune ability on it.
- Then, quickly shoot at least one arrow to the frozen glowing orb (make sure the Stasis Rune’s arrow is pointing towards the direction of the glowing orb socket) before the timer for the Stasis Rune ability runs out.
- After the timer for the Stasis Rune ability runs out, the glowing orb will veer off the conveyor belt and fall to the glowing orb socket. Once the glowing orb is in the orb socket, the entryway on the right side of the Shrine will be opened. Go through the entrance to continue to the next part of the Shrine.
- On the next part of the Shrine, you will see another gap and another long conveyor belt going to the right with a glowing orb rolling along with the conveyor belt, but this time, it is accompanied by two weak Guardian Scouts. There is also a glowing orb socket just ahead of the conveyor belt but a little bit lower, and another closed entryway on the left side of the room. Defeat the Guardian Scouts first by shooting arrows at them to eliminate the nuisance. Do not worry if the glowing orb reaches the end of the conveyor belt, as another one will roll out from its left side.
- After that, press the L button to aim the Stasis Rune ability, wait for the glowing orb to be in line with the glowing orb socket, then, once that happens, quickly aim at the glowing orb and press the A button to activate the Stasis Rune ability on it.
- Then, quickly shoot at least one arrow to the frozen glowing orb (make sure the Stasis Rune’s arrow is pointing towards the direction of the glowing orb socket) before the timer for the Stasis Rune ability runs out.
- After the timer for the Stasis Rune ability runs out, the glowing orb will veer off the conveyor belt and fall to the glowing orb socket. Once the glowing orb is in the glowing orb socket, the entryway on the left side of the Shrine will be opened. Go through the entryway to continue to the next part of the Shrine.
- On the next part of the Shrine, you will see two more long conveyor belts, with the one closer to Link going to the right and the one farthest from Link going to the left. There are also three constant lasers firing across the two conveyor belts, concrete cubes of varying sizes and a chest on the conveyor belt that is going to the left, a glowing orb on the southeast part of the room, a glowing orb socket on a separate platform on the western part of the Shrine, and another closed entryway just ahead of it.
- Before stepping on the conveyor belt and continuing the Shrine, press the up directional button, select the Magnesis Rune ability, press the L button to aim, and wait for the chest to come out to the conveyor belt (do not worry if you miss the chest and it falls off the edge of the conveyor belt as it will still come back and out from its starting point), quickly aim at the chest, press the A button to activate the Magnesis Rune ability on it and pull it towards Link. Open the chest to obtain an Opal.
- After that, pick up the glowing orb and start running against the flow of the conveyor belt closest to Link (make sure not to sprint by pressing the B button as this will result in Link letting go of the glowing orb). Before going near the first laser, wait for a concrete cube to appear. Once one appears, run across the conveyor belt just as the concrete cube blocks the laser. After passing the path of the laser, rest on the small platform on the left side of the conveyor belt.
- On the small platform, set the glowing orb down, press the up directional button, select the Stasis Rune ability again, press the L button to aim, and aim on the source of the next laser, which is just ahead of the small platform, press the A button to activate the Stasis Rune ability on it to stop it from emitting laser temporarily.
- Then, quickly pick up the glowing orb, step on the conveyor belt again, and run across and pass the laser’s path before the timer for the Stasis Rune ability runs out.
- Next, keep running and stopping on the conveyor belt to stay in between and not hit the next and previous laser, wait for another concrete cube to block the final laser, and run across the conveyor belt just as the concrete cube blocks the laser. After passing the laser path, run towards the final platform with the glowing orb socket and closed entryway.
- After that, set the glowing orb down on the glowing orb socket, and the entryway just ahead will be opened. Go through the entryway to continue.
- Finally, in this next room, you will see the altar at the top of a flight of stairs. Go near the altar, talk to the monk, and claim your Spirit Orb!
As mentioned above, the Jee Noh Shrine or the On the Move is one of 12 shrines in the Wasteland Tower region. The other shrines are the Kay Noh Shrine or the Power of Electricity, the Daqo Chisay Shrine or The Whole Picture, the Dako Tah Shrine or the Electric Path, the Tho Kayu Shrine or Tho Kayu’s Blessing, the Hawa Koth Shrine or The Current Solution, the Dila Maag Shrine or Dila Maag’s Blessing, the Raqa Zunzo Shrine or Raqa Zunzo’s Blessing, the Kema Zoos Shrine or the A Delayed Puzzle, the Suma Sahma Shrine or Suma Sahma’s Blessing, the Korsh O’hu Shrine or Korsh O’hu’s Blessing, and the Misae Suma Shrine or Misae Suma’s Blessing.


