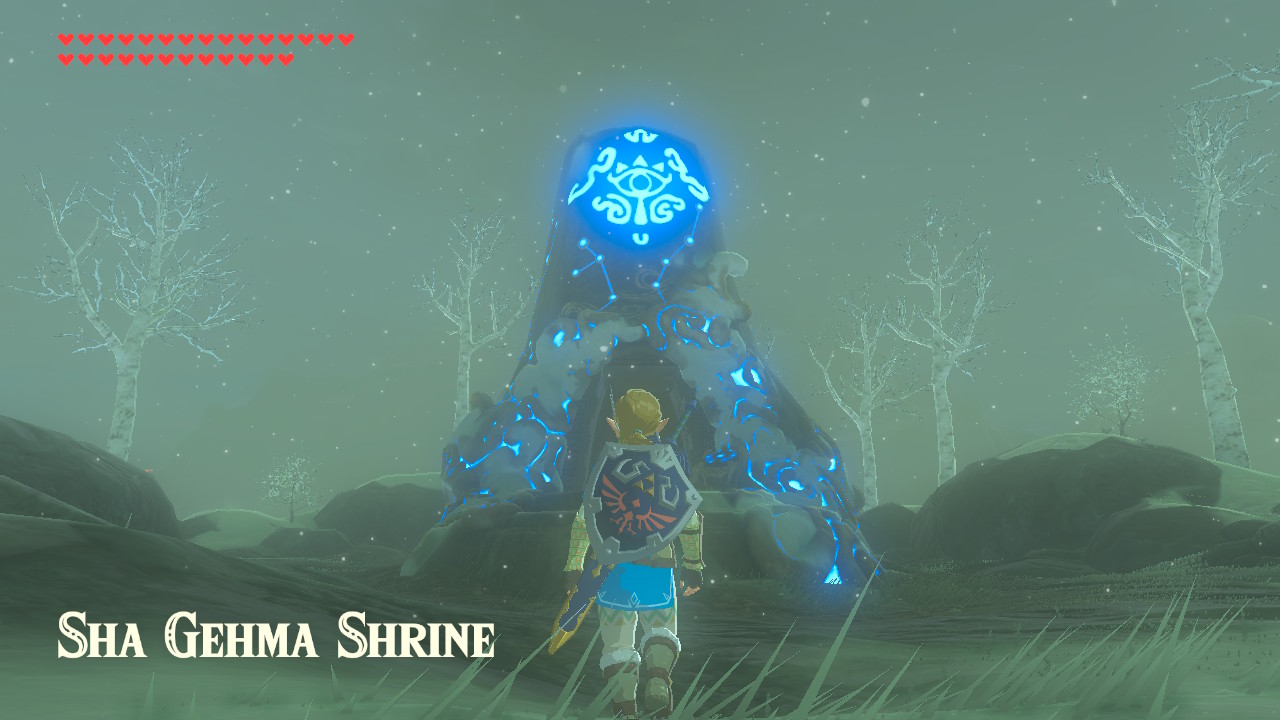
The Sha Gehma Shrine, or the Shift and Lock, is one of the many shrines in The Legend of Zelda: Breath of the Wild. This shrine requires Link to access a chest trapped under a huge metal cube to open the entryway to the altar. This is a very easy shrine to complete, and in this guide, you will learn how to complete the Sha Gehma Shrine, obtain the chests, and claim the Spirit Orb.
Link will be rewarded with Spirit Orbs for completing Shrines. The Spirit Orbs obtained can be exchanged for more Heart Containers or Stamina Vessels. As there are 120 Shrines all over Hyrule, Link can get 120 Spirit Orbs. You get to decide whether you want Link to have more Hearts or more Stamina.
Location

The Sha Gehma Shrine can be found in the northernmost part of the N. Tabantha Snowfield in the Tabantha Tundra, east of the Hebra Mountains (the shrine is northeast of the Pikida Stonegrove or west of the North Lomei Labyrinth). The Sha Gehma Shrine is one of 13 shrines in the Hebra Tower region.
Shift and Lock

Upon entering the Sha Gehma Shrine, you will see a chest on top of a thin platform, but on top of it is a huge metal cube attached to a vertical rail. Behind this structure are the altar and the monk, but the entrance gate is still closed and locked.
A ramp structure that goes up and around the chest and a huge metal cube structure and has three levels. On the structure’s northwest is another thin but tall platform with another chest on top. Higher up the third level of this structure are two moving platforms repeatedly moving side to side in opposite directions.
To complete this shrine, this is what Link must do:
- Let Link head up the ramp structure to the middle of the third ramp (ramp before the third level).
- Next, press the up directional button, select the Magnesis Rune ability, press the L button to aim, aim at the huge metal cube below, and press the A button to activate on the huge metal cube.
- The huge metal cube can only move vertically because of the rail it is attached to. Move the huge metal cube up even after the two moving platforms, and do not let go of the huge metal cube yet.
- Next, wait for the two moving platforms to approach the middle where they both meet then, once that happens, this must be done in quick succession: press the B button to deactivate the Magnesis Rune ability on the huge metal cube and let it fall on top of the two moving platforms, quickly press the up directional button, select the Stasis Rune ability, press the L button to aim, aim at the huge metal cube currently resting on top of the two moving platforms, and press the A button to activate the Stasis Rune ability on the huge metal cube before the two moving platforms can move away and let the huge metal cube fall.
- After that, quickly drop down to the chest under the huge metal cube and open it before the timer for the Stasis Rune ability runs out and the huge metal cube falls back down. Open the chest to obtain a Small Key.
- Before proceeding to the gate of the altar to open it, head up to the third level of the ramp structure again, then from there, jump and glide towards the thin platform with the chest on it right under the third level. Open the chest to obtain a Royal Broadsword.
- Next, drop down from the platform, head to the gate of the altar, and press the A button to open it using the Small Key that was obtained earlier.
- Finally, go near the altar, talk to the monk, and claim your Spirit Orb!
The Sha Gehma Shrine or the Shift and Lock is one of 13 shrines in the Hebra Tower region. The other shrines are the Goma Asaagh Shrine or A Major Test of Strength, the Rin Oyaa Shrine or the Directing the Wind, the Hia Miu Shrine or A Major Test of Strength, the Mozo Shenno Shrine or A Major Test of Strength, the Shada Naw Shrine or the Red Giveaway, the To Quomo Shrine or Quomo’s Blessing, the Rok Uwog Shrine or the Power of Reach, the Maka Rah Shrine or the Steady Thy Heart, the Lanno Kooh Shrine or Lanno Kooh’s Blessing, the Dunba Taag Shrine or the Build and Release, the Gee Ha’rah Shrine or the Tandem, and the Qaza Tokki Shrine or Qaza Tokki’s Blessing.