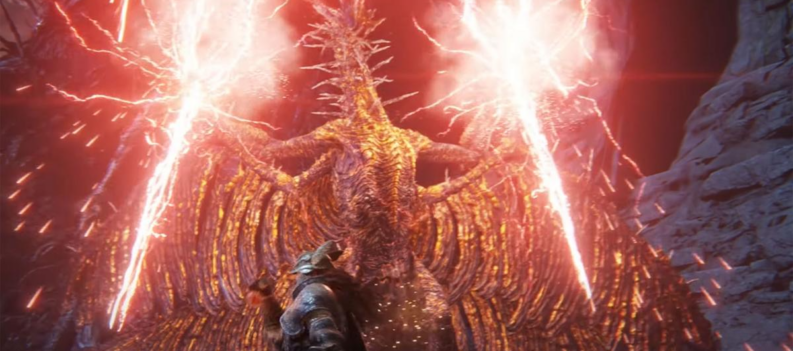
Elden Ring is difficult by design from start to finish, but your first few hours in the Lands Between can be especially brutal. Regardless of which starting class or starting keepsake you pick, you will be woefully underpowered compared to most enemies in the world. It will take time to find new weapons and armor and build out your character.
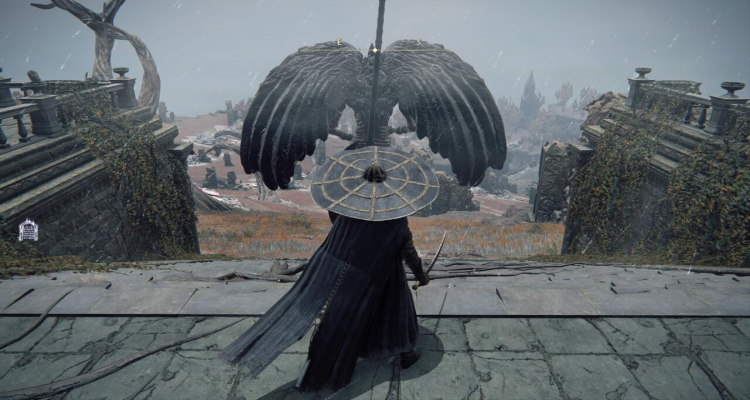
If you want to level quickly, one of the best places to gain experience points in the early going is called the Bestial Sanctum, but getting there will take some work. Here is what you need to know.
Do Not Stockpile Runes
Experience points in Elden Ring come in the form of Runes. Runes are dropped by any enemy or creature you defeat and can be spent at any Site of Grace. These are checkpoint locations you can use to save your game and fast travel.
But be careful: when you die in Elden Ring, you lose all of your accumulated Runes since the last time you leveled up and must return to the site of your death to collect them before you die again. If you perish again before recovering the Runes, those experience points will be gone forever, and you have to begin gathering them up again.
When death happens more frequently in the early going, it is good to fast travel back to a Site of Grace at regular intervals to ensure you are spending your Runes and gaining levels at every opportunity. You do not want to build up thousands of Runes and sit on them. If you die somewhere where you can not easily recover the Runes and escape, you could be looking at having nothing to show for your efforts.
Runes can also be used for purchasing new weapons, armor, and items at various vendors throughout the world, but it is best to put them all toward leveling when first getting started.
Get Your Mount
Before heading to the Bestial Sanctum, you will want to get your mount, an undead horse named Torrent, as it can help you get out of trouble quickly.
The first zone you will encounter in the Lands Between is Limgrave. Elden Ring’s map will point you in the right direction, and a glance after saving at the Stranded Graveyard Site of Grace will indicate you are to travel north to the Church of Elleh. Try to avoid the Tree Sentinel on horseback. You can take him on more easily after a couple of upgrades.
Save at the Site of Grace and then head east to the Gatefront Ruins. The Ruins are a decent spot to grind some early levels if you can pick the soldiers off one at a time. Be wary of one sounding a horn, though, as it will alert all other soldiers in the area, and you will quickly be overwhelmed. You can also get the first map for this part of Limgrave at the center of the Ruins, so it is worth clearing at least once.
But we are not at the Gatefront Ruins to power level. What you want to do is find one of two Sites of Grace on either side of the Ruins. If this is your third Grace site following the Stranded Graveyard and the Church of Elleh, choosing to rest at the site will summon Melina. She will offer you a deal. Say yes, and she will give you the Spectral Steed Whistle, which you can use to summon Torrent, who will be your main companion for the journey to come.
Once you have Torrent and maybe a handful of levels from grinding the Gatefront Ruins, it is time to head towards East Limgrave.
Go to the Third Church of Marika
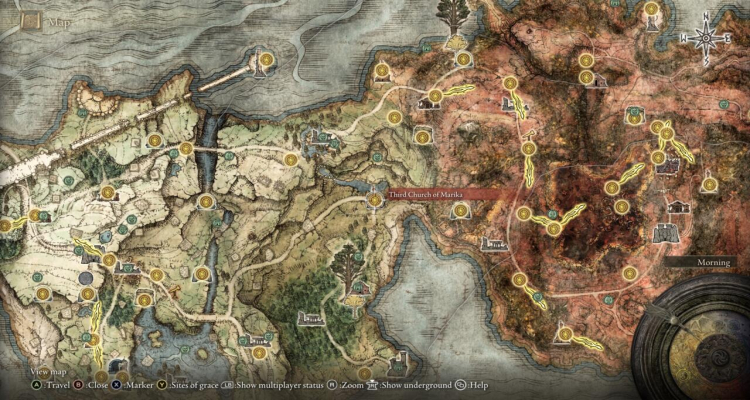
You are not meant to go to the Bestial Sanctum until much later in the game. But it is possible to teleport there early and pick off some of the weaker enemies for a cool 1K runes or more with each kill.
To get there, you will first need to find the Third Church of Marika. If you save at the Gatefront Site of Grace, you will see a road next to it that heads east. Go down the path to a bridge and then turn north. Stay on that path, and you will find the Third Church of Marika.
You may have noticed that the church is in an area you do not yet have a map for. If you continue down the path past the church before heading inside, you can get the map piece for East Limgrave. If you run into enemies on the way there, stay on Torrent and run away.
Head inside the church and activate the Site of Grace which will put the Church on your map. (Don’t forget the nearby Flask of Wondrous Physik) Once you have your checkpoint, go to the river to the church’s north and then turn east.
This will take you to a hidden warp gate obscured behind some trees. Use it, and you will find yourself in the Bestial Sanctum.
Power Level in The Bestial Sanctum

When you first walk into the Bestial Sanctum, you will see a giant gargoyle-like enemy down some stone steps in front of you. This is a boss you do not want to mess with until much later. The good news is it will leave you alone if you do not attack it or get too close.
The first thing you want to do is turn around and go inside the Sanctum for the Site of Grace. Be sure to rest here and create a checkpoint. The position of this Site of Grace is important because it will allow you to kill a few enemies, fast travel to a nearby Site to spend your Runes, and then get right back to grinding with minimum travel or downtime.
Finally, you have arrived at the fun part. Head back outside and look for smaller enemies wearing a black hood. You ideally want to find one standing alone and that you can sneak up on from behind. (Use your crouch button or key)
You will do additional damage if you get behind the enemy in stealth. If you get discovered, you can try to duel it out. If it is just one mob, be sure to use your dodge.
These enemies do not have a ton of health, so it should be manageable even if you came right here from the start of the game. If you are having difficulty, go back to the Gatefront Ruins and get a few more levels before fast traveling back to the Bestial Sanctum.
Do not try to be a hero if you take damage or aggro more than one enemy. Get out of there, use Torrent, and find a safe spot to heal.
Once you pick off all of the smaller hooded enemies, head back to the Site of Grace to spend your Runes. Rinse and repeat, racking up 1,000 or more Runes with each kill. Resting at a Site of Grace will reset all defeated enemies, which means you can now head back out and do it again.


