To say Roblox is a game is quite an understatement. The same as Minecraft is just a building block simulator. Roblox is a universe in which kids can create their own games and let others play them. It looks basic but is actually quite powerful. You can even record games and upload them which is what I’m going to cover in this piece. More specifically, how to record Roblox games on a Windows PC.
Roblox is available for PC, Mac, iOS, Android, Amazon devices, and Xbox One. It is widely regarded as a safe game for kids and offers a huge universe to explore, engage and create in.
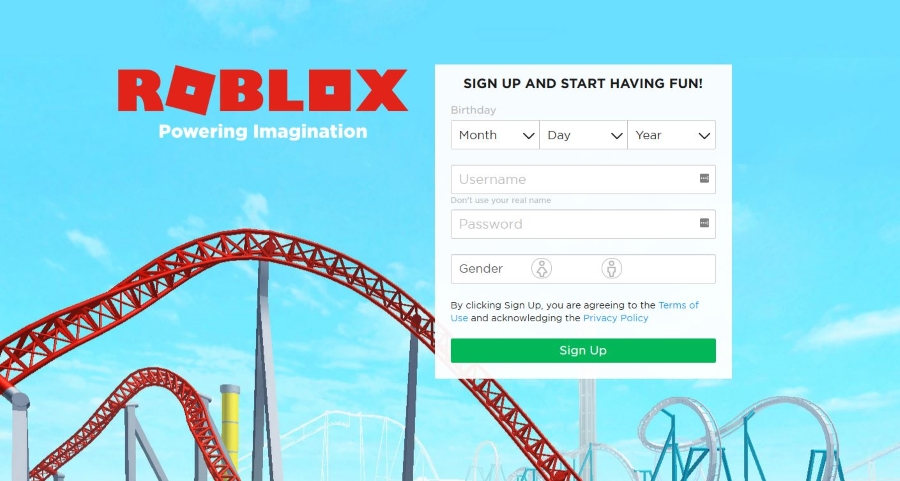
When you first download the game, you set up an account, create an avatar and then get into the world. You are provided with an area of the universe to call your own and a toolbox to store all the things you collect while playing the game. Once you’re in, you can begin creating your own entertainment or access the many games and game elements created by the community.
The base game is free but there are the usual premium options called the Builders Club where you can buy anything from Robux (game currency) to game upgrades and ad removal.

Record Roblox games on a Windows PC
Like many games, Roblox comes with its own recording option. You can also use third-party tools to record Roblox games if you want. I’ll show you how to use both.
Roblox has its own game recorder built in. It allows you to record all of your game or just sections of it using an in-game UI. It is relatively easy to use and will record to your hard drive.
- Open Roblox and begin a game.
- Select the three line menu icon at the top of the screen.
- Select Record from the list and configure your recording settings.
- Select Record Video when you’re ready.
You will see a small red recording icon in the top of the window to remind you it is recording. Select that icon to stop recording.
When setting up game recording in Roblox, you have the option to Save to Disk or Upload to YouTube. I suggest using the Save to Disk option for now as there are issues with the YouTube feature. Plus, it’s always good to preview a video before uploading it for the world to see in case it includes things you don’t want other’s seeing.
Saving to disk also allows you to edit your video, add filters and features, voiceovers or other effects before uploading.
The built-in recording feature within Roblox is pretty good and will capture your gameplay well enough. It doesn’t have the option for voiceovers or picture in picture so if you want to upload to Twitch or offer tutorials for YouTube, you have to use something else.
Record Roblox games with OBS Studio
OBS (Open Broadcasting Software) is my go-to program for recoding anything on my PC. For free software, it is top class and delivers broadcast quality video with the option for picture in picture, voiceover and hundreds of other options and effects. OBS Studio works on Windows, MacOS and Linux and is free to download and use.
OBS Studio does take a little setting up but once done, you can be recording and streaming, or broadcasting pro-level videos on no time.
- Download and install the Windows version of OBS Studio.
- Open Roblox so it is running in the background.
- Select Settings in the bottom right of the screen.
- Open OBS and select Scenes and Add Scene.
- Give it a name which will act as your video title.
- Select Sources, Add and Game Capture.
- Select Roblox from the list and select OK.
- Select Preview Stream to make sure the game shows up.
- Select Start Recording when you’re ready.
You can record from here to create a game video or you could add your webcam as a source. You can even add your Twitch account to OBS and stream directly to Twitch if that’s your thing.
To add your webcam to the video:
- Select the other source from the setup screen in OBS.
- Select the ‘+’ at the bottom and add your webcam.
- Position the webcam picture to a corner within your main recording screen so it is visible but stays largely out of the way.
- Select Start Recording.
There are a ton of configuration options you can play around with to get your Roblox video just so. That is down to personal preference so I won’t go over the options here. Just experiment with OBS until you have the settings you’re happy with and go from there.
That’s how to record Roblox games on a Windows PC. Have fun with it!