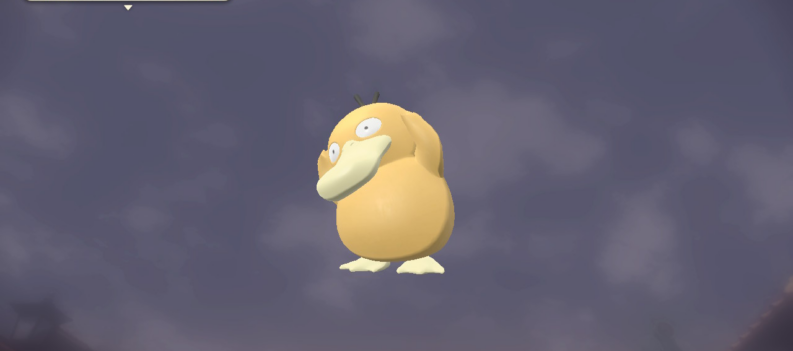
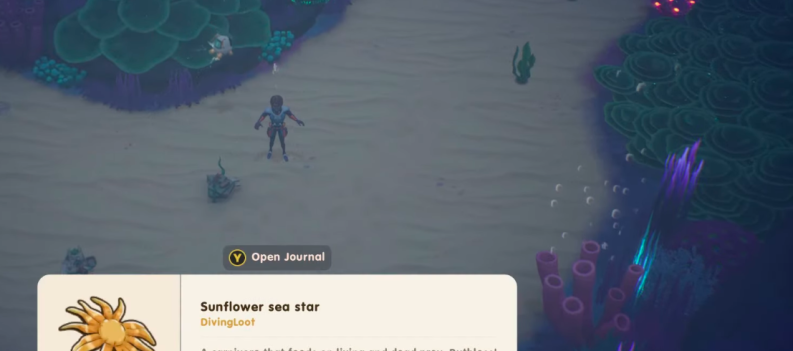
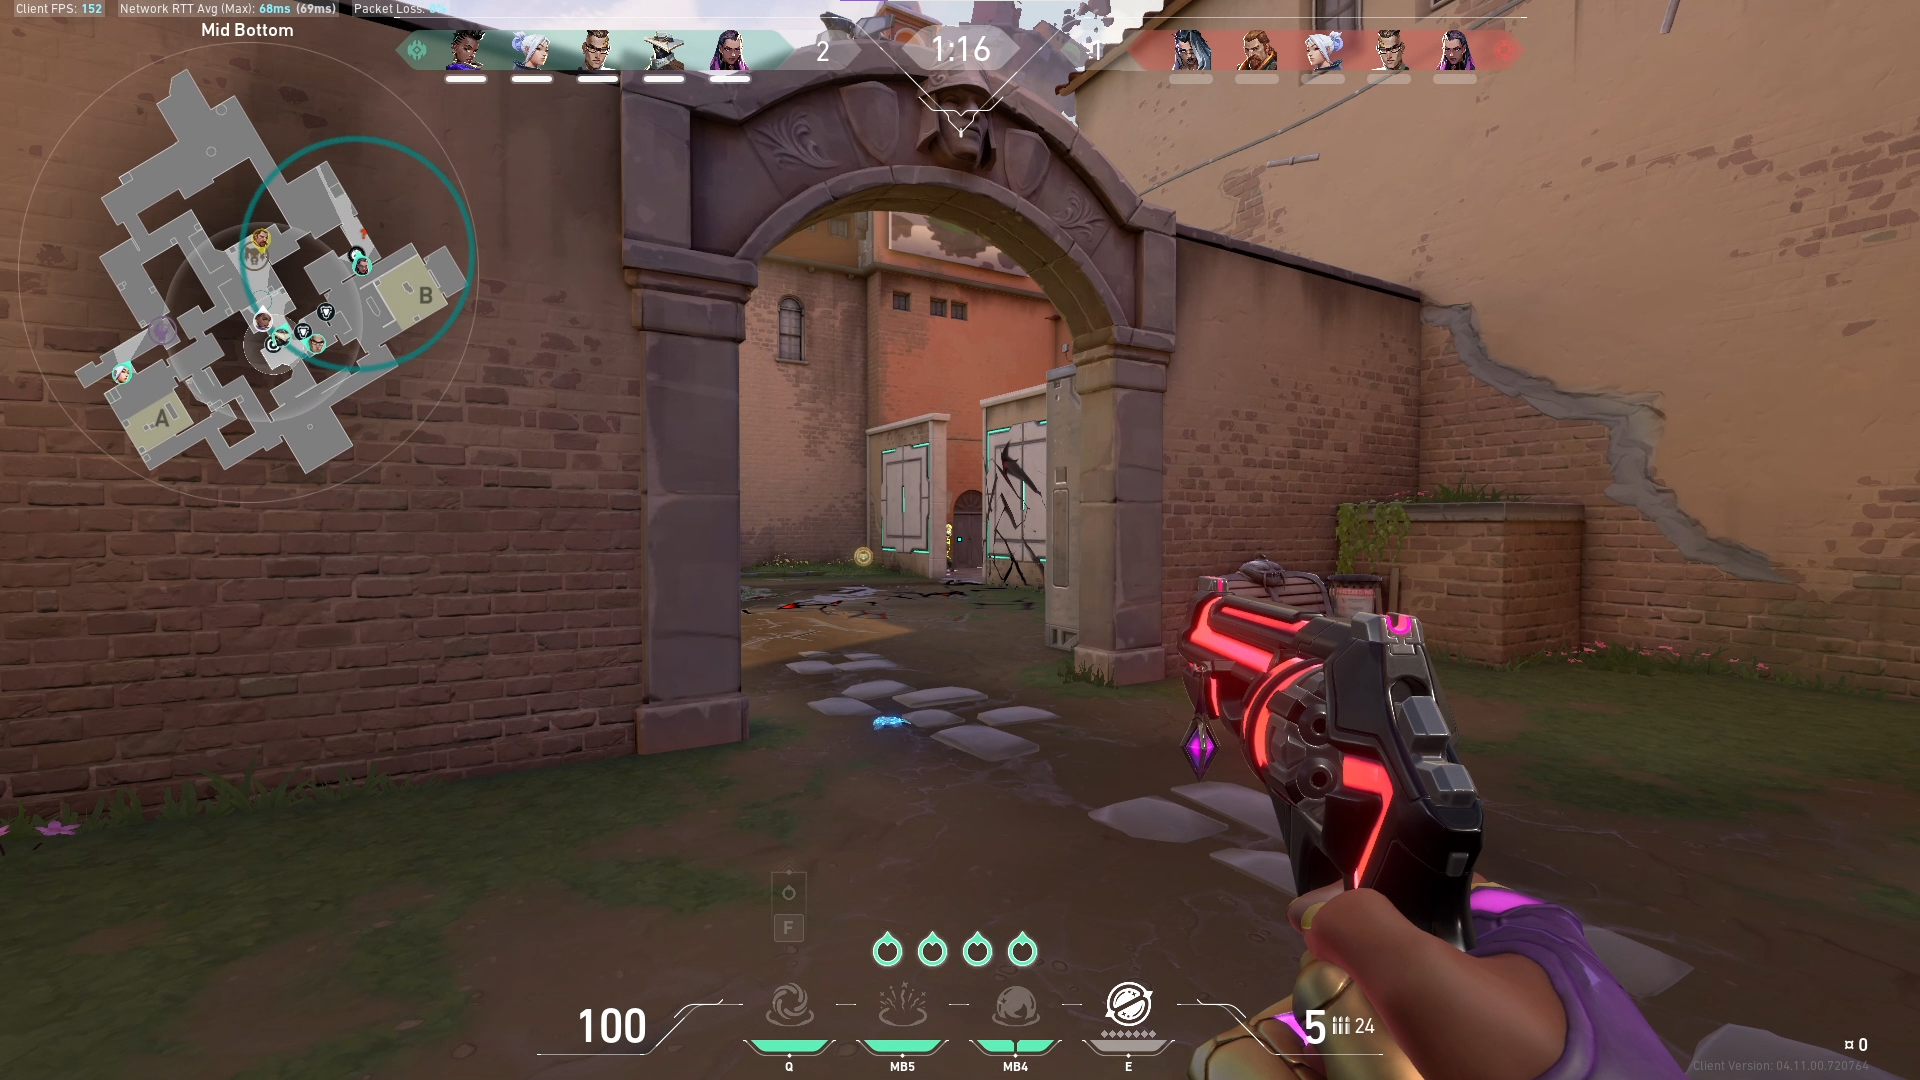
Playing games on the Nintendo Switch can be an amazing experience; you’ll probably want to share it with friends. The easiest way to record your gameplay is by taking screenshots, but Switch can’t send screenshots directly to a PC.
Worry not. There are ways to work around this limitation. In this article, we’ll show you how to send Nintendo Switch screenshots to your computer so you can share your gaming adventures with everybody.

How To Take Screenshots With the Nintendo Switch
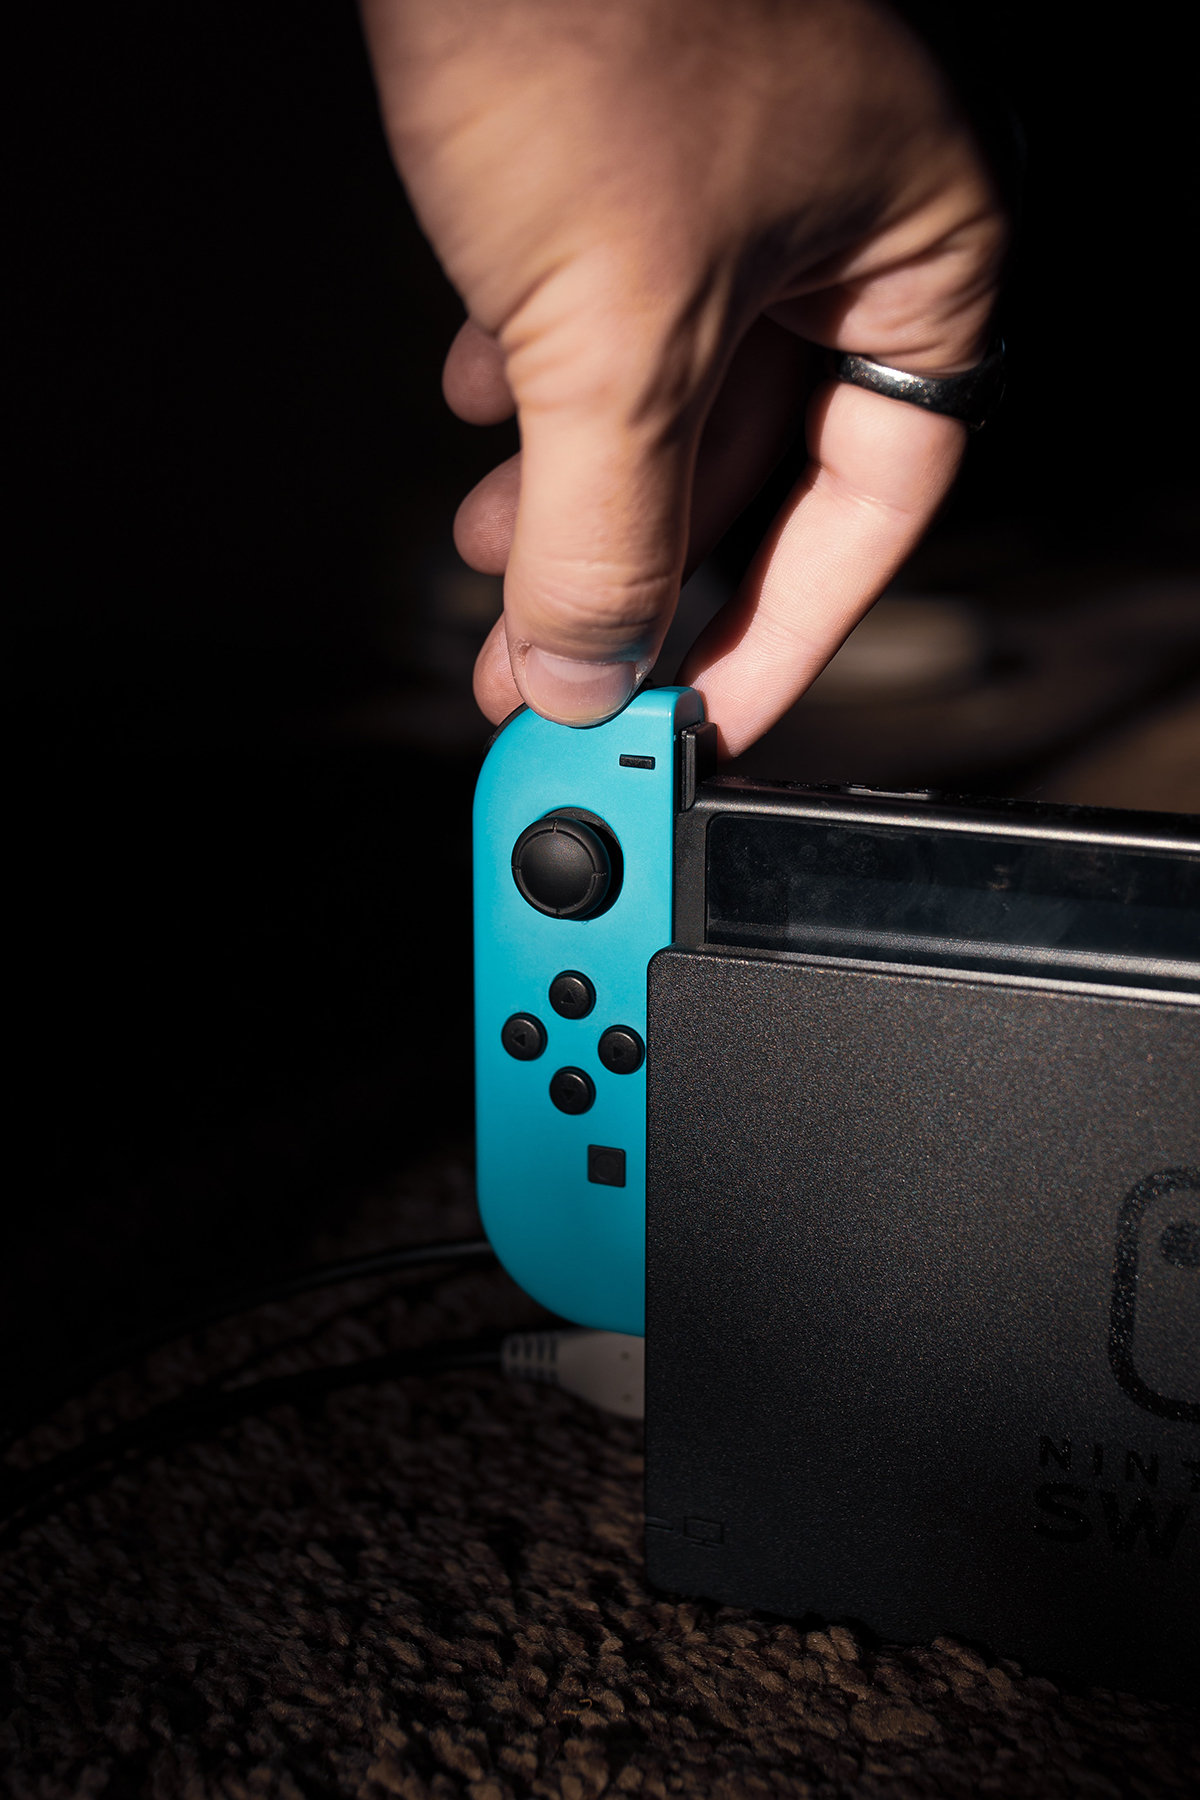
First things first. If you want to share a screenshot, you must know how to take it. The buttons for capturing images differ depending on your version of the console. For the regular Switch, the button is located on the Left Joy-Con. It’s the square button just under the directional buttons. The Switch Light is located under the left side, right under the Directional Pad.
All your screenshots are saved in your Switch album. To access this, go to your HOME menu and choose Album from the icons below. From here, you can edit or post your screenshots online.
From Switch to PC via Micro SD Card
As mentioned earlier, there’s no direct way to transfer your screenshots to your PC, but it can be done by transferring the images via a Micro SD card. Be aware that the Nintendo Switch only accepts Micro SD cards. SD and Mini SD cards aren’t compatible with the Switch console.
The default save location for screenshots or gameplay captures on the Micro SD card. If no Micro SD card exists, images will be saved to the System memory. If you wish to transfer images from the System memory to a Micro SD card, do the following:
- Turn off your Switch and remove the adapter. This is important. Never remove or insert a Micro SD card when your Switch is on. This may cause data on either your Micro SD or your system memory to get corrupted.
- Insert your Micro SD card. The slot is different for the Switch and the Switch Lite.
For the Nintendo Switch, the Micro SD card slot is located underneath the stand on the backside of the console. Lift the stand and insert the card until you hear a click. Note that the proper positioning of the card is shown on the slot. Improper insertion may damage your Micro SD card.
The Switch Lite has a slot in the lower left corner at the back of the console. Gently remove the cover by pulling it down. Make sure that the label for the Micro SD card is facing away from the Switch when inserting it. Wait for the click. Once inserted, slide the cover back on.
Steps to Take to Send Nintendo Switch Screenshots to PC
- From the HOME menu, choose System Settings.

- Choose Data Management.
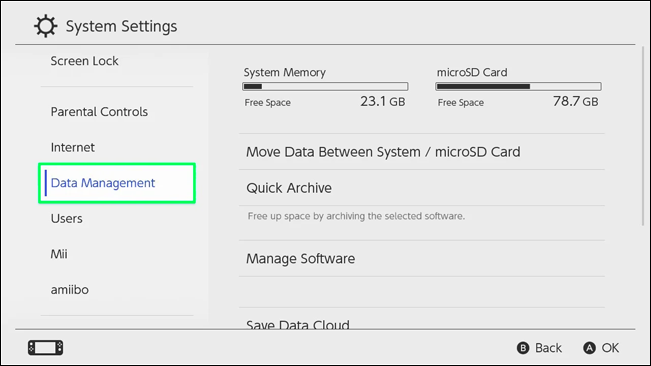
- From the menu on the right, choose Manage Save Data/Screenshots and Videos.

- Choose Manage Screenshots and Videos.
- Choose System Memory.

- Choose Copy All Screenshots to Micro SD Card. Note that you move individual images by choosing to Manage individual images instead of System Memory.

Once you have your images on your Micro SD card, you can transfer them to your PC. Be aware that unless your PC or laptop has its own Micro SD slot, you’ll need a Micro SD adapter to enable your computer to read the data. Once you do so, you can follow these steps to transfer your images:
- Turn off your Switch.
- Remove the Micro SD card from the slot. This is done by pushing down on the card so it pops up from the slot. You can then pull the Micro SD card out.
- Insert the Micro SD in your PC’s card slot or use an adapter.
- Once your PC detects the storage device, you can now copy the files to your PC.
Using Social Media to Send Nintendo Switch Screenshots to PC
The Switch console allows users to upload images to Facebook or Twitter. If you don’t have a Micro SD card or adapter, you can still send screenshots from your Switch to your PC by uploading them online.
Read: How To Watch Hulu on the Nintendo Switch
From there, you can download those images to your PC. However, some say that image quality suffers when you upload files to social media sites. If this quality loss is fine with you, you can do this by doing the following:
- From the HOME menu on your Switch, choose Album.

- Choose an image, then select Editing and Posting.

- Select Post.

- Choose the user to post the screenshot and whether to post it to Twitter or Facebook.
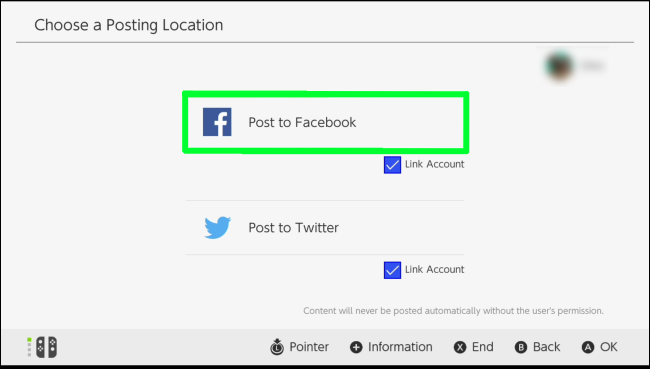
- On your PC, open the Facebook or Twitter page where you uploaded the image.
- Download the image to your PC.
Conveying Feelings With Well Composed Screenshots
Sharing your gameplay with others means you’ll want to show them your best images. Well-composed screenshots can convey your feelings better, after all. If you know how to send Nintendo Switch screenshots to your computer, you’re not limited by the console’s rather meager photo editing tools.
Have you had experiences regarding the Switch’s image options? Do you know other methods to transfer screenshots from the Switch to the PC? Share your thoughts in the comments section below.


