If you are looking to test your skills in fighting multiple enemies at once, starting a raid is precisely what you are looking for.
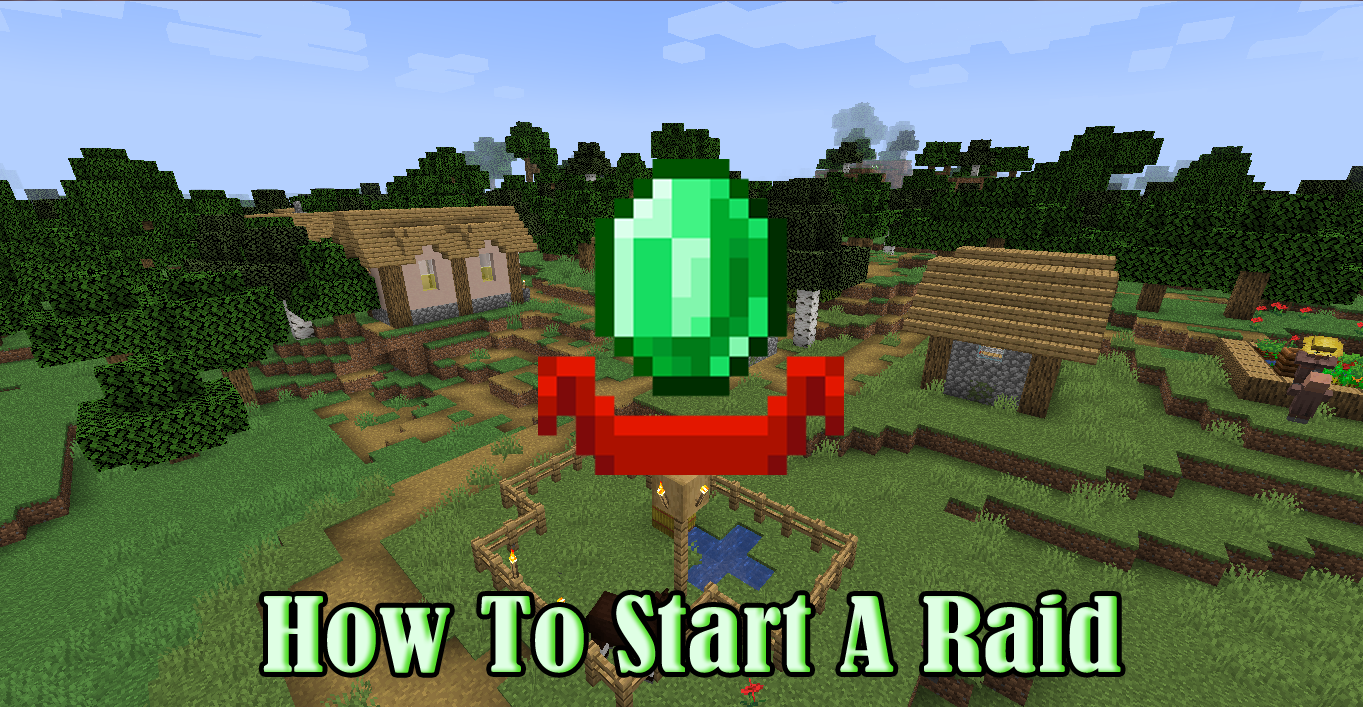
Minecraft’s update 1.14 Village & Pillage creates a whole new experience for players looking for a challenge. The addition of new hostile mobs and significant changes made on the villagers and villages in Minecraft paved the way for the game developers to introduce another subset of the 1.14 update called illager raids. These raids are essentially a horde-style combat experience that puts a player’s abilities to the test as a single village will be flooded with multiple hostile mobs all at once. It is up to the player to decide how to approach the incoming raid wave to defend the village from raiders successfully. Here is a guide on how to start a raid in Minecraft.
STEP 1: Find A Pillager Outpost

You will need to locate a pillager outpost to start the raid. The pillager outpost is a naturally generated structure in the overworld inhabited by multiple pillagers. A pillager outpost looks similar to a lookout tower and generates in any village-generating biome, including the grove, snowy slopes, jagged peaks, frozen peaks, and the stony peaks biome. It is easier to spot a pillager outpost from a distance, especially when you are on higher ground, as it tends to stick out from above the trees. You may also use the /locate command to locate the pillager outpost if you are using cheats.
STEP 2: Locate The Illager Captain

Once you have located a pillager outpost, you need to find the illager captain. Locating the illager captain is crucial in starting a pillager raid. Multiple pillagers will patrol the area when you enter the outpost’s outer perimeter. To easily find the illager captain, you must clear the area first. The illager captain will normally be a pillager or a vindicator carrying an ominous banner on top of its head. It will either be patrolling the surrounding area or guarding the inner side of the pillager outpost.
STEP 3: Kill The Illager Captain To Get Bad Omen

When you have located the illager captain, you need to kill it to obtain the Bad Omen status effect. When a player or a tamed wolf kills the illager captain, the player will immediately become inflicted by the Bad Omen status and receive the Voluntary Exile achievement. A player inflicted by a Bad Omen status effect will ultimately trigger a raid when entering a village. In Java edition, players who kill multiple illager captains before triggering the raid can stack the Bad Omen status effect. Having more than one stack of Bad Omen can cause the raiders to be equipped with enchanted weapons.
STEP 4: Enter A Village To Trigger The Raid

Now that you have the Bad Omen status effect inflicted on yourself, it is time to start the raid. All you have to do is enter a village while carrying the Bad Omen status effect to trigger the raid. Note that even a single bed with a villager alone constitutes a “village.” Before entering the village, you should be fully equipped and prepared for the raid. As soon as you enter the village’s premises, the raid bar will appear on top of the screen, and the Bad Omen status effect will disappear.
STEP 5: The Raid Begins

Upon entering a village, the raid bar will fill up until it is filled. When the raid begins, you will hear a loud horn, and the villagers will start panicking. The villagers will scurry into their homes, and a single villager will ring the bell back and forth, signifying the upcoming raid wave. The first wave of raiders will then spawn in the outer perimeter of the village and will make their way into the village, attacking all players, villagers, and iron golems in their path.
STEP 6: Defeat The Raiders

As soon as the raid begins, illagers will spawn and hunt down the villagers residing inside the village. Vindicators in a raid can open wooden doors of a house and break them if necessary. Each raid has its own number of waves depending on the game’s difficulty: three waves for easy, five for normal, and seven for hard difficulty. When the illager captain of the current wave is killed, all the remaining raiders will try and pick up the ominous banner dropped by the previous captain. If successful, the raider with the ominous banner becomes the new wave captain. Each raider killed in a single wave will slowly lower the raid bar progression until it reaches 0 and another wave begins. You must defeat all the raiders in each raid wave and defend the village to succeed.
STEP 7: Become The Hero Of The Village

Once you have successfully defended the village from raiders during the final wave, the raid bar on top will appear as “Raid – Victory,” and you will receive the Hero of the Village status effect. The surviving villagers will then shoot fireworks into the sky and gift the player items related to their corresponding profession. Upon receiving the Hero of the Village status effect, you can then trade with the villagers for a discounted price on each item on their trade menu. They will also continue to shower you with gifts until the status effect wears off.


