In the beautiful world of The Legend of Zelda: Tears of the Kingdom, the journey takes place in breathtaking areas waiting to be discovered. Among these areas is the Rito Village. This place has soaring cliffs, harmonious melodies, and unique avian culture. Link must navigate a series of landscapes, quests, and challenges to reach this remarkable area.
This guide will walk you through how to get to the Rito Village in Tears of the Kingdom. The way to Rito Village reveals itself as the adventure progresses. This brings a blend of mystery, discovery, and the mystical essence that defines the world of The Legend of Zelda!
Rito Village in Tears of the Kingdom
The Rito Village is one of the major settlements in Hyrule in The Legend of Zelda: Tears of the Kingdom. This village is built vertically, looking like a very large pillar in the middle of Lake Totori. The pathway of the village spirals around the large structure. The Rito Village is the home of the bird race known as the Rito.
Rito Village’s environment has significantly transformed since Breath of the Wild. This village is now covered with snow. This is due to a snowstorm over the area from a huge storm. Many Rito survived this change but now rely on scavenging for sustenance. They can no longer receive guests from outside the Village because of the new environment and scarcity of goods.
Link can begin and pursue the “Tulin of Rito Village” Main Quest in this area. Aside from that, Link will be able to start the following Side Quests around the Rito Village: “Molli The Fletcher’s Quest,” “Genli’s Home Cooking,” “Legacy of the Rito,” and the “Treasure of the Secret Springs.” Also, in this area, Link can find the Gatakis Shrine and take on “The White Bird’s Guidance” Shrine Quest. This will lead Link to the Wao-os Shrine.
In the Rito Village, Link can enter two shops. The first is “The Slippery Falcon,” the village’s general store, and the “Brazen Beak,” the village’s armor shop. Link can buy Cane Sugar, Goat Butter, and a few weapons in the general store.
In the “Brazen Beak,” Link can purchase the Snowquill Set. This set includes the Snowquill Headdress, which costs 650 Rupees, the Snowquill Tunic, which costs 500 Rupees, and the Snowquill Trousers, which costs 1000 Rupees.
How to Get to Rito Village in Tears of the Kingdom
It is worth mentioning that, as the game promotes exploration, there isn’t just one way to reach the Rito Village. In this guide, we will reach the Rito Village through the main road in the game.
Before heading to the Rito Village, it is important to reiterate that the climate in the area is very cold. Because of that, Link should have items to counter this. One way to do that is through cooking meals or elixirs that make Link resistant to cold climates. To do that, Link can cook a few Spicy Peppers to create a meal that makes him cold-resistant.
Also, Link can cook a Warm Darner or a Summerwing Butterfly and some monster parts to brew an elixir that makes him cold-resistant. Alternatively, Link can wear cold-resistant armor to counter the climate in the Rito Village. For this, Link can wear the Archaic Warm Greaves. Link can find this inside a chest of a large hollow tree just west of the Gutenbac Shrine.
Once Link has cold-resistant items, Link can now start getting to Rito Village! Starting from Lookout Landing, Link must do the following:
1. To Hyrule Ridge
First, let’s head to Hyrule Ridge! From Lookout Landing, head for the exit on the northern side of the area, then follow the path that leads west. Keep following this path, as it will lead to the northwest. This path will eventually lead Link to Carok Bridge, where a Hinox rests. Slightly east of this bridge, Link can also find the Ishodag Shrine on top of a rock formation.
New Serenne Stable
Whether you defeat or evade the Hinox, cross the bridge and continue on the path. Link will eventually find the New Serenne Stable and the Sinakawak Shrine. Slightly north of the stable, Link can find Impa to start the “Impa and the Geoglyphs” Main Quest. This quest will start Link’s journey of finding the Dragon’s Tears across Hyrule. This will then be called “The Dragon’s Tears” Main Quest.
To unmust activate the Lindor’s Brow Skyview Tower. You can unlock the map to this area just northwest of the New Serenne Stable. To be more specific, Link can find the Lindor’s Brow Skyview Tower in these coordinates: -1901, 1243, 0297.
On the way to this Skyview Tower, Link will find Hestu and start the “Hestu’s Concerns” Side Adventure. Throu will add more weapon, shield, or bow slots in Link’s inventory after Link gives him some Korok Seeds.
Tabantha Bridge Stable
From the New Serenne Stable, continue on the path to the northwest. Then, head for the path that leads south on the Y intersection. Continue on this path until Link reaches another Y intersection. On that, head for the path to the west, just south of the Seres Scablands. Link is now in Hyrule Ridge!
Near midway of the path, Link will find a camp of a couple of Bokoblins. Also, Link will find Addison trying to erect a sign for President Hudson. While following this path, Link will eventually find the Tabantha Bridge Stable. As there is always a Shrine near stables, this stable’s shrine is the Makurukis Shrine. This is up a cliff just northeast of the Tabantha Bridge Stable.
In the Tabantha Bridge Stable, Link can start the “A Gift for the Great Fairy” Side Quest. To do that, Link can talk to Toren.
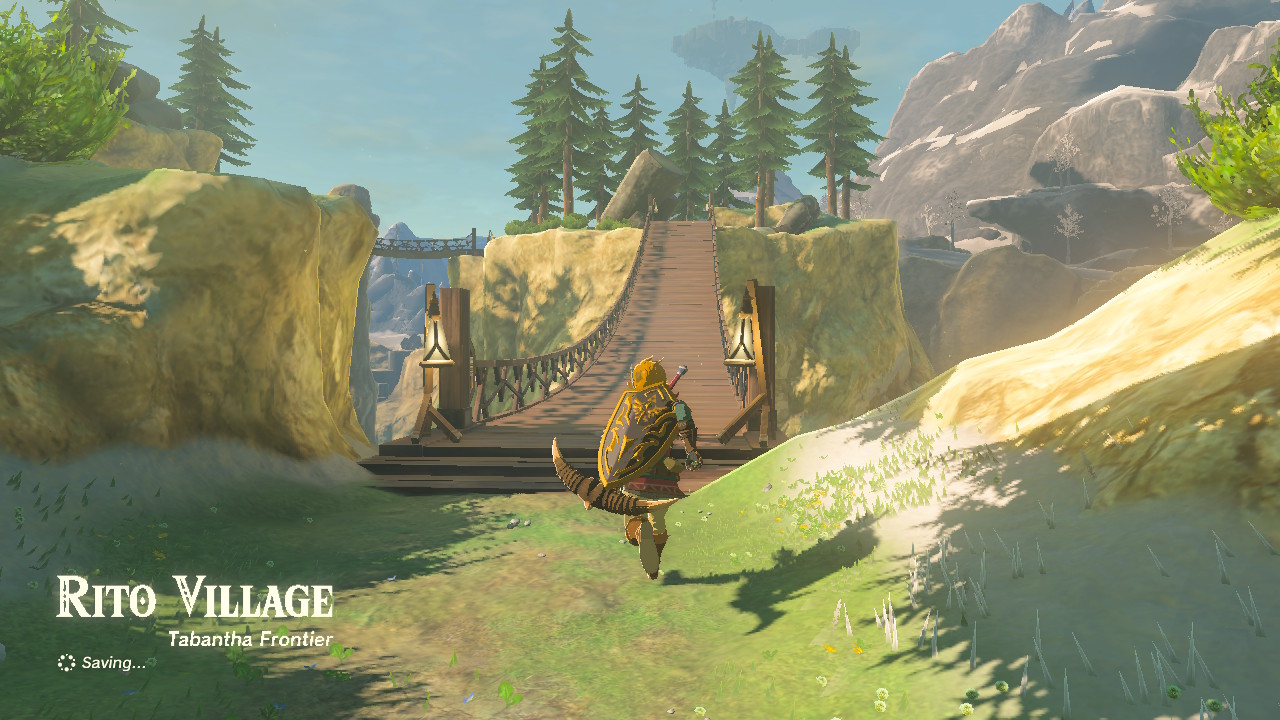
2. The Tabantha Frontier
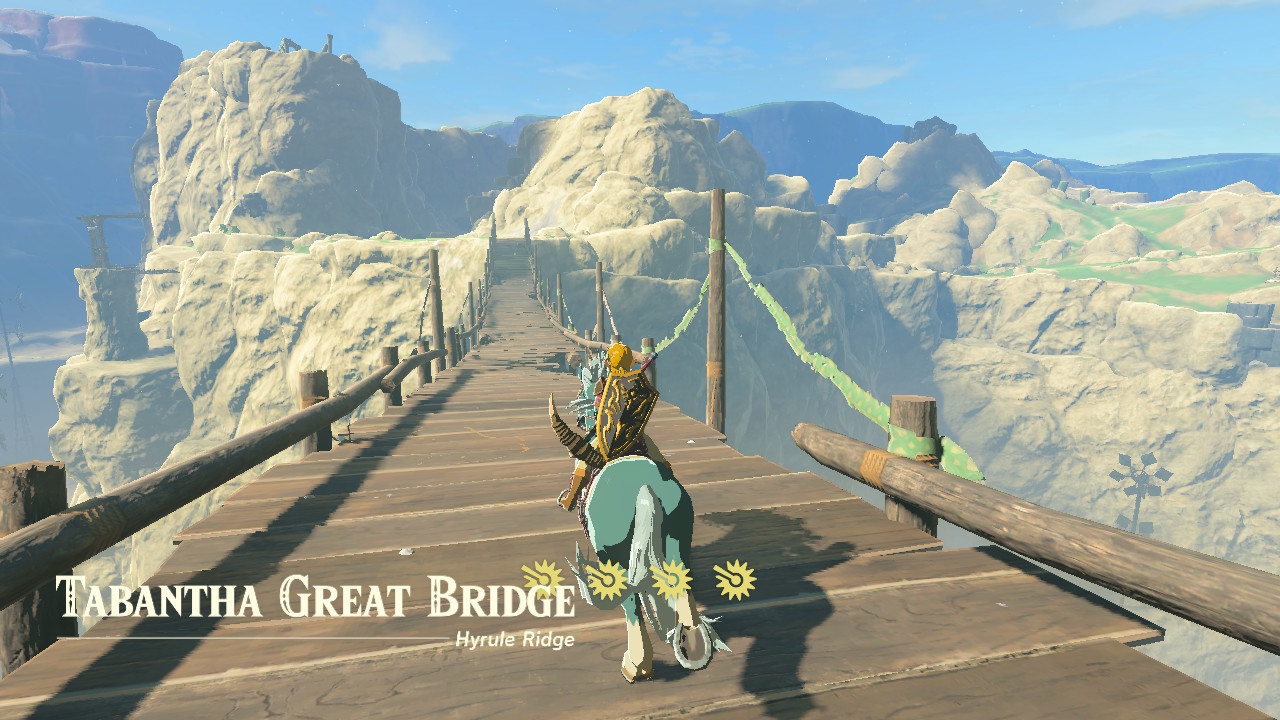
From the Tabantha Bridge Stable, follow the path to the west and cross the Tabantha Great Bridge. Link is now in the Tabantha Frontier!
A Trapped Eustus and Kolami Bridge
A little after the bridge, Link finds Addison again trying to erect a President Hudson sign. Continue following this path, and Link will find a guy named Eustus trapped inside a hole with his broken wagon. This is in the east of where the path starts heading to the northeast. To be more specific, Link can find Eustus in these coordinates: -3658, 0760, 0117. Talking to Eustus will trigger “The Hornist’s Dramatic Escape” Side Adventure.
Continue on the path, and Link will find the Kolami Bridge. From here, the player can already see the Rito Village in the northwest. Just before the bridge, Link will again find Addison trying to erect a sign for President Hudson. Below the bridge, Link can find a Battle Talus with a few Bokoblins. Cross the bridge and continue on the path to find a couple of Lizalfos.
Oromuwak Shrine and the Lucky Clover Gazette
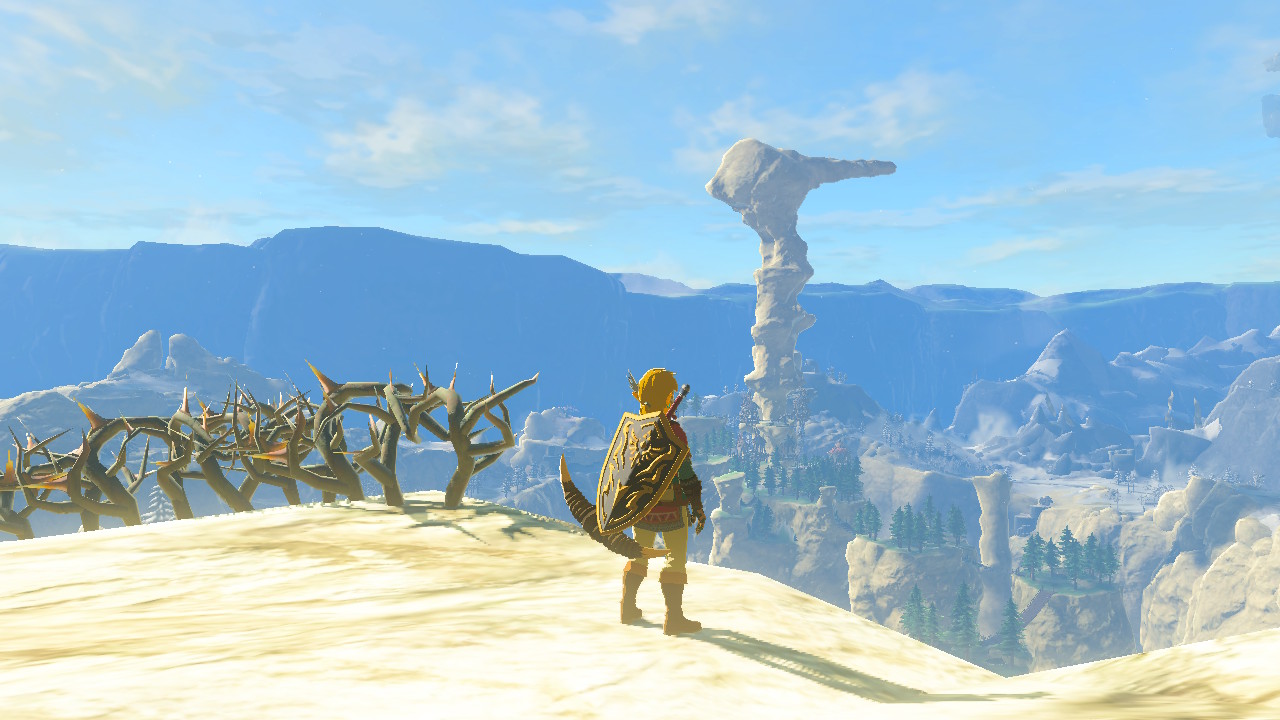
After that, Link will pass through a narrow path between cliffs and a tunnel. Link can find the Oromuwak Shrine above this tunnel. Link can climb the cliffs or use the Ascend ability under the tunnel to get there. It is worth noting that there are a bunch of thorny bushes around this Shrine.
From the tunnel, continue on the path to go northwest. The temperature will drop in the area and be filled with snow. Link must now consume cold-resistant meals and elixirs or wear cold-resistant armor or clothing. Otherwise, Link’s hearts will start to deplete slowly.
Continue on the path, and Link will reach the Lucky Clover Gazette. This is the headquarters of the newspaper of the same name. This structure originally housed the Rito Stable. However, because of the snowstorm in the area, the stable struggled and had to be sold off.
Traysi then bought the building and made the Lucky Clover Gazette. Here, Link can start the “Potential Princess Sightings!” Side Adventure. This is a quest of multiple parts where Link travels throughout Hyrule’s stables, gathering information as a journalist for the Lucky Clover Gazette.
3. The Broken Bridge
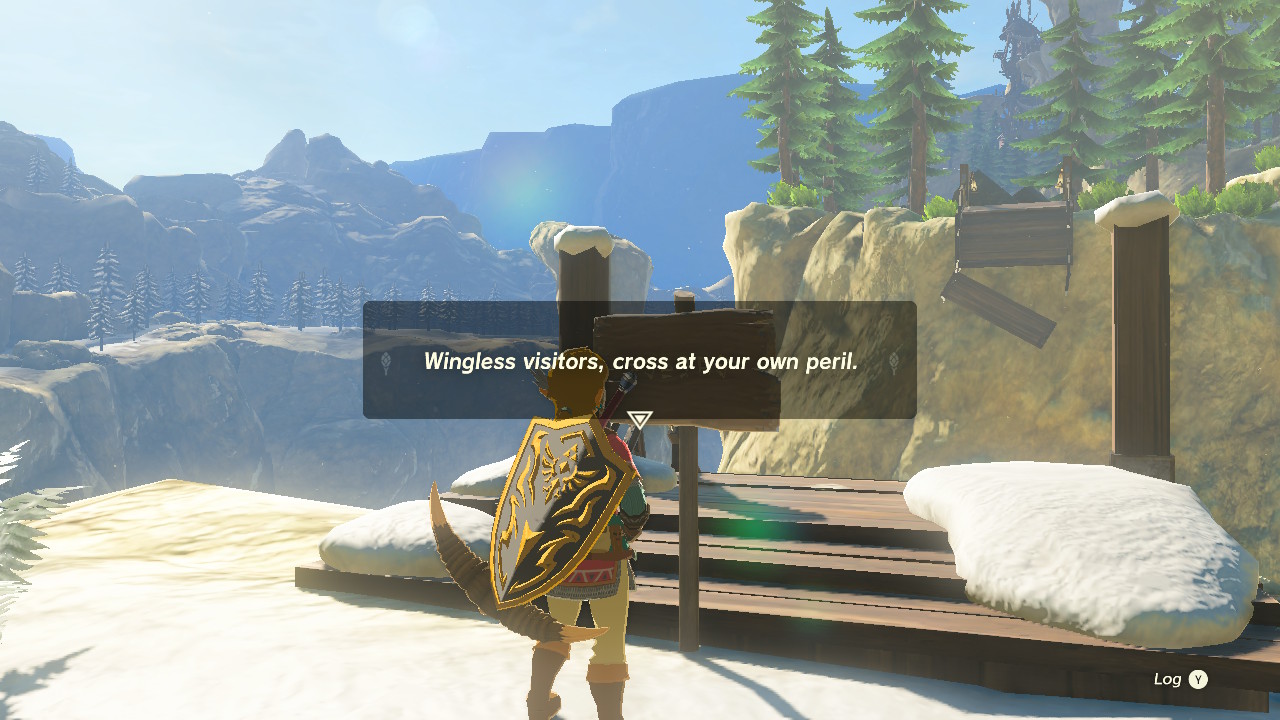
From the Lucky Clover Gazette, head for the path to the west. Through this path, Link should be able to reach the Rito Village. However, the bridge to it is broken. On the right side, just before the broken bridge, Link will find a woman named Juannelle next to a campfire.
Talk to her, and after a few bits of dialogue, she will say that she might have to throw a Hylian Pine Cone on the fire. She will then explain that the last time she threw one, the fire caused a gust of wind. That is a clue as to what Link should do next.
How to Cross the Gap
To cross the gap without the help of a bridge, Link must do the following:
- First, look for a Hylian Pine Cone in the area. Link can usually pick up a Hylian Pine Cone near the bases of the surrounding trees.
- After that, approach the campfire near Juannelle.
- Then, throw a piece of Hylian Pine Cone onto the campfire. To quickly do this, hold the up directional button and use the right stick to select the Hylian Pine Cone. Once highlighted, press the X button to drop the Hylian Pine Cone on the campfire. Alternatively, press the + button and use the L or R buttons to navigate to the Materials tab. Here, press the X button to start holding items. Navigate to the Hylian Pine Cone and press the A button to add one of it to Link’s held items. Press the B button to return to the game and move Link so the target is on the campfire. Once ready, press the A button to drop the Hylian Pine Cone on the fire.
- The fire will then get stronger and cause a gust of wind to continuously blow upwards. As this is only temporary, quickly press the X button to jump towards the gust of wind and press the X button again to use the Paraglider. With the glider, Link will then be blown upwards.
- At its peak, use the Paraglider to glide towards the large rock formation across the broken bridge. Upon landing, Link will reach the entrance to the Rito Village!
4. Finally, Rito Village!
Once at the entrance, Link can just follow the path and cross the bridges to reach the main settlement. To unlock the map of the area, Link must activate Rospro Pass Skyview Tower. This Skyview Tower, however, is north of Rito Village beyond Lake Totori. So, it is recommended to activate it once Link has started the quests in the village. Link can use the Paraglider to glide toward the Skyview Tower from a good height up the Rito Village.
It is also important to mention that thorny bushes surround the Raspro Pass Skyview Tower. Link must destroy the thorny bushes obstructing the entrance to the Skyview Tower to activate it. To do that, Link must burn the thorny bushes using fire. Link can create fire from various sources. However, the easiest way to destroy the thorny bushes is by fusing a Fire Fruit or a Bomb Flower into an arrow. Then, Link can shoot it to the thorny bushes to burn them.
What should you do next when Link is in the Rito Village? Link can start the regional Main Quest called the “Tulin of Rito Village.” To start this Main Quest, Link must talk to Teba about a deck in the village. To be more specific, Link can find Teba in the following coordinates: -3596, 1802, 0212.
Conclusion
Reaching Rito Village in Tears of the Kingdom is a rewarding journey that requires perseverance and resourcefulness. Link will eventually reach this breathtaking and tall sanctuary by following the roads, completing quests, and overcoming obstacles. The adventure to Rito Village encapsulates the essence of exploration and discovery that defines the beloved Zelda series.
It offers a fulfilling experience for both new and seasoned players alike. So, gear up, embrace the challenges, and embark on a remarkable quest to uncover the secrets of Rito Village. All thanks to this handy guide about how to reach the Rito Village!