Learn everything you need to know about the Jiukoum Shrine in Tears of the Kingdom!
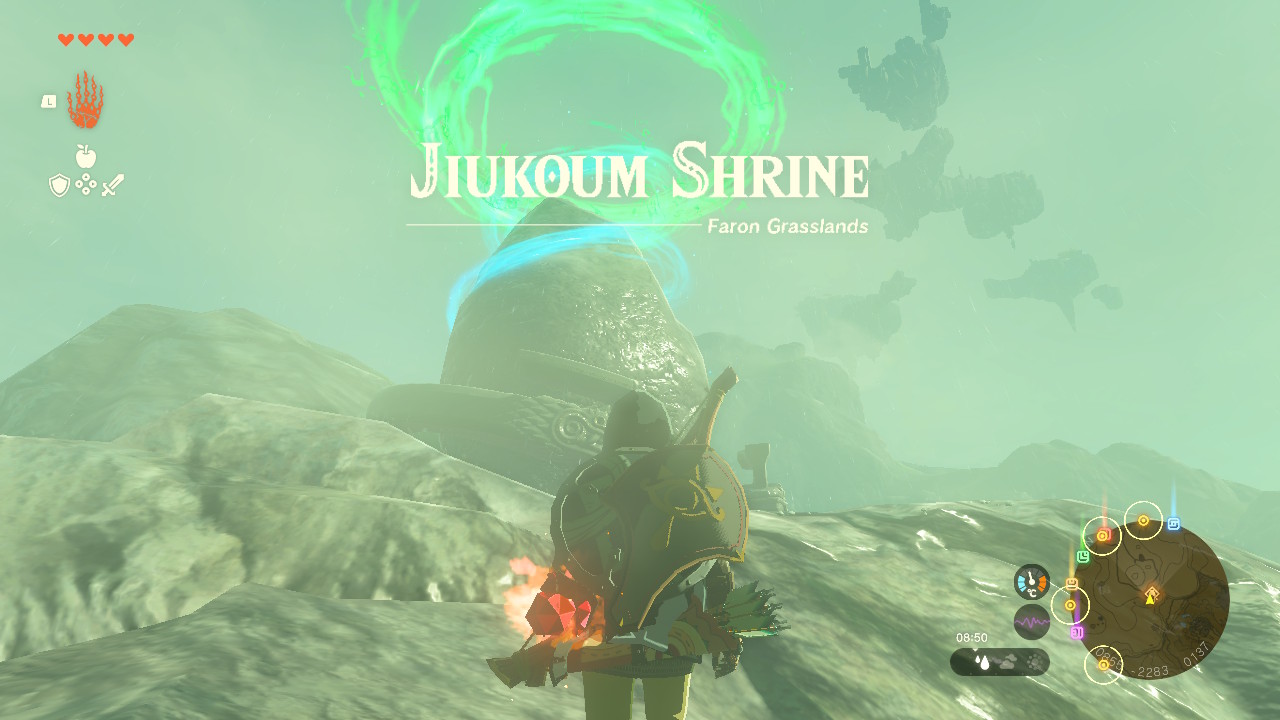
To collect Lights of Blessing, Link must complete Shrines in the newest entry to the Zelda franchise. Link can then exchange these Blessing Lights for more hearts or stamina. The Jiukoum Shrine, titled “Built for Rails,” is one of the Shrine’s Link encounters while exploring Hyrule. To reach the Shrine’s altar, Link must cross numerous gaps utilizing the available rails.
We will walk you through all Link needs to do to finish the Jiukoum Shrine in The Legend of Zelda: Tears of the Kingdom. With this, Link will find the treasure chest and claim the Light of Blessing in this guide!
Jiukoum Shrine Location in Tears of the Kingdom
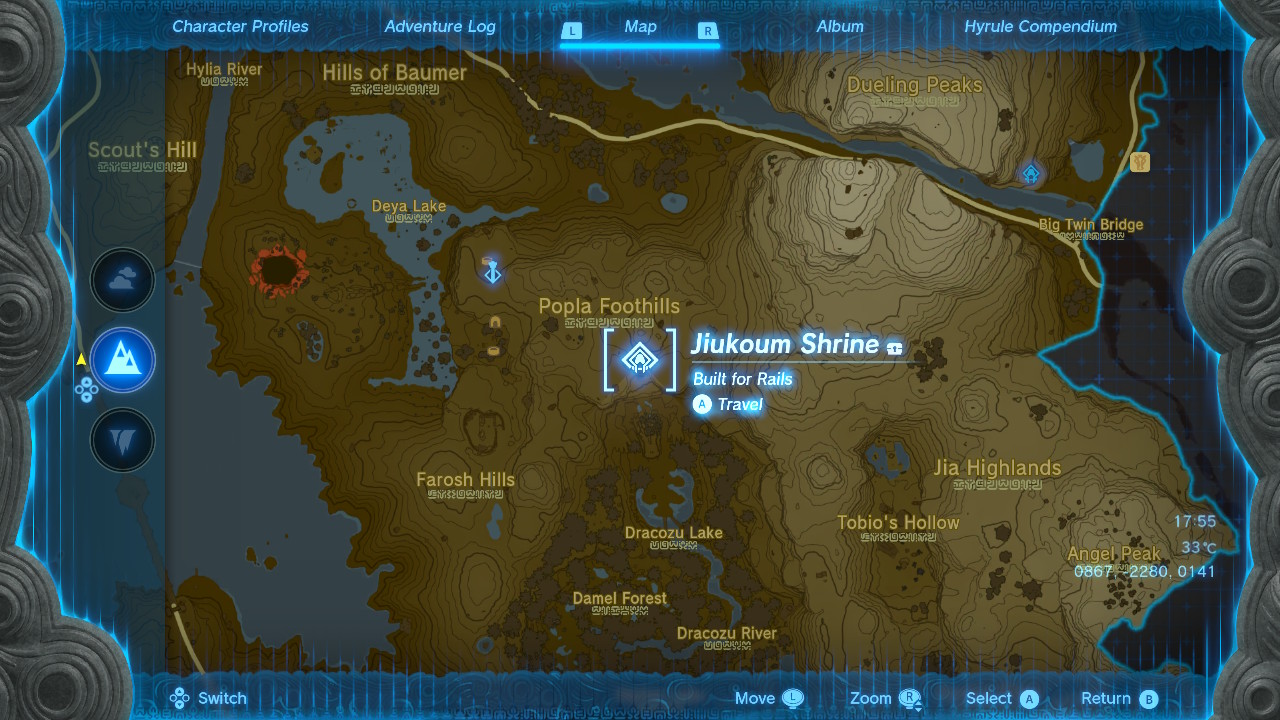
Link can find the Jiukoum Shrine up in the Popla Foothills just southeast of the Popla Foothills Skyview Tower. This Shrine is in the southwest of the Dueling Peaks or just north of Drazozu Lake. Specifically, Link can find the Jiukoum Shrine in these coordinates: 0867, -2280, 0141. Link can find the Jiukoum Shrine as one of eight Shrines on the map in the Popla Foothills Skyview Tower region.
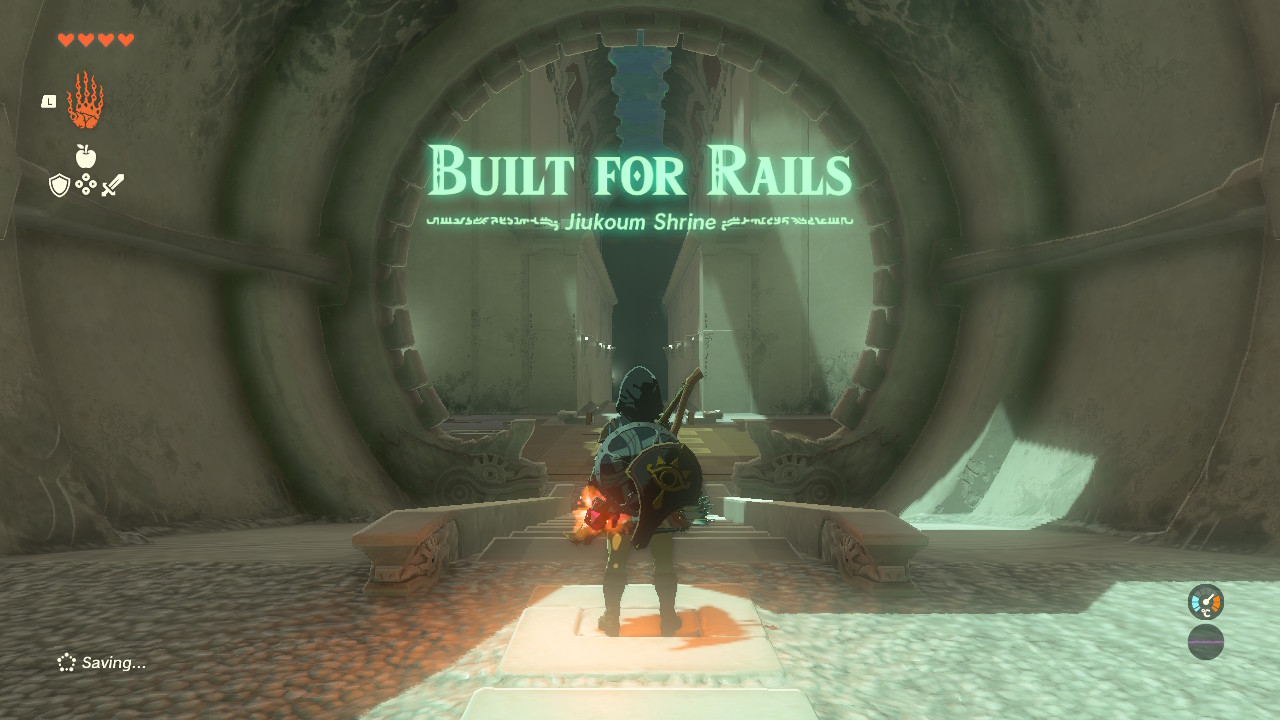
Built for Rails
Inside the Jiukoum Shrine, as mentioned, the obstacles are huge gaps with rails. Link must cross these large gaps to reach the altar at the end of the shrine. To cross these gaps, Link must use slabs of concrete or metal inside the shrine. Link must also do the same to find the treasure chest inside. There is also a part in the shrine where Link must use Zonai Devices. Link’s Energy Wells will not deplete when using Zonai Devices inside Shrines.
Jiukoum Shrine Tears of the Kingdom Guide
Link must do these to finish the Jiukoum Shrine and get a Light of Blessing:
- First, head down the stairs, where Link will find a narrow path with a gap in the middle. The gap is connected by two rails. Before the rails, two square slabs of concrete. Hold the L button and select the Ultrahand ability with the right stick. Aim on one of the square concrete slabs and press the A button to grab it. Bring one of the concrete slabs’ sides to one of the sides of the other square concrete slab. Press the A button to attach them and create a rectangular concrete slab.
- After that, press the L button again to ready the Ultrahand ability and aim at the attached concrete slabs. Press the A button to grab it and bring it to the rails on the narrow path. Ensure that both sides of the rectangular concrete slab touch the two rails.
- Then, upon placing the concrete slabs, quickly go to and embark on the attached concrete slabs. They will then move slowly towards the narrow path and cross the gap.
- Drop off the concrete slabs at the end of the rails and head to the right. Here, Link will find a very large gap with two rails closer to each other. At the start of the rails is a rectangular concrete slab. On the left of that are a bunch of square concrete slabs, another small gap, and a high platform. This platform has a treasure chest on top.
- Press the L button again to ready the Ultrahand ability and aim at the previously-attached concrete slabs. Press the A button to grab it and bring it to the stack of square concrete slabs. Bring either of the attached concrete slab’s short sides to one of the sides of a square concrete slab. Press the A button to attach it and create a longer concrete slab. Do this to one more square concrete slab to create a long slab with four square concrete slabs.
- Next, press the L button to aim the Ultrahand ability and aim at the end of the attached concrete slabs. Press the A button to grab it, hold the R button, and use the directional buttons to rotate it. The attached concrete slabs should be flat, and the side nearest Link should be short. Bring this long concrete slab above the small gap and the high platform on the left. Set the long concrete slab so that one end touches the platform’s top and the other is on the platform with Link. With this, Link has created a ramp for the platform. Head up the ramp and open the chest to get a Sticky Elixir.
- Following that, head down the ramp. Press the L button to ready the Ultrahand ability and aim at the rectangular concrete slab on the rails. Press the A button to grab and set it on the platform near Link. Press the L button again to ready the Ultrahand ability and aim at the unused square concrete slab.
- Press the A button to grab it, hold the R button, and use the directional buttons to rotate it upright. Bring it near the end of one of the short sides of the rectangular slab. The square slab should be standing just near the end, not on the actual end of the rectangular slab. Also, if the rectangular slab is laid flat horizontally, the square slab should be vertical on top of it. Press the A button to attach them.
- Then, press the L button to ready the Ultrahand ability again and aim at one of the square slabs on the makeshift ramp. Press the A button to grab it and wiggle the right stick side to side to detach it from the other slabs. Hold the R button and use the directional buttons to set the square slab upright. Bring this square slab near the end of the opposite side of the rectangular slab. Press the A button to attach them.
- After that, press the L button to ready the Ultrahand ability and aim at the rectangular slab at the bottom. Press the A button to grab it. Hold the R button and use the directional buttons to rotate it. Rotate the contraption so that the rectangular slab is on top and the square slabs are making it stand on the bottom. Set this structure on the rails with the two rails between the square slabs. After setting it down, quickly embark on top of the rectangular slab to ride it as it slowly moves on the rails. The slabs will then bring Link and follow the rails.
- Next, at the end of the rails, disembark and head up the stairs. Here, Link will find a rectangular slab and three square slabs. There are also two pairs of rails in the middle of the room and three Zonai Fans on the opposite side. Using the Ultrahand ability, the rectangular slab and two square slabs nearby create a structure similar to the previous slab structure used to reach this area. Link can also add a third square slab in the middle to stabilize the rails ahead.
- Then, press the L button to use the Ultrahand ability and aim at the newly-built slab structure. Press the A button to grab it. Hold the R button and use the directional buttons to set the structure upright. Set the slab structure on top of the rails. The two square slabs should be in between the two pairs of rails.
- Then, press the L button again to ready the Ultrahand ability and aim at one of the Zonai Fans. Press the A button to grab it and bring it to the back of the slab structure. Place the Zonai Fan in the middle of the back with the fan facing back. Press the A button to attach it. Do the same to the other two Zonai Fans, but place them on both ends of the back of the slab structure with the fans facing backward.
- Afterward, strike the Zonai Fans with a weapon on top of the slab structure. The fans will then activate and get the slab structure moving forward on the path of the rails. If everything goes well, the slab structure will transfer to the next pair of rails.
- Finally, upon getting to the end of the rails, disembark from the slab structure and approach the altar. Press the A button to examine the green symbol, and Link will obtain a Light of Blessing!
Read: Tears of the Kingdom: Susuyai Shrine Guide
Again, this guide is about the Jiukoum Shrine, titled “Built for Rails.” This is one of eight Shrines in the Popla Foothills Skyview Tower region. The other seven Shrines are the En-oma Shrine or the “Rauru’s Blessing;” the Ishokin Shrine or another “Rauru’s Blessing;” the Jochisiu Shrine or another “Rauru’s Blessing;” the Joju-u-u Shrine or the “Building Bridges;” the Susub Shrine or another “Rauru’s Blessing;” the Utojis Shrine or another “Rauru’s Blessing;” and the Utsushok Shrine or the “Long or Wide.”