Learn everything you need to know about the Tajikats Shrine in Tears of the Kingdom!
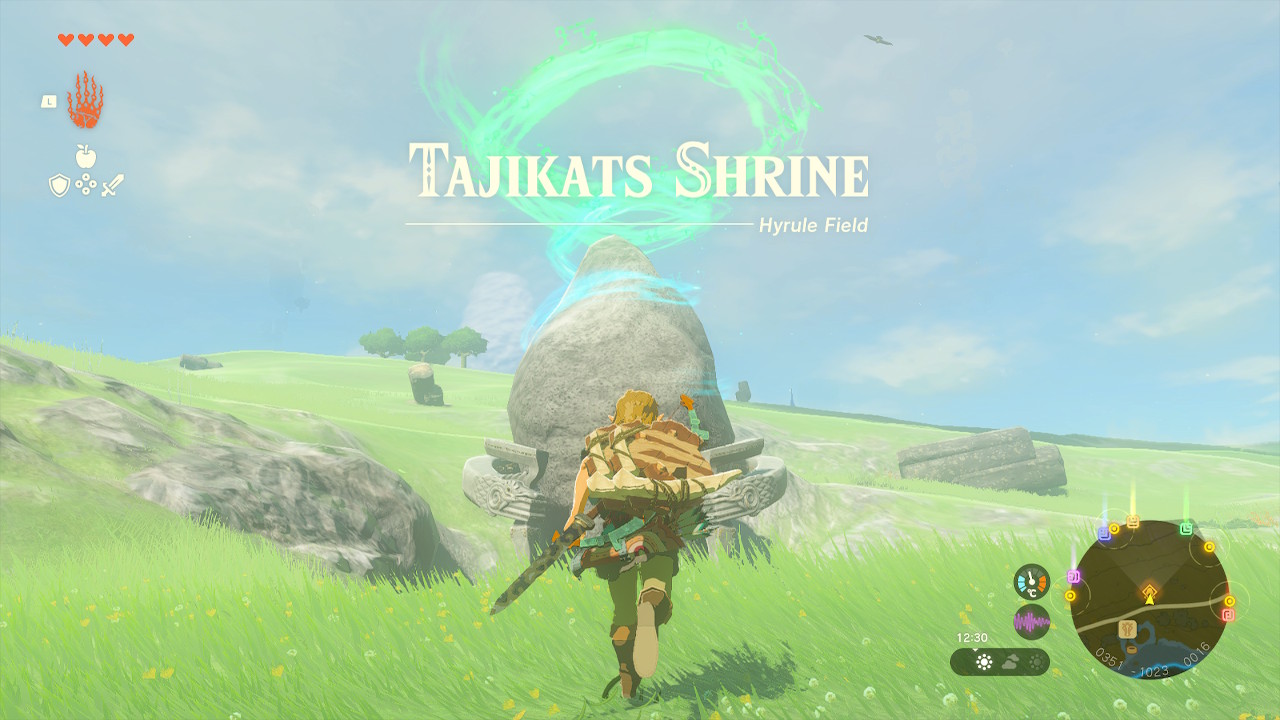
Link must finish Shrines to obtain the Lights of Blessing in the newest entry to the Zelda series. Link can trade the Lights of Blessing for more stamina vessels or heart containers, increasing Link’s vitality. The Tajikats Shrine, dubbed “Building with Logs,” is one of several Shrines dispersed around Hyrule.
Link must cross obstacles using logs to clear this Shrine. Link can reach the altar at the shrine’s far end through this. Despite it seems challenging, this Shrine is quite simple to clear.
In this guide, we will walk you through all that Link must perform to complete the Tajikats Shrine, find the treasure chest, and acquire the Light of Blessing. So, prepare because it’s time to finish the Tajikats Shrine in Tears of the Kingdom!
Tajikats Shrine’s Location in Tears of the Kingdom
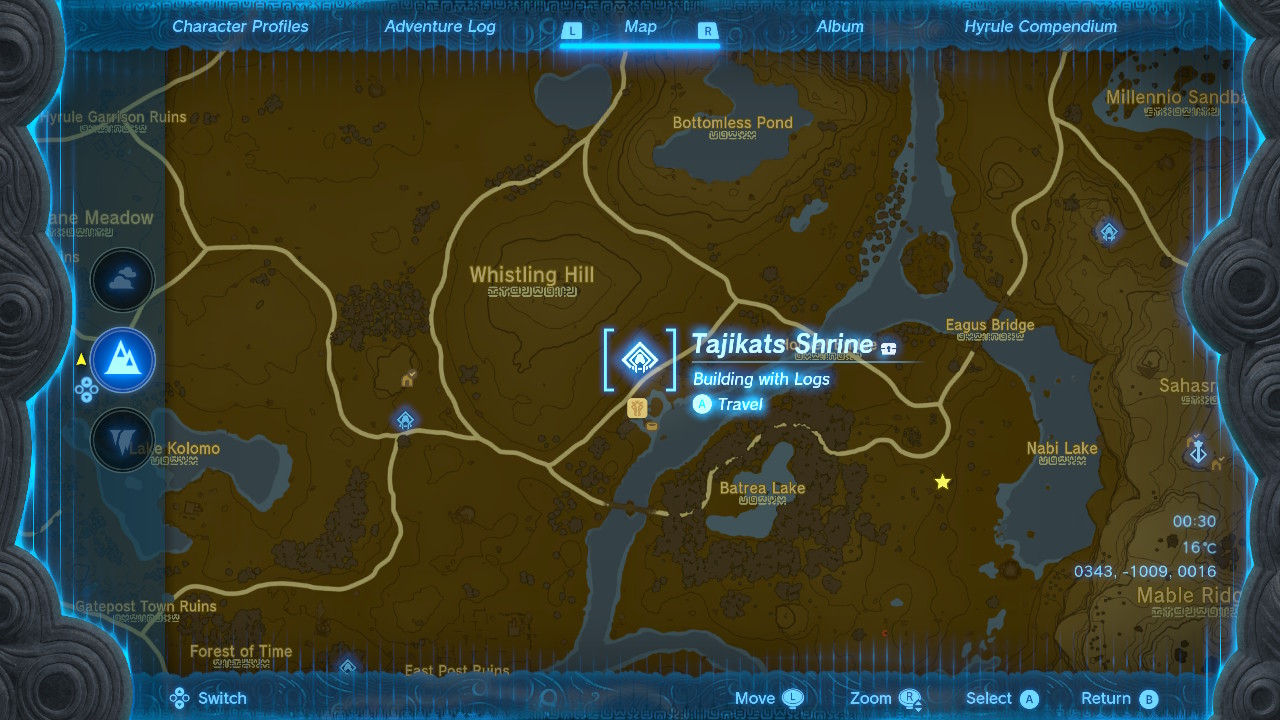
Link can find the Tajikats Shrine near the Riverside Stable way east of the Hyrule Field Skyview Tower. Likewise, this area is east of Teniten Shrine or way southeast of Jiosin Shrine. Specifically, Link can access the Tajikats Shrine at these coordinates: 0344, -1007, 0016. When Link activates the Hyrule Field Skyview Tower, the map includes 10 Shrines in the area, including the Tajikats Shrine.
Building With Logs
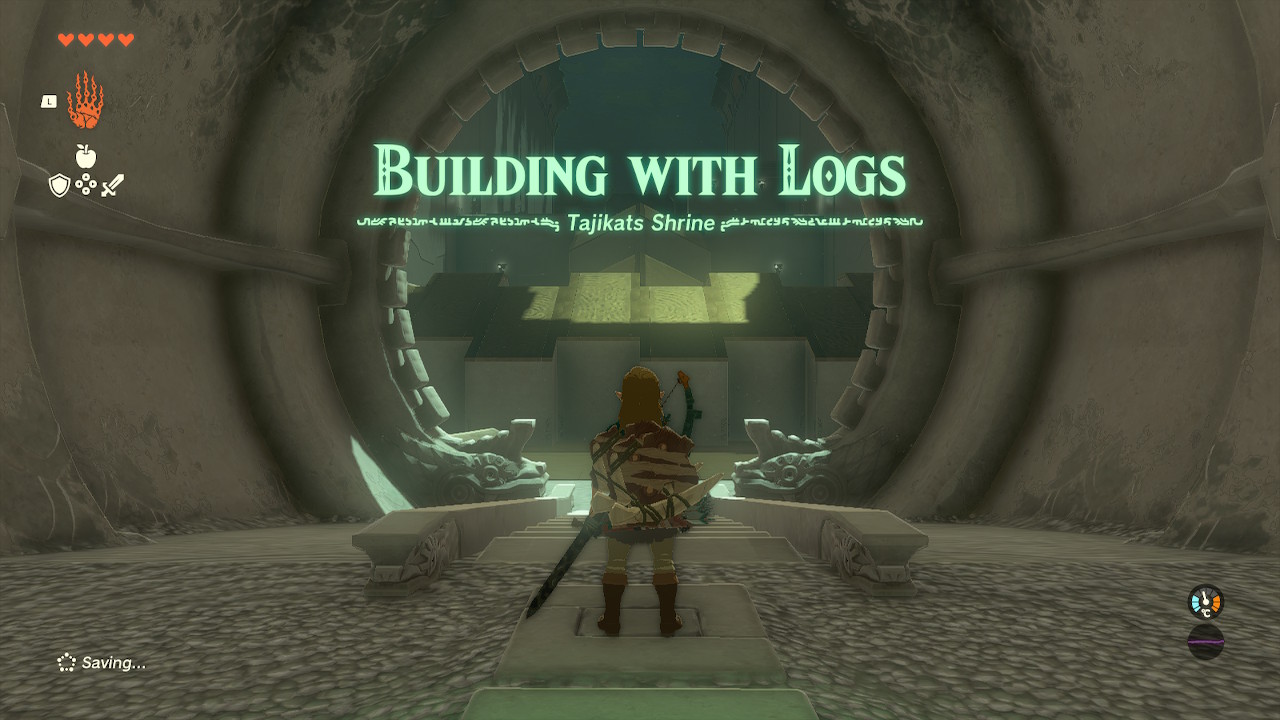
Inside the Tajikats Shrine, Link must cross multiple gaps to reach the altar at the end of the Shrine. To do that, Link must manipulate many logs using the Ultrahand ability. This guide will enumerate everything Link needs to do to complete the Tajikats Shrine.
Tajikats Shrine Tears of the Kingdom Guide
To complete the Tajikats Shrine and acquire the Light of Blessing, Link must do these:
- First, head down the stairs, where Link will find an unreachable elevated platform. On the left, Link will find a lengthy log. Hold the L button and select the Ultrahand ability with the right stick. Aim on the long log and press the A ability to grab the log.
- Hold the R button and press the directional buttons to rotate the log. Rotate it so that the log is upright but angled away from Link. Set the log so that it is leaning on the elevated platform.
- After that, climb up the log to reach the top of the elevated platform and then up the slope.
- At the top, Link will find a triangular ramp with a gap in the middle. Below this triangular ramp is a large pool of water. Near the ramp, Link will find two logs.
- Press the L button to ready the Ultrahand ability and aim at one of the logs. Press the A button to grab the log and bring its side to the side of the other log. Press the A button again to attach them.
- Then, press the L button again to ready the Ultrahand ability and aim at the attached logs. Press the A button to grab them and bring them up the ramp. Set them on top of the triangular ramp so that the middle gap of the two logs is set on the tip. Hold the R button and use the directional buttons to rotate the attached logs if necessary.
- If this is too tricky, Link can attach the previous log he used to climb up the platform. Link can attach it to the previously attached logs so that the logs form a pyramid. Then, Link can place them up the ramp so that it hugs the shape of the ramp. Head up the ramp and cross the gap to continue.
- Next, Link will find a pool of water and two logs on the side. Link will not be able just to cross this pool as Link cannot climb up the platform at the end. Press the L button to ready the Ultrahand ability and aim at one of the logs. Press the A button to grab it and bring either of its ends to the other log’s ends. Press the A button to attach them and create one long log.
- Press the L button again to ready the Ultrahand ability and aim at the attached logs. Press the A button to grab it and set the attached logs so that one end of the attached logs is on the platform and the other end is on the platform across the pool. Hold the R button and use the directional buttons to rotate the logs if necessary.
- After that, cross the pool of water using the attached logs. Link will find another pool of water in this part, but the platform on the other side is higher. On the right, Link will find four more logs. Approach one of the four logs and press the L button to ready the Ultrahand ability.
- Aim on one of the four logs and press the A button to grab it. Bring this log near the attached logs that Link used as a bridge. Set either end of this log to the end of the attached logs and press the A button to attach them.
- Then, press the L button to ready the Ultrahand ability and aim at the attached logs. Press the A button to grab it, bring it on top of the pool, and set it as a bridge. Hold the R button and use the directional buttons to rotate the attached logs if necessary. If Link has difficulty climbing up this bridge, Link can attach more logs to widen the bridge. Head up the attached logs to continue.
- Next, Link will find a large pool of water with the altar of the Shrine in the distance. Link will find a stack of logs and two Zonai Fans on the right. Use the Ultrahand ability to remove and ready three pieces of logs from the stack. Press the L button to ready the Ultrahand ability and aim at one of the three logs. Press the A button to grab it and bring its side to the side of another log.
- Press the A button to attach them. Press the L button again to ready the Ultrahand ability and aim at the remaining log. Press the A button to grab it and bring its side to the side of the attached logs. Press the A button again to attach the log and create a raft with three logs.
- Then press the L button to ready the Ultrahand ability again and aim at one of the Zonai Fans. Press the A button to grab it and bring it to one of the shorter sides of the raft. Hold the R button and press the directional buttons to rotate the Zonai Fan to face outwards of the raft. Bring it near the edge of the shorter side of the raft and press the A button to attach it. Do the same to the other Zonai Fan and attach it near the other Zonai Fan. Link has now created a raft with two Zonai Fans on one end facing outwards.
- Then, when facing the altar, Link will find a platform in the distance on the left side of the room. On this platform is a treasure chest. Press the L button again to ready the Ultrahand ability and aim at the raft contraption. Press the A button to grab it and put it in the pool of water. Hold the R button and use the directional buttons to let the raft face the platform with the chest.
- Next, embark on the raft and attack the Zonai Fans once to activate it. The Zonai Fans will blow the wind backward to propel the raft forward. Ride the raft to reach the platform with the treasure chest. Once on the platform, disembark the raft towards the platform and approach the treasure chest. Open the chest to obtain a Spiky Shield.
- After that, press the L button again to ready the Ultrahand ability and aim at the raft contraption. Press the A button to grab it and let it face the platform with the altar. Hold the R button and press the directional button to rotate if necessary. Embark the raft and strike the Zonai Fans to activate it. Ride the raft towards the platform with the altar.
- Finally, on the platform with the altar, disembark the raft and approach the altar. Then, press the A button to interact with the sigil, and Link will get a Light of Blessing!
The Tajikats Shrine, also known as the “Building With Logs,” is now completed with this guide! This Shrine is only one of ten Shrines in the map section revealed by the Hyrule Field Skyview Tower. Kyokugon Shrine called the “Alignment of Circles;” Sonapan Shrine, called the “Missing Pathways;” Teniten Shrine, called the “Combat Training: Throwing;” Mayachin Shrine, called the “A Fixed Device;” Tsutsu-um Shrine, called the “Fire and Water;” Kamizun Shrine, called the “Proving Grounds: Beginner;” and Usazum Shrine, called the “Rauru’s Blessing.” Finally, thanks for reading this guide for the Tajikats Shrine!


