Secure your team’s post-plant play with these easy KAYO molly lineups.
Fracture is currently the second most successful map for KAYO mains, according to ValorBuff, and it isn’t too surprising. Fracture is a map where Sentinels such as Chamber, Sage, Killjoy, and even Cypher can do some real damage with their traps, thanks to the multiple corners and narrow entryways towards either bombsite on the map.
KAYO is picked a lot on Fracture to counter these Sentinels, so it is pretty much a given that his EMP knife will be his bread and butter on Fracture. On the other hand, KAYO’s FRAG/ment molly is also a strong stalling tool for countering enemy pushes and delaying the bomb defuse post-plant.
KAYO FRAG/ment Molly

FRAG/ment is KAYO’s molly ability. Like most molly utilities in VALORANT, FRAG/ment deals powerful damage over time over a large area. This can be very good for clearing out cubbies or driving enemy players away from contested grounds around maps.
Unfortunately, unlike Viper’s Snake Bite or Brimstone’s Incendiary, KAYO’s FRAG/ment only lasts 4 seconds, making it less ideal for delaying the Spike defuse on post-plant. It does, however, make up for the low duration with high tick damage that should deter enemy players from standing in its radius.
- Equip Time: 0.7 seconds
- Unequip Time: 0.6 seconds
- Windup: 0.5 seconds
- Radii: 1 meter (inner) and 4 meters (outer)
- Damage: 25-60 per tick (inner radius deals more damage)
- Ticks/Tick Rate: 1 every 1 second
- Duration: 4 seconds
Fracture A-site KAYO Molly Lineups
A-site will be tricker in post-plant molly lineups because of the platform covering the A-Default area. For the most part, you can just throw KAYO’s molly toward the base of the radianite boxes at A-Default and still cover the A-Default area.
Nevertheless, below are some very handy post-plant lineups from A-Ropes and A-Dish that will cover A-Default and A-Platform, respectively.
A-Default Molly
- Stand in this corner in A-Rope:

2. Place the Keybind letter of KAYO’s molly on the left side of this small mark on the wall:


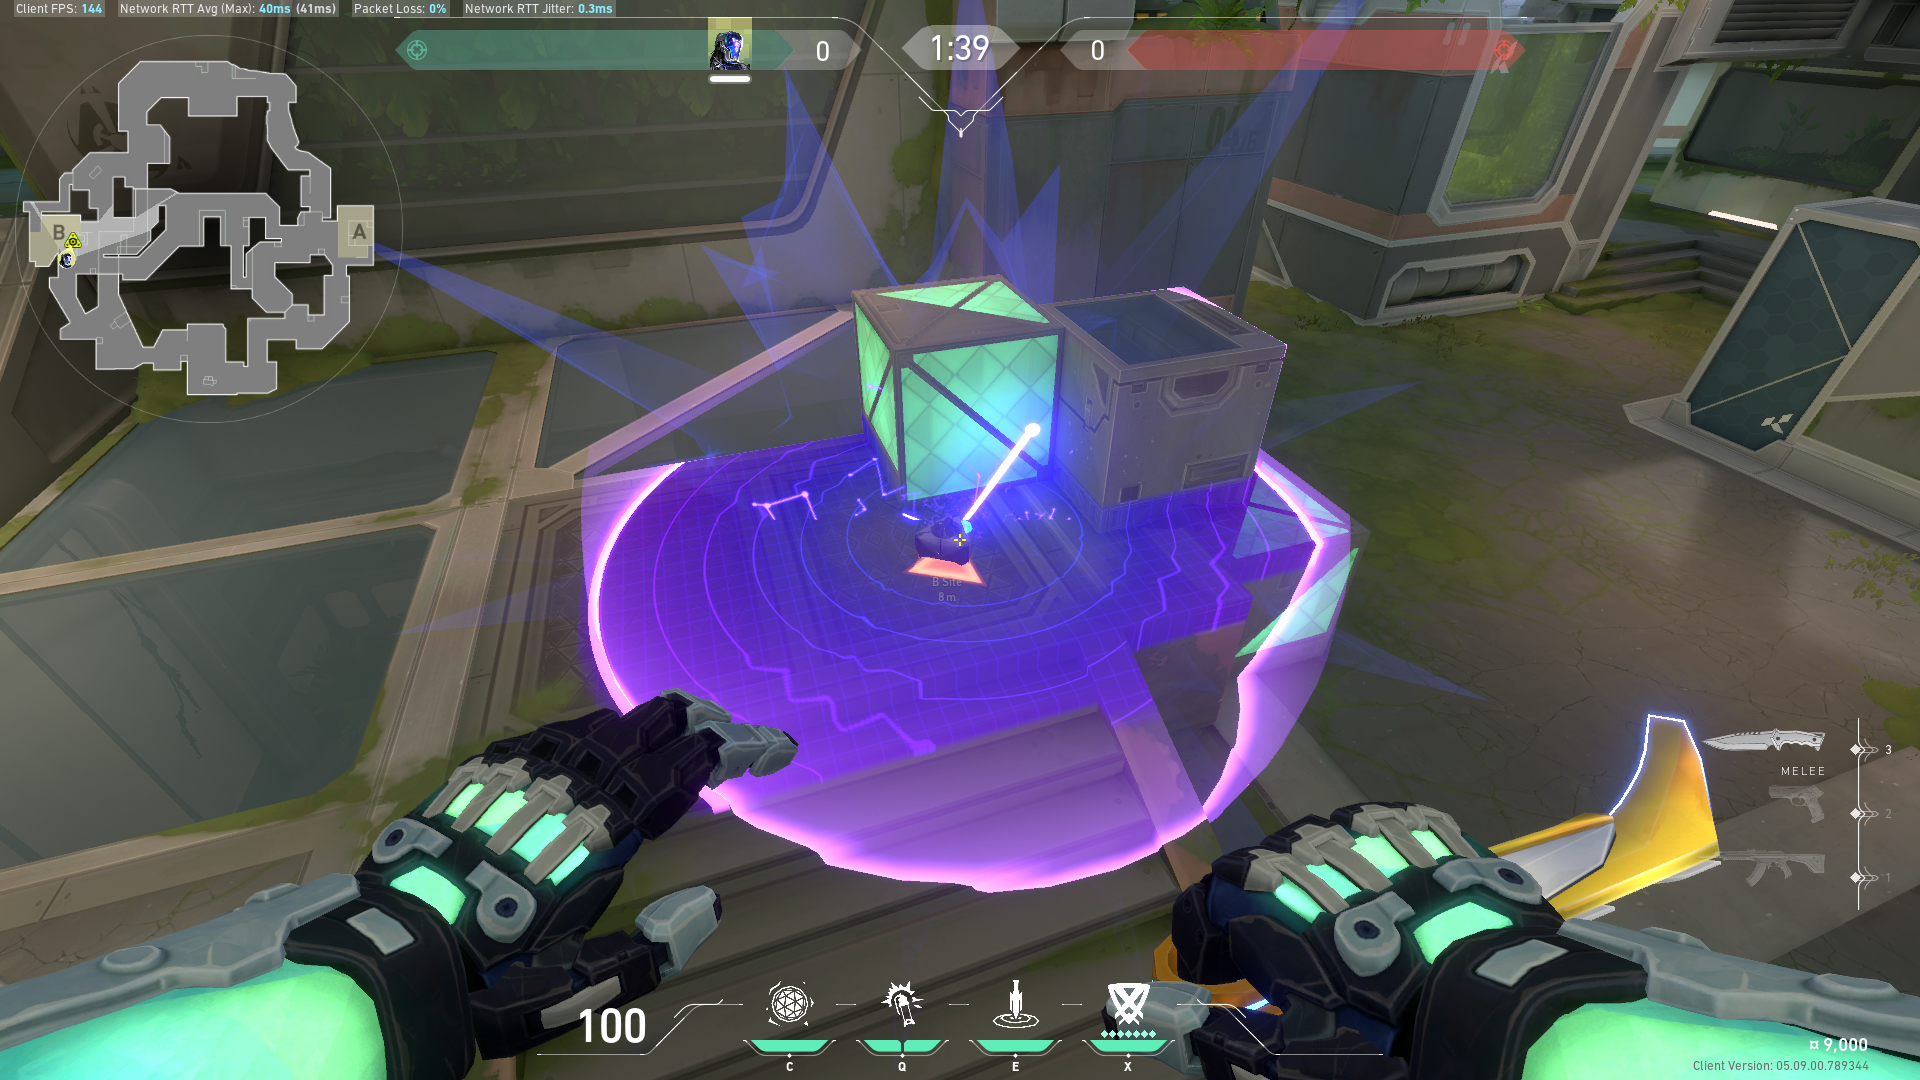
3. Throw KAYO’s molly:

When done properly, KAYO’s molly should land at A-Default:

A-Upper Default Molly
- Stand in the middle of this rock in A-Dish:


2. Place the tip of KAYO’s knife icon in this corner:


3. JUMPTHROW KAYO’s molly:

When lined up properly, KAYO’s molly should land in the platform above A-Default:

Fracture B-site KAYO Molly Lineups
On Fracture’s B-site, you can throw KAYO’s molly from B-Main or B-Arcade to cover B-Default and B-site safe plant. Depending on where you are playing post-plant, you will have a few reliable post-plant molly lineups that will delay the Spike defuse for at least four seconds.
Fracture B-Default Molly from B-Lobby
- Stand along the right edge of this radianite box in B-Lobby:


2. Place the curved tip of the HP HUD line in this corner on the wall:


3. Throw KAYO’s molly:

When done properly, KAYO’s molly should land at B-Default:

B-Default Molly from B-Arcade
- Stand in this corner in B-Arcade:

2. Place this tip of the HP HUD line on the edge of the roof:


When done properly, KAYO’s molly should land at B-Default:

B-Safe Plant Molly
- Stand in this corner in B-Arcade:

2. Place the right tip of KAYO’s molly charge HUD line on the bottom tip of the yellow triangle on the wall:


3. Throw KAYO’s molly:

When done properly, KAYO’s molly should land at the safe plant spot in B-site:

Stalling Tactics
KAYO’s kit makes him a great pick on maps with smaller bomb sites such as Fracture. His EMP knife can easily cover a ton of area in either bombsite, which can help make site entry more manageable, or give your team early information if you’re playing the defending side.
On the other hand, KAYO’s molly might not have the duration as some of the other longer-lasting mollies in VALORANT, such as Brimstone’s Incendiary or Viper’s Snake Bite. Still, the damage it inflicts per tick is enough to take down low-HP enemies post-plant if they decide to stick the Spike defuse.