Learn the best Viper Wall setups on Fracture in Valorant!
Fracture departs from typical tactical shooter map layouts that feature an A-site, Middle, and B-site combo. Substituting the usual middle lane present in most maps are double ziplines that allow the Attacking team to move to and from the opposite side of the map at round start, giving them instant access to flanking lanes on either bombsite on the map.
To make life on Fracture easier on both the Attacking and Defending sides, teams need at least one Controller that can smoke or block off multiple lanes. Viper and her powerful Toxic Screen ability instantly come to mind.
We have compiled the best Viper Toxic Screen Wall setups for Fracture in this guide.
Viper Wall in 2022
Viper’s Toxic Screen peaked back in Patch 2.06 when the devs decided to bump up the contact decay damage for crossing Toxic Screen to 50 decay damage. This change alone made Viper’s Toxic Screen the deadliest and most cost-effective smoke ability in VALORANT.
After Patch 2.06 dropped, Viper slowly ruled the VALORANT meta thanks to her reusable smoke cover in Toxic Screen and Poison Cloud. The buffs given to Viper in Episode 2 made her a must-pick on maps such as Icebox and Bind, where she can play as an effective Sentinel-like anchor on Defense or resume her typical Controller duties on Attack.
However, Viper’s reign was cut short when Patch 4.04 dropped a year later. Viper would receive crippling nerfs that would push her back from the top of the Controller tier list and help make other Controllers like Brimstone and Omen more relevant.

Right now, Viper’s Toxic Screen does not last as long as it used to because of the changes the devs made with Viper’s Fuel. Whenever Toxic Screen and Poison Cloud are active simultaneously, Viper’s Fuel bar will drain 50% faster, limiting Viper’s ability to cover multiple spots simultaneously.
Toxic Screen, Poison Cloud, and Viper’s Pit now deal less initial decay damage as well (50 >>> 30), making them less deadly than they were a few patches ago.
Overall, Viper remains a decent pick on most maps in VALORANT. Her Toxic Screen can still cover space as no other Agent can. Still, Viper players must be mindful of the increased Fuel consumption and overall reduced duration when executing offensive and defensive plays in VALORANT.
Fracture A-site Viper Wall Setups
A-site is arguably the easier site to control Fracture. Viper can easily block half of the A-site and allow her team to enter the bomb site. Viper’s Wall can easily deny the Defending team’s vision towards A-Default, making it difficult to execute a retake.
On Defense, Viper’s Wall can be set up to cover both A-Main and A-Rope areas. However, you must use Poison Cloud on A-Drop to cover all the lanes toward the A-site.
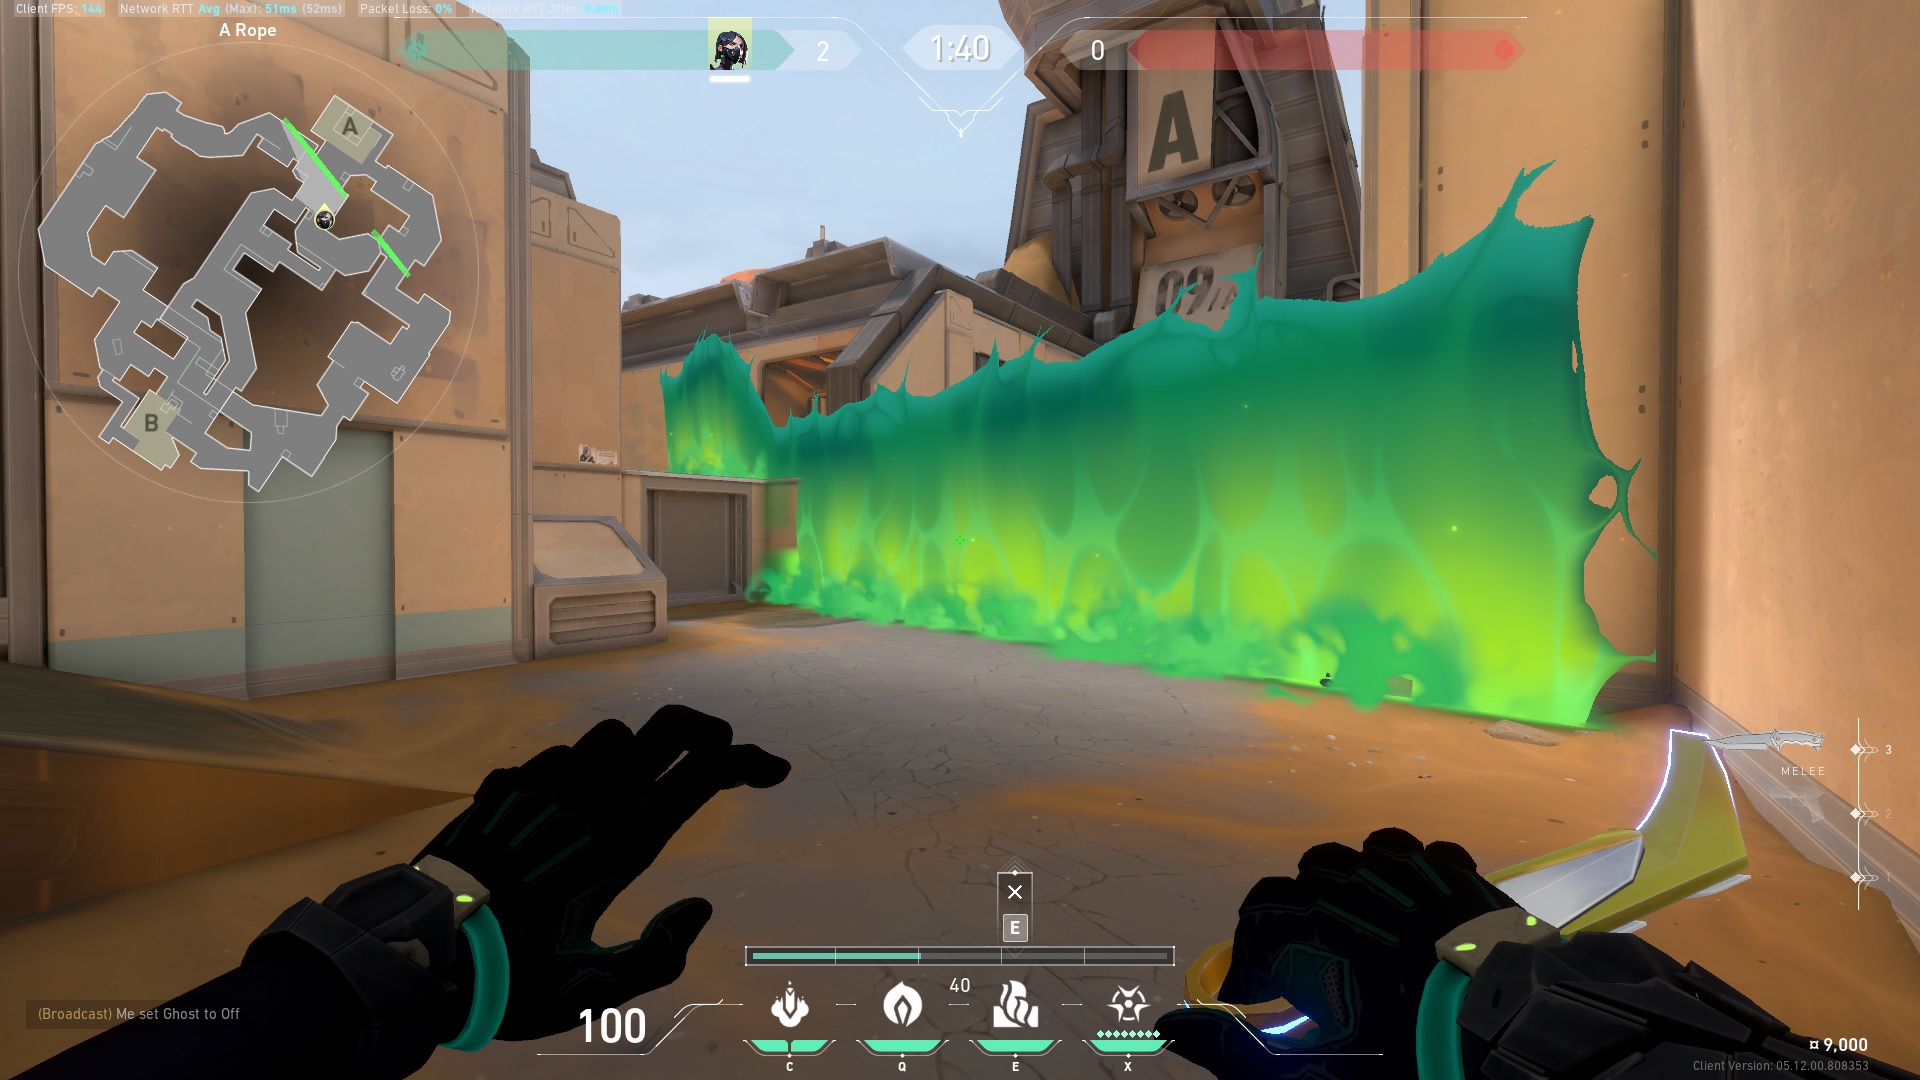
Fracture A-site Default Wall (Attacking)
- Stand in this corner outside A-Hall:

2. Aim high and ensure Viper’s Wall covers A-site and A-Drop.


Fracture A-site Default Wall (Defending)
- Stand against this wall in A-site:

2. Aim high and make sure to cover the A-site entrance and the A-Hall entrance.


3. You can play aggressively with this Viper Wall and catch aggressive Attackers in A-Hall. You can use the Viper Wall to fall back to safety within the A-site when things go south.


Fracture A-site A-Rope Wall (Defending)
- Stand in this corner at Defender Spawn:

2. Make sure to cover the A-Rope and Mechanical Door:


Fracture B-site Viper Wall
The Attacking team can take the B-Main or the B-Arcade lane to enter B-site. Typically, the Attacking team will take the B-Main and B-Arcade lanes simultaneously, with most of the team taking the B-Main lane.
With Viper’s Wall, you can easily block off direct sightlines from Defender Spawn, B-Canteen, and B-Tower simultaneously from B-Main and make entry from B-Arcade much easier for your teammates playing from that spot.
Fracture B-site Default Wall (Attacking)
- Stand in this corner at B-Tree:
2. Refer to the image below to get a better idea of the Viper Wall placement:

This Viper Wall placement should cover B-Site and the B-Rope area, simplifying B-Arcade control. Remember to clear B-Tower so you do not get caught off guard by the Defenders.

Fracture B-site Alternate Wall (Attacking)
- Stand against this wall in B-Tree:

2. Aim high so Viper’s Wall does not end up short. Refer to the image below to get a better idea of the placement.


Fracture B-site Default Wall (Defending)
- Stand here at Defender Side Spawn:

2. Place Viper’s Wall in a straight line to cover the B-Tower entrance and A-Arcade. Refer to the map image below to better understand the placement.


Unfortunately, you cannot cover the B-Main entrance with Viper’s Wall. You can use Viper’s Poison Cloud to block off that area instead.
Viper on Fracture
Viper peaked in Episode 2, where she was a must-pick on maps such as Icebox and Bind. Since then, Riot Games has nerfed Viper to make other Controllers more attractive by significantly reducing the durations of her abilities.
With that said, Viper is still a capable Controller who can block off multiple sightlines with her Toxic Screen and Poison Cloud ability. She is especially good on smaller maps such as Fracture, where her Toxic Screen can easily cover lanes on A-site and B-site to aid with Attacking or Defending on the map.
With help from the Viper Wall setups we have featured in this guide, you can easily secure your team’s Spike Plant when Attacking and deter the enemy team from using multiple lanes on Defense.