When in doubt, line it up.
Pearl is an awesome map for many Sentinel and Controller Agents in VALORANT. Agents such as Brimstone, Viper, Cypher, and even Astra can use their abilities to their full effect on Pearl, thanks to the variety of molly lineups, smoke setups, and traps available on the map.
Speaking of traps, Killjoy’s Nanoswarm and Alarm Bot traps can be very powerful on Pearl. With the right setups, you can easily take down a few rushing Attackers on the map using just your double Nanoswarms, Alarm Bot, and Turret.
However, if you do not have a wide variety of traps on Pearl, your standard Killjoy setups will slowly become less effective as the enemies learn of the trap placements as the game progresses. With this in mind, you will have to improvise on some rounds. Fortunately, Killjoy’s Nanoswarm works well as a lineup molly as well.
Killjoy Nanoswarm Lineup on Pearl A-site
There are only two Spike plant spots on Pearl A-site that provide the best post-plant defense potential – A-Default and A-Camp.
These lineups for A-site on Pearl will focus on these two spots. However, to give you various options in terms of positioning, we have listed at least two different lineup positions for the same spots on A-site.
Nanoswarm Post-plant Lineup for A-Default
- Stand in this corner at A-Main:

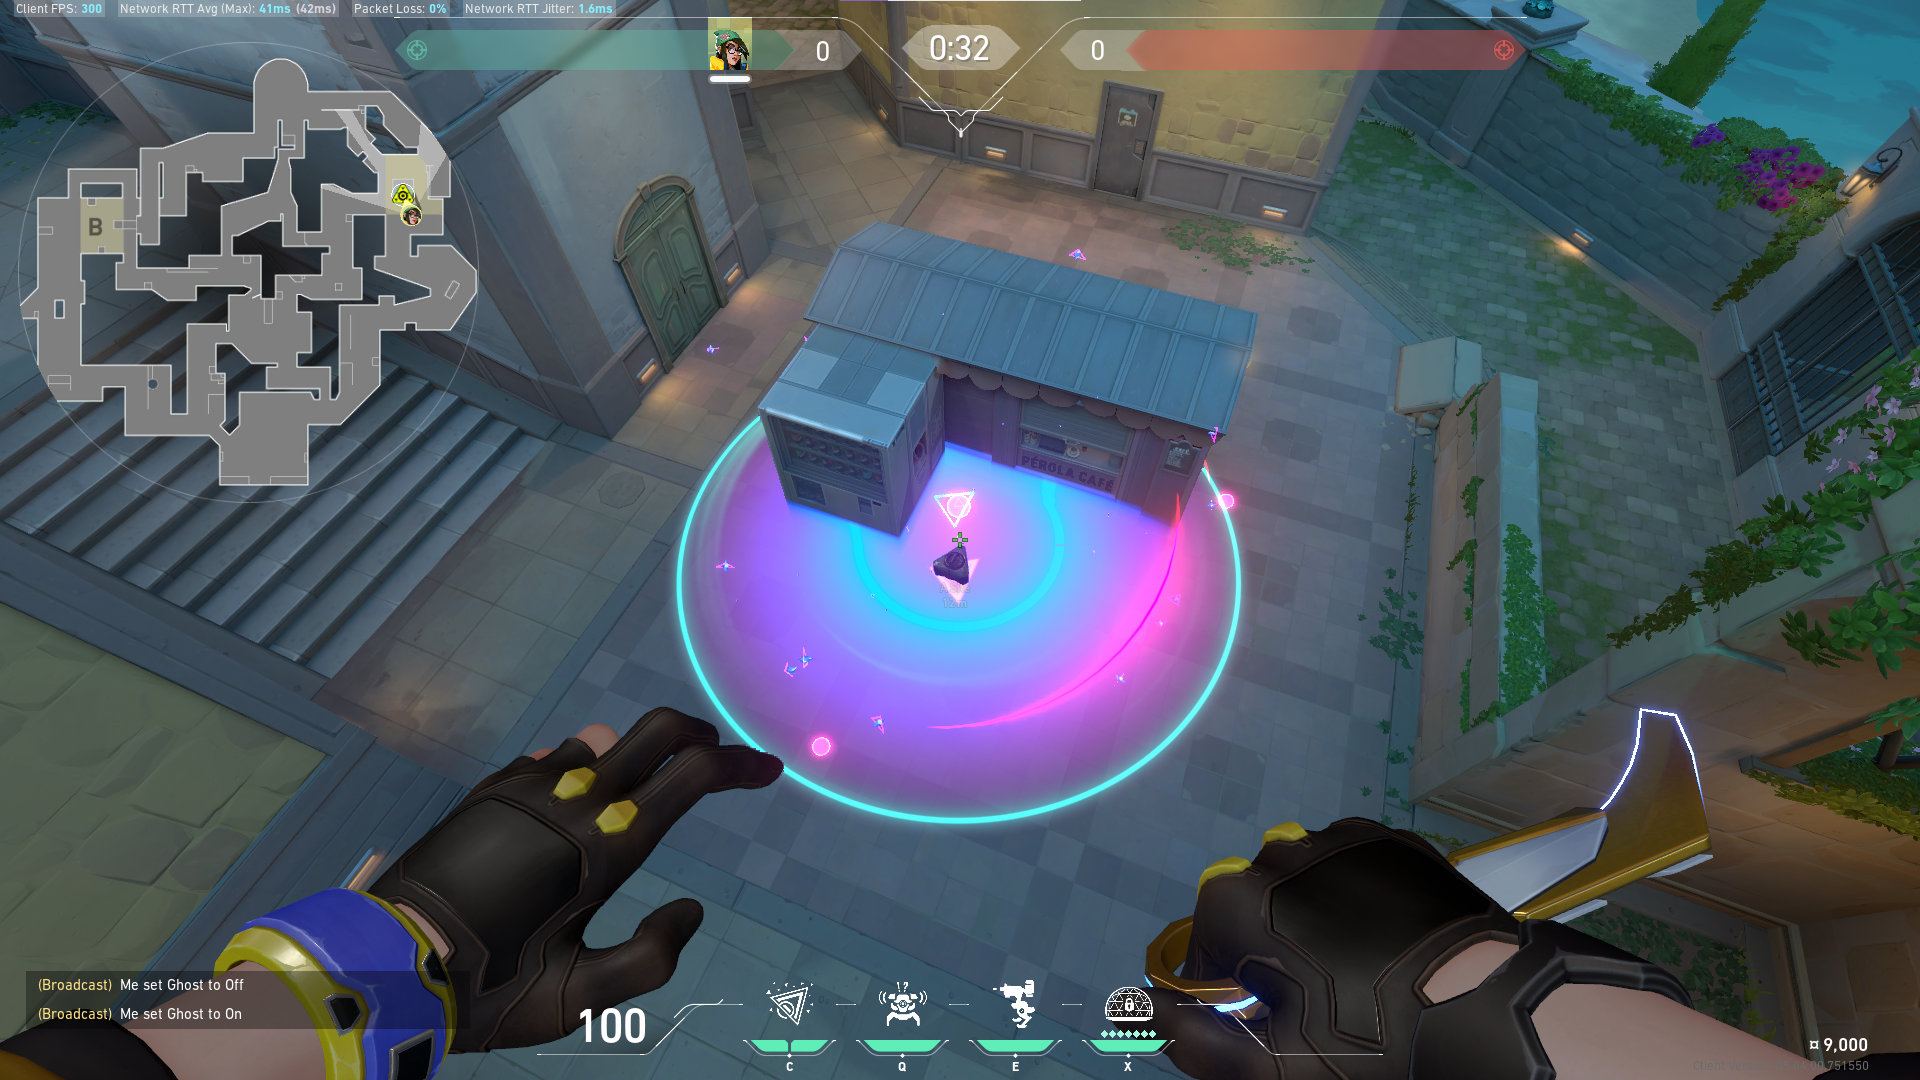
2. Place the upper part of the Turret icon underneath this middle light on the dome:


3. Throw Killjoy’s Nanoswarm Grenade:

When done properly, Killjoy’s Nanoswarm canister should land at A-Default:


Nanoswarm Post-plant Lineup for A-Camp
- Stand against this box in A-Main:

2. Align your crosshair with this small line on the box:

3. Aim for this small gap:

4. Throw Killjoy’s Nanoswarm Grenade:

When done properly, Killjoy’s Nanoswarm Grenade should land at A-Camp:


Nanoswarm Post-plant Lineup for A-Default (from A-Link)
- Stand in this corner Mid Connector:

2. Place the tip of the right-click indicator in this triangular gap on the wall:


3. Throw Killjoy’s Nanoswarm Grenade:

When done properly, Killjoy’s Nanoswarm Grenade should land at A-Default:


Nanoswarm Post-plant Lineup for A-Camp (from A-Link)
- Stand in this corner at A-Link:

2. Place the dividing line between the Alarm Bot icon and the Turret icon on the lower left corner of this window:

3. Throw Killjoy’s Nanoswarm Grenade:

When done properly, Killjoy’s Nanoswarm Grenade should land at A-Camp:


Killjoy Nanoswarm Lineup on Pearl B-site
Do your best to plant the Spike in B-Default as often as you can. Planting the Spike will be riskier and require more teamwork and communication, but if you consistently plant at B-Default, your team’s post-plant defense will become much easier.
To support this, most of the lineups we have listed for B-site will be for B-Default. However, we threw in a post-plant lineup for the safe plant spot behind the generator in case you had to plant the Spike in one of the rounds.
Nanoswarm Post-plant Lineup for B-Default
- Stand in this corner at B-Ramp:

2. Aim for the tip of the sixth tile from the left:


3. Jumpthrow Killjoy’s Nanoswarm:

When done properly, Killjoy’s Nanoswarm should land at B-Default:


Nanoswarm Post-plant Lineup for B-Default (from B-Link)
- Stand in this corner in B-Link:

2. Place the dot just above the letter “C” of the Nanoswarm icon in this corner:


3. Throw Killjoy’s Nanoswarm Grenade:

When done properly, Killjoy’s Nanoswarm Grenade should land in B-Default:


Nanoswarm Post-plant Lineup for B-Default (from Defender Records)
- Stand in this small gap between the crate and the wall at Defender Side Records:


2. Place the tip of this bend on the HP HUD line in this corner on the dome:


3. Throw Killjoy’s Nanoswarm Grenade:

When done properly, Killjoy’s Nanoswarm Grenade should land at B-Default:


Nanoswarm Post-plant Lineup for B-Safe Plant
- Stand in this corner at B-Ramps:

2. Place the left tip of the Alarm Bot and Turret HUD line on the bottom right corner of the light strip:


3. Throw Killjoy’s Nanoswarm Grenade:

When done properly, Killjoy’s Nanoswarm Grenade should land at the safe plant spot on B-site.


Nice Throw!
Killjoy’s Nanoswarm is one of the more versatile molly-type abilities in VALORANT. You can set these up as remote traps or use them as traditional molly abilities that you can line up from various parts of the map.
You can mix up your standard Nanoswarm Trap setups with these post-plant Nanoswarm lineups to keep your opponents guessing on Pearl.
Visit the PlayerAssist website for more Gaming Guides, Gaming News, Game Codes, and other Gaming Content!