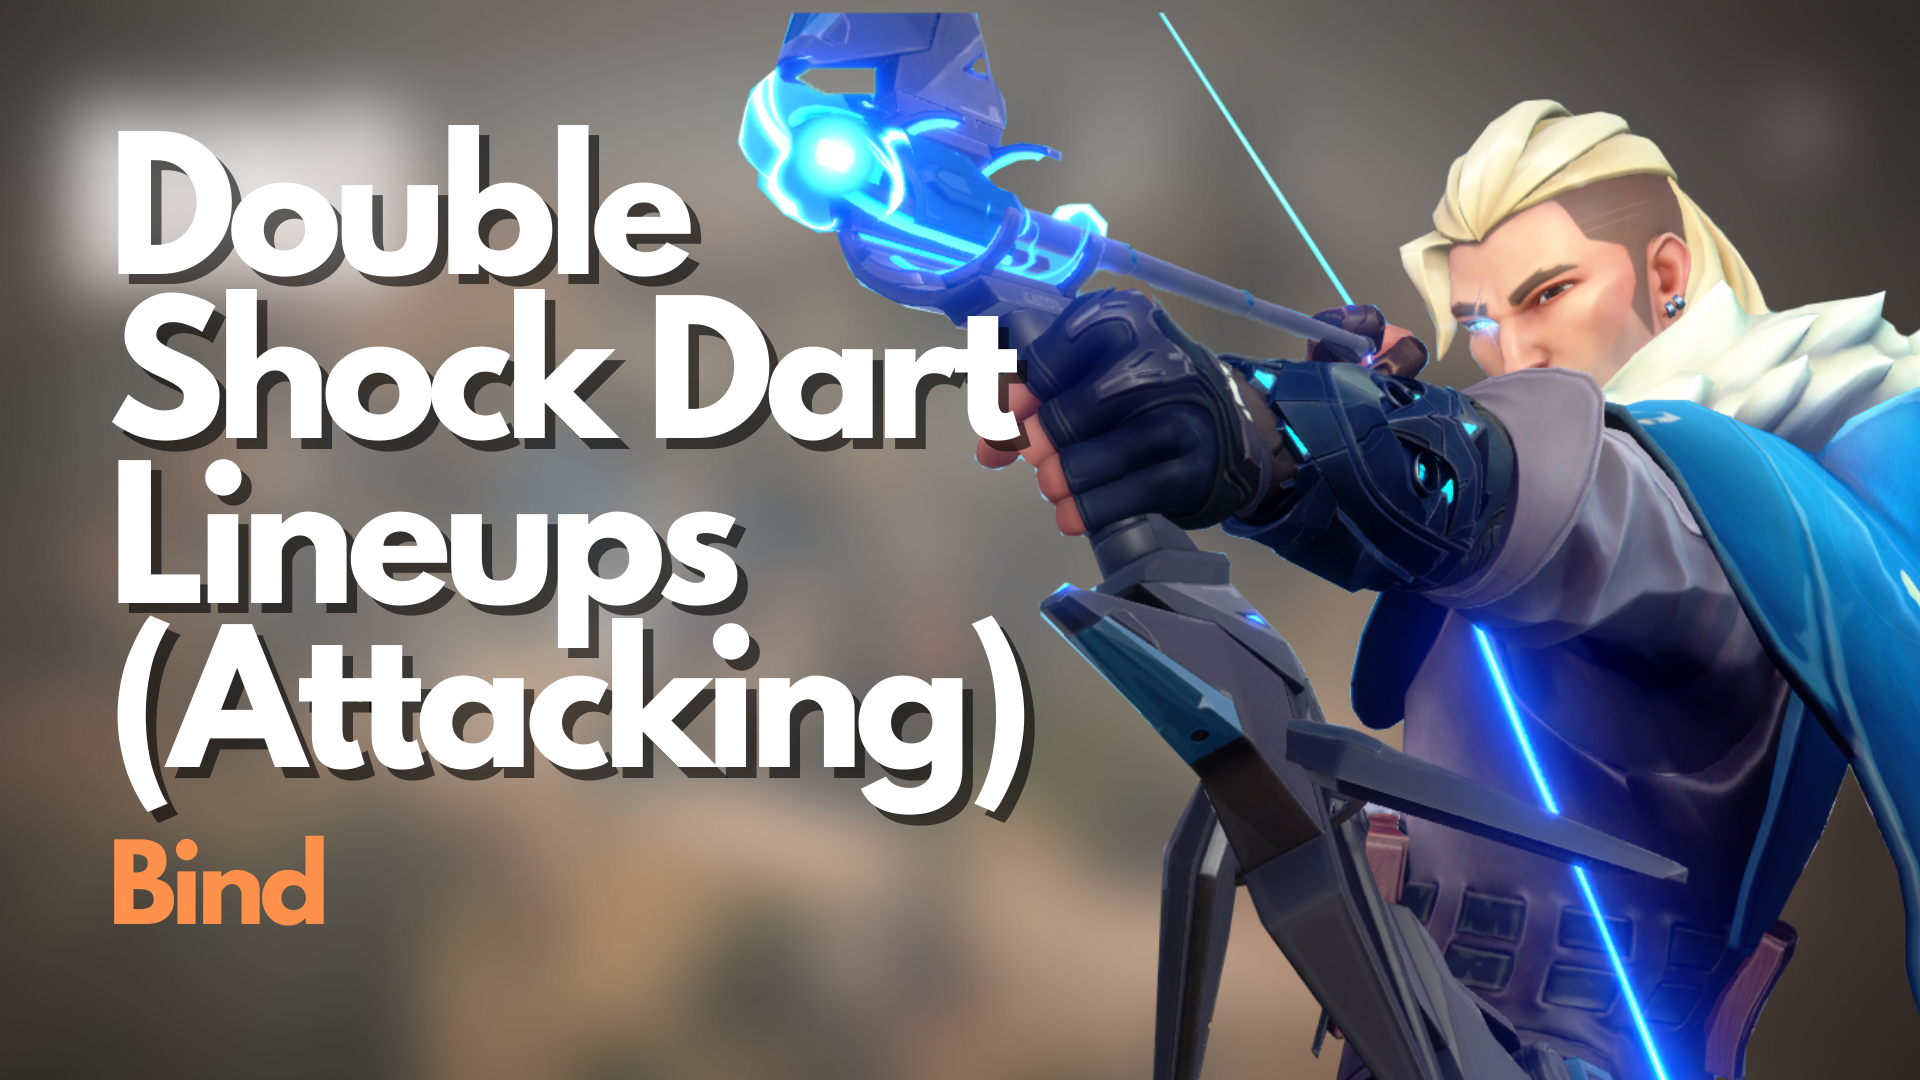
Your enemies will never know what hit them.
Taking control of either A or B-site on Bind is often a very tall order for the Attacking team because of how the map is laid out. While Bind may have an open and unobscured skybox, the entryways and alleys themselves are relatively cramped if you think about it.
Entering either bombsite on Bind without well-coordinated smoke placements and flashes can be painful. In most Ranked Queues, coordinating plays with your teammates about utility use can be challenging due to the lack of communication.

A good entry-fragger is crucial in clearing out common Defender angles to ensure your team can enter a bombsite without major issues.
Unfortunately, unless your team has a smurfing Duelist with a cracked aim, winning the Attacking-side on Bind can be difficult, especially against a well-coordinated Defending team.
If you have been using Sova a lot lately, get ready to take out your DIY kit because you will have to take it upon yourself to “entry-frag” with these Double Shock Dart Lineups for Bind.
Common Defender Spots on Bind
Scattered around VALORANT maps are common spots that give either Defenders or Attackers an advantageous angle against each other.

If you have consistent crosshair placement and decent game sense, you probably will not have any problems scoring easy kills on any map in VALORANT.
Unfortunately, Peeker’s Advantage and Ping differences mean you can not always stand and wait for the enemy to peek since you have a disadvantage in these situations.
Sometimes, you will have to deal with these tough angles using two electrically-charged arrows.
- Lamps Entrance

2. A-Heaven/Tower

3. A-site behind Triple-Box

4. Behind Tank

5. B-Window/Hooka Entrance

6. B-site Cubby

7. B-site Behind Box Peeking Garden

Lamps Entrance Double Shock Dart Lineup

A-Lamps Entrance is probably where most first-contacts happen on Bind, and it is also one of the most preferred angles that Defenders use to hold A-Short because of how easy it is to gain vision and early information on the Attacking team.
For Defenders, the Lamp Entrance is the first line of defense that their team has against an Attacker push into A-site since it is pretty much round over when Attackers gain complete control of Lamps – assuming they play it safe post-plant.
With this in mind, a Double Shock Dart Lineup for Lamps Entrance should make quick work of any Defender holding that angle and has the bonus of deterring them from keeping the same angle for fear of getting deleted from that spot of the map again.
First Shock Dart
- Look for this wooden door at A-Link:

2. Tuck yourself in the right-side doorframe:

3. Turn around and look towards this building:

4. Place the left-tip of the Owl Drone and Shock Bolt line on this corner of the building:

5. Do a two-bar charge:

Second Shock Dart
- After firing the first Shock Dart, pull your crosshair straight down until it aligns with this dark spot:

2. Do a 1-bar charge:

Together, the Double Shock Dart should land at Lamps Entrance at the same time:
A-Heaven/Tower Double Shock Dart Lineup

A-Heaven is another favorite spot for Defenders because of the excellent vantage point for both A-Short and Showers.
Defenders are relatively safe from enemy fire from this angle, thanks to the thick walls covering the A-Heaven/Tower area.
They will not be safe for long, but they will not know that since Sova’s Double Shock Darts will be coming in fast, and hard to delete them from this spot.
First Shock Dart
- Align yourself with this large brick at the A-Short Barrier area:

2. Hug the wall:

3. Turn towards the graffiti on the wall:

4. Align the right side slope of the timer HUD line with the bottom slope of the “D” shaped graffiti on the wall. They should slot in nicely with one another:

5. Do a two-bounce + max charge:

Second Shock Dart
- After firing the first Shock Dart, quickly turn around towards the tall tower at the A-Heaven area:

2. Aim for the middle line to the left of the 2nd broken line on the tower:

3. Do a no-bounce + 1-bar charge:

Together, the Double Shock Darts should land inside the A-Heaven/Tower area:
A-site Behind Triple Box Double Shock Dart Lineup

The spot behind the Triple Box in A-site is another common Defender spot on Bind.
Defenders love this spot since it gives them an easy sightline towards A-Short and Showers. Defenders can easily shoulder peek on either side for quick information.
This next Double Shock Dart Lineup can be a massive help for your teammates trying to take control of the A-Showers area.
First Shock Dart
- Stand in the left corner on the ledge at A-Short:


2. Turn around, then place this tip of the HP HUD line on the right tip of this black line on the wall:

3. Do a no-bounce + 2-bar charge:

Second Shock Dart
- After the first Shock Dart, drag your crosshair straight down until the right Bounce-diamond’s bottom tip overlaps a little with the tip of the leaf:

2. Do a no-bounce + 1-bar charge:

Together, the Shock Darts should land at the same time behind Triple Box:
Behind Tank Double Shock Dart Lineup

While behind Triple Box is an excellent spot for Defending both A-Short and Showers, some Defenders prefer to use the spot just behind Tank to get a quick sightline towards Showers.
Defenders rotate to and from Lamps Entrance and behind Tank depending on where the Attackers might be coming from.
Here is a quick Double Shock Dart Lineup for the back of the Tank area.
First Shock Dart
- For the first Shock Dart Lineup, stand in the right corner of this ledge at A-Short:

2. Align the right tip of the right Bounce-diamond with this gap between the leaves:


3. Do a no-bounce + 2-bar charge:

Second Shock Dart
- After the first Shock Dart, drag your crosshair straight down and align the left tip of the right Bounce-diamond with the left tip of this leaf:


2. Do a no-bounce + 1-bar charge:

Both Shock Darts should land behind Tank with no problem when done correctly.
B-Window/Hooka Entrance Double Shock Dart Lineup

Defenders will often peek out or use abilities such as Sova’s Recon Arrow from B-Window to gain quick information on the B-Short area.
Hooka control is critical to the Attacking team because it completes the ideal double entry into B-site from B-Garden.
If your enemies often peek out from the B-Window area, you might want to try these Double Shock Dart Lineups to dispose of them quickly.
- Stand in this corner at Market/B-Link:

2. Look towards this wall:

3. Place the letter “A” of the Shock Dart “Charge” lettering on this crack on the wall:


4. 2-bounce + 2-bar charge:

Second Shock Dart
- After firing the first Shock Dart, run towards this corner:

2. Turn around and aim for this point on the painting on the wall:


3. 1-bounce + max charge:

Together, the Shock Darts should look like this:
B-site Cubby Double Shock Dart Lineup

While not a very prominent Defender spot for B-site, B-Cubby is worth a Double Shock Dart lineup, to be sure.
B-Cubby is a blind spot from both Hooka and B-Garden, making B-Cubby a perfect spot for eco shotgun plays for Defenders. To be sure, it might be worth keeping tabs on the enemy’s economy every round.
That aside, here is a Double Shock Dart Lineup for B-Cubby:
- Go to this corner at B-Teleporter:

2. Look up towards the Teleporter wall and look for this white spot:

3. Place the left tip of the left Shock Dart bounce-diamond on the right tip of the white spot:

4. Do a 1-bounce + max-charge:

Second Shock Dart
- After firing the first Shock Dart, aim a little to the right of this edge on the wall:

2. Do a 1-bounce + 2-bar charge:

Together, the Shock Darts should land one after the other on B-Cubby.
B-site Behind Box Double Shock Dart Lineup

B-Backsite gives Defenders a direct line of sight towards B-Garden. This spot is a familiar Defender spot that gives Defenders decent cover from enemy fire coming from B-Garden.
This spot might be worth a Double Shock Dart clear because it is a familiar spot for Defenders, especially in the lower elo.
First Shock Dart Lineup
- Go to the same corner at B-Teleporter as the previous Double Shock Dart Lineup:

2. Look towards the same edge on the wall as the previous lineup, and place the Owl Drone Charge dot on the upper right corner of this part of the wall:

3. Do a no-bounce + 2-bar charge:

Second Shock Dart Lineup
- After the first Shock Dart Lineup, drag your crosshair straight downward, then place this left tip of the Owl Drone icon on this tip of the flower painting on the wall:

2. Do no-bounce + 1-bar charge:

Together, the Shock Darts should land at B-Backsite with no problems:

It Takes Two To Tango
These Double Shock Dart Lineups will give you and your teammates tons of giggles and the enemy a painfully persistent headache.
Use these Shock Dart Lineups at least once every round when playing on Bind. Not only can these lineups potentially give you free kills off of unsuspecting enemies, but they are also a great way of clearing common Defender angles around the map safely.
So, there you have it! Check out this guide on 5 Bind Recon Bolt Lineups You Should Know, which can help when you switch over to the Defending side on Bind.
Visit the PlayerAssist website for more excellent gaming guides, gaming news, and game codes!