Wallbangs are a great way to score easy kills on unsuspecting enemies.
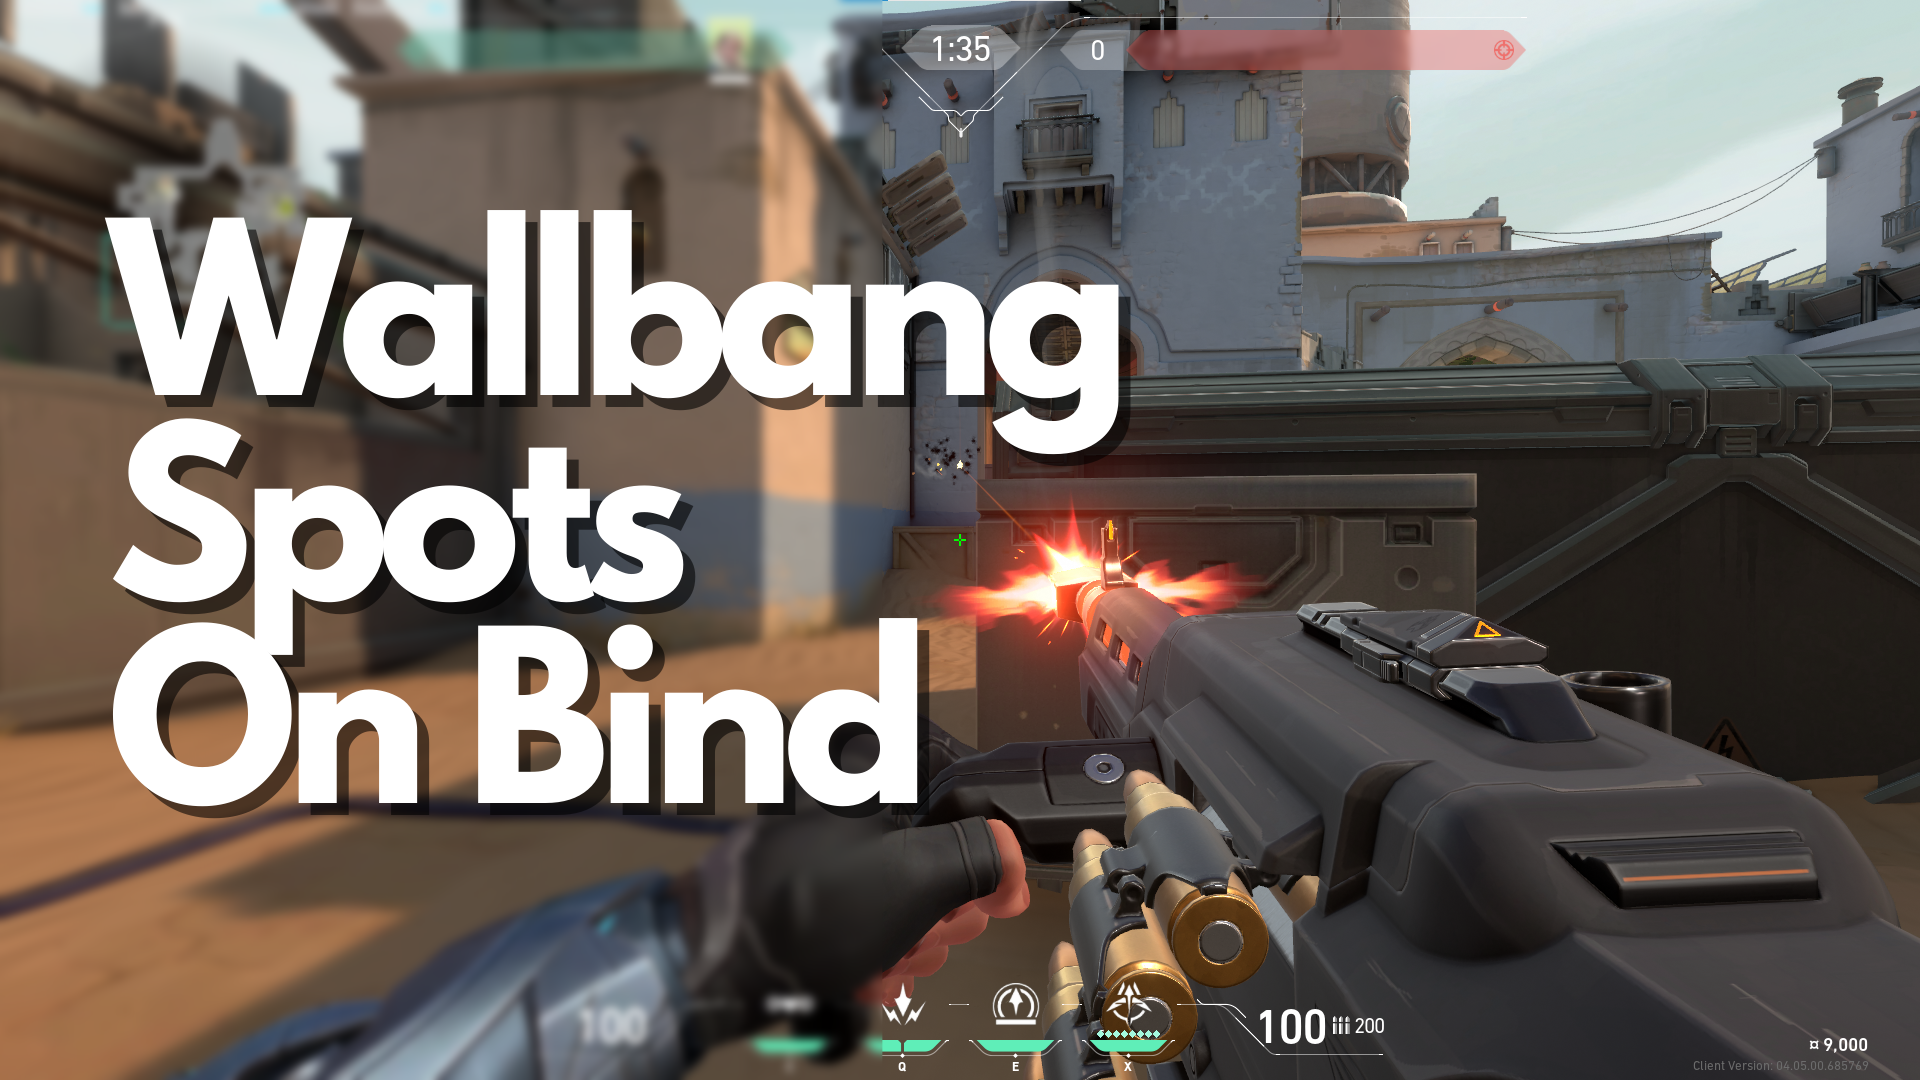
Bind is an excellent map with just an A-site and a B-site without a middle lane. This layout is the complete opposite of another VALORANT map, Haven, where there are three bomb sites to choose from.
Wallbangs are a non-essential part of VALORANT gameplay. Sometimes, focusing too much on getting a wall bang kill or even just a simple wall bang tag on your enemies might not be worth giving up your unknown location, for example.
However, when used at the right place at the right time, wall bangs can be a pretty safe way of inflicting decent damage on your enemies without them ever seeing you.
With your enemies’ supposedly safe “cover” now compromised, they might even be forced to fall back or give up a site take completely.
With that said, there are a couple of useful wall bang spots around Bind, which we will look at in this article.
Why Wallbang in VALORANT?
Wallbangs are utilized around the idea that players generally occupy the same recurring spots on both Attack and Defense in VALORANT.
Knowing when and where to wall bang can net your team an easy kill through walls, boxes, and other types of thin cover around the map. As you gain more experience playing the multiple maps in-game, you will know where and when enemies take certain spots around the map.
While wall-banging spots around the map might not always end with you getting a free kill, you can at least chip away at the enemy’s HP, even if just a little. The chip damage you inflict on enemies that you wall bang might force the enemy team to waste a valuable heal from a Sage, for example, so it’s still a win.
What are the Best Guns For Wallbang in VALORANT?
Almost every gun in VALORANT is Wall bang capable as long as the wall in question is not impossibly thick relative to the gun you are using. However, the damage reduction from wall bangs using a less than ideal weapon might not be worth the wall bang in the first place.
The mainstream rifles such as the Phantom and Vandal should have no problems wall-banging most cover and walls around every map in VALORANT with decent damage to boot. If you want to get serious and take advantage of the cheesy wall bang spots that we will feature in this article, then use at least an Ares or its bigger, more expensive brother, the Odin.
It is also worth noting that Sniper Rifles such as the Marshall and the Operator can also deal decent damage through walls. A well-placed round-start wall bang can easily turn the round into a 4v5 situation.
With that out of the way, here are some useful wall bang spots around Bind.
Bind A-site U-Hall/Lamps to A-Short Wallbang
While U-Hall’s walls are not wallbangable outright, a small strip of wood along the center of the walls allows bullets to pass through towards A-Short.
- Stand in this corner inside U-Hall:

- Crouch and aim along the wooden strip on the wall:

With the help of a Sova or even a Cypher, you might be able to direct fire towards pinged enemies to pick off a few unsuspecting Attackers at A-Short from within U-Hall with an Odin or Ares.
The Phantom and Vandal will work as well, but the wallbang damage they deal towards enemies might not be enough to be worth the wallbang if you are trying to tag players from away at A-Short.

Bind A-site Pocket Wallbang
Bind’s A-site Pocket is yet another common hiding spot for Attackers upon initial site entry.

One of the first courses of action that Attackers default to upon site entry is to find a safe cover where they can place and set up their utility in preparation for post-plant play – Pocket is one of these safe spots.
From A-site Tower and behind the Tank, you can wallbang the A-site Pocket spot to inflict chip damage towards enemies hiding behind the stacked boxes.

Bind A-site Triple Box Wallbang

Bind’s A-site Triple Box is one of two common Spike plant spots in Bind A-site. Depending on which lane the Attacking team used to make their way towards the site (Baths for Triple Box and A-Short for Default)
If you happen to be playing from A-Tower upon the Attackers’ site entry, you can wall bang the Triple Box Radianite Boxes to deter or even outright kill the Spike planter.

Bind A-site Baths Left and Right Wall
The walls surrounding A-site Baths are also very wallbangable from anywhere within A-site. However, the most effective wall bang position might be from behind Triple Box and within A-Tower.

This wallbang is useful for both the Attacking and Defending sides for a couple of reasons.
For Defenders, a simple wallbang to A-Baths’ wall can slow down or even stop incoming Attackers’ rush briefly, giving your teammates time to rotate over to help out on Defense.

For Attackers, post-plant Defense for a Triple Box plant is possible from within Baths through a simple wall bang.

Bind B-site Hooka to B-Hall
When aiming towards Hooka from B-Hall, only the Attacking team’s heads can be seen. A simple crouch will take the Attacking team’s player model out of plain sight for anyone holding within B-Hall.
From Hooka, Attackers can wallbang the small wooden wall at the Hooka window to tag and inflict chip damage towards any Defender holding from B-Hall.
Note Crouch, so you do not expose your head to the B-Hall player.

Bind B-site B-Hall to Hooka Left and Right Wall
The left and right walls flanking the Hooka window are fairly thin, enabling weapons such as the Phantom and Vandal to easily penetrate the wall and inflict damage towards anyone standing on the other side.
From B-Hall, these walls are safe to wall bang as long as you are certain that enemies are lurking behind them.
- Stand along the right side of the B-Hall entrance to wall bang Hooka’s left wall. Aim a little towards the left corner of the wall for optimal wall bangs:

- Stand along the left side of B-Hall to wall bang Hooka’s right wall. Aim close to the Hooka Window frame for optimal wall bangs:

Bind B-site Default Double Box
Like the Triple Box situation back in Bind’s A-site, B-site’s Default Double Box is a Radianite crate that can easily be wall banged.

While this spot is not a very common spot for Defenders to take (Rifles stick out when viewed from Hooka), it is a good spot for eco-round Judge or Shorty plays, so keep that in mind.

While Attackers cannot plant in the spot behind the Radianite boxes themselves, the boxes are still wallbangable from other angles.
In situations where the Spike is planted right in the opening of the Default tube, players coming from B-Elbow can wallbang the Radianite boxes and inflict damage to the defuser.


Bind B-site Backsite Post-plant Wallbang
If you want to take your wall bang game to the post-plant, you might want to try out this post-plant wall bang from within B-Halls.
You will have to plant the Spike in the corner between the backsite solid box and the tube to use this wall bang.

This wall bang is great for post-plant play since your bullets will only really be directed towards the defuser and the Spike. Not many players know this wall bang spot, especially in the lower elo. This might leave defusers confused and distracted.
- Aim for the right side of this vase:


Through the Wall
These wall bang spots are very situationally dependent, so you will have to weigh your options before attempting a wallbang. Sometimes, keeping your position unknown to your enemies might be the better way to conduct site entry and defense around Bind.
However, if you receive information from your teammates that an enemy team player is hiding behind one of these wallbangable spots around Bind, then, by all means, go for the wall bang. You can pick off an enemy team player from the other side of the wall or cover.
We hope that this guide can help you score some cheeky wall bang kills around Bind. Your enemies will never know what hit them!
If you would like to learn a collection of other tips and tricks for your favorite games, visit the PlayerAssist website; a host of awesome gaming guides, gaming news, and game codes await!


