Welcome to Tarkov
If you’re looking through this guide, you probably already played a game or two and died horribly, possibly inexplicably. First off, welcome to Tarkov. Second off, don’t worry about the gear you lost. Even if you shelled out for the special Edge of Darkness edition and somehow lost it all in one run, it’s a long-term drop in the bucket. Tarkov is brutal, and raids are harsh, Tarkov giveth and she taketh away. But it’s worth remembering that Tarkov gives.
EFT has a massive learning curve, and being new can be a rough experience. But this guide is here to help you learn the ropes and make that learning phase as painless as possible
Getting Your Bearings
First things first, I really advise that you follow along with the guide if you can. Play with the menus, hop into offline games and try out what I’m saying. Learn the maps and just generally get familiar with the game. A big part of what makes veterans so much better than new players is simply the familiarity they’ve built with the game and the way it feels. It takes time to do things in Tarkov and knowing if you have enough time to heal or repack a magazine mid-fight can be the difference between getting caught out and making it to the extraction.
Out of the Raid
We’ll skip the big “Escape From Tarkov” button for now, and come back to it in a bit. First, we’ll want to see the rest of these menu options. .
Inventory and Character Management
First, we have the “Character” menu.
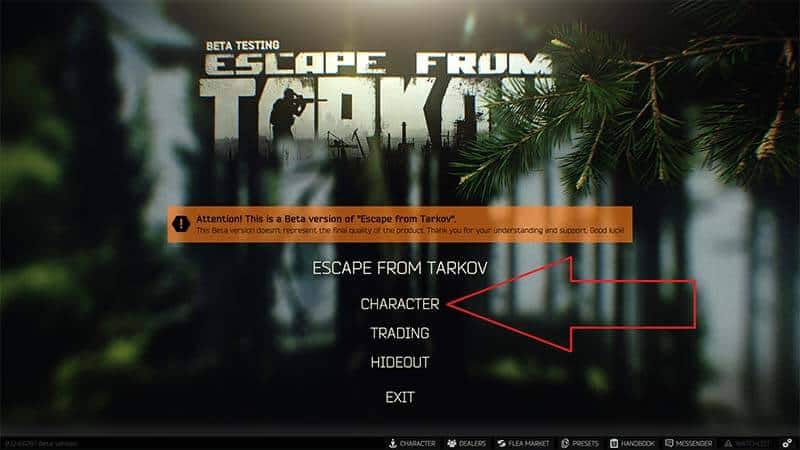
This menu allows us to manage our character inventory, stash, as well as inspect our character’s overall health and skill progression.
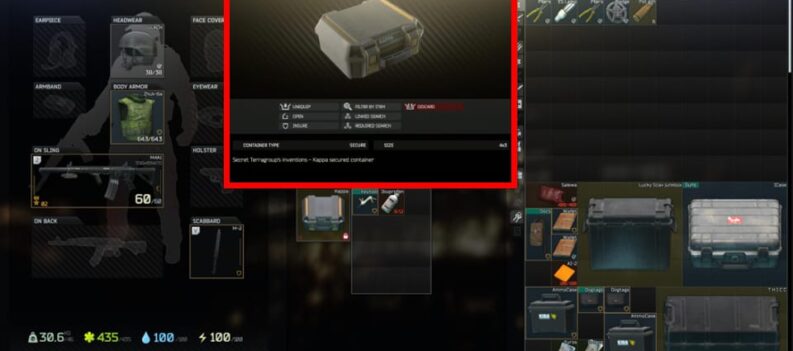
The “Gear” tab is what allows you to equip your character before raids, and collect your loot after them. Anything in your Stash will be left behind, this is essentially your account inventory and it’s where you’ll be keeping all your money and anything else you don’t plan on immediately taking into the next raid.
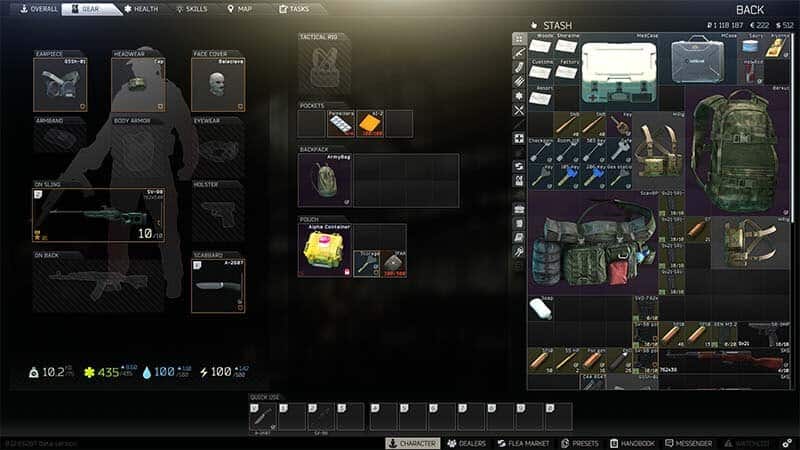
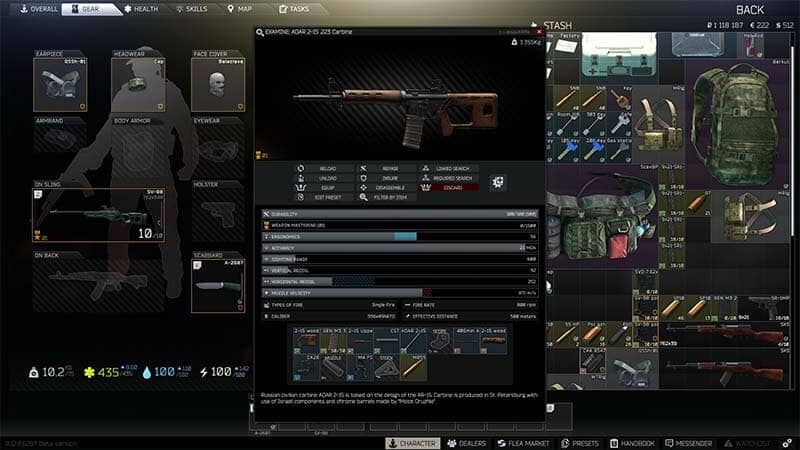
In addition to moving things between your character and stash inventories, this is where you can modify your weapons. Tarkov has an insane number of modifications that can be made to its weapons and they can all be managed from here. Double-clicking on a weapon will allow you to see what parts are currently attached to it, and what other modifications can be made. As a side note, you can actually load or unload ammunition directly from the chamber of each weapon here. This can be super relevant for clearing looted guns of trash ammo and squeezing a little more capacity out of something like the Mosin.
The “Health” Tab will allow you to inspect your character’s condition out of raids and heal any injuries you might have sustained.
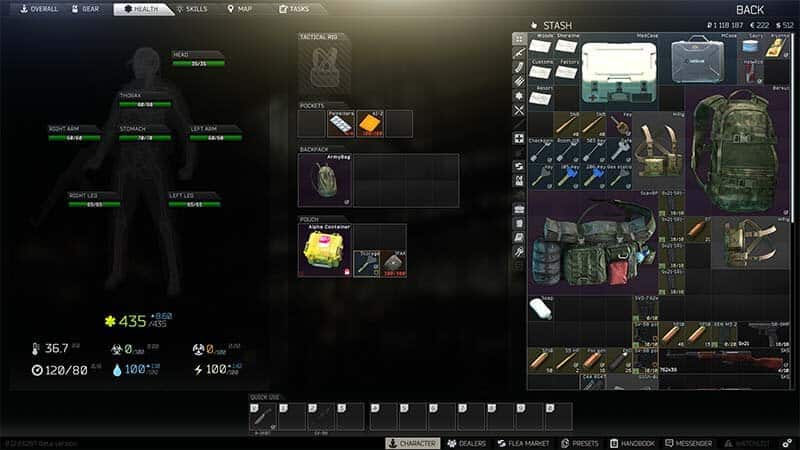
Escape From Tarkov has a post-raid recovery mechanic where all damage and conditions you sustained within the raid need to be treated in your stash or else they will be present in your next raid. Dying in a raid will leave you with each body part set to 1/3 max health. Health, hydration, and energy all naturally recover at a fixed rate depending on the condition of your Hideout (more on that later), but if you’re looking to do raids back-to-back they can be healed immediately using the various medical kits available to you.
Hydration and Energy are also very important as running out of either during a raid will incur massive penalties and begin draining health.
The “Skills” and “Tasks” tab allows you to check on your character progression for levels and quests respectively, but turning in quests will have to be done in the quest-giver’s trader screen.
Trading
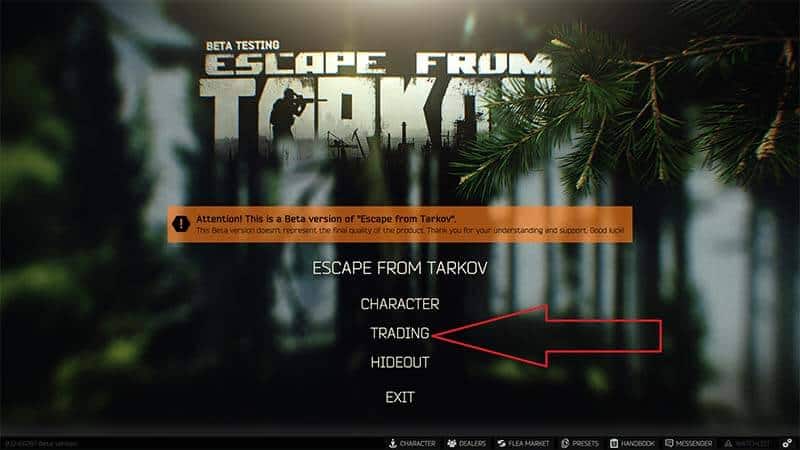
Next down the list is the Trading menu, I’ll be giving a brief overview here but for a more detailed breakdown you should check out our trading guide.
Traders
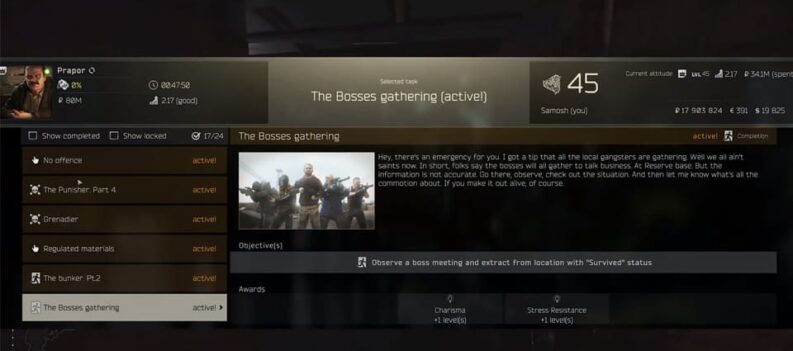
There are 7 NPC traders for you to interact with initially, and 8 once you’ve unlocked Jaeger. Each NPC offers items for trade, is able to buy items off of you, and can offer quests in their “tasks” tab. Below is a brief overview of each merchant’s specialty.
⦁ Prapor: Ammunition of all kinds, and natively Russian weapons (i.e AKs and Mosins)
⦁ Therapist: Medical supplies and maps, as well as buying most loose loot
⦁ Fence: Can and will buy literally anything, but only for half of what it’s actually worth
⦁ Skier: A little vague, Skier specializes in shotguns and rifles, as well as some loose weapon parts.
⦁ PeaceKeeper: Imported weapons and equipment; including MP5s, M4s, and the FAL
⦁ Mechanic: Specializes in heavily customized weapons and various weapon parts
⦁ Ragman: Armor, helmets, bags, and active headsets.
The Flea Market
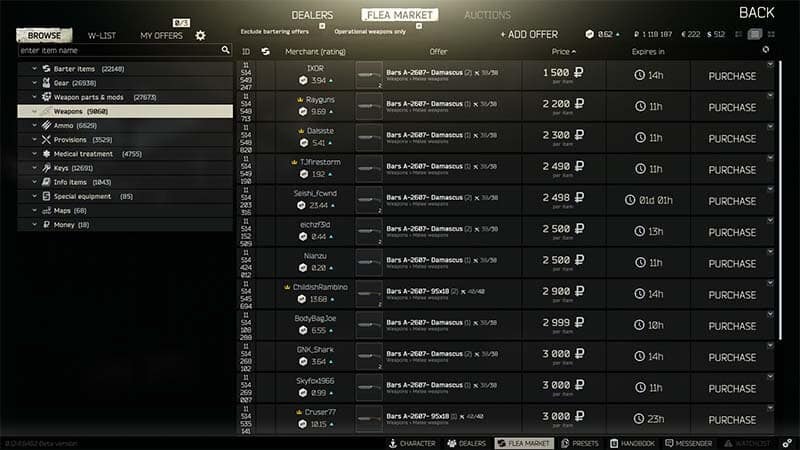
The Flea Market is a player-to-player auction house that you can access after reaching level 15. It allows you to buy and sell items for whatever price you want to list, as well as actually offer items up in exchange for certain specific items as payment instead of cash. There is a small tax, but you can still often pull much more in sales than you would by selling to an NPC.
The Hideout
Finally, we have the Hideout. The Hideout functions as a form of progressing your character beyond just leveling skills. Upgrading your hideout allows you to craft various items, increase your passive recovery rates, and even pay for scavs to bring you loot.
In the Raid
The Goal
The goal of each individual raid is really up to you, but especially as a new player you’re going to want to accomplish two basic things. First, find some loot. Second, extract. Looting is as straightforward as grabbing what you can and shoving it inside of whatever bag or pocket you have available.
Extracting is as simple as reaching one of a few designated points that’s assigned to you at the beginning of each game. Double-tapping the “O” key will show both the time remaining in the raid and the extractions you have available. While you’re getting your bearings, I would recommend using a community-made map as well as one of our map guides to show you where extractions are and where best to find loot.
Healing
Eventually, you will take damage. It was likely part of a fight, and as a new player, you probably died. But once you win a fight, and get a moment to breathe, that damage doesn’t just go away. Opening your inventory and clicking on the “Health” tab at the top will show you your character’s overall condition. This includes your overall health, the health of specific parts of your body, as well as hydration and energy. Temperature, Radiation, and Toxicity aren’t implemented in the game yet.
In addition to the health of your limbs, you might also see some status effect indicators. There are three major kinds of statuses and they can all be treated differently.
⦁ Bleeds will slowly reduce the health of that limb, and then slowly reduce overall health if the limb is completely blacked out. Bleeds can be treated with a bandage, or by certain healing kits that also restore health. Kits are the preferred way of treating bleeds since they take up less space than say 2 or 3 bandages, but healing a bleed consumes a small amount of health from the kit’s total.
⦁ Fractures will either slow you down dramatically or massively impact your aim, depending on the limb. Fractures can be treated by splints, immobilizing splints which have multiple uses, Grizzly first aid kits, and Surv12 Field Surgical kits
⦁ Pain will ruin your day and usually brings additional effects. The actual Pain status only darkens your screen, but this is usually accompanied by contusions and tremors. Contusions muffle your audio and lower visibility, while tremors will visibly shake your screen and cause your vision to shudder. Pain and tremors are treated with any painkillers, but Contusions can only be treated with Morphine and Ibuprofen
Repacking
So long as you have appropriate ammunition in your inventory, you can actually refill magazines in-raid. Many players will opt to take only one or two spare magazines for their weapon, and will “repack” empty or partially empty magazines from spare ammo. This allows you to save a lot of inventory space when 60 rounds of loose AK ammunition will only take up one inventory slot but would require 4 slots for a pair of standard 30-round mags.
The primary downside to repacking is that it takes time and your inventory screen needs to be up the entire time. Luckily you can minimize how much time this eats up by starting a healing animation first and reopening your inventory. You can continue to repack while the healing animation plays in the background.


