Here is a beginner’s guide to World of Horror to teach you everything you need to know!
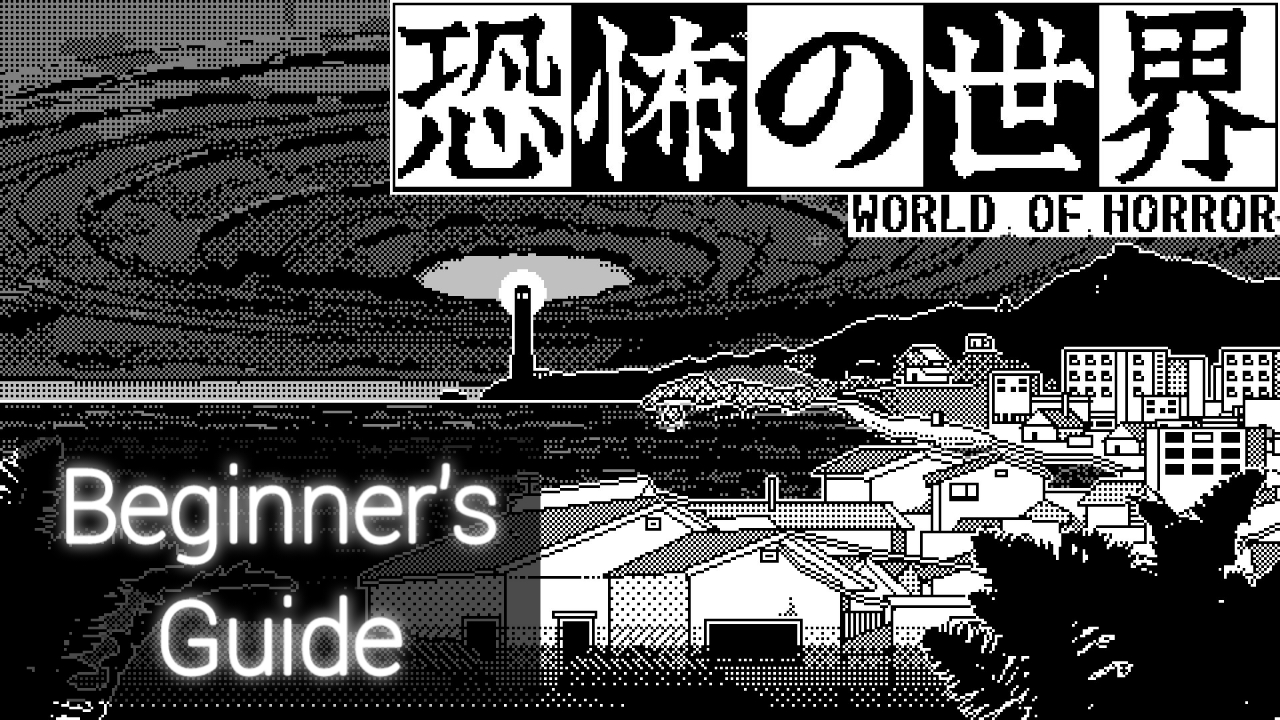
The World of Horror is a thrilling rogue-like game where the protagonist is expected to investigate all of the strange phenomena that have recently started happening while navigating through the endless horrors that lie in wait at every corner. If you plan to conquer the Old Gods and save the world, then we’ve got a few useful tips that you can use to help you win the game.
Your job is to investigate each run’s mysteries and resolve them peacefully or through battling opponents. To survive, you need to figure out all the mysteries and choose the optimal path; otherwise, you might end up dying halfway through.
This World of Horror beginner guide will show you the basics of the game and what tricks you can use to progress and successfully beat the game.
Related: How do combat rituals work in World of Horror?
A Beginner’s Guide to World of Horror
Character Interface
As you start the game, some things on your screen may confuse beginners. You will find the character UI and some other information on the right.
At the bottom right, a couple of buttons will be lined up in a panel. The panel buttons (from left to right) are as follows:
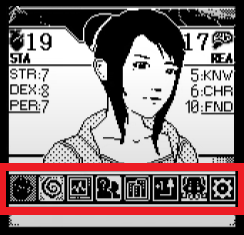
- Items: Your inventory, equipment, and active ritual are here. All your items will be sent to your storage, save for the four items you can carry.
- Spells: This is where you will find your memorized spells and another place for your active ritual.
- Status: Active status effects will be shown here.
- Ammo, Allies, and Perks: This is where you will see who your current allies are, the perks you obtain as you level up, and your current stock of bullets and cigarettes.
- Town Status: You will find all of the negative effects that will be added to the run after every investigation here.
- You: Your exp bar, time in the current run, and the seed will be shown here.
- Old God: The Old God present in your run will show up here, as well as its unique penalty.
- Settings
Stats and equipment slots
Above the panel buttons is a picture of your character and other related information. This shows your current character, stats, and doom level. Your character’s stats are used for skill checks—with each stat having a secondary effect. The stat abbreviations (from upper-left to bottom-right) are as follows:
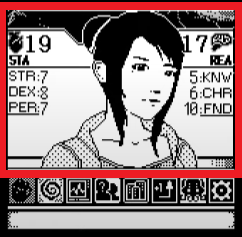
- STA is for stamina. Unlock other games; stamina here is essentially your health. The moment your stamina reaches 0, the game is over. Stamina and reason costs go hand-in-hand when casting spells.
- STR is for strength. This stat is typically related to players who use heavy weapons.
- DEX is for dexterity. This stat is used for players with lighter weapons.
- PER is for perception. This stat is related to players using firearms as weapons.
- REA is for reason. Reason is similar to your sanity. Just like with stamina, once it reaches 0, you lose the game.
- KNW is for knowledge. This stat is used for weapons that need precision in targeting the weakspots of enemies.
- CHR is for charisma. This stat is typically used to recruit new Allies from the Schoolyard.
- FND is for funds. Funds are the currency used in-game.
- Doom is for Impending Doom. This is basically like a time limit in-game. Once it reaches 100%, it will be game over for you.

You also have equipment slots that can hold your weapon and accessories, your current active ritual, your inventory, your level, and EXP, and three quick slots for your items or spells. There are also item cards that act as accessories or one-time use effects.
Home and City
Your Home contains three important things in the game: the bath, storage, and investigations. Their usage is as follows:
- Bath: The bath lets you recover one stamina, one reason, or increase your exp by 5%. You can do this once before every investigation, so bathe whenever you can.
- Storage: The storage is where the rest of your items will be sent, except for the four items you can carry. You can take or store anything in your storage.
- Investigations: The investigations are where you will choose which mystery you’ll want to solve next.
The City has different locations with different usage and events. The map of the City contains the following areas:
- Home: You home is where you can recover two stamina and reason for four doom.
- Downtown: There is a police station and a shop where you can buy items such as a compass, map, cigarettes, and more.
- Apartments: You can visit the Apartments to recruit your neighbors as allies at the cost of doom.
- School: You can visit the School to recruit students as allies. Students who aren’t willing to join you will be convinced if you spend 5% EXP on them.
- Hospital: This is where you can treat any injuries you have currently, as well as buy medical items for future injuries.
- Seaside: The Seaside contains a hardware store to buy tools and weapons.
Basic tips for survival
We’ve listed five tips to remember while solving mysteries to help you survive and get through the game unscathed.
- The first thing you need to do is to get yourself a weapon. You can purchase a hammer from the Seaside Hardware Store or simply find one in one of your investigations. An example is the ‘School Scissors’ investigation, where a free lootable baseball bat is in one of the school’s lockers.
- Most of the time, you will encounter random monsters just starting out or in the middle of your adventure. Sometimes, running away is the best option to help you survive in the early game. You will lose a few DOOM points, but it’s better than wasting time healing back STA and REA.
- Allies are helpful. After completing your first investigation, you can acquire an ally from the school by telling them a scary story at the cost of +5 EXP. Your allies can be used to distract enemies, give you buffs, or you can choose to sacrifice them. Always check their stats first; some might give you -1 modifiers.
- Some side investigations, such as the Abnormal Arms, Morbid Mermaids, and The Eels Mystery, are a complete waste of time. Just skip them and focus on the investigations that help you progress the story.
- Don’t lose hope! There are times when you’ll get unlucky due to bad RNG. Just learn how to solve mysteries without engaging in combat. You should also consider conserving Stamina and minimizing DOOM while solving mysteries.
See also: Where to find the Umbral Tome in Lords of the Fallen


