Learn where to find and use the Drainage Control Key in Lords of the Fallen!
Despite sharing the same title, the latest Lords of the Fallen unfolds a millennium after its predecessor. Developed by Hexworks and CI Games, this soulslike role-playing game immerses players in a vast, interconnected realm that spans the Axiom and the Umbral parallel worlds.
As the player embarks on their perilous journey through the landscapes of Mournstead, mastering the game’s intricacies becomes the most important. The Drainage Control Key stands as a pivotal item among the many challenges that await.
This guide will discuss where to find and how to use the Drainage Control Key in Lords of the Fallen. We will learn how to navigate the corridors of the game’s world, revealing the precise locations of this literal key item and guiding you on its strategic usage. Prepare to delve into the darkness and emerge victorious as we unravel the secrets within Lords of the Fallen.
Where to Find the Drainage Control Key in Lords of the Fallen
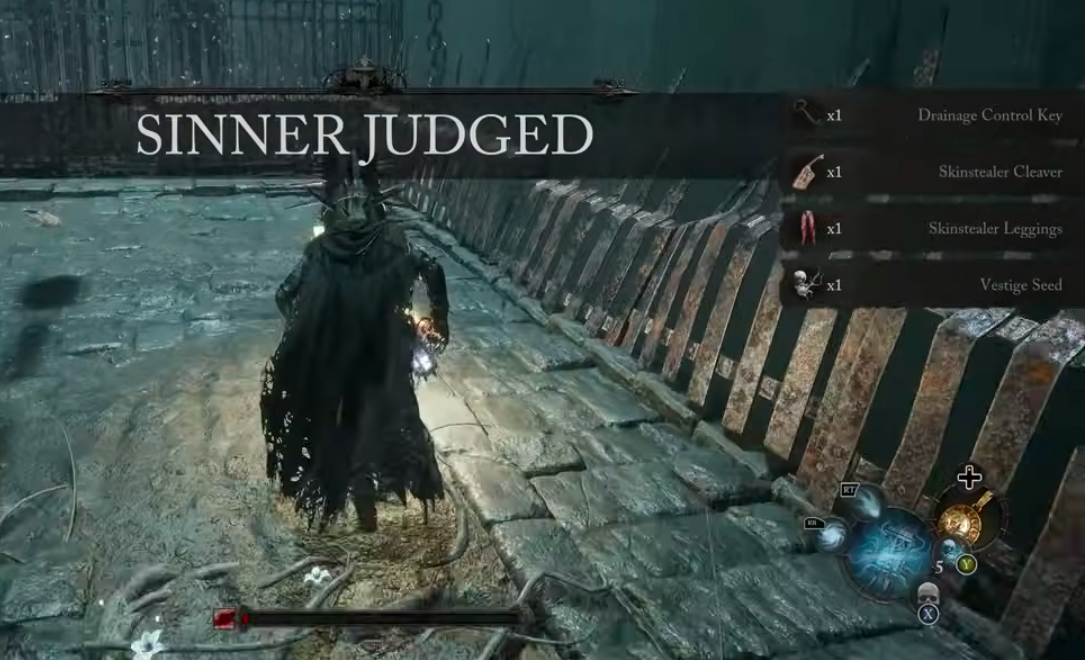
The player will be able to get the Drainage Control Key as one of the dropped items for eliminating the Skinstealer boss. The player can find and face this boss on the top part of the Cistern area. This area is after the player explores the Sunless Skein area and before the player reaches the Revelation Depths area.
To find this boss and obtain the Drainage Control Key in Lords of the Fallen, the player must do the following:
- First, the player can start from the Vestige of Catrin in the Sunless Skein area. From the Vestige, the player has to pass through the arch in front of the Vestige. Once through, follow the train tracks on the wooden path on the left.
- Next, the player will eventually enter a tunnel while following this path. Midway through the tunnel, an enemy will roll a large wooden barrel towards the player. Once that enemy is dealt with, the player will encounter a couple more enemies after a few more steps.
- After exiting the tunnel, the player will find a closed gate at the end of the path. The player will find a wooden set of stairs right before the gate. Go up the wooden stairs, then enter the next tunnel on the left.
- Then, the player will find another closed gate in the middle of the tunnel. To cross, the player must shine the Umbral Lamp on the gate and slowly pass through. Once through, keep following the path and head up a wooden stairs. On top, go up another set of stairs on the left, then the next one on top on the left.
- After that, the player must head straight on the wooden platform at the top of all the stairs. At the end, head down the flight of wooden stairs on the right. At the bottom, the player will face an enemy. Continue on the right path and down another set of stairs.
- Afterward, at the bottom, the player must continue on the wooden path on the right and the next path on the left. Here, the player must enter another tunnel and climb a wooden set of stairs. On top, follow the path on the left, where the player will find a wooden ladder that leads up.
- Next, the player must climb up the wooden ladder and, on top, continue forward on the wooden then rock path. At the end of the path, head for the next path on the left and drop down on the ledge. Upon landing, the player must now follow the path on the right.
- Following that, at the end of the path, the player will find a wooden ladder. Climb or slide down this wooden ladder, and then, at the bottom, follow the path on the left. While on this path, the player will go down several small flights of stairs. The player must then head for the next path on the left, where the player will come across some enemies.
- Then, while on this path, the player has to go up another small set of stairs and through an arch. Once through, head up some more flights of stairs on the right. Near the top, the player will find an Umbral Flowerbed. It is highly recommended that you plant a Vestige Seedling here. This is because this is the last Umbral Flowerbed the player will find before facing the Skinstealer boss.
- Finally, once that is done, the player must continue going up the next flight of stairs. Once on top, take on the next path on the left. Once through the arch, the player will reach an elongated arena and face the Skinstealer boss. The player must defeat this boss to get the Drainage Control Key!
Skinstealer: Preparation
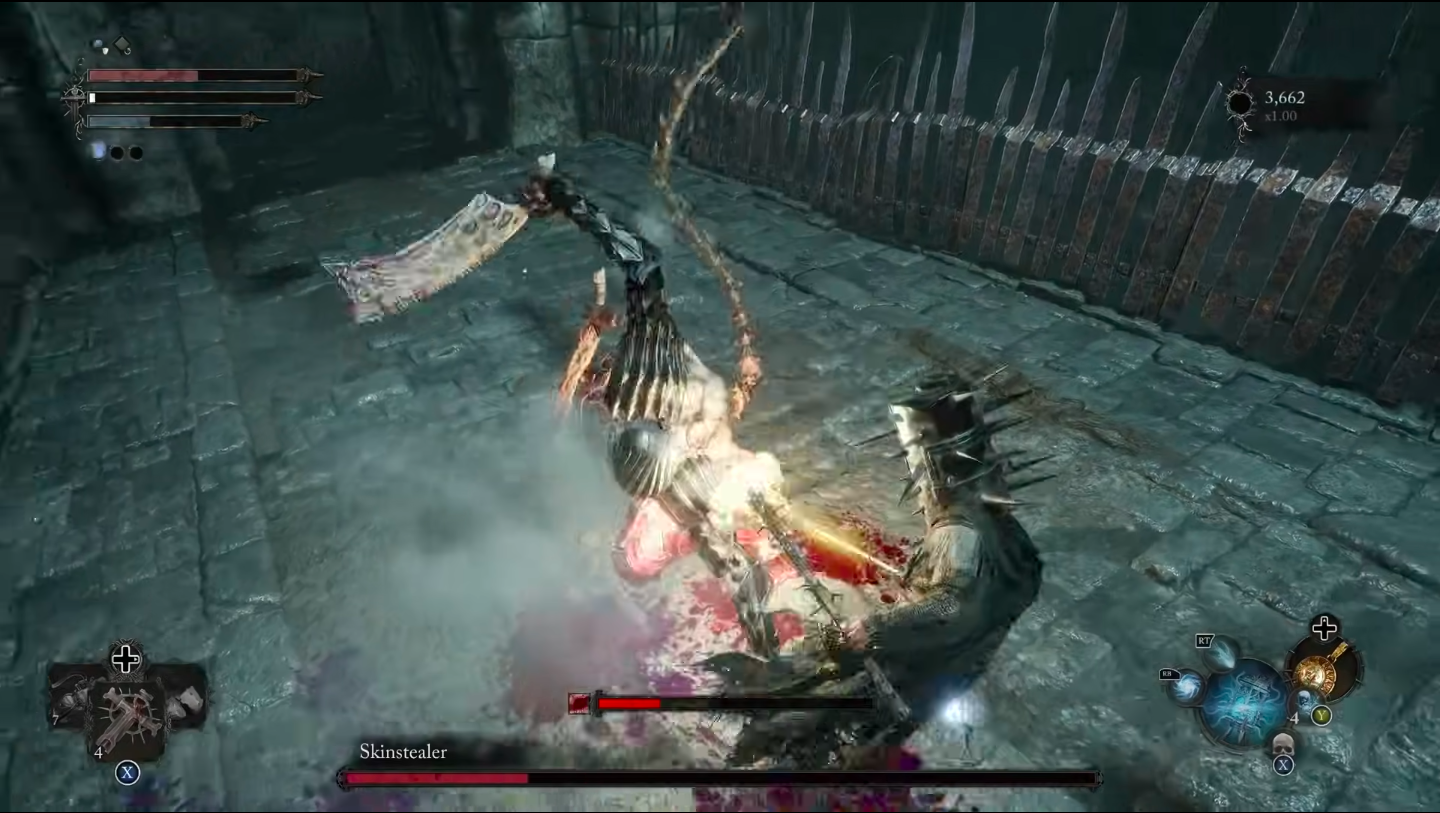
The Skinstealer is a quick-moving secondary boss. This boss has a cleaver weapon in both hands and two extra blades on its secondary limbs. The Skinstealer boss is very hostile, can deal huge damage, and can be difficult to handle. That last part will become particularly true if the player is unprepared or does not bring the proper equipment.
Knowing what they are weak against is important when trying to eliminate a boss. Using these weaknesses can greatly help in dealing with difficult enemies. Besides, why make things harder for yourself? In the case of the Skinstealer boss, it is weak to the following status effects: Bleed, Poison, and Smite. Because of this, it is recommended that the player enter the encounter with Poison Salts, Bleed Salts, or Smite Salts applied to their selected weapon.
Melee weapons are recommended instead of ranged weapons. This is because, as mentioned, the Skinstealer boss is very quick and hostile, so attacking using a ranged weapon can prove difficult. It is recommended to use a melee weapon that can deal good to great amounts of damage. Preferably, melee weapons that have been upgraded to +5 at least.
Fortunately, the player will be able to parry or block the attacks of the Skinstealer boss. Because of this, it is recommended that the player bring with them their preferred good shield. A light shield is ideal for parrying the Skinstealer boss’s fast attacks. However, a heavier shield will block most of this boss’s attacks.
If the player prefers to dodge more than block, ensure they do not have an armor set that qualifies the player’s weight as Heavy. To take full advantage of a few dodge rolls, the player should weigh in as Medium or Light. Being a big tank will not benefit the player in this encounter.
As mentioned above, the Skinstealer can deal massive damage to the player. Because of that, it is recommended that the player have a sufficient level of health. For this, a Vitality stat of at least 30 points would give the player comfortable health.
Skinstealer: Moves
When facing the Skinstealer boss, it will use the following moves against the player:
- Charge Strike – the boss will quickly charge forward at the player and swing its blade.
- Dash Lunge – the Skinstealer boss will use its weapon to perform a fast dash attack.
- Double Blade Charge – With this attack, this boss will open up both arms while executing a fast dash forward. The Skinstealer boss will attack quickly, fanning out both of its blades.
- Ignited Double Blade Charge – the Skinstealer boss will perform a charge attack. However, this time, the attack is charged with fire. This can result in the player’s Ignite status effect building up if they are hit. It is important to note that this attack is the boss’ quickest attack.
- Double Blade Combo – this boss can perform attacks by swinging its blades alternately. The Skinstealer boss will usually execute this attack as it advances.
Skinstealer: Tips
The player will face the Skinstealer boss in a somewhat restricted space, and this boss can charge at the player quite swiftly while attacking using its weapon. Because of the restricted area, the player must approach this boss before it backs the player up to the main gate. Also, because of the small space, the player won’t have much room to evade, so sometimes it is best to block the Skinstealer boss’ attacks. Blocking and dodging, however, should be used sparingly so the player can save some Stamina.
Getting the timing right for parrying the Skinstealer boss’ attacks will drastically deplete its stagger meter. Otherwise, the player should dodge. If the player is successful in staggering this boss, note that it turns its body to the right. If the player wants to land an attack with huge damage, they must follow the Skinstealer boss’s movement. Otherwise, the player will only hit the Skinstealer boss’s shoulder, dealing regular damage.
The player can counter the Skinstealer boss’ Charge Strike attack by blocking it or simply dodging it. As for the Dash Lunge attack, the player can dodge backward if there is enough space or simply block it to counter it. The player can counter the Double Blade Charge attack by dodging to the side once the boss looks like it is about to pounce.
As for the Ignited Double Blade Charge attack, the player can also counter this attack by dodging to the side once the boss looks like it is on its pouncing stance. Finally, for the Double Blade Combo attack, the player can move to the side to counter it. With this, the player can ensure they will not be trapped and backed into a wall once the boss performs the attack.
Although the fight will only last for a single phase, the Skinstealer boss will move and rush across the arena during the fight. As a result, during this encounter, the player must continually circle this boss to avoid being caught in its different attacks. This boss will occasionally stand idle between each of its actions. These will allow the player to attack this boss for a short amount of time without any restriction. If the player catches such instances, it is recommended to try and strike using a charged attack or execute a heavy attack to inflict massive damage.
The player should focus on determining if the Skinstealer boss’s attack involves both blades or only one. The player must block or avoid two alternating blade swings if the boss flashes yellow right before swinging. The Skinstealer boss typically chains two of these strikes consecutively. This suggests that it will make four consecutive sword hits.
Once the Skinstealer boss is defeated in Lords of the Fallen, the player will drop one piece of Vestige Seed, random pieces of the Skinstealer armor set or this boss’ weapons, and finally, the Drainage Control Key!
Related: How To Get To Bramis Castle in Lords of the Fallen
How to Use the Drainage Control Key in Lords of the Fallen
The player can use the Drainage Control Key for two purposes. The first is for the player to access the Drainage Control Room in the Calrath Cistern area. According to in-game lore, the Drainage Control Key is a corroded and tarnished key caused by its submersion to the water in the depths of the Cistern area and the passage of time.
The second purpose of the Drainage Control Key is for the player to continue with Byron’s quest line. After fulfilling the Drainage Control Key’s first purpose, the player will gain access to Winterberry. This NPC is an important part of Byron’s questline and is initially located in the Revelation Depths area.
Drainage Control Key Room in Lords of the Fallen
The player will be able to find the Drainage Control Room further along in the Calrath Cistern area. In this room, the player must activate another object with Drainage Control, the Lever. Upon doing so, it will drain the water from most of the flooded areas in the Calrath Cistern area. This will make the player explore these areas more easily.
To find the Drainage Control Key Room in Lords of the Fallen, the player must perform the following:
- First, the player may begin from the Umbral Flowerbed nearest the area where the player faces the Skinstealer boss. From here, the player has to head down several flights of stairs. Once the player reaches the platform with the wooden crates, the player will face an enemy.
- After that, the player must continue to head straight from the bottom of the stairs. Near the end of the platform, the player will find a narrow slope down on the left. Head down this ramp, then pass through the open arch on the left.
- Next, while on this path, the player will have to walk through a path with flooded waters that go up to the player’s waist. Keep following the path, and, in the end, the player will reach a divided path. Head towards the path on the left, then on the next immediate path on the right again. Continue straight on this path, where the player will encounter a couple of enemies in the middle.
- Following that, near the end of the path, the player must go up a couple of small sets of stairs. At the very end of the path, the player will find an arch on the right. Pass through the arch to find a wooden ladder. Climb up the wooden ladder and, at the top, head through the arch.
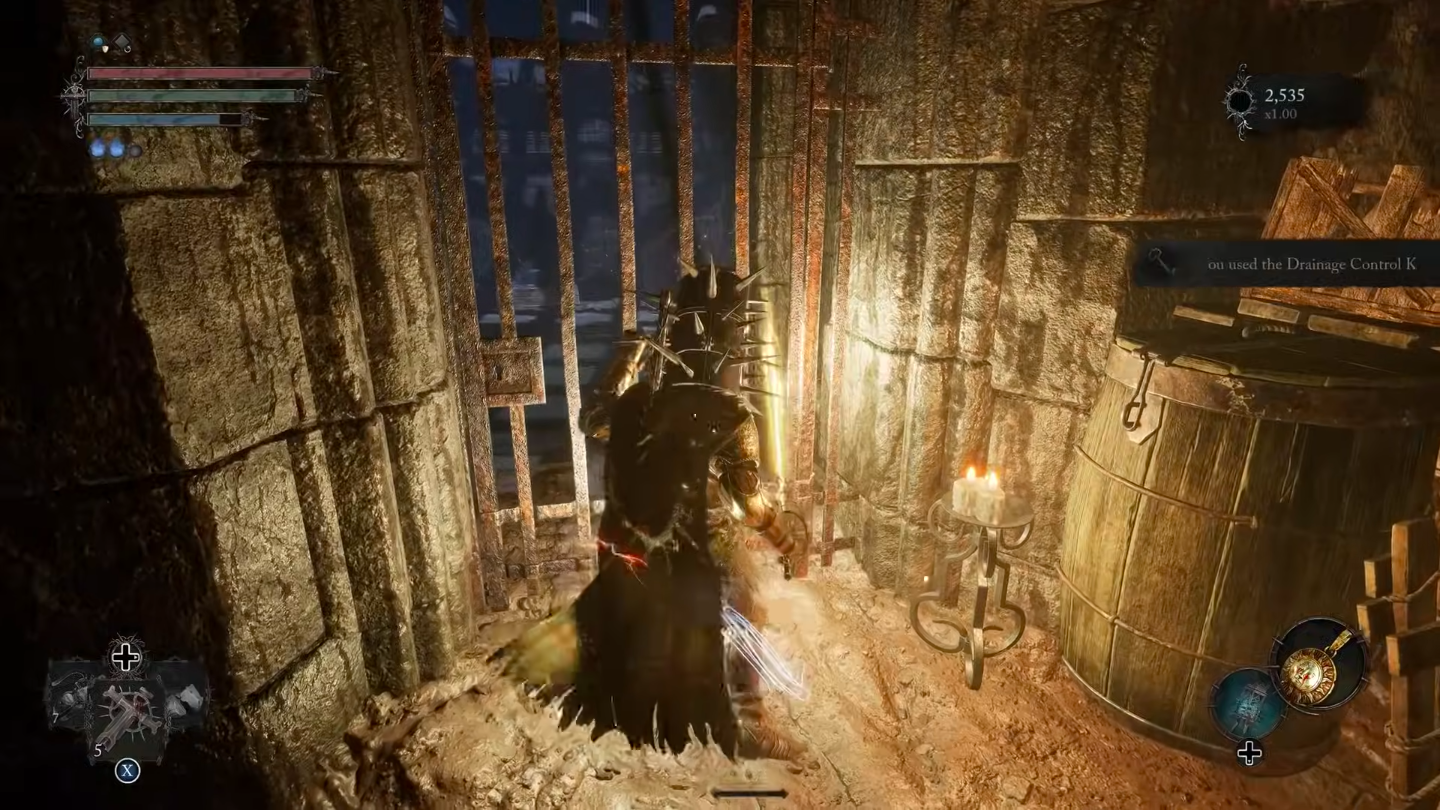
- Then, the player will find an enemy on the right in this room. From the arch, the player must head straight towards the gate ahead. The player can now interact with the gate to open it with the Drainage Control Key. Head inside this slightly flooded room, and the player is now in the Drainage Control Room! Here, the player just has to head straight up to the platform ahead and interact with the Drainage Control Lever to drain the flooded areas of the Calrath Cister area!
Byron’s Quest & Winterberry
As mentioned above, obtaining the Drainage Control Key and draining the water in the Cistern area is necessary to continue the quest from Byron. With all that done, the player can find Winterberry in the Revelation Depths area.
The quest from Byron is called “Moving On”. For this quest, the player must talk to Byron first in front of the Vestige of Blind Agatha in the Pilgrim’s Perch Bellroom area. After that, the player must find and talk to him again in front of the Vestige of Valade in the Forsaken Fen area.
Next, the player must head to the Vestige of Catrin in the Sunless Skein area to find and talk to Byron again. Near the Vestige of Catrin, Byron will ask the player to tell him if the player gets a clue about the location of Catrin’s Missing Pendant. This is where Winterberry comes in, as the player can find Catrin’s Missing Pendant in her inventory.
It is important to note that the player must not yet use the elevator near the arena where the player faces the Skinstealer boss. Suppose the player does so without finding Winterberry and talking to Byron again. In that case, Byron will change to a different location, and the player will not be able to find Winterberry anywhere in the game again for this run. This means that using the elevator will lock the player out of the quest line from Byron.
How to Find Winterberry
To find Winterberry, the player must execute the following:
- The player can begin from the lever in the Drainage Control Room. From here, the player must exit the room and follow the next path on the left. Here, the player will come across an enemy.
- Following that, at the end of the path, the player must head to the right, where they will find an altar with the Adyr-Worshipper’s Saw. When approaching this item, an enemy will ambush the player from behind the wooden barrier on the left.
- Then, after dealing with the enemy, the player must head towards where the newly broken wooden barrier was. The player will find a hole in the ground behind the altar. Drop down on the hole to return to the previously flooded area.
- Next, upon landing, the player has to follow the path behind the player. Going forward will lead the player back to the ladder to the Drainage Control Room. At the end of the path behind the player, follow the path on the left and pass through the arch at the end.
- After that, the player must head slightly forward once through the arch and drop down the ledge ahead. Upon landing, head to the right and pass through another arch, then head through the next arch on the left. Here, keep following the path, which will lead the player to an opening at the end of the path.
- Afterward, the player must proceed through the opening and drop down from the ledge to the top of some cages. Follow the path on top of the cages to get to a wooden platform and a narrow path. Head for this narrow path and through an arch, then follow the path down.
- Following that, the player will get to a metal platform at the end of the path. The player has now reached the Revelation Depths. From here, drop down the ledge on the right. Upon landing, continue on the wooden path forward. The player will eventually reach a wooden platform with a ladder leading down. Climb or slide down the wooden ladder and keep following the path.
- Then, the player will reach a wooden bridge on the left near the end of the path. Cross this wooden bridge and head for the path on the left on the other side. While on this path, the player has to go down the next wooden flight of stairs on the left and then follow the wooden path to the right.
- Next, the player will find another wooden ladder at the end of this path. The player must now climb or slide down the wooden ladder and follow the path in front of it. At the end of the path, the player will face a couple of enemies.
- After that, the player must now enter the doorway on the right. Keep following the path inside the dark tunnel. At the end of the path, take the wooden path to the right. Keep an eye out for the breakable floors near the end of this path.
- Afterward, the player must cross to the Umbral Realm to proceed. Once that is done, the player will see a platform below on the left. Jump down to this platform and, upon landing, head forward to reach a slightly large area with a few enemies. From the wooden platform near where the player landed, turn right to find an Emergence Effigy.
- Following that, the player must follow the path before the Emergence Effigy. The player will find a wooden ladder at the end of this path. Push the wooden ladder down, then climb or slide it down it. Once at the bottom, the player will face a couple of enemies and must take the narrow path on the ladder’s right.
- Then, while on this path, the player must destroy the wooden barricade inside this tunnel to reach the exit. Once that is dealt with, take the path on the left, where the player will encounter more enemies. At the end of this path, the player will find a wooden platform with an Umbral Flowerbed. The player can plant a seed here.
- Next, from the Umbral Flowerbed, the player has to take the path on the left. While on this path, the player will go down a wooden ramp. At the end of this path, jump across the gap towards the next rock platform ahead.
- After that, the player must continue following the path and, at the end, drop down the wooden platform below. Head slightly forward to find a wooden ladder that leads down. Climb or slide down the wooden ladder and follow the path on the right and left. Here, the player will encounter a couple of enemies. If the player enters the lift on the left, the player will unlock a shortcut back to the Vestige of Catrin in the Sunless Skein area.
- Afterward, from outside the lift, the player must take the next path on the left to head down two wooden stairs. Once at the bottom, continue on the path ahead, where the player will encounter several enemies at the end.
- Following that, the player has to take the path on the right and head down the wooden flight of stairs. From here, continue forward to the broken wooden bridge. To proceed, the player must now cross to the Umbral Realm.
- Then, in the Umbral Realm, the player has to drop down the next platform below. Upon landing, head forwards then, at the end, soulflay the target across the gap to release a bridge. Cross the new bridge and go down the bone ramp on the left. At the bottom, head to the left, then go up the next bone ramp on the left.
- Next, the player has to continue forwards on top. Drop down the platform below at the end of the path, where a few enemies exist. The player will also find an Emergence Effigy here.
- After that, the player has to cross the wooden bridge on the left. Once across, head slightly forward to find an enemy. At the end of the path, go down a wooden ramp and continue heading the path near the rock wall. Here, the player will come across a couple more enemies. At the end of the path, the player will reach a wooden platform with a wooden ladder on the left.
- Afterward, the player must now climb or slide down the wooden ladder. Once at the bottom, head for the path on the left, then go down the wooden ramp. Here, the player will find an Emergence Effigy and a few enemies on the right. Head slightly forward, then head for the next tunnel on the right.
- Then, inside the tunnel, the player will reach a large area with many enemies. The player must drop down the next wooden ledge on the left. Upon landing, go up the ramp on the right and, on top, take the next path on the left.
- Next, the player must head up the next flight of stairs on the right. Once on top, the player must go up the ramp on the right and cross the next wooden bridge on the left. Keep heading straight on this path to reach a broken wooden platform. The player must run and jump towards the next platform below to continue. After successfully doing that, take the path on the left to find an Umbral Flowerbed.
- After that, from the Umbral Flowerbed, the player must cross to the Umbral Realm to continue. Follow the path on the right to go inside the tunnel. The player will come across some enemies on this path. Midway through, soulflay the target to remove the obstruction and keep following on the path.
- Afterward, once through the obstruction, the player will encounter more enemies. There is another Emergence Effigy near the ledge at the end of this path. From here, the player must drop down the ledge and continue following the path on the left.
- Following that, the player will encounter more enemies after exiting the tunnel. Here, head for the path on the right to reach a wooden platform. From here, follow the path on the left to find a small opening to a cavern.
- Then, once through the opening, the player must head to the left and destroy the wooden barricade. Upon doing so, the player will find a path behind it. Head straight in this path, then take the next path on the right. Follow this narrow path to the end.
- Finally, the player will reach a cavern and find Winterberry at the end of the long, narrow path!
Conclusion
Navigating the perilous landscapes of Lords of the Fallen and mastering its challenges is an endeavor not for the faint of heart. This guide meticulously details the Drainage Control Key’s whereabouts, guiding players through the treacherous journey to obtain it by facing the formidable Skinstealer boss. With knowledge about the boss’s weaknesses and moves, players can strategically overcome the challenges this boss poses.
We have also unraveled the mysteries of using the Drainage Control Key in Lords of the Fallen. From accessing the Drainage Control Room in the Calrath Cistern area to continuing Byron’s questline and reaching Winterberry’s location in the Revelation Depths. May your journey be guided by the light of wisdom and mastery as you unravel the secrets within this captivating realm.