There are currently 4 scav bosses in Escape From Tarkov. Each boss has its own style and provides its own set of challenges, and new players often try to avoid them rather than learn how best to play against them.
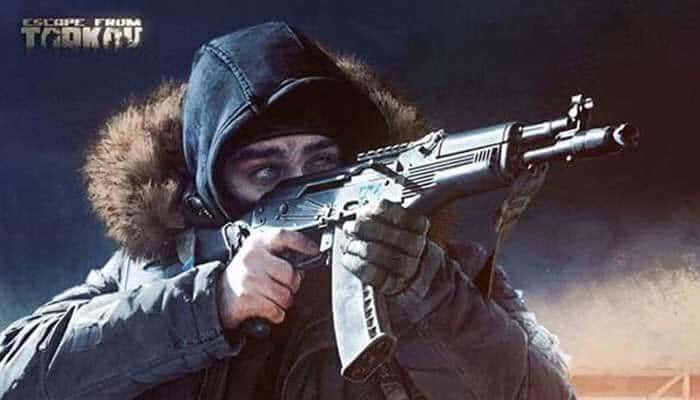
But eventually quests will require you to fight them, and with the right preparation gunning after Scav Bosses can be well worth the loot.
So to help with that, here’s a rundown of all the Scav Bosses in Escape From Tarkov, where to find them, and how best to eliminate them.
Scav Bosses in Escape From Tarkov
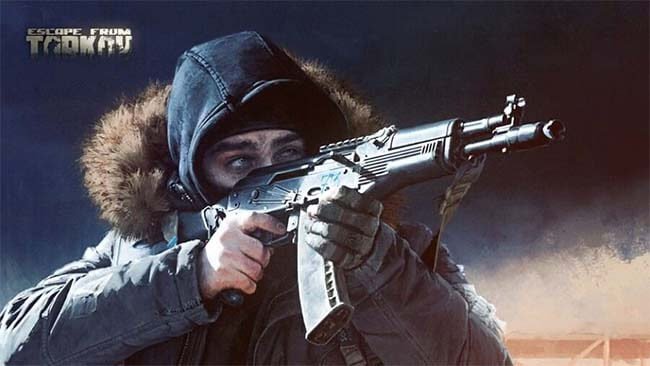
Killa – Interchange
Killa is an extremely aggressive Scav Boss that can be found on the Interchange map. If he spawns, he roams the center of the mall and will engage both PMCs and Scavs on sight.
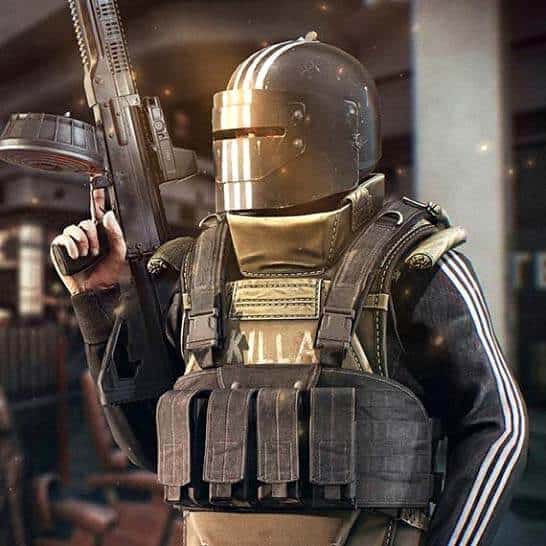
He can spawn with a variety of modded weapons most notably is a signature, heavily modified RPK. He wears level 5 body armor inscribed with his name, and a level 4 helmet with a level 6 face shield.
If you happen to spot him before he spots you, he’s easily distinguished by the three white Adidas styled stripes painted on his helmet and mask.
Killa is an ex-track star sitting on a horde of loot, and he plays like one. Either once engaged or once he sees someone, Killa will become extremely aggressive. Once he starts, Killa will liberally lay down fire as long as his target is within line of sight. This fire isn’t short, as he’s absolutely strapped with ammo, often starting with a 95 round mag and holding multiple back-up 60 round magazines full with some of the best ammo in the game.
⦁ Killa is notorious for his aggression and will advance on a player as he lays in with suppressing fire
⦁ If Killa loses sight of his target, he will rush in on their last known location. This advance can be covered with grenades and more heavy fire, and occasionally includes his infamous hip-firing power-slide.
⦁ The best advice I can give for dealing with Killa is to have a buddy or two, and learn some angles. Killa hunts alone, and while his greatest asset is his unrelenting aggression, his intense suppressing fire often leaves him completely exposed from behind.
⦁ Generally, avoid using grenades against Killa as his aggression really won’t give you a proper opening to toss one, and he’s mobile enough that he won’t likely be in the area when it goes off.
If you do manage to take him out, Killa’s personal gear is well worth Looting, but so is the 5.45×39 mm 7N39 “Igolnik” he’s known for carrying. Ironically, this ammo is also the best for dealing with Killa’s heavy armor. He can also carry Labs Access Cards, and Object 11SR Keycard which gives access to Killa’s stash and the Safe Room extraction for Interchange.
Reshala – Customs
Unlike Killa, Reshala is not a warrior. His name literally means “Deal maker” and this is reflected in his behavior in-game. He fights cautiously and let’s his guards protect him.
They can be found either in the Dorms, at the New Gas Station, the Tower, or the Checkpoint near the gas station.
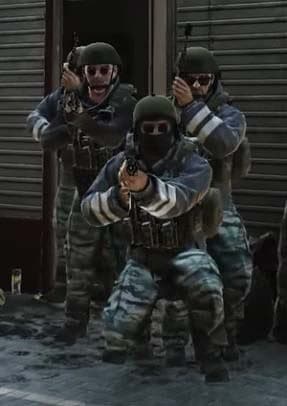
⦁ Reshala himself never wears armor, but carries a weapon and is always accompanied by four guards who’s gear varies from game to game.
⦁ When aware of a player, Reshala will immediately retreat and position himself behind his guards.
⦁ Reshala’s guards are visually distinct from Reshala and other Scavs, with bright white cuffs on blue uniforms.
⦁ While Reshala retreats, his guards advance and will aggressively push a player.
⦁ Their armor varies from levels 2-6 and their helmets can vary from levels 3-5 but they will always spawn in with modded weapons and utilize grenades even when they no longer have direct line of sight to their target.
Generally fighting Reshala and his men isn’t too complicated, but engaging with a friend or two will make it much easier both in the fight and cleaning up their loot. A strategy that’s shown good effect is to hold out inside the Dorms, locking yourself in a room with the door closed.
Reshala’s men will be forced to open the doors before they can fire on you, but you can begin firing even through the door as soon as you know they’re on the other side. In addition, Reshala’s guards tend to remain close together, so grenades can be extremely effective.
READ ALSO : Reshala Guide – Spawn Location & How to Eliminate
Shturman – Forest
Shturman is a sniper that either camps near, or patrols around the Sawmill on Woods. He always has a pair of followers, and they all have a tendency towards very accurate, semiautomatic fire.
⦁ Unlike other bosses, Shturman and his team tend to be armed with semiautomatic weapons and never wear helmets.
⦁ Their spread out formation, makes them extremely vulnerable to ambushes.
⦁ Shturman’s crew normally has semi-auto weapons, or even Mosins, but it is possible for Shturman to spawn with an AK 105 and for his followers spawn with a VSS.
⦁ When rushed, they may also deploy grenades,
⦁ It isn’t unheard of for Shturman’s guards to flank a player while the others pin him down.
In addition, Shturman’s crew has increased chest health and wears body armor ranging from level 3 to 6, making them fairly difficult to take down with chest shots.
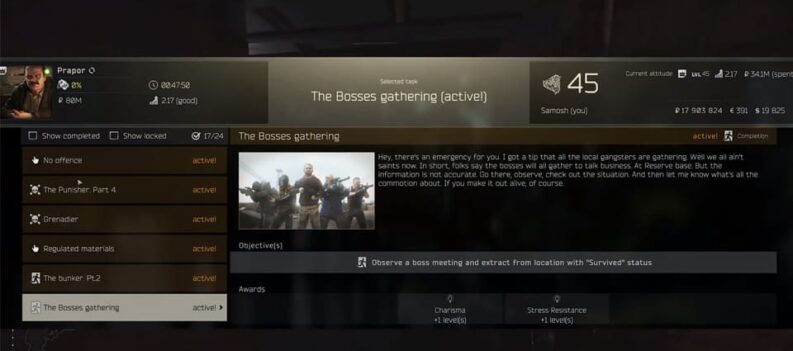
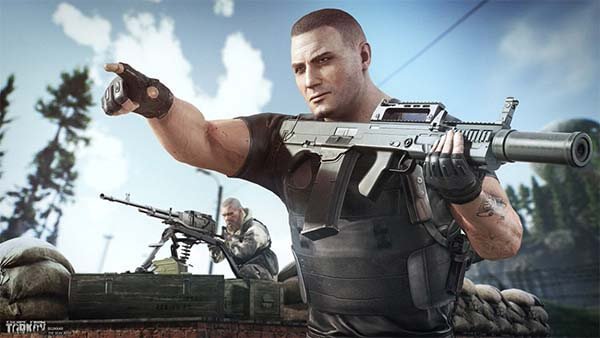
Glukhar – Reserve
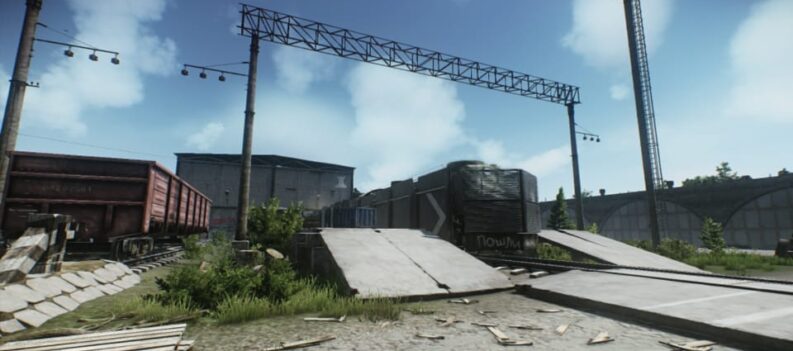
Glukhar is a durable, well armed boss that can spawn on the Reserve map with up to 6 equally well armed guards. His team can spawn in the Train Yard, the Black Bishop, Black Knight, or Black Pawn buildings, in the bunkers basement, or near the helicopter pad.
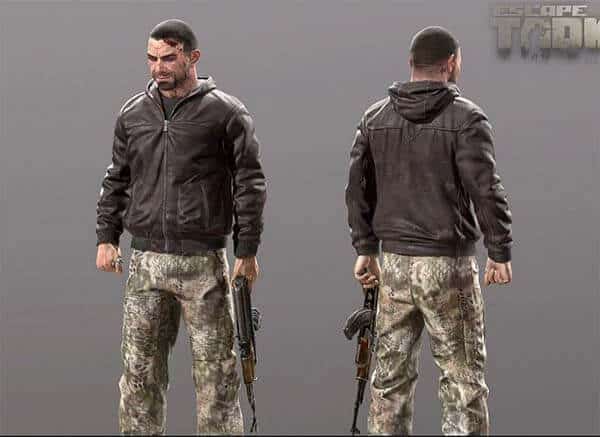
Glukhar is easily identified from his team by his black shirt and grey pants, as well as a relatively light kit compared to his guards.
⦁ While Glukhar himself isn’t heavily armored, he is very durable with 200 points of chest health alone, and 70 in his head.
⦁ Glukhar is armed with an Ash-12, which is essentially a .50 cal assault rifle designed to be a “close-quarters battle rifle”. Glukhar is very accurate with this weapon, and long ranged fights are not advised, though it has a relatively small magazine.
⦁ Glukhar can be scary, but his guards make up most of the threat in fighting him. Up to 6 people can accompany Glukhar, each armed with high tier body armor and class 3-6 helmets. Each guard usually carries an assault rifle and either a shotgun, a marksman’s rifle, or an SMG.
⦁ Glukhar’s team will often work in pairs to push or flank a player very aggressively while the others stay back to defend Glukhar and lay down some covering fire.
⦁ Long ranged fights are heavily discouraged, as usually the aggressive pushes put a lot of stress on players while the rest of Glukhar’s team can sit back and take more carefully aimed shots.
What is recommended is an up close fight, preferably with grenades to break up the team, as well as taking out Glukhar at the beginning if possible. Most rifle ammo is still able to kill him in one headshot.
Most of the Scav Bosses aren’t too hard to take on once you get the hang of fighting them, but If you still need help getting your bearings or figuring out a battle plan, check out our other Tarkov Guides